To boost your heat pump's efficiency, consider implementing a DIY geothermal system. This involves harnessing the earth's constant temperature to heat and cool your home. Start by evaluating your property's suitability, analyzing soil type, and available land space. Choose the right heat pump based on your home's needs and plan your ground loop system accordingly. You'll need to master excavation techniques, pipe selection, and thermal fusion welding. Set up the heat pump correctly and optimize your indoor distribution system for maximum efficiency. With proper planning and execution, you'll reveal significant energy savings and long-term comfort.
Understanding Geothermal Heat Pump Basics
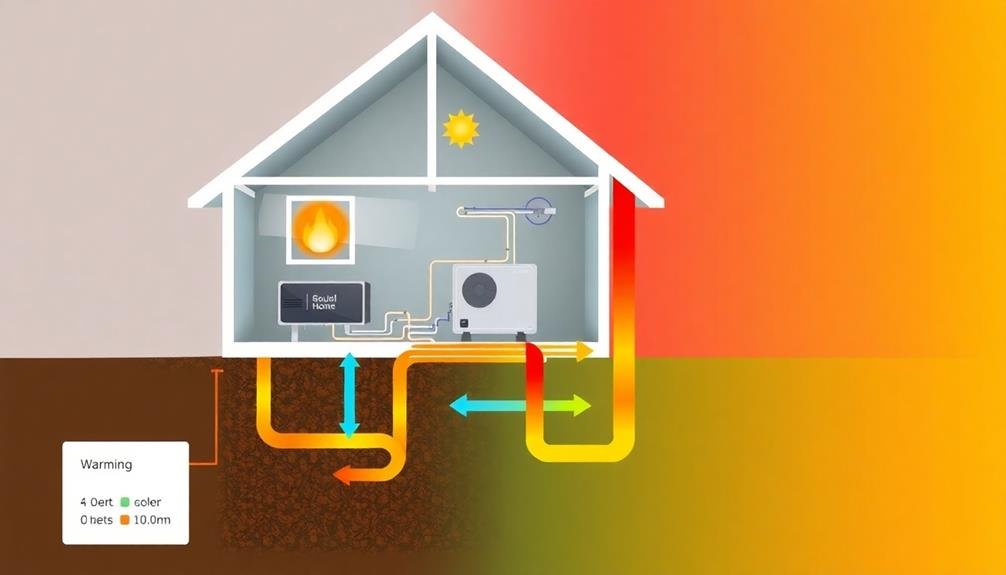
Nearly all geothermal heat pump systems work on the same basic principle. They use the earth's relatively constant temperature to heat and cool your home more efficiently than traditional HVAC systems.
In winter, the heat pump extracts warmth from the ground and transfers it into your house. During summer, it reverses the process, removing heat from your home and depositing it back into the earth.
The system consists of three main components: the heat pump unit, the ground loop, and the distribution system. The ground loop is a network of pipes buried in your yard, filled with a water-antifreeze mixture that circulates through the system. As this fluid moves through the loop, it absorbs or releases heat depending on the season.
Inside your home, the distribution system can be either forced air or radiant floor heating. The heat pump unit itself houses the compressor, heat exchanger, and controls that manage the entire process.
Assessing Your Property's Suitability
Before installing a geothermal system, you'll need to evaluate your property's suitability.
Start by analyzing your soil type to determine heat transfer efficiency and excavation requirements.
Next, assess your available land space to choose between horizontal or vertical loop systems, and don't forget to check local regulations for any restrictions or permit requirements.
Soil Type Analysis
One of the most essential steps in planning a DIY geothermal system is evaluating your property's soil type. Different soil compositions affect heat transfer rates and system efficiency. To analyze your soil, you'll need to conduct a percolation test and collect soil samples from various depths.
Start by digging a test pit about 6-8 feet deep. Observe the soil layers and note their colors, textures, and moisture content. Clay soils retain heat well but can be challenging to excavate. Sandy soils are easier to work with but may require longer loop lengths due to lower heat retention. Loamy soils often provide an ideal balance for geothermal installations.
Next, perform a simple percolation test by filling the pit with water and measuring how quickly it drains. This will help determine your soil's thermal conductivity. You can also send soil samples to a lab for professional analysis, which will provide detailed information on mineral content and thermal properties.
Understanding your soil type will guide decisions on loop configuration, trench depth, and system sizing. It's vital to get this right, as it directly impacts your geothermal system's performance and long-term efficiency.
Available Land Space
Evaluating your property's available land space is essential for determining if a DIY geothermal system is feasible. You'll need to assess the size and layout of your yard to guarantee there's enough room for the ground loops. Generally, horizontal systems require more space than vertical ones, but they're often easier and less expensive to install.
To determine if you have sufficient land for a geothermal system, contemplate these factors:
- Total square footage: Measure your available land area, excluding buildings, driveways, and other structures.
- Obstacles: Identify underground utilities, large trees, and rock formations that might interfere with installation.
- Setback requirements: Check local regulations for minimum distances from property lines and structures.
If you have limited horizontal space, don't worry – vertical systems can be an excellent alternative. These systems require less surface area but involve drilling deeper into the ground.
You'll need to reflect on the geological conditions of your property and local drilling regulations.
Local Regulations Check
After evaluating your property's physical characteristics, you'll need to navigate the regulatory landscape.
Start by contacting your local building department to inquire about permits and zoning regulations for geothermal systems. They'll inform you of any restrictions or special requirements in your area.
Next, check with your homeowners' association (HOA) if applicable. Some HOAs have rules about exterior modifications or equipment installations. You'll want to guarantee your geothermal project complies with their guidelines.
Don't forget to investigate local environmental regulations. Some areas have restrictions on groundwater use or drilling depths. Your local environmental agency can provide information on these matters.
It's also wise to consult with utility companies. They can inform you about underground utility lines and any regulations regarding their proximity to your proposed geothermal system.
Lastly, research any available incentives or tax credits for geothermal installations in your area. These can greatly offset your project costs and may influence your decision-making process.
Choosing the Right Heat Pump
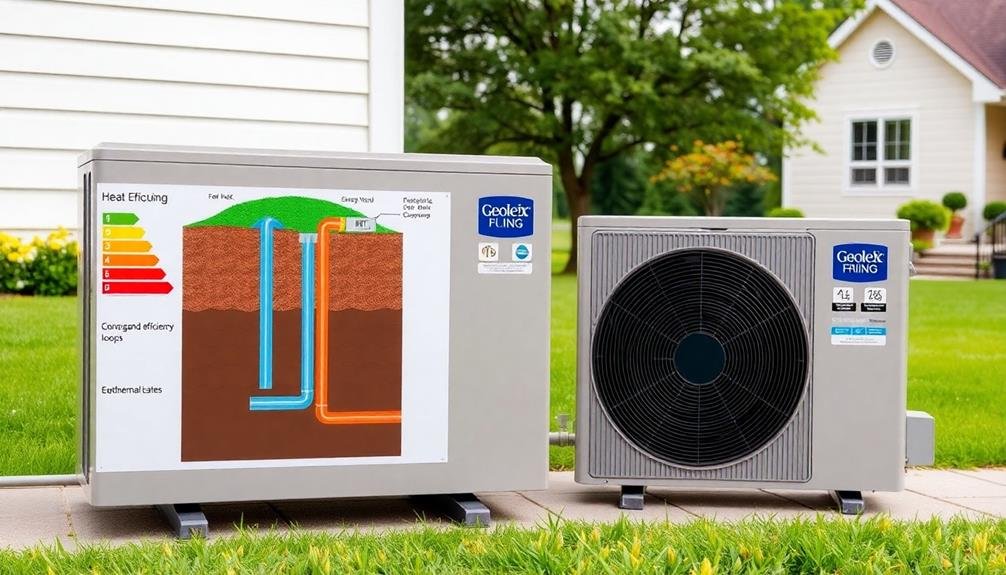
When selecting a geothermal heat pump, you'll need to evaluate the various types available, including closed-loop, open-loop, and direct exchange systems.
Each type has its own advantages and limitations, so you'll want to research which best suits your property and climate.
Proper sizing of your heat pump is essential for ideal performance and efficiency, taking into account factors like your home's square footage, insulation levels, and local temperature extremes.
Types of Heat Pumps
At the heart of your geothermal system lies the heat pump, an essential component that determines the efficiency and performance of your entire setup.
When exploring heat pump options, you'll encounter three main types: ground-source, water-source, and air-source heat pumps.
Ground-source heat pumps are the most common for geothermal systems. They utilize the earth's consistent temperature to heat and cool your home efficiently.
Water-source heat pumps work similarly but use a nearby water body as the heat exchange medium.
Air-source heat pumps, while not technically geothermal, are worth mentioning as they can be a cost-effective alternative in some climates.
To help you choose the right heat pump for your DIY geothermal project, consider these factors:
- Efficiency ratings (COP and EER)
- Capacity and sizing for your home's needs
- Compatibility with your existing HVAC system
Each type of heat pump has its advantages and limitations.
Ground-source pumps offer the highest efficiency but require more extensive installation.
Water-source pumps can be highly effective if you have access to a suitable water body.
Air-source pumps are easier to install but may be less efficient in extreme climates.
Sizing for Optimal Performance
Guaranteeing proper sizing of your heat pump is essential for ideal geothermal system performance. Undersized units struggle to meet heating and cooling demands, while oversized ones cycle on and off frequently, reducing efficiency and comfort. To determine the right size, you'll need to contemplate several factors.
Start by calculating your home's heating and cooling loads. This involves evaluating insulation levels, window types, air infiltration rates, and local climate data.
You'll also want to factor in your home's square footage, ceiling height, and the number of occupants. Don't forget to account for any planned renovations or additions that might affect your future energy needs.
Once you've gathered this information, consult with a qualified HVAC professional to determine the appropriate heat pump size, typically measured in tons or BTUs. They'll use specialized software to analyze your data and recommend the best unit for your needs.
Planning Your Ground Loop System
The success of your DIY geothermal system hinges on carefully planning your ground loop layout. You'll need to take into account your property's characteristics, local regulations, and the heat pump's capacity to design an efficient system.
Start by evaluating your available land area and soil composition to determine the most suitable loop configuration.
There are three main types of ground loop systems to choose from:
- Horizontal loops: Ideal for larger properties, requiring trenches 4-6 feet deep
- Vertical loops: Perfect for smaller lots, involving boreholes drilled 100-400 feet deep
- Pond/lake loops: Cost-effective option if you have access to a nearby water body
Once you've selected your loop type, calculate the total pipe length needed based on your heat pump's capacity and local climate conditions.
Take into account factors like groundwater levels, bedrock depth, and soil thermal conductivity when planning your loop's placement. Don't forget to account for any underground utilities or structures that might interfere with your installation.
Consult local authorities to obtain necessary permits and guarantee compliance with zoning laws.
It's essential to work with a professional geothermal designer or engineer to finalize your ground loop layout, guaranteeing peak performance and longevity for your DIY geothermal system.
Excavation and Trenching Techniques
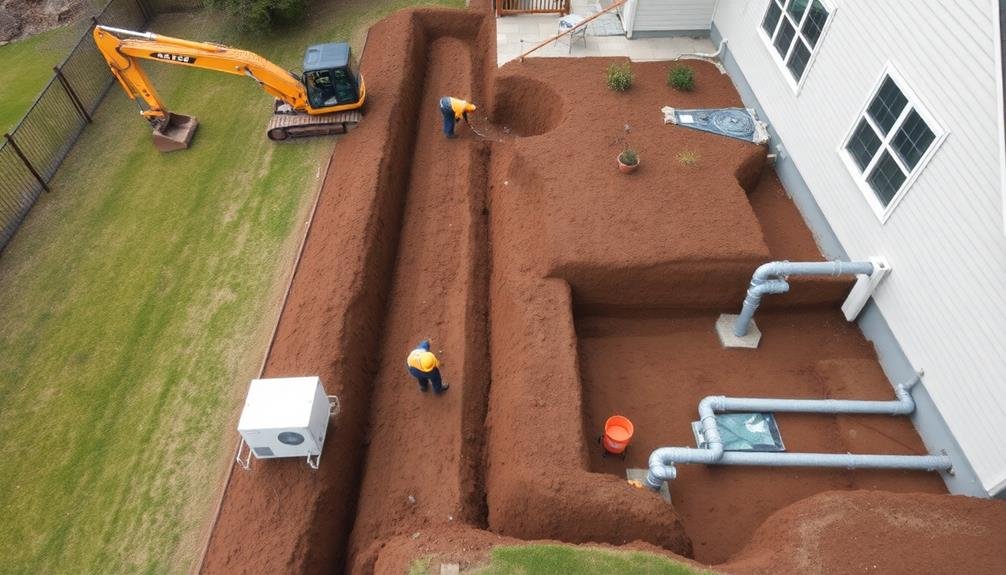
Digging into the excavation phase of your DIY geothermal project requires careful planning and the right equipment. You'll need to determine the best trenching method based on your soil type, available space, and budget.
For horizontal ground loops, you can use a backhoe or trencher to dig trenches 4-6 feet deep and 1-2 feet wide. If you're limited on space, consider vertical boreholes drilled 100-400 feet deep using specialized drilling equipment.
Before you start digging, call your local utility companies to mark underground lines. This step is essential for safety and avoiding costly damage.
When excavating, maintain consistent depth and width to guarantee proper heat transfer. If you encounter rocky soil, you may need to adjust your trenching technique or consider alternative loop configurations.
For vertical systems, hire a professional driller with experience in geothermal installations. They'll use specialized equipment to create boreholes and insert the loop pipes.
Remember to factor in space for the headers that connect individual loops to your heat pump. Once trenches or boreholes are complete, carefully insert the loop pipes, making sure they're not kinked or damaged during the process.
Installing Horizontal Ground Loops
With trenches dug and ready, it's time to install your horizontal ground loops. These loops are the heart of your geothermal system, transferring heat between the ground and your heat pump. You'll need to carefully lay out the piping in a serpentine pattern within your trenches, ensuring even spacing and proper depth.
Before you begin, double-check that you've got all the necessary materials:
- HDPE piping
- Pipe fittings and connectors
- Antifreeze solution
Start by uncoiling the piping along the trench, leaving enough slack for connections. Join pipe sections using fusion welding or mechanical fittings, following manufacturer guidelines. As you lay the pipes, maintain a consistent depth of 4-6 feet for ideal heat transfer. Avoid sharp bends that could restrict flow.
Once the loops are in place, pressure test the system to check for leaks. After confirming integrity, flush the pipes with water to remove any debris. Finally, fill the system with an antifreeze solution to prevent freezing in colder climates.
With horizontal ground loops installed, you're one step closer to harnessing the earth's energy for efficient heating and cooling.
Vertical Borehole Installation Methods
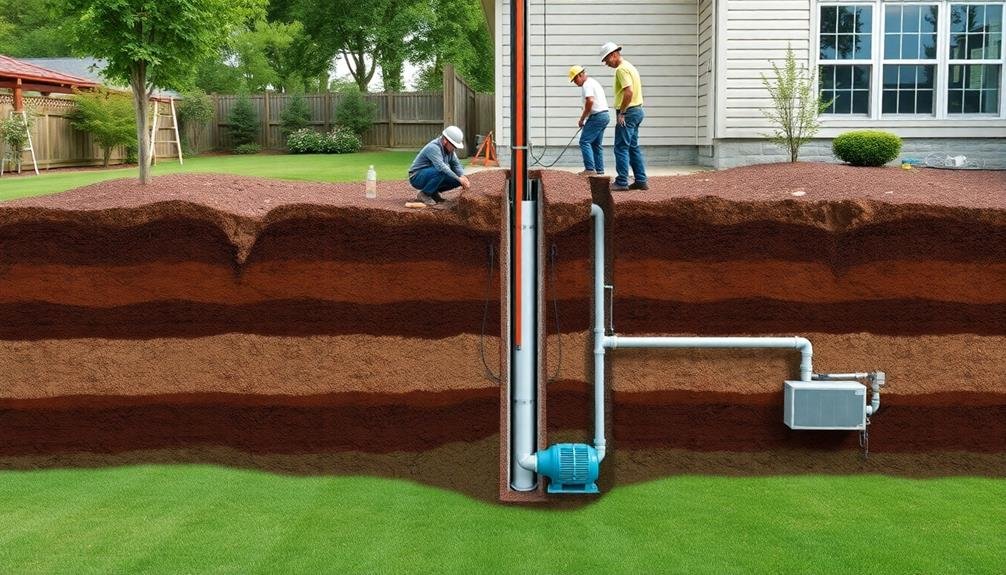
For properties with limited land area or unsuitable soil conditions, vertical borehole installation offers an alternative to horizontal ground loops. This method involves drilling deep, narrow holes into the ground, typically 100 to 400 feet deep, and inserting U-shaped pipes filled with a heat transfer fluid.
You'll need to hire a professional drilling company for this task, as it requires specialized equipment and expertise. They'll use a large drilling rig to create the boreholes, which are usually 4 to 6 inches in diameter. The number of boreholes needed depends on your home's heating and cooling requirements.
Once the holes are drilled, you'll insert the U-shaped pipes and fill the remaining space with a thermally enhanced grout. This grout guarantees good heat transfer between the pipes and the surrounding earth.
You'll then connect the vertical loops to a manifold system, which links them to your heat pump.
Vertical systems are more expensive to install than horizontal ones, but they're ideal for smaller lots and can be more efficient in certain soil conditions. They also disturb less of your property's landscaping, making them a good choice if you want to preserve your yard.
Connecting the Ground Loop System
To connect your ground loop system, you'll need to master trenching and excavation methods for laying out the pipes.
You'll also have to carefully select the appropriate pipes and plan their layout to maximize efficiency.
Trenching and Excavation Methods
Once you've designed your ground loop system, the next essential step is digging trenches or excavating to install the pipes. You'll need to choose between horizontal and vertical loop configurations, each requiring different excavation methods. For horizontal loops, you'll dig trenches 4-6 feet deep, while vertical loops require drilling boreholes 100-400 feet deep.
Before breaking ground, call your local utility companies to mark underground lines. This important step prevents accidental damage and guarantees your safety. When you're ready to start digging, consider renting heavy machinery like backhoes or trenchers to save time and effort.
For a successful excavation process, follow these key steps:
- Survey and mark the excavation area
- Remove topsoil and store it separately for later use
- Dig trenches or drill boreholes to the required depth
As you excavate, pay attention to soil conditions and adjust your methods accordingly. Rocky terrain may require specialized equipment, while sandy soil might need trench reinforcement.
Remember to follow local building codes and obtain necessary permits before starting your excavation project. By carefully planning and executing your trenching and excavation, you'll set a solid foundation for your DIY geothermal system.
Pipe Selection and Layout
Selecting the right pipes and designing an efficient layout are essential steps in connecting your ground loop system. For residential geothermal installations, high-density polyethylene (HDPE) pipes are the industry standard due to their durability and flexibility. Choose pipes with a diameter between 3/4 to 1 1/4 inches, depending on your system's size and flow requirements.
When planning your layout, aim for a balanced design that maximizes heat transfer efficiency. You'll typically need 400-600 feet of pipe per ton of heating and cooling capacity.
For horizontal layouts, space pipes 6-8 feet apart and at least 4 feet deep. If you're using a vertical system, drill boreholes 150-400 feet deep, spacing them 15-20 feet apart.
Incorporate a manifold system to distribute flow evenly across all loops. This will help maintain consistent performance and simplify future maintenance. Don't forget to include expansion loops to accommodate thermal expansion and contraction of the pipes.
As you connect the pipes, use thermal fusion welding techniques to guarantee leak-free joints. This method creates a seamless connection that's stronger than the pipe itself.
Antifreeze Solution Circulation
The lifeblood of your geothermal system is the antifreeze solution that circulates through the ground loop. This carefully formulated mixture transfers heat between the ground and your heat pump, guaranteeing efficient operation year-round.
You'll need to choose the right antifreeze solution and properly fill your system to maximize performance and longevity.
Select an antifreeze solution that's compatible with your heat pump and local climate. Common options include propylene glycol, ethanol, and methanol-based mixtures. Each has its pros and cons, so consult your heat pump manufacturer's recommendations before making a decision.
To properly fill your ground loop system:
- Calculate the total volume of your pipes, including the heat exchanger
- Mix the antifreeze solution to the correct concentration for your climate
- Use a high-quality circulation pump to fill the system, guaranteeing all air is purged
Once filled, pressurize the system to the manufacturer's specifications. This helps prevent air pockets and guarantees efficient heat transfer.
Regular maintenance checks on the antifreeze solution's concentration and pH levels will keep your geothermal system running smoothly for years to come.
Setting Up the Heat Pump
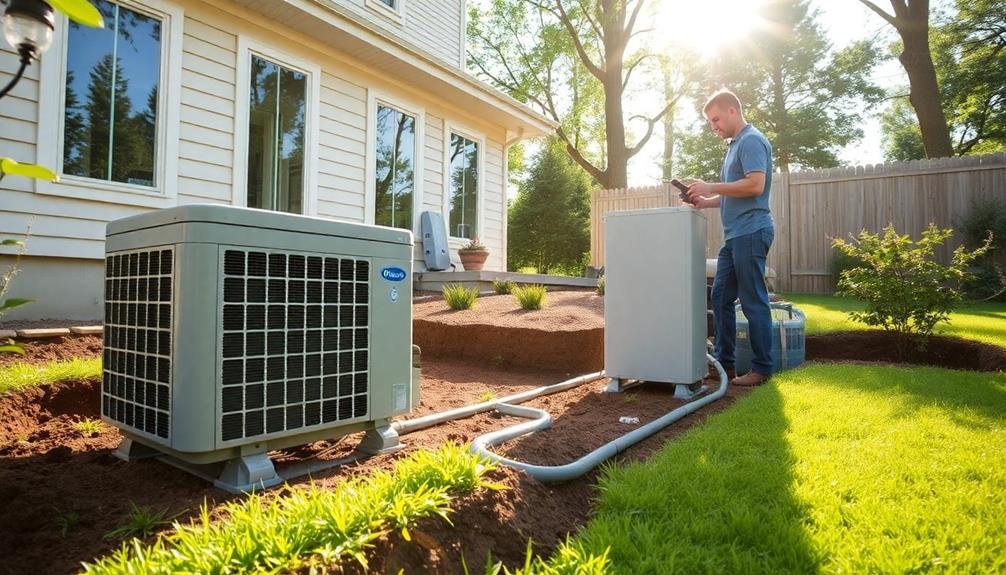
Installing the heat pump is an essential step in your DIY geothermal system. You'll want to choose a heat pump specifically designed for geothermal applications, making sure it's compatible with your ground loop system and home's heating and cooling needs.
When selecting the unit, consider factors like efficiency ratings, capacity, and warranty coverage.
Begin by preparing the installation area, typically in your basement or utility room. Guarantee proper ventilation and access for maintenance.
You'll need to connect the heat pump to both your ground loop system and your home's existing ductwork or radiant heating system. Install isolation valves on both the supply and return lines to facilitate future servicing.
Next, connect the electrical supply, following all local codes and manufacturer's instructions. It's essential to have a licensed electrician perform this step to guarantee safety and proper functioning.
Once connected, flush the system to remove any air or debris before adding the appropriate amount of antifreeze solution.
Optimizing Indoor Distribution Systems
Efficiency lies at the heart of optimizing your indoor distribution systems for geothermal heating and cooling. To maximize your heat pump's performance, you'll need to focus on your home's ductwork and air handling units.
Start by sealing and insulating all ducts, especially those in unconditioned spaces like attics or crawl spaces. This prevents energy loss and guarantees that conditioned air reaches its intended destination.
Next, consider upgrading to a variable-speed air handler. These units adjust their output based on your home's needs, providing more consistent temperatures and improved humidity control. They also consume less energy than traditional single-speed models.
To further enhance your system's efficiency:
- Install programmable or smart thermostats to optimize temperature settings
- Use zoning systems to heat or cool specific areas of your home as needed
- Regularly clean or replace air filters to maintain proper airflow
Don't overlook the importance of proper room ventilation and air circulation. Ceiling fans can help distribute conditioned air more evenly, reducing the workload on your heat pump.
Commissioning and Testing
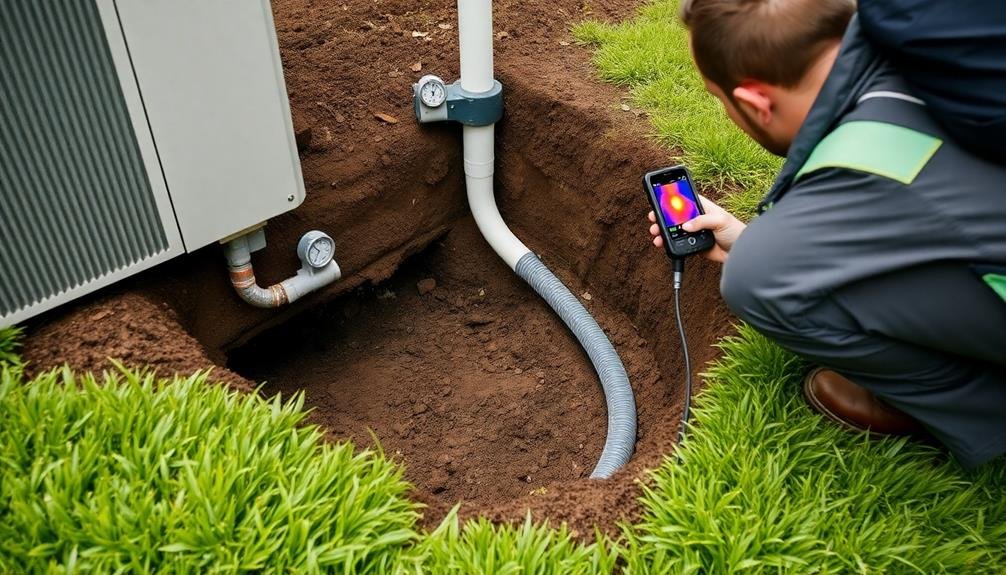
Commissioning and testing your DIY geothermal system marks the final essential step before you can enjoy its benefits.
Begin by flushing the ground loop to remove any debris or air pockets. Once clean, pressurize the system and check for leaks. Next, purge air from the heat pump and indoor distribution system.
With the system prepped, it's time to power up. Monitor the heat pump's performance, checking refrigerant pressures and temperatures. Verify that the compressor and circulation pumps are operating within their specified ranges.
Test the system in both heating and cooling modes, ensuring it responds correctly to thermostat commands. Measure the entering and leaving water temperatures in the ground loop to confirm proper heat transfer. Check the indoor air temperatures and adjust the airflow if necessary.
Don't forget to test safety controls, like the high-pressure cutoff and freeze protection. Document all test results and system settings for future reference.
If you encounter any issues during commissioning, consult a professional. Once you're satisfied with the system's performance, you can confidently rely on your DIY geothermal setup for efficient heating and cooling year-round.
Maintenance for Long-Term Efficiency
Regular upkeep is essential for maintaining your DIY geothermal system's efficiency over time. To guarantee peak performance, you'll need to conduct routine checks and maintenance tasks.
Start by inspecting your heat pump's filters monthly, cleaning or replacing them as needed to prevent airflow restrictions and maintain indoor air quality.
Keep an eye on your system's refrigerant levels, as low levels can greatly impact efficiency. If you notice a decrease in heating or cooling performance, it's time to call a professional to check and recharge the refrigerant.
Don't forget to monitor your ground loop system for any signs of leaks or damage.
To maximize your geothermal system's longevity and efficiency:
- Schedule annual professional inspections to catch potential issues early
- Maintain proper insulation in your home to reduce the load on your system
- Regularly clean and lubricate pump components to prevent wear and tear
Frequently Asked Questions
How Long Does a DIY Geothermal Heat Pump Installation Typically Take?
You'll typically spend 2-4 weeks on a DIY geothermal heat pump installation. The timeline depends on your experience, site conditions, and system complexity. It's a significant undertaking, so plan carefully and consider professional help if you're unsure.
Can I Install a Geothermal System in an Existing Home?
Yes, you can install a geothermal system in your existing home. It'll require careful planning and some modifications to your property. You'll need to assess your land, upgrade your ductwork, and possibly retrofit your heating system.
What Permits Are Required for a Residential Geothermal Heat Pump Installation?
You'll typically need building, electrical, and plumbing permits for a residential geothermal heat pump installation. Check with your local zoning office, as some areas may require additional permits for ground loops or drilling. Don't skip this step!
How Noisy Are Geothermal Heat Pumps Compared to Traditional HVAC Systems?
You'll find geothermal heat pumps are much quieter than traditional HVAC systems. They don't have outdoor units, so there's no noisy compressor outside. Inside, they operate smoothly and quietly, creating a peaceful home environment.
Can Geothermal Heat Pumps Be Used for Cooling in Hot Climates?
Yes, you can use geothermal heat pumps for cooling in hot climates. They're efficient at transferring heat from your home into the ground during summer. You'll enjoy consistent cooling while saving energy and reducing your carbon footprint.
In Summary
You've now got the knowledge to boost your heat pump's efficiency with a DIY geothermal system. Remember, proper planning and execution are key to success. Don't rush the process—take time to assess, choose, and implement each step carefully. With your new geothermal setup, you'll enjoy increased energy efficiency and lower utility bills for years to come. Stay committed to regular maintenance, and you'll reap the benefits of this sustainable heating and cooling solution.


Leave a Reply