To insulate your basement, start by evaluating moisture levels and choosing the right insulation material. Gather necessary tools and prepare the walls by cleaning and repairing any cracks. Install a vapor barrier to prevent moisture infiltration, then secure the insulation to the walls using adhesive or mechanical fasteners. Don't forget to seal gaps and cracks around windows, pipes, and electrical outlets. Next, install drywall or paneling for a finished look. Finally, insulate the basement ceiling to prevent heat loss between floors. Following these steps will greatly improve your home's energy efficiency and comfort. There's more to discover about each step of this DIY process.
Assess Basement Moisture Levels
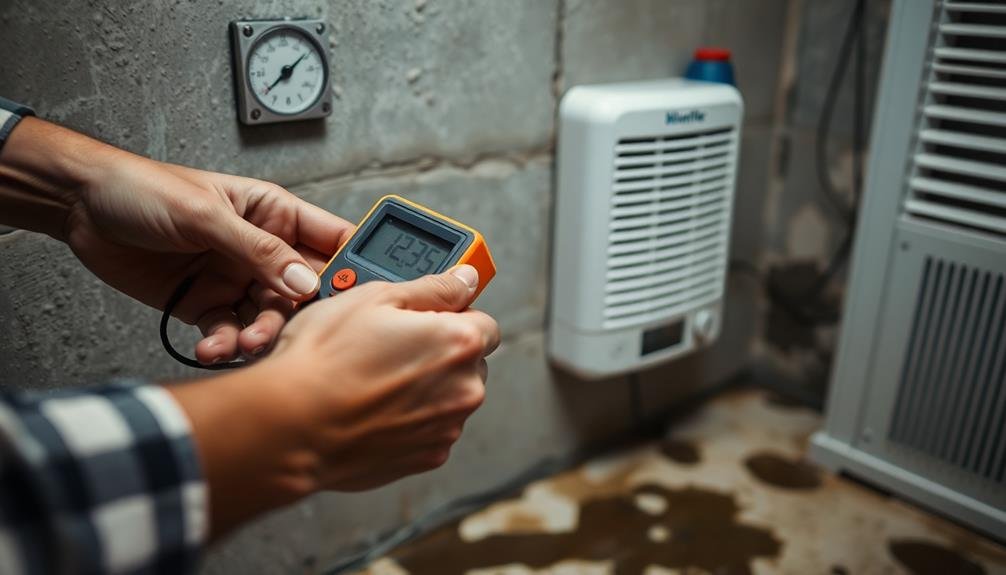
Before diving into insulation, it's important to evaluate your basement's moisture levels. Start by conducting a visual inspection, looking for signs of water damage, mold, or mildew. Check for cracks in the foundation, walls, or floor that might allow water to seep in. Use a moisture meter to measure the moisture content of various surfaces, including walls, floors, and wooden structures.
Next, perform a simple condensation test by taping a piece of aluminum foil to the wall for 24 hours. If you find moisture on the side facing the wall, you're dealing with moisture seeping through the foundation. If it's on the room-facing side, you have a humidity issue.
Install a hygrometer to monitor relative humidity levels in your basement. Ideally, you'll want to maintain levels between 30% and 50%. If humidity is consistently high, consider using a dehumidifier.
Address any existing water issues before proceeding with insulation. This may involve repairing cracks, improving exterior drainage, or installing a sump pump. By thoroughly evaluating and addressing moisture concerns, you'll guarantee your insulation efforts are effective and long-lasting.
Choose Insulation Material
Now that you've tackled moisture issues, it's time to zero in on the right insulation material for your basement. Consider factors like R-value, moisture resistance, and cost when making your choice.
Fiberglass batts are a popular option due to their affordability and ease of installation, but they're susceptible to moisture damage.
Spray foam insulation offers excellent moisture resistance and air sealing properties, though it's pricier and requires professional installation.
Rigid foam boards are another effective choice, providing high R-value per inch and moisture resistance. They're easy to cut and install yourself but may require an additional fire barrier.
For a more eco-friendly option, consider cellulose insulation made from recycled paper products. It's treated for fire and pest resistance but can be challenging to install in existing walls.
Mineral wool, also known as rock wool, offers excellent sound insulation and fire resistance. It's moisture-resistant and easy to install but may be more expensive than fiberglass.
Whichever material you choose, verify it meets local building codes and energy efficiency standards.
Don't forget to factor in your climate, as colder regions may require higher R-values for peak insulation performance.
Gather Necessary Tools and Equipment
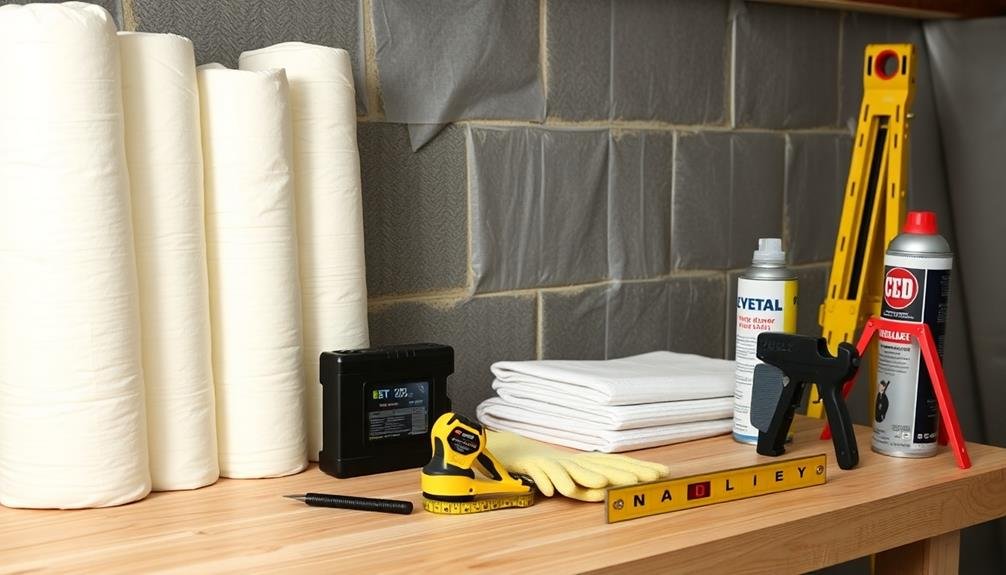
Before you start insulating your basement, you'll need to gather the right tools and equipment.
Your toolkit should include essential insulation tools, safety gear, and measuring and cutting equipment.
Having everything on hand will guarantee a smooth and efficient insulation process, allowing you to tackle the job with confidence.
Essential Insulation Tools
Gathering the right tools is vital for a successful basement insulation project. You'll need a utility knife with spare blades for cutting insulation materials and a tape measure to guarantee accurate measurements. A staple gun is important for securing insulation batts to wooden studs, while a caulk gun will help seal gaps and cracks.
Don't forget safety equipment: wear a dust mask, safety goggles, and gloves to protect yourself from insulation fibers and debris.
For foam board insulation, you'll require a straightedge and marker for precise cutting. A drill with various bits may be necessary for attaching foam boards to concrete walls. If you're using spray foam insulation, you'll need a foam gun and cleaning solvent. A ladder or scaffolding will help you reach higher areas safely.
Additional tools include a hammer for minor adjustments, a level to guarantee straight installations, and a flashlight for better visibility in dark corners. A shop vacuum will help keep your work area clean, while a moisture meter can detect any existing dampness issues before insulating.
Having these tools on hand will streamline your basement insulation process and improve the overall quality of your work.
Safety Gear Checklist
While insulating your basement can markedly improve your home's energy efficiency, it's vital to prioritize safety throughout the process. Before you begin, make sure you've got all the necessary safety gear to protect yourself from potential hazards.
Create a checklist of safety equipment and don't start the project until you've gathered everything you need.
Your safety gear checklist should include:
- Respirator or dust mask
- Safety goggles
- Work gloves
- Protective clothing (long sleeves and pants)
A respirator or dust mask will shield you from inhaling harmful particles, while safety goggles protect your eyes from debris and irritants. Work gloves are important for handling insulation materials and tools safely.
Wear long-sleeved shirts and pants to minimize skin exposure to fiberglass or other insulation fibers.
Don't forget to have a first aid kit nearby in case of minor injuries. If you're working with spray foam insulation, you'll need additional protective gear like a full-body suit and a specialized respirator.
Always read and follow the manufacturer's safety instructions for the specific insulation materials you're using.
Measuring and Cutting Equipment
Now that you've secured your safety gear, it's time to assemble the tools you'll need for measuring and cutting insulation. Start with a reliable tape measure to accurately determine the dimensions of your basement walls and floor.
You'll also need a sharp utility knife with extra blades for cutting insulation materials to size. For marking your measurements, grab a carpenter's pencil or permanent marker. A straightedge or T-square will help you make clean, precise cuts.
If you're working with rigid foam insulation, consider adding a circular saw or table saw to your toolkit for easier cutting of larger pieces. Don't forget a sturdy workbench or sawhorse to support your materials while cutting. A level will guarantee your insulation is installed straight and even.
For fiberglass batts, you'll want a staple gun to secure the insulation in place. Include a dust pan and brush for cleanup, and heavy-duty trash bags for disposing of scraps.
Prepare Basement Walls
Before you start insulating, you'll need to properly prepare your basement walls.
Begin by thoroughly cleaning the walls and repairing any cracks or damages to guarantee a smooth surface.
Next, apply a waterproofing sealant to protect against moisture, followed by installing a vapor barrier to prevent condensation and mold growth.
Clean and Repair Walls
Prior to insulating your basement walls, it's crucial to clean and repair them thoroughly.
Start by removing any debris, cobwebs, or loose materials. Use a stiff brush and vacuum to eliminate dust and dirt. If you encounter mold or mildew, treat it with a specialized cleaner or a mixture of water and bleach. Allow the walls to dry completely before proceeding.
Next, inspect the walls for cracks, gaps, or other damage. Fill small cracks with hydraulic cement or masonry caulk. For larger issues, consult a professional to guarantee structural integrity.
Once repairs are complete, apply a waterproof sealant to prevent moisture penetration.
To confirm you've addressed all necessary areas, follow this checklist:
- Remove all shelving, nails, and hanging objects from the walls
- Scrape off any peeling paint or loose concrete
- Test for moisture by taping a plastic sheet to the wall for 24 hours
- Apply a mold-resistant primer if needed
Apply Waterproofing Sealant
Waterproofing your basement walls is an essential step in the insulation process. Before applying insulation, you'll need to verify your walls are protected from moisture infiltration.
Start by choosing a high-quality waterproofing sealant designed for basement use. These products typically come in the form of a thick paint or coating.
Begin by thoroughly cleaning the walls and allowing them to dry completely. Next, use a paintbrush or roller to apply the sealant, starting from the bottom and working your way up. Pay extra attention to corners, cracks, and joints where water is more likely to penetrate.
Apply the product in thin, even coats, following the manufacturer's instructions for drying time between layers. For best results, you'll usually need to apply at least two coats of sealant. Some areas might require additional coats for maximum protection.
Once the final coat has dried, inspect the walls carefully for any missed spots or thin areas. Touch up as necessary to verify complete coverage.
Remember that waterproofing sealant isn't a permanent solution to major water issues. If you have significant water problems, address the underlying causes before applying the sealant.
Install Vapor Barrier
A essential step in basement insulation is the installation of a vapor barrier. This protective layer prevents moisture from seeping through your walls and damaging the insulation. Before you begin, make certain your basement walls are clean, dry, and free of any debris. Choose a high-quality polyethylene sheeting with a thickness of at least 6 mil for ideal protection.
To install the vapor barrier effectively, follow these steps:
- Measure and cut the polyethylene sheeting to fit your basement walls, allowing for a 6-inch overlap at seams and edges.
- Start at a corner and unroll the sheeting, securing it to the wall with construction adhesive or tape designed for vapor barriers.
- Smooth out any wrinkles or air pockets as you go, making sure of a tight seal against the wall.
- Overlap seams by at least 6 inches and seal them with vapor barrier tape for complete protection.
As you work, pay special attention to areas around windows, pipes, and electrical outlets. Use specialized tape or sealant to create airtight seals around these penetrations.
Install Vapor Barrier
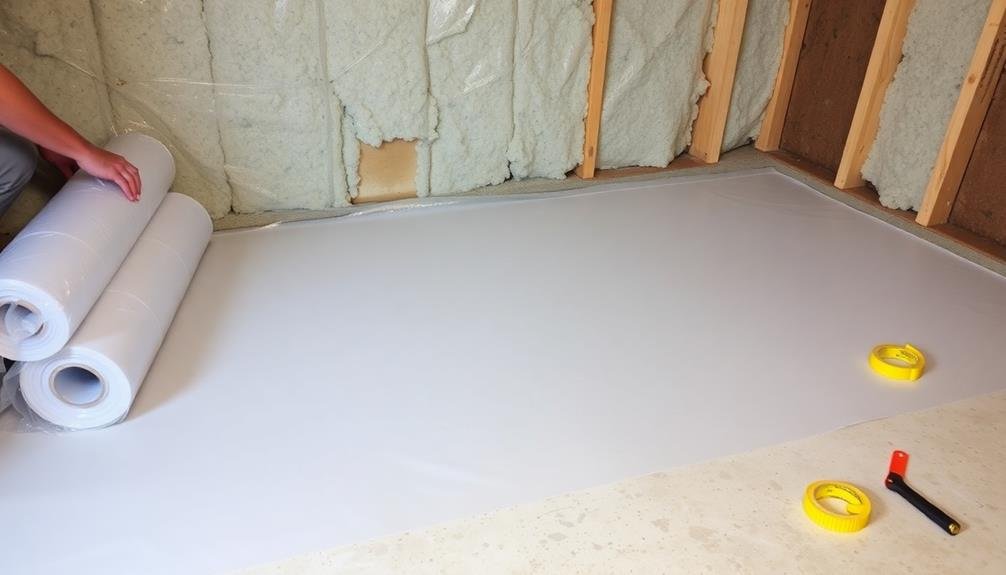
Before installing insulation, you'll need to put a vapor barrier in place to protect against moisture. Start by measuring your basement walls and purchasing enough 6-mil polyethylene sheeting to cover the entire area. Clean the walls thoroughly and repair any cracks or holes.
Begin at a corner, unrolling the sheeting and securing it to the wall with construction adhesive. Overlap seams by at least 12 inches and seal them with vapor barrier tape. Cut around obstacles like windows, pipes, and electrical outlets, guaranteeing a tight fit. Use acoustic sealant to create an airtight seal around these openings.
When you reach the floor, extend the vapor barrier about 6 inches onto it. Seal this edge with tape or acoustic sealant. For the ceiling, run the barrier up to the top plate and seal it securely.
If you're insulating the rim joists, cover them with separate pieces of vapor barrier, overlapping and sealing the seams.
Double-check all seams and edges to verify they're properly sealed. A well-installed vapor barrier will considerably reduce moisture penetration, protecting your insulation and preventing mold growth in your basement.
Cut and Fit Insulation
With your vapor barrier securely in place, it's time to cut and fit the insulation. Measure the height and width of each wall section between the studs, then transfer these measurements to your insulation batts. Use a utility knife to cut the insulation, making sure to wear protective gear like gloves, a dust mask, and safety glasses.
When cutting, place the insulation on a flat surface and compress it slightly to achieve a clean cut.
Start fitting the insulation from the top of the wall and work your way down. Verify a snug fit without compressing the insulation too much, as this reduces its effectiveness. Pay special attention to areas around windows, doors, and electrical outlets, cutting the insulation to fit precisely around these obstacles.
Here's a quick visual guide to help you understand the process:
- Measure wall sections and mark insulation
- Cut insulation with utility knife on flat surface
- Fit insulation from top to bottom, verifying snug fit
- Trim around obstacles like outlets and windows
Remember to cover the entire wall surface, leaving no gaps or spaces. If you encounter any pipes or wires, carefully split the insulation to accommodate them.
This meticulous approach verifies maximum insulation efficiency and a professional-looking result.
Secure Insulation to Walls
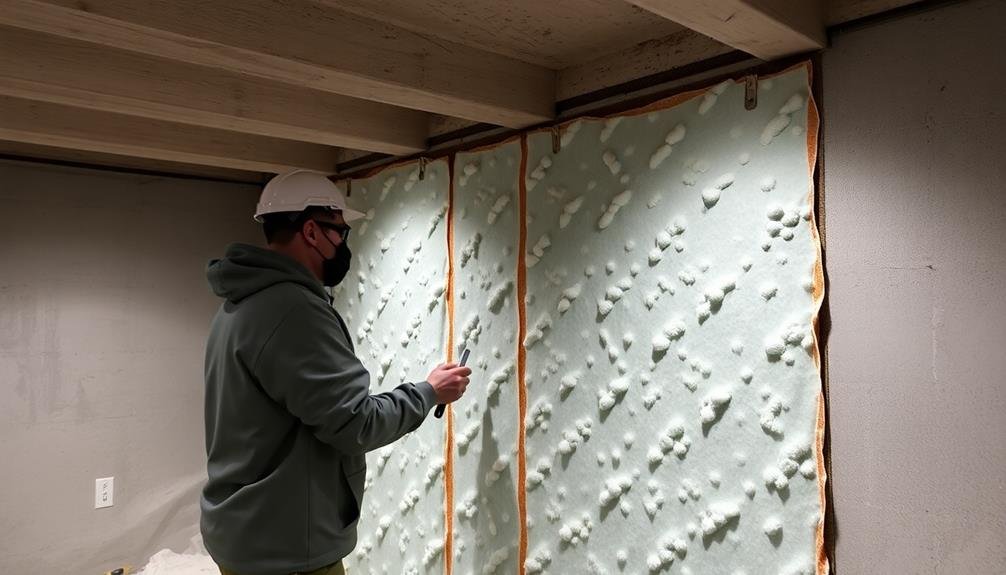
When securing insulation to your basement walls, you'll need to choose between adhesive or mechanical fasteners.
Adhesives offer a clean look but may not be suitable for all surfaces, while mechanical fasteners provide a more secure hold but require more effort to install.
Whichever method you choose, guarantee proper placement by aligning the insulation snugly against the wall, leaving no gaps or compressed areas.
Adhesive vs. Mechanical Fasteners
After choosing your insulation material, you'll need to decide how to secure it to your basement walls. The two main options are adhesives and mechanical fasteners, each with its own advantages and considerations.
Adhesives offer a clean, seamless look and are ideal for smooth concrete walls. They're easy to apply and don't create additional holes in your walls. However, they may not work well on damp surfaces and can be less effective in high-humidity environments.
Mechanical fasteners, such as furring strips or insulation anchors, provide a more secure attachment and work well on uneven surfaces. They're also better suited for heavier insulation materials. However, they require more time and effort to install and may create thermal bridges.
Consider these factors when choosing your method:
- Wall condition (smooth vs. rough)
- Insulation material weight and thickness
- Moisture levels in your basement
- Local building codes and requirements
Ultimately, the best choice depends on your specific basement conditions and insulation needs. You might even opt for a combination of both methods to guarantee ideal insulation performance and longevity.
Remember to follow manufacturer instructions carefully for whichever method you choose.
Proper Insulation Placement Techniques
Now that you've chosen your insulation material and fastening method, it's time to focus on proper placement techniques. Start at the top of your basement wall and work your way down, ensuring each piece of insulation fits snugly against the one above it. Cut the insulation to fit tightly around pipes, electrical boxes, and other obstructions. Don't compress the insulation, as this reduces its effectiveness.
For foam board insulation, apply a continuous bead of construction adhesive around the perimeter and in an "X" pattern across the center before pressing it firmly against the wall. If you're using mechanical fasteners, space them evenly about 16 inches apart, both vertically and horizontally.
When using fiberglass batts, make sure they fit securely between the wall studs without being compressed. Use a vapor barrier if required by local building codes, typically on the warm side of the insulation. Seal all seams and joints with tape designed for insulation to prevent air leaks.
Pay special attention to rim joists, as these are common areas for heat loss. Cut pieces of insulation to fit snugly between floor joists and against the rim joist.
Seal Gaps and Cracks
Gaps and cracks in your basement can be silent energy thieves. They allow cold air to seep in during winter and warm air to escape in summer, reducing your home's energy efficiency. To combat this, you'll need to thoroughly inspect your basement and seal any openings you find.
Start by examining the following areas:
- Where the foundation meets the wood framing
- Around windows and doors
- Near pipe and wire penetrations
- Along the rim joist area
Once you've identified the gaps and cracks, clean the areas thoroughly. Use a wire brush to remove any loose debris or old caulk.
For small cracks (less than 1/4 inch), apply a bead of silicone caulk. For larger gaps, use expandable foam insulation. Be careful not to overfill, as the foam will expand as it cures.
Pay special attention to the rim joist area, where the floor joists meet the foundation wall. This area is prone to air leakage and should be sealed with foam insulation boards cut to fit snugly between the joists.
Caulk around the edges for an airtight seal.
Install Drywall or Paneling
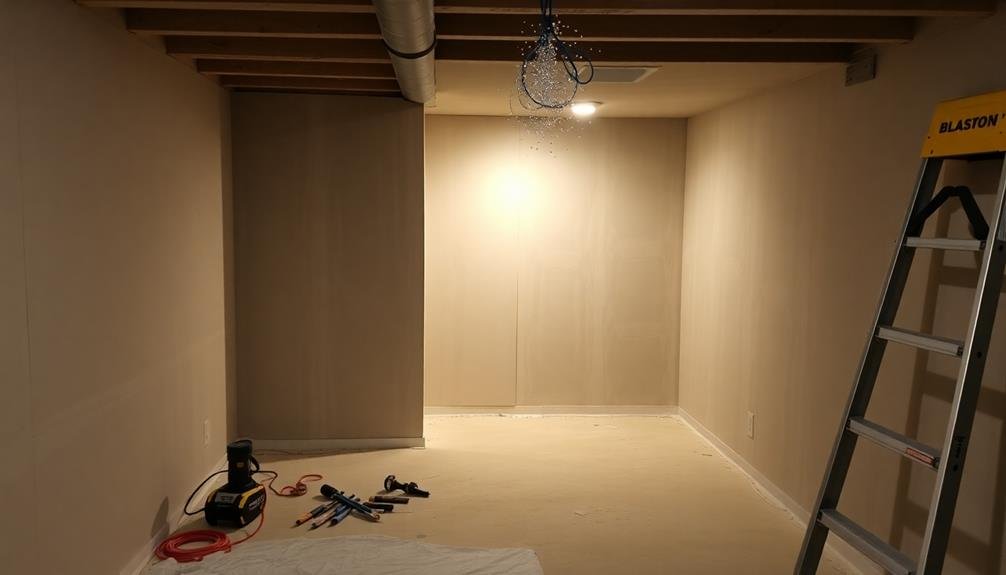
With your basement's gaps and cracks sealed, it's time to focus on the walls. Installing drywall or paneling serves as the final step in insulating your basement, providing a finished look while enhancing thermal efficiency.
For drywall installation, start by attaching furring strips to the concrete walls, making sure they're level and plumb. Secure insulation batts between the strips, then screw drywall panels to the furring strips. Use moisture-resistant drywall to prevent mold growth. Tape and mud the seams, sand smooth, and apply a primer and paint for a polished appearance.
If you prefer paneling, choose moisture-resistant options like PVC or wood composite. Install a vapor barrier over the insulation, then attach the paneling directly to the furring strips using adhesive and nails. Make sure to allow proper spacing between panels to accommodate expansion and contraction.
Both options offer benefits: drywall provides a seamless look and better sound insulation, while paneling is often easier to install and can be more moisture-resistant.
Whichever you choose, proper installation will greatly improve your basement's comfort and energy efficiency.
Insulate Basement Ceiling
While often overlooked, insulating your basement ceiling is essential for maximizing energy efficiency and comfort throughout your home. It helps prevent heat loss between floors and reduces noise transmission.
To insulate your basement ceiling effectively, you'll need to choose the right insulation material and follow proper installation techniques. Start by measuring the spaces between the floor joists to determine the amount of insulation needed. Then, select an appropriate insulation type, such as fiberglass batts, spray foam, or rigid foam boards. Each has its advantages, so consider factors like R-value, moisture resistance, and cost when making your choice.
Before installing the insulation, make sure the area is clean and dry. Address any moisture issues or air leaks first. When you're ready to begin, follow these steps:
- Cut the insulation to fit snugly between the joists
- Install a vapor barrier if required by local building codes
- Secure the insulation in place using wire or staples
- Cover the insulation with drywall or another suitable material
Remember to wear protective gear, including gloves, goggles, and a dust mask, throughout the process. If you're unsure about any step, don't hesitate to consult a professional for guidance.
Frequently Asked Questions
How Long Does Basement Insulation Typically Last Before Needing Replacement?
Your basement insulation can last 20-30 years if properly installed and maintained. However, you'll need to replace it sooner if you notice signs of moisture damage, mold growth, or pest infestation. Regular inspections can help extend its lifespan.
Can I Insulate My Basement if It Has a Low Ceiling?
Yes, you can insulate a basement with a low ceiling. You'll need to choose thinner insulation materials and consider space-saving techniques. Spray foam or rigid foam boards are good options. Don't forget to account for electrical and plumbing clearances.
Should I Insulate the Basement Floor, and if So, How?
Yes, you should insulate your basement floor. Start by cleaning the surface, then lay a vapor barrier. Apply rigid foam insulation boards, sealing the seams. Cover with plywood or concrete, depending on your flooring choice. It'll improve comfort and energy efficiency.
Will Insulating My Basement Affect My Home's Resale Value?
Yes, insulating your basement can positively impact your home's resale value. You'll improve energy efficiency, reduce utility costs, and create more comfortable living space. Potential buyers often view a well-insulated basement as a valuable feature in a home.
Can I Install Basement Insulation in Stages, or All at Once?
You can install basement insulation in stages or all at once. It's up to you and your budget. Doing it in stages allows for flexibility, but completing it all at once guarantees uniform protection and may be more cost-effective overall.
In Summary
You've now completed the major steps to insulate your basement. Don't forget to address any remaining issues like windows or pipes. Remember, proper insulation will help you save on energy costs and make your basement more comfortable. If you're unsure about any part of the process, don't hesitate to consult a professional. With your newly insulated basement, you'll enjoy a cozier, more energy-efficient home. Great job on taking this important step in home improvement!




Leave a Reply