You can build a budget-friendly vertical axis wind turbine (VAWT) at home using affordable materials like PVC, recycled aluminum, or wood for blades, and repurposed car alternators as generators. Start by designing aerodynamic blades, then assemble the rotor, generator, and support structure. Wire the electrical components safely, including a charge controller and batteries for power storage. Install your turbine in a wind-exposed area and maintain it regularly for ideal performance. With some DIY skills and creativity, you'll harness clean energy while reducing your electricity bills. Discover how to scale up your project and maximize efficiency as you initiate this renewable energy journey.
Understanding Vertical Axis Wind Turbines
Vertical axis wind turbines (VAWTs) stand out from their horizontal counterparts due to their unique design. Unlike traditional windmills, VAWTs rotate around a vertical axis, allowing them to capture wind from any direction without needing to reorient themselves. This feature makes them particularly suitable for urban environments and areas with turbulent wind patterns.
You'll find two main types of VAWTs: Darrieus and Savonius. The Darrieus turbine resembles an eggbeater and uses lift forces to rotate, while the Savonius design looks like a split barrel and relies on drag forces. VAWTs generally operate at lower wind speeds than horizontal axis turbines, making them ideal for residential use.
When building a VAWT at home, you'll need to take into account factors like blade design, generator selection, and structural support. The blades should be aerodynamically efficient to maximize energy capture.
You'll also need to choose a generator that matches your turbine's rotational speed and power output. Confirm your structure can withstand the forces generated by the spinning turbine and varying wind conditions.
Advantages of DIY Wind Power
Building your own wind turbine offers several compelling advantages. You'll gain hands-on experience with renewable energy technology, potentially reducing your electricity bills and carbon footprint.
DIY wind power allows you to customize the turbine's size and design to fit your specific needs and location. You'll also develop valuable skills in engineering, electronics, and problem-solving that can be applied to other projects.
By creating your own wind turbine, you'll:
- Feel empowered by generating your own clean energy
- Experience the thrill of watching your creation harness nature's power
- Gain pride in reducing your dependence on the grid
- Join a community of like-minded DIY enthusiasts
- Inspire others to embrace sustainable living
Moreover, building a vertical axis wind turbine at home can be considerably cheaper than purchasing a commercial unit.
You'll have control over material selection, allowing you to use recycled or locally sourced components to further reduce costs and environmental impact.
As you become more familiar with the technology, you can experiment with different designs and improvements, potentially developing innovative solutions that contribute to the field of wind energy.
Selecting Affordable Materials
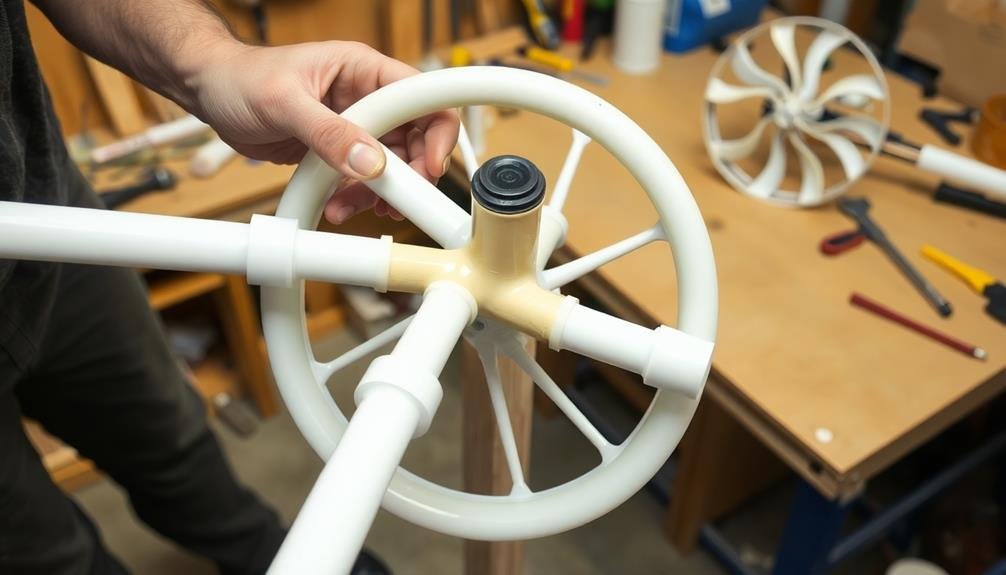
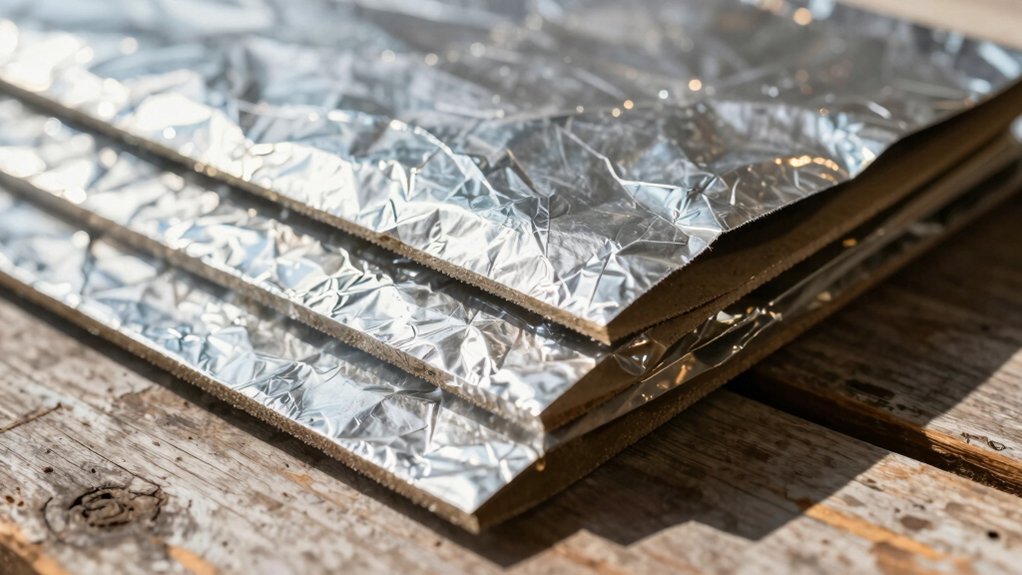
In light of budget constraints, selecting affordable materials for your vertical axis wind turbine is essential. Start by focusing on the rotor blades, which can be crafted from lightweight, durable materials like PVC pipes or recycled aluminum sheets. These options are cost-effective and readily available at most hardware stores.
For the shaft and support structure, consider using galvanized steel pipes or sturdy wooden beams. These materials offer strength and stability without breaking the bank.
You'll also need bearings to allow smooth rotation; look for used or surplus bearings from industrial supply stores to cut costs.
The generator is a vital component. While new generators can be expensive, you can repurpose old car alternators or salvage motors from discarded appliances. With some modifications, these can serve as effective generators for your turbine.
For the base, concrete provides a stable foundation at a reasonable price. Mix it yourself to save even more.
Finally, don't forget about fasteners and connectors. Bolts, nuts, and washers are relatively inexpensive but essential for assembling your turbine securely.
Essential Tools for Construction
With your materials selected, it's time to gather the right tools for constructing your vertical axis wind turbine. You'll need a combination of power tools and hand tools to effectively shape, cut, and assemble your turbine components.
Essential power tools include a drill with various bit sizes, a jigsaw for cutting curves, and an angle grinder for smoothing edges. Don't forget basic hand tools like screwdrivers, pliers, and wrenches for assembly and adjustments.
Safety should be your top priority, so invest in proper protective gear. You'll need safety glasses, work gloves, and a dust mask to protect yourself during construction. If you're working with metal, consider adding a welding helmet and heat-resistant gloves to your toolkit.
Here are some emotional benefits of building your own wind turbine:
- Pride in creating a sustainable energy source
- Excitement of learning new skills
- Satisfaction of reducing your carbon footprint
- Joy of saving money on energy bills
- Sense of empowerment in energy independence
Designing Your Turbine Blades
When designing your vertical axis wind turbine blades, you'll need to focus on optimizing their shape for maximum efficiency.
You should consider factors like blade curvature, angle of attack, and overall length to capture as much wind energy as possible.
Additionally, your choice of blade material is essential, weighing options like durability, weight, and cost-effectiveness to create blades that are both functional and long-lasting.
Blade Shape Optimization
Designing your turbine blades is a critical step in building an efficient vertical axis wind turbine. To optimize blade shape, focus on creating a profile that maximizes lift and minimizes drag.
Start with a basic airfoil shape, then refine it based on your specific wind conditions and turbine size. Consider using NACA airfoil profiles as a starting point, as they're well-documented and tested.
Experiment with different blade angles and chord lengths to find the best combination for your turbine. A wider chord at the base tapering towards the tip can improve efficiency.
Don't forget to account for centrifugal forces and structural integrity when finalizing your design.
Use computer-aided design (CAD) software or wind tunnel simulations to test your blade shapes before construction. This will save time and materials in the long run.
Remember, even small improvements in blade design can lead to significant gains in power output.
- Release your inner engineer and create a blade that slices through the wind
- Feel the rush of excitement as your optimized blades spin faster than ever
- Experience the pride of crafting a turbine that outperforms commercial models
- Harness the power of nature with your own two hands
- Join the renewable energy revolution, one blade at a time
Material Selection Considerations
Once you've optimized your blade shape, it's time to choose the right materials for construction. For budget-friendly DIY vertical axis wind turbines, you'll want to balance cost, durability, and ease of working with the material. Common options include wood, PVC, aluminum, and fiberglass.
Wood is inexpensive and easy to work with but may not withstand harsh weather conditions. PVC is lightweight and affordable but can become brittle over time. Aluminum offers a good balance of strength and weight but requires more specialized tools. Fiberglass is durable and lightweight but can be more expensive and challenging to work with.
Consider these factors when selecting your blade material:
| Material | Cost | Durability | Ease of Use |
|---|---|---|---|
| Wood | Low | Moderate | High |
| PVC | Low | Low | High |
| Aluminum | Moderate | High | Moderate |
| Fiberglass | High | High | Low |
Remember to factor in your local climate and expected wind conditions when making your choice. If you're in an area with high winds or frequent storms, prioritize durability over cost. For milder climates, you might opt for more budget-friendly options without sacrificing too much performance.
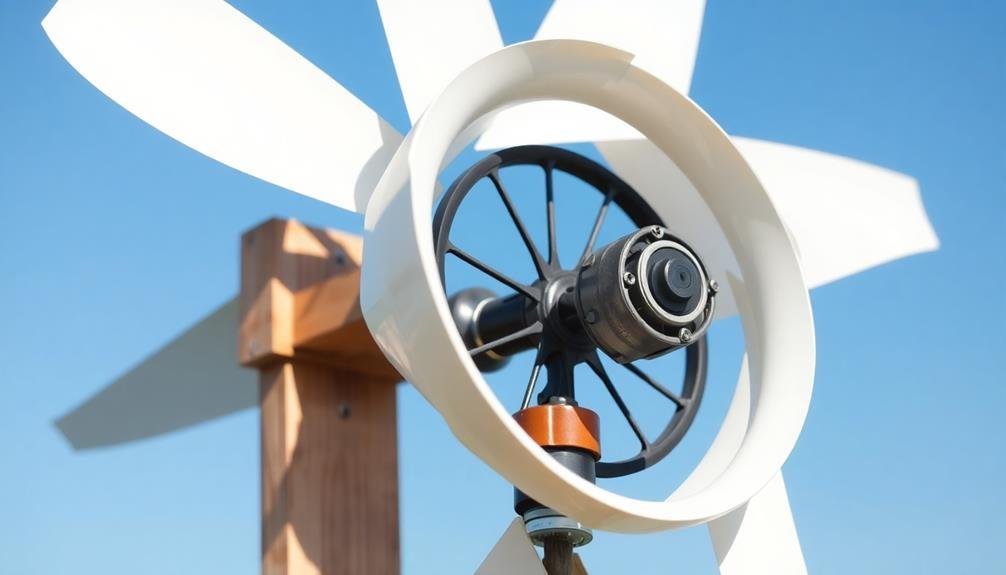
Building the Rotor Assembly
When building your rotor assembly, you'll need to carefully select materials for your turbine blades.
Choose lightweight yet durable options like fiberglass, carbon fiber, or aluminum to maximize efficiency.
Once you've chosen your materials, focus on creating secure and balanced connections between the blades and the central shaft, ensuring they're properly aligned for peak performance.
Selecting Rotor Blade Materials
The selection of rotor blade materials is a critical step in building your vertical axis wind turbine. You'll need to choose materials that are lightweight, durable, and aerodynamic to maximize efficiency. Think about using aluminum, fiberglass, or carbon fiber for your blades. These materials offer excellent strength-to-weight ratios and can withstand harsh weather conditions.
When selecting your blade material, factor in cost, availability, and ease of fabrication. Aluminum is often the most budget-friendly option and can be easily shaped using common tools. Fiberglass and carbon fiber provide superior performance but require more specialized skills and equipment to work with.
Don't overlook the importance of surface finish. A smooth, polished surface reduces drag and improves overall turbine efficiency. You can achieve this through sanding, painting, or applying a protective coating to your blades.
- Harness the power of nature with your own hands
- Feel the pride of creating clean energy at home
- Embrace the challenge of engineering innovation
- Join a community of eco-conscious DIY enthusiasts
- Witness the fruits of your labor spinning in the wind
Remember to reflect on the weight distribution and balance of your blades. Uneven weight can lead to vibrations and reduced performance. Take time to carefully measure and adjust your blades for best results.
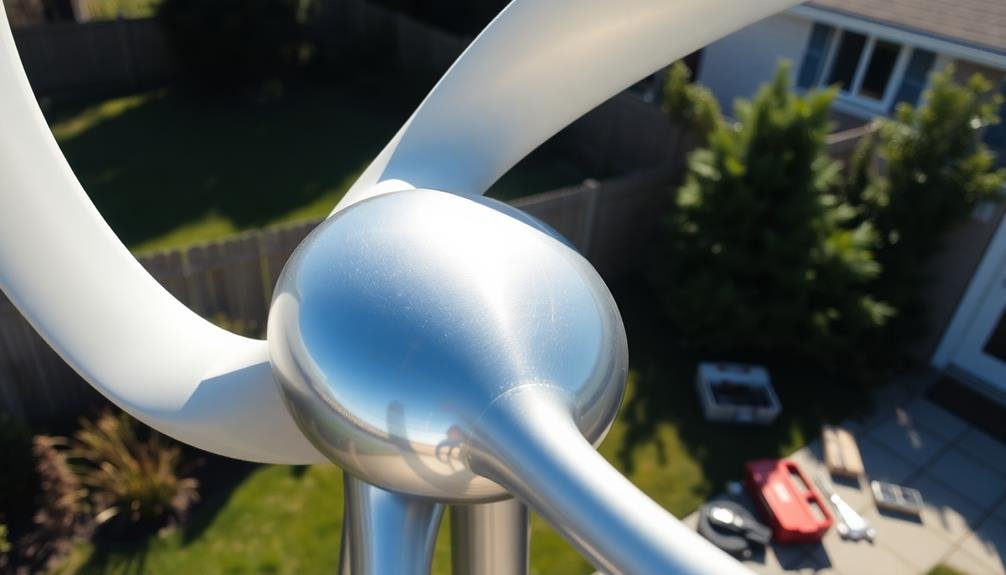
Assembling Blade-Shaft Connections
With your blade materials selected, it's time to focus on assembling the blade-shaft connections. This essential step guarantees your turbine's stability and efficiency.
Start by drilling holes in your blades at precisely measured intervals, matching the attachment points on your central shaft. Use a drill press for accuracy if possible.
Next, prepare your central shaft by marking the exact positions where the blades will attach. You'll need to create a secure mounting system, such as welded brackets or bolted flanges, depending on your shaft material. Confirm these connections are sturdy and can withstand the rotational forces.
When attaching the blades, use high-quality stainless steel bolts and lock nuts to prevent loosening. Apply a thread-locking compound for added security. Carefully align each blade to maintain balance and ideal angle of attack. You may need to use spacers or washers to fine-tune the positioning.
Test the connections by gently spinning the assembly. Look for any wobbling or misalignment. Make adjustments as needed.
Constructing the Generator

Constructing the generator is debatably the most critical step in building your vertical axis wind turbine. You'll need to carefully select and assemble the components to guarantee peak power generation.
Start by choosing a permanent magnet alternator or modifying a car alternator to suit your needs. Wind the coils with the appropriate gauge wire, ensuring proper insulation between layers. Mount the magnets securely on the rotor, paying attention to their polarity and spacing.
Next, you'll need to create a sturdy housing for your generator. Use weather-resistant materials to protect the internal components from the elements. Install bearings to support the shaft and reduce friction. Connect the generator to your turbine's main shaft, ensuring proper alignment for smooth operation.
- Feel the thrill of harnessing nature's power with your own hands
- Experience the satisfaction of creating clean energy from scratch
- Imagine the pride of powering your home with wind you've captured
- Envision a future where you're less dependent on the grid
- Sense the excitement of joining a community of DIY renewable energy enthusiasts
Assembling the Support Structure
Now that you've built your generator, it's time to create a sturdy foundation for your vertical axis wind turbine. Begin by selecting a suitable location for your turbine, considering wind exposure and local regulations. Choose materials that are both durable and cost-effective, such as galvanized steel pipes or treated lumber.
Start by constructing the base, verifying it's level and securely anchored to the ground. Next, assemble the vertical support column, which will hold the turbine's rotor. Attach guy wires at various points along the column for added stability. Finally, install the top bearing support, which will allow the rotor to spin freely.
Here's a breakdown of the support structure components and their functions:
| Component | Material | Function |
|---|---|---|
| Base | Concrete | Provides stability |
| Support column | Steel pipe | Holds rotor in place |
| Guy wires | Steel cable | Adds structural support |
| Top bearing | Sealed bearing | Allows free rotation |
Remember to double-check all connections and verify everything is properly aligned before attaching the rotor. This will help maximize your turbine's efficiency and longevity. With a solid support structure in place, you're now ready to move on to the next phase of your DIY wind turbine project.
Wiring and Electrical Components

To complete your vertical axis wind turbine, you'll need to focus on the electrical components and wiring.
Familiarize yourself with the essential parts, including generators, rectifiers, and charge controllers, while adhering to safe wiring practices to prevent accidents.
Consider your power storage options, such as battery banks or grid-tie systems, to effectively utilize the energy your turbine produces.
Essential Electrical Components Needed
Anyone building a vertical axis wind turbine at home will need to understand the essential electrical components required for the project.
You'll need a generator or alternator to convert mechanical energy into electrical energy. Choose a permanent magnet generator for its efficiency and simplicity.
Next, you'll require a charge controller to regulate the power flow from your turbine to the battery bank, preventing overcharging and extending battery life.
For energy storage, deep-cycle batteries are vital. They'll store the electricity generated by your turbine for later use.
You'll also need an inverter to convert the DC power from the batteries into AC power for household appliances.
Finally, don't forget about proper wiring and connectors to safely link all these components together.
Here are five key emotions you might experience while working on your DIY wind turbine:
- Excitement as you harness clean, renewable energy
- Pride in creating your own power source
- Frustration when troubleshooting electrical issues
- Satisfaction upon seeing your first kilowatt-hour generated
- Empowerment as you reduce your reliance on the grid
Remember to prioritize safety when working with electrical components.
If you're unsure about any aspect of the wiring process, consult a professional electrician to guarantee your system is set up correctly and safely.
Safe Wiring Practices
Safety should be your top priority when wiring your vertical axis wind turbine. Always disconnect power sources before working on electrical components. Use proper insulation and weatherproofing techniques to protect wires from the elements. Choose the correct wire gauge based on your turbine's power output and distance to the battery bank.
When connecting components, verify all connections are secure and properly insulated. Use heat shrink tubing or electrical tape to cover exposed wire ends. Install a fuse or circuit breaker between the turbine and battery bank to protect against power surges. Ground your system properly to prevent electrical shock and equipment damage.
Here's a quick reference guide for safe wiring practices:
| Component | Safety Measure | Importance |
|---|---|---|
| Wires | Proper gauge selection | Prevents overheating |
| Connections | Secure and insulated | Reduces fire risk |
| Fuse/Breaker | Correctly rated | Protects against surges |
Remember to follow local electrical codes and regulations when wiring your turbine. If you're unsure about any aspect of the wiring process, consult a professional electrician. By following these safe wiring practices, you'll guarantee your homemade vertical axis wind turbine operates efficiently and safely for years to come.
Power Storage Options
Choosing the right power storage system is essential for your vertical axis wind turbine project. You'll need to store the electricity generated by your turbine for use when the wind isn't blowing. The most common option for home wind turbines is deep-cycle batteries, which are designed to handle frequent charge and discharge cycles.
Lead-acid batteries are the most affordable, while lithium-ion batteries offer better performance but at a higher cost.
When selecting your power storage system, consider factors like capacity, voltage, and cycle life. You'll also need to invest in a charge controller to regulate the flow of electricity from your turbine to the batteries, preventing overcharging and extending battery life.
Don't forget to include an inverter if you plan to use AC appliances with your stored power.
- Feel the excitement of energy independence
- Imagine the satisfaction of powering your home with wind
- Envision a future free from rising utility costs
- Experience the pride of reducing your carbon footprint
- Embrace the thrill of mastering renewable energy technology
Remember to size your battery bank appropriately based on your energy needs and expected wind patterns.
Regular maintenance, such as checking electrolyte levels in lead-acid batteries, will help guarantee peak performance and longevity of your power storage system.
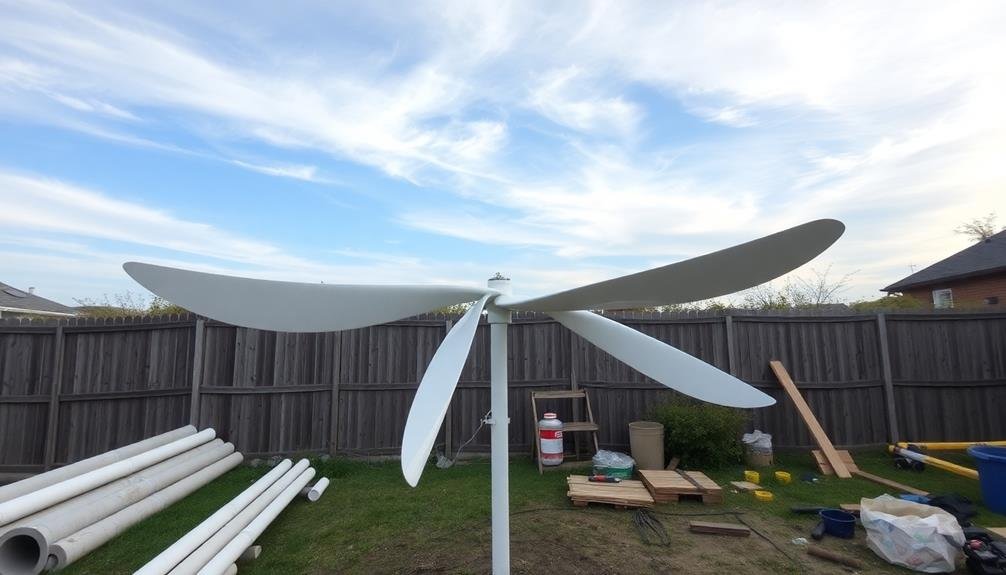
Installing Your Homemade Turbine
Once you've assembled your vertical axis wind turbine, the next essential step is installation. Choose a location that's free from obstacles and receives consistent wind. Your roof or backyard might be ideal spots.
Make certain the area can support the turbine's weight and withstand its movement. Before mounting, check local regulations and obtain necessary permits.
You'll need to prepare a sturdy base, typically a concrete foundation or a reinforced structure on your roof. Secure the turbine's mast to this base using appropriate bolts and brackets.
Connect the turbine to your power system. This involves running cables from the generator to your inverter and battery bank or grid-tie system.
Make certain all electrical connections are weatherproof and comply with safety standards. Install a braking system to stop the turbine during storms or maintenance.
You'll also want to set up monitoring equipment to track performance and energy production.
Maintenance and Troubleshooting

Maintaining your vertical axis wind turbine is essential for its longevity and efficiency. Regular inspections and cleaning are vital to prevent debris buildup and guarantee smooth operation.
Check the bearings, rotor, and generator connections monthly, and lubricate moving parts as needed. Keep an eye on the blades for signs of wear or damage, and replace them promptly if necessary.
If you notice a decrease in power output, first examine the turbine's orientation and surroundings. Nearby obstacles or changes in wind patterns could affect performance.
Verify that all electrical connections are secure and free from corrosion. If problems persist, consult your turbine's manual or seek advice from experienced DIY enthusiasts online.
To keep your turbine running smoothly and avoid frustration, remember these emotional touchpoints:
- Pride in your self-reliance and eco-friendly energy production
- Excitement when your turbine reaches peak efficiency
- Satisfaction from mastering turbine maintenance skills
- Relief when you successfully troubleshoot an issue
- Joy in sharing your knowledge with other DIY enthusiasts
Optimizing Turbine Performance
Five key strategies can help you optimize your vertical axis wind turbine's performance. First, verify proper blade design and alignment for maximum efficiency. Second, minimize friction in all moving parts, particularly the bearings. Third, use a high-quality generator that matches your turbine's output. Fourth, implement an effective power management system. Finally, position your turbine in an area with consistent wind flow.
To further enhance performance, consider these additional tips:
| Optimization Technique | Benefit |
|---|---|
| Aerodynamic fairings | Reduce drag |
| Lightweight materials | Increase responsiveness |
| Variable pitch blades | Adapt to wind conditions |
| Wind deflectors | Funnel air to turbine |
| Smart braking system | Prevent overspeed damage |
Remember to regularly monitor your turbine's output and adjust accordingly. You can use anemometers to measure wind speed and direction, helping you fine-tune your turbine's position. Don't forget to balance your rotor assembly to minimize vibrations and improve overall efficiency. By implementing these strategies and continuously refining your setup, you'll maximize your vertical axis wind turbine's performance and energy production.
Scaling Up Your Wind Project

Ambition often drives DIY enthusiasts to expand their projects, and scaling up your vertical axis wind turbine is no exception. As you've mastered the basics, it's time to think bigger.
Start by evaluating your energy needs and available space. Consider clustering multiple smaller turbines or building a larger, more powerful unit. Upgrade your generator to handle increased power output, and reinforce your tower structure to support the added weight and wind load.
Don't forget to check local regulations before expanding. Some areas have height restrictions or require permits for larger wind installations.
As you scale up, prioritize safety measures like stronger braking systems and lightning protection.
Scaling up your wind project can evoke:
- Pride in creating a more substantial renewable energy source
- Excitement about increased energy independence
- Satisfaction from mastering advanced engineering concepts
- Concern for environmental impact and sustainability
- Anticipation of potential cost savings on energy bills
Frequently Asked Questions
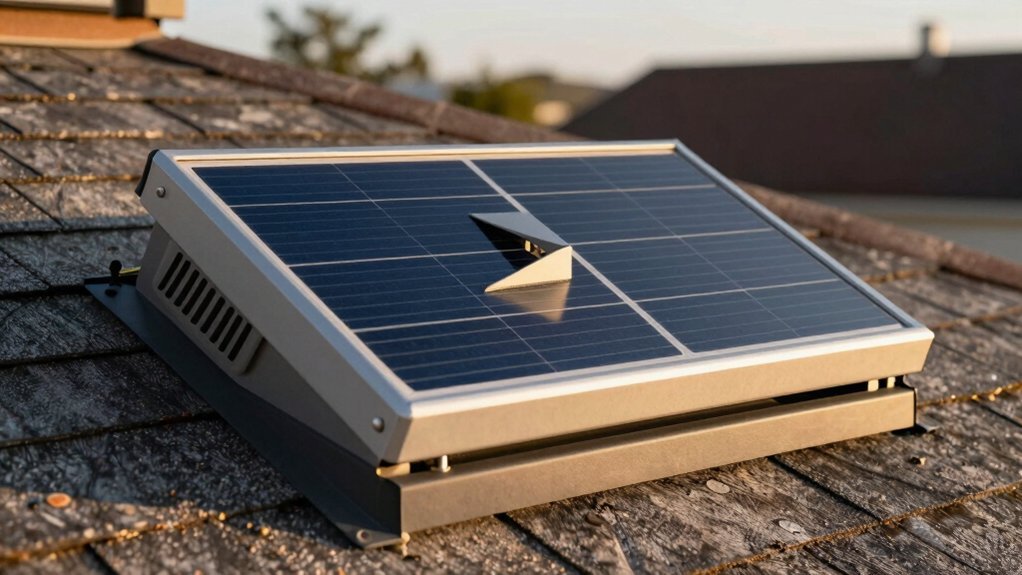
How Do Vertical Axis Wind Turbines Compare to Solar Panels in Energy Production?
You'll find vertical axis wind turbines generally produce less energy than solar panels. They're less efficient and more dependent on wind conditions. However, they can work at night and in areas where solar panels aren't practical.
Are There Any Legal Restrictions on Installing Homemade Wind Turbines in Residential Areas?
You'll likely face legal restrictions when installing homemade wind turbines in residential areas. Check local zoning laws, height limitations, and noise regulations. You may need permits or approvals. Some areas prohibit turbines entirely, while others have specific requirements.
Can Vertical Axis Wind Turbines Be Used in Urban Environments With Unpredictable Winds?
Yes, you can use vertical axis wind turbines in urban areas with unpredictable winds. They're well-suited for turbulent airflows, changing wind directions, and limited spaces. You'll get better performance in these conditions compared to horizontal axis turbines.
What Is the Average Lifespan of a DIY Vertical Axis Wind Turbine?
You'll find that DIY vertical axis wind turbines typically last 5-15 years. Their lifespan depends on your materials, construction quality, and maintenance. With proper care and occasional repairs, you can extend your turbine's operational life considerably.
How Do Vertical Axis Wind Turbines Affect Local Wildlife, Particularly Birds?
You'll find that vertical axis wind turbines have less impact on birds than horizontal ones. They're slower and more visible, reducing collision risks. However, they can still affect habitats, so you should consider wildlife-friendly designs and placement.
In Summary
You've now got the knowledge to build your own budget-friendly vertical axis wind turbine. By following these steps, you'll harness clean energy while saving money. Remember to regularly maintain your turbine and optimize its performance. As you gain confidence, consider scaling up your project. With persistence and creativity, you'll contribute to a greener future and potentially reduce your energy bills. Keep exploring and refining your wind power skills!
Leave a Reply