Installing energy-saving smart switches is a simple way to automate your home and reduce power consumption. You'll need basic tools like a voltage tester, screwdrivers, and wire strippers. First, choose a compatible switch for your home's wiring and preferred ecosystem. Turn off the power, remove the old switch, and connect the new one following the manufacturer's instructions. Once installed, you can control lights remotely, set schedules, and create custom scenes for peak energy use. If you encounter issues, check your connections and verify proper network setup. With a bit of preparation, you'll be on your way to a smarter, more efficient home in no time.
Benefits of Energy-Saving Smart Switches

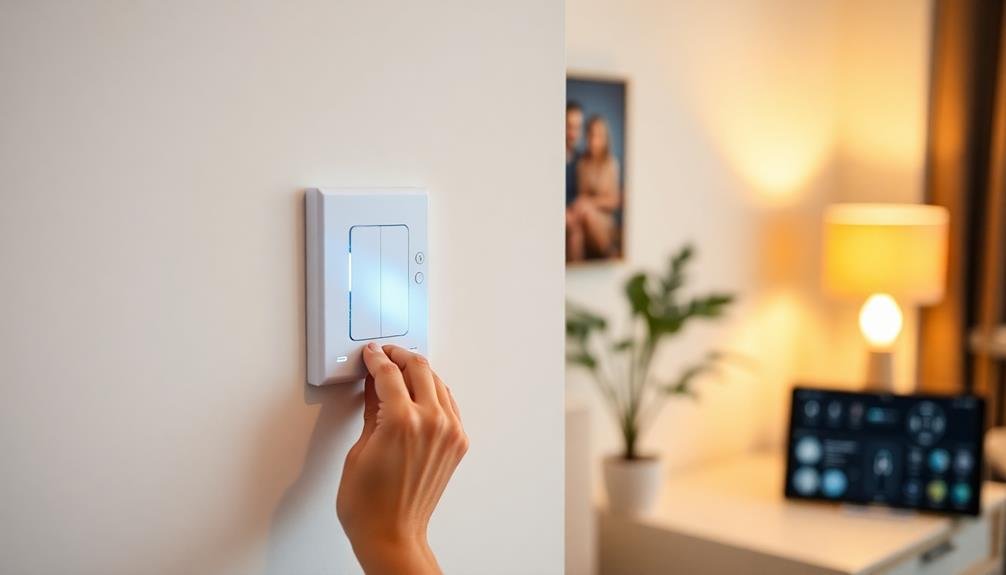
Smart switches offer homeowners a range of benefits that go beyond simple convenience. These devices allow you to control your lights and appliances remotely, saving energy and reducing your electricity bills.
You'll no longer worry about leaving lights on when you're away, as you can easily turn them off using your smartphone or voice commands.
Energy-saving smart switches often come with scheduling features, enabling you to automate your home's lighting based on your daily routines. This means you can have lights turn on gradually in the morning or dim in the evening, creating a more comfortable atmosphere while conserving energy.
Many smart switches also include motion sensors, automatically turning lights off when a room is unoccupied. This feature is particularly useful in areas like bathrooms or hallways where lights are frequently left on unnecessarily.
Additionally, smart switches can integrate with other home automation devices, allowing for more thorough energy management. You can create scenes that adjust multiple lights and appliances simultaneously, optimizing your home's energy use based on time of day, occupancy, or even local electricity rates.
Choosing the Right Smart Switch
Now that you're aware of the benefits, selecting the right energy-saving smart switch for your home is the next step. Reflect on your specific needs and the compatibility with your existing home automation system. Look for switches that offer features like dimming capabilities, motion sensors, or voice control integration.
When choosing a smart switch, pay attention to the following key factors:
- Wiring requirements: Verify the switch is compatible with your home's electrical setup, including neutral wire availability.
- Connection type: Decide between Wi-Fi, Zigbee, or Z-Wave protocols based on your existing smart home ecosystem.
- App compatibility: Check if the switch works with your preferred smart home platform (e.g., Google Home, Amazon Alexa, or Apple HomeKit).
Don't forget to reflect on the switch's design and aesthetics to match your home decor. Some smart switches offer customizable faceplates or sleek touch-sensitive panels.
Additionally, evaluate the switch's energy monitoring capabilities if you want to track your power consumption.
Tools and Materials Needed
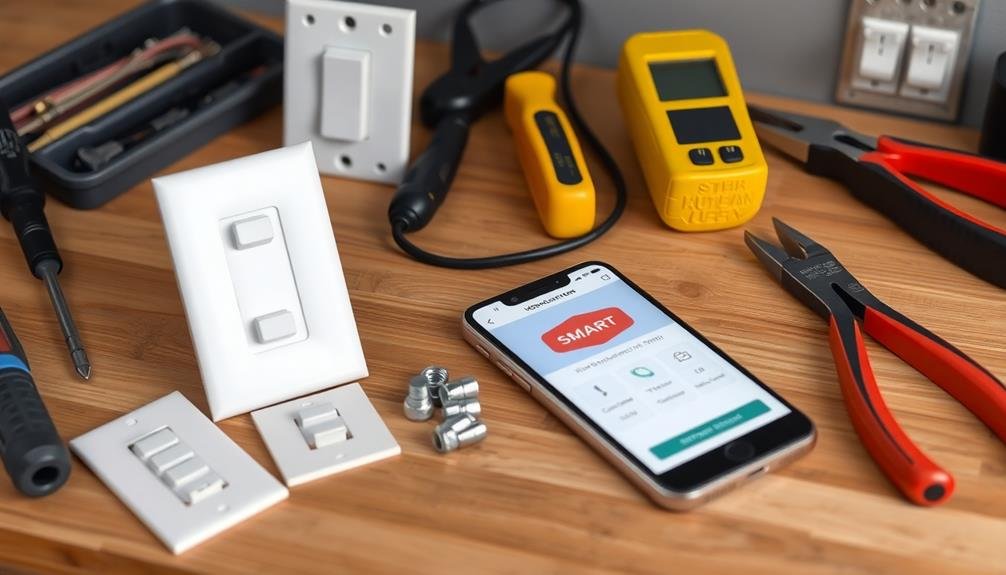
Before diving into the installation process, you'll need to round up the necessary tools and materials for your smart switch project.
Start with a voltage tester to guarantee your safety when working with electrical wiring. You'll also need wire strippers, needle-nose pliers, and a flathead screwdriver for handling and connecting wires.
Don't forget a Phillips head screwdriver for removing and reinstalling switch plates.
For materials, you'll need the smart switch itself, which you've already chosen based on your home's needs.
Make sure you have wire nuts to secure connections, and electrical tape for added insulation. If your existing switch doesn't have a neutral wire, you might need to purchase a no-neutral smart switch or consider hiring an electrician to run a neutral wire.
It's wise to have a flashlight or headlamp handy, as you'll likely be working in dimly lit areas.
Keep a notepad and pen nearby to sketch wire connections or jot down notes.
Step-by-Step Installation Guide
With your tools and materials at the ready, let's move on to the installation process. First, turn off the power to the switch at your circuit breaker. Use a voltage tester to confirm there's no electricity flowing to the switch.
Remove the existing switch plate and unscrew the old switch from the electrical box. Take a photo of the current wiring configuration for reference. Carefully disconnect the wires from the old switch, noting which wire goes where.
Connect the wires to your new smart switch according to the manufacturer's instructions. Typically, you'll connect the black (hot) wire, white (neutral) wire, and green (ground) wire.
Once the wires are securely connected, gently tuck them back into the electrical box. Screw the new switch into place and reattach the switch plate. Turn the power back on at the circuit breaker and test your new smart switch.
- Verify proper wire connections to avoid electrical hazards
- Double-check compatibility with your home's wiring before installation
- Follow manufacturer's specific instructions for your switch model
Troubleshooting Common Installation Issues

After installation, you might encounter some common issues with your new smart switch. If the switch won't turn on, first check if the circuit breaker is tripped. Reset it if necessary.
Verify all wires are securely connected and not loose. Confirm that you've wired the switch correctly, following the manufacturer's instructions.
If the switch turns on but won't connect to your home network, try resetting it by holding down the reset button for 10 seconds. Check that your Wi-Fi signal is strong enough in the switch's location. Move your router closer or consider using a Wi-Fi extender if needed.
For switches that won't respond to app commands, verify your smartphone is connected to the same Wi-Fi network as the switch. Update the app to the latest version and restart your phone.
If issues persist, try removing the switch from the app and re-adding it.
Flickering lights often indicate incompatibility with LED bulbs. Use bulbs recommended by the switch manufacturer or adjust the switch's minimum brightness setting in the app.
If you're still experiencing problems, contact the manufacturer's support team for further assistance.
Frequently Asked Questions
Can Smart Switches Be Controlled Remotely When I'm Away From Home?
Yes, you can control smart switches remotely when you're away from home. They connect to your home's Wi-Fi network, allowing you to use smartphone apps or voice assistants to turn lights and devices on or off from anywhere.
Are Energy-Saving Smart Switches Compatible With Voice Assistants Like Alexa or Google Home?
Yes, most energy-saving smart switches are compatible with voice assistants like Alexa and Google Home. You'll be able to control your lights and devices using voice commands, making your home automation system even more convenient and efficient.
How Much Energy Can I Expect to Save by Installing Smart Switches?
You can expect to save 5-15% on your energy bills by installing smart switches. They'll help you control lighting more efficiently, reduce standby power, and automate energy use. Actual savings depend on your usage patterns.
Do Smart Switches Require a Hub or Can They Work Independently?
You'll find smart switches that work independently and others that need a hub. Many Wi-Fi switches don't require a hub, while Z-Wave and Zigbee switches typically do. Check the product specs to determine if a hub's necessary for your chosen switch.
Can I Install Smart Switches in Older Homes With Outdated Electrical Systems?
You can install smart switches in older homes, but it's essential to assess your electrical system first. You'll need a neutral wire, which many older homes lack. If you don't have one, consider consulting an electrician for alternatives.
In Summary
You've now learned how to install energy-saving smart switches for your home. By following these steps, you'll save money on your energy bills and gain convenient control over your lighting. Remember to choose the right switch for your needs, gather all necessary tools, and follow safety precautions. If you encounter any issues, refer to the troubleshooting section. With your new smart switches in place, you're well on your way to a more efficient and automated home.

Leave a Reply