Building your own geothermal manifold can save you money and provide valuable hands-on experience. Start by understanding the components and gathering necessary tools and materials. Design your manifold layout, focusing on flow balancing and accessibility. Prepare a solid base, then assemble the header pipes, valves, and fittings. Connect supply and return lines using durable HDPE piping. Don't forget to insulate the system properly for maximum efficiency. Finally, test and troubleshoot your installation to guarantee everything works smoothly. With careful planning and execution, you'll have a custom geothermal manifold tailored to your home's needs. The following guide will equip you with detailed steps for success.
Understanding Geothermal Manifold Components
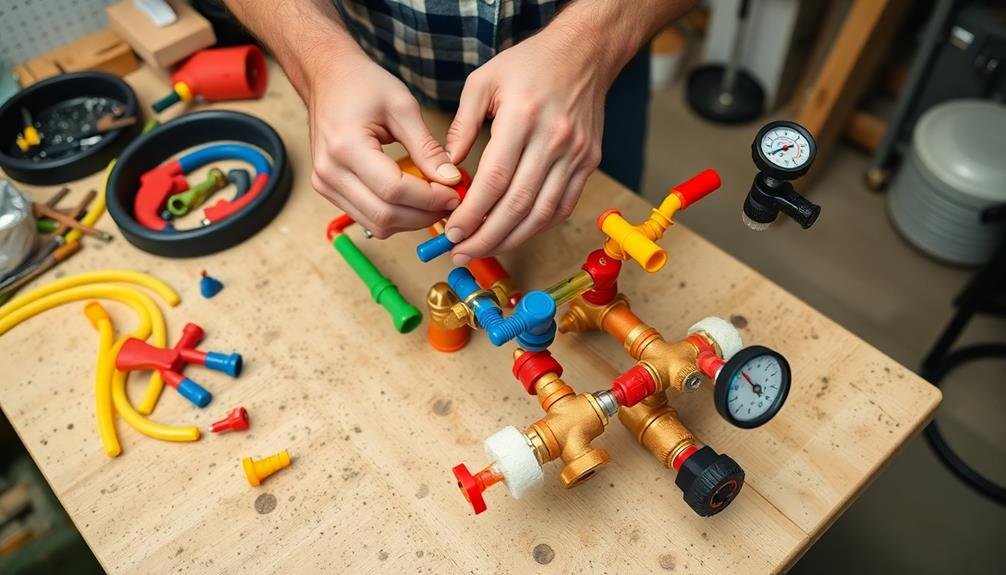
A geothermal manifold is the heart of any geothermal heating and cooling system. It's responsible for distributing and collecting the heat transfer fluid throughout your geothermal loop. To build your own, you'll need to understand its key components.
The main body of the manifold is typically made of a durable material like brass or stainless steel. It consists of a supply header and a return header. Connected to these headers are individual circuit valves, which control the flow to each loop in your system.
You'll also need air purge valves to remove any trapped air from the system. Balancing valves are essential for ensuring even flow distribution across all loops. Temperature and pressure gauges help you monitor the system's performance.
Don't forget isolation valves, which allow you to shut off individual circuits for maintenance. You'll need various fittings and connectors to join these components, including tees, elbows, and reducers. Insulation is important to maintain efficiency.
Gathering Necessary Tools and Materials
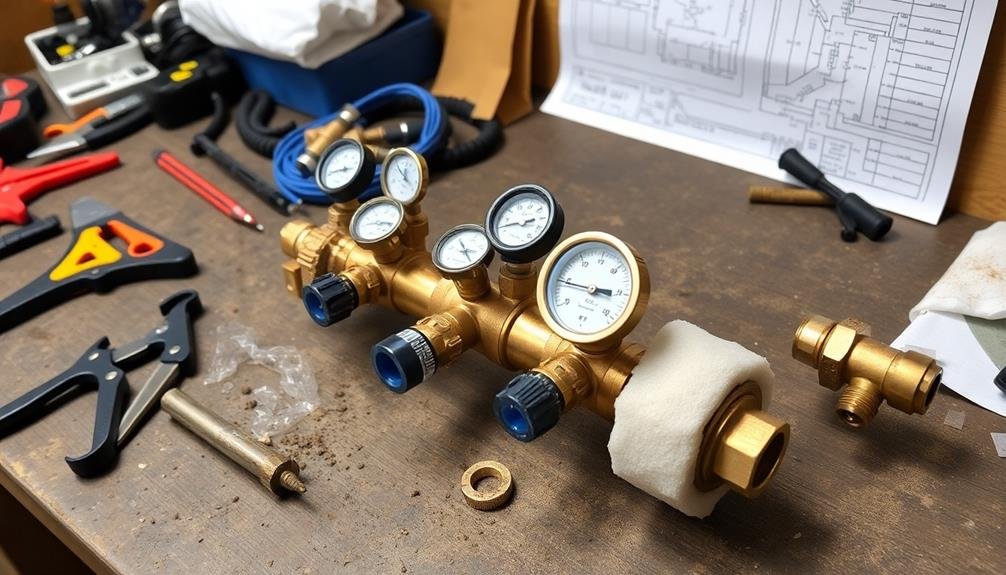
Before you begin working on your geothermal manifold, you'll need to assemble the right tools and materials.
Start by creating an inventory of essential tools, including wrenches, pipe cutters, and pressure gauges.
Next, compile a checklist of required materials, such as pipes, valves, and fittings, ensuring you have everything on hand before starting the project.
Essential Tools Inventory
Assembling the right tools and materials is essential for successful geothermal manifold installation. You'll need a combination of common household tools and specialized equipment to complete the project efficiently and safely. Confirm you have a well-organized workspace and all necessary items within reach before you begin.
Start by gathering these basic tools:
- Pipe wrenches (various sizes)
- Adjustable pliers
- Screwdrivers (flathead and Phillips)
In addition to these, you'll need specific tools for working with PEX tubing, such as a PEX crimping tool and pipe cutter.
Don't forget safety equipment like work gloves and safety glasses to protect yourself during the installation process.
For the manifold itself, you'll need PEX tubing, fittings, and valves. Confirm you've calculated the correct sizes and quantities based on your system's design.
You'll also need a pressure gauge, air release valve, and isolation valves for each circuit. Having all these components on hand will guarantee a smooth installation process and help you avoid unnecessary delays or trips to the hardware store.
Required Materials Checklist
Preparing a thorough checklist of required materials is essential for a smooth geothermal manifold installation. Before you begin, verify you have all the necessary components on hand.
You'll need PEX tubing, typically 3/4" or 1" in diameter, depending on your system's specifications. Don't forget PEX fittings, including tees, elbows, and couplings, to connect the tubing.
Your checklist should include ball valves for each loop, allowing individual circuit control. You'll also need a pressure gauge, air separator, and expansion tank to maintain proper system pressure and remove air bubbles.
Include a circulator pump sized appropriately for your system's flow requirements. For insulation, gather foam pipe insulation and insulation tape.
Additional materials include mounting brackets, screws, and wall anchors for secure installation. Don't overlook safety items like gloves and safety glasses.
Remember to include pipe cutters, a heat gun for PEX connections, and Teflon tape for threaded fittings. Finally, verify you have a pressure testing kit to confirm system integrity before operation.
Double-check your list against your system's specific requirements to avoid any last-minute supply runs.
Designing Your Manifold Layout
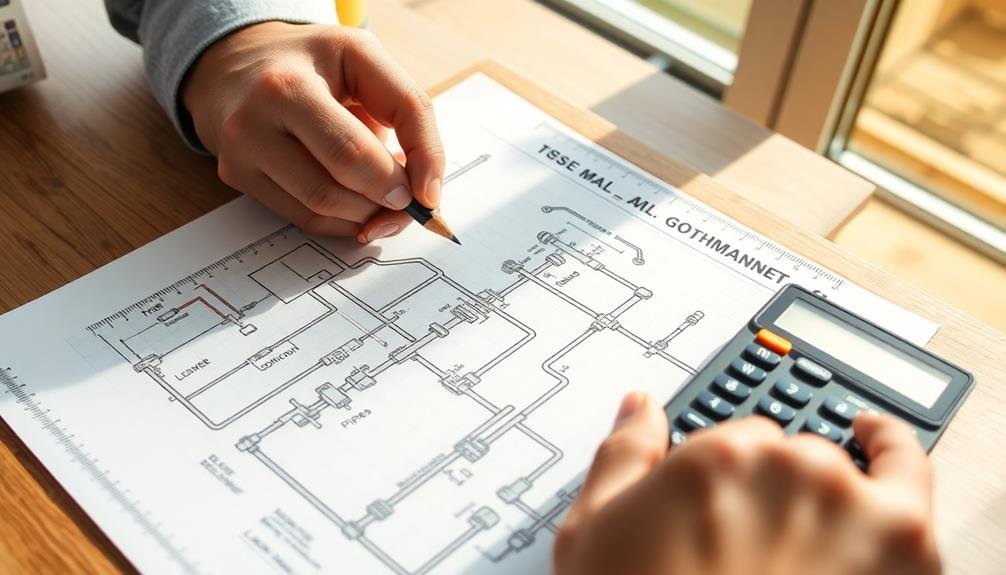
The layout of your geothermal manifold is essential for ideal system performance. You'll need to carefully plan the arrangement of valves, pipes, and connections to guarantee efficient heat transfer and fluid circulation. Start by sketching your design on paper, considering the available space and the number of loops in your geothermal system.
When designing your manifold layout, keep these key factors in mind:
- Flow balancing: Arrange the supply and return headers to maintain equal flow through all loops.
- Accessibility: Provide easy access to valves and connections for maintenance and troubleshooting.
- Expandability: Leave room for potential future additions to your geothermal system.
Consider incorporating a reverse-return configuration, which helps equalize pressure drops across all loops. This design involves connecting the supply header to the first loop and the return header to the final loop, creating a more balanced flow distribution.
Don't forget to include isolation valves for each loop, allowing you to shut off individual circuits if needed.
Position pressure and temperature gauges at strategic points to monitor system performance.
Preparing the Manifold Base
A solid foundation is essential for your geothermal manifold's stability and longevity. Begin by selecting a suitable location for your manifold, guaranteeing it's easily accessible for maintenance and protected from the elements. Clear the area of debris and level the ground, using a spirit level to check for evenness.
Next, construct a concrete pad or use pre-fabricated plastic pads designed for manifolds. If pouring concrete, create a form using 2×4 lumber and reinforce it with rebar. The pad should be at least 4 inches thick and extend 6 inches beyond the manifold's footprint on all sides.
Here's a quick reference guide for preparing your manifold base:
| Step | Materials Needed | Time Required |
|---|---|---|
| Clear area | Shovel, rake | 30-60 minutes |
| Level ground | Spirit level, sand | 1-2 hours |
| Build form | 2×4 lumber, nails | 1 hour |
| Pour concrete | Concrete mix, trowel | 2-3 hours |
| Cure concrete | Water for curing | 24-48 hours |
Once your base is prepared, you're ready to install the manifold components. Confirm you've got all necessary fittings, valves, and pipes on hand before beginning assembly.
Assembling the Header Pipes
With your manifold base ready, it's time to focus on assembling the header pipes. These vital components distribute and collect the geothermal fluid throughout your system. You'll need to carefully select the appropriate pipe material, typically copper or PEX, based on your specific application and local building codes.
Begin by measuring and cutting your header pipes to the correct length, allowing for connections and fittings. Remember to factor in the number of loops you'll be connecting and the spacing between them. Once cut, clean the pipe ends thoroughly to guarantee proper bonding.
Next, follow these steps to assemble your header pipes:
- Apply pipe sealant or Teflon tape to the threaded connections.
- Attach the end caps to one side of each header pipe.
- Connect the supply and return ports to the opposite ends.
As you assemble the header pipes, pay close attention to alignment and levelness. Use a spirit level to check that the pipes are perfectly horizontal. This will secure ideal flow and prevent air pockets from forming in your system.
Once you've completed the assembly, perform a pressure test to check for leaks before proceeding to the next stage of your geothermal manifold construction.
Installing Valves and Fittings
Three critical components must be installed on your geothermal manifold: balancing valves, isolation valves, and air vents.
Begin by attaching balancing valves to each circuit outlet. These valves allow you to adjust flow rates, guaranteeing even distribution across all loops. Use pipe thread sealant on the connections to prevent leaks.
Next, install isolation valves on both the supply and return headers. These valves let you shut off individual loops for maintenance or repairs without affecting the entire system. Position them between the balancing valve and the header pipe for each circuit.
Finally, add air vents at the highest points of your manifold. They'll help remove trapped air, improving system efficiency and preventing air locks. Automatic air vents are recommended for their convenience, but manual versions can also be used.
When installing fittings, use appropriate adapters to connect different pipe sizes or materials. Confirm all connections are tight and properly sealed.
Double-check that valves are oriented correctly for proper flow direction. Label each valve and circuit for easy identification during future maintenance.
Once you've installed all valves and fittings, perform a pressure test to verify the integrity of your connections before proceeding to the next step in your geothermal manifold construction.
Connecting Supply and Return Lines
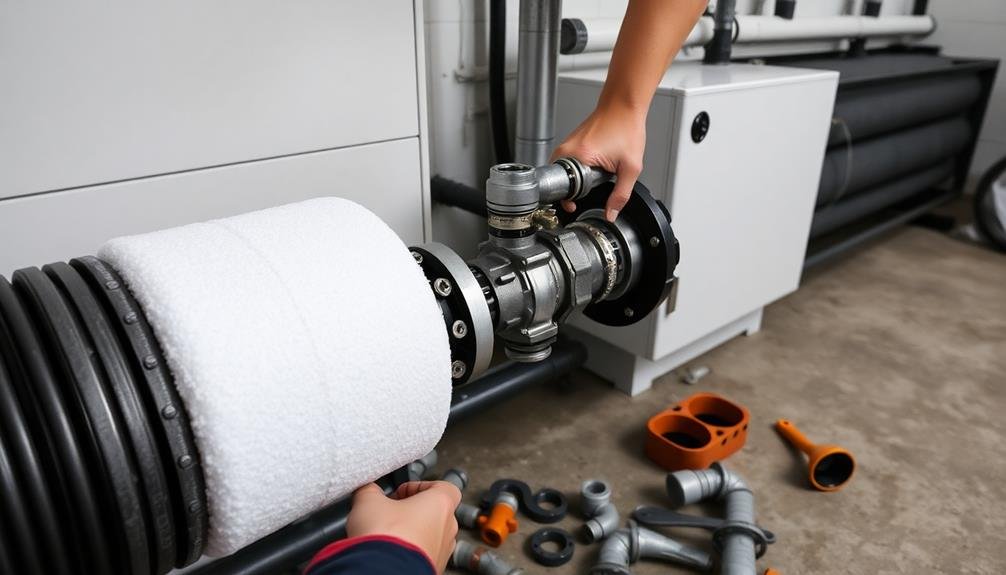
Now that your manifold's valves and fittings are in place, it's time to connect the supply and return lines. These lines are essential for circulating the geothermal fluid through your system.
Begin by identifying the supply and return ports on your manifold. The supply line carries heated fluid from your heat pump, while the return line brings cooled fluid back.
You'll need to use appropriate piping materials that can withstand the temperature and pressure of your geothermal system. HDPE (high-density polyethylene) is a popular choice due to its durability and flexibility. Verify you have the correct pipe diameter to match your manifold's ports.
To make proper connections:
- Cut your pipes to the required length, allowing extra for potential adjustments.
- Clean the pipe ends and fittings thoroughly to guarantee a secure connection.
- Use fusion welding or mechanical fittings, depending on your piping material and local codes.
As you connect the lines, maintain a gentle slope to prevent air pockets. Use pipe supports to secure the lines and minimize stress on the connections.
Once all connections are made, perform a pressure test to check for leaks before insulating the pipes and burying them.
Insulating the Manifold System
To effectively insulate your geothermal manifold system, you'll need to carefully select appropriate insulation materials.
You'll want to contemplate factors such as thermal efficiency, moisture resistance, and durability when choosing your insulation.
Once you've selected the right materials, you'll need to apply the insulation properly, ensuring complete coverage and proper sealing to maximize energy efficiency and prevent heat loss.
Selecting Insulation Materials
Proper insulation of your geothermal manifold system is essential for maximizing energy efficiency and preventing heat loss. When selecting insulation materials, you'll want to take into account factors such as thermal conductivity, moisture resistance, and durability.
Opt for materials specifically designed for high-temperature applications, as your manifold will be exposed to varying temperatures throughout its operation.
Some excellent insulation options for geothermal manifolds include:
- Fiberglass pipe insulation: This versatile material offers good thermal performance and is easy to install. It's available in pre-formed sleeves that fit snugly around pipes.
- Foam insulation: Closed-cell polyethylene or elastomeric foam provides excellent moisture resistance and flexibility, making it ideal for tight spaces.
- Mineral wool: Also known as rockwool, this material offers superior fire resistance and sound dampening properties, in addition to its thermal insulation capabilities.
When installing your chosen insulation, verify you cover all exposed pipes, fittings, and valves.
Pay special attention to joints and connections, as these areas are prone to heat loss. You'll also want to use vapor barriers to prevent moisture buildup, which can reduce insulation effectiveness over time.
Properly insulated manifolds will contribute greatly to your geothermal system's overall efficiency and longevity.
Applying Insulation Effectively
Once you've selected the appropriate insulation materials, it's time to apply them effectively to your geothermal manifold system.
Start by thoroughly cleaning the pipes and components to guarantee proper adhesion. Cut the insulation to fit snugly around the pipes, making sure to cover all exposed surfaces. Use insulation tape or adhesive to secure the seams and prevent gaps.
For complex shapes like valves and fittings, use pre-formed insulation pieces or carefully cut and shape flexible insulation to fit. Pay special attention to areas where pipes enter or exit the manifold, as these are common spots for heat loss. Apply multiple layers of insulation if necessary to achieve the desired R-value.
Don't forget to insulate the manifold box itself. Line the interior with rigid foam board insulation, sealing any gaps with spray foam.
Install a weather-tight cover to protect the insulation from moisture and external damage. Remember to leave access points for maintenance and adjustments.
Testing and Troubleshooting

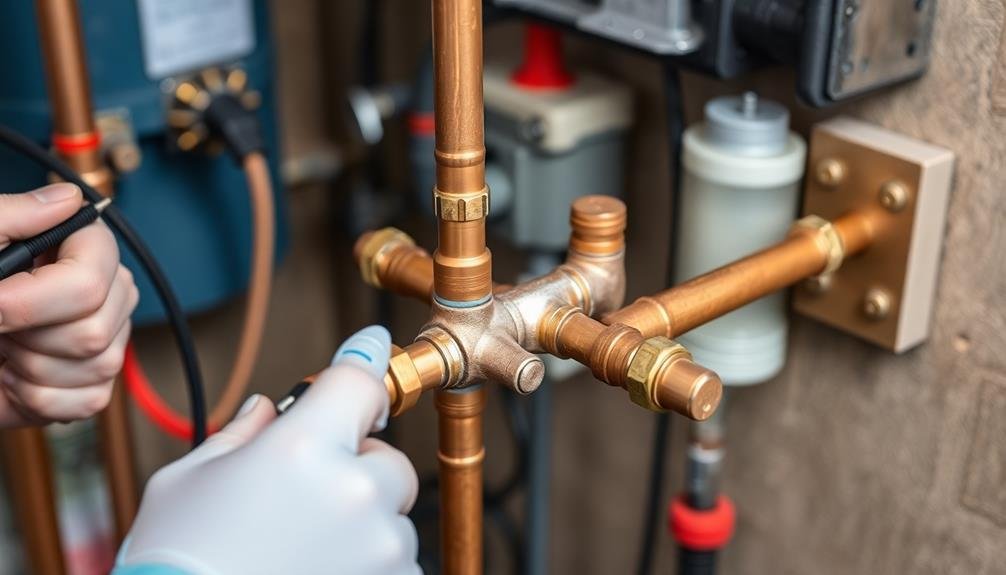
Regular testing and troubleshooting are essential components of maintaining a geothermal manifold system. You'll need to perform routine checks to guarantee your system operates efficiently and identify potential issues before they escalate.
Start by visually inspecting all connections, valves, and pipes for signs of leaks, corrosion, or damage. Use a pressure gauge to monitor the system's pressure levels, ensuring they're within the manufacturer's recommended range.
When troubleshooting, follow these steps:
- Check the flow rates in each loop using a flow meter. Uneven flow rates may indicate blockages or air pockets in the system.
- Test the antifreeze concentration in the heat transfer fluid to guarantee it provides adequate freeze protection.
- Use an infrared thermometer to measure temperature differences across the manifold, identifying any underperforming loops.
If you encounter issues like reduced heating or cooling performance, unusual noises, or pressure drops, don't hesitate to consult a professional. They can help diagnose complex problems and perform advanced tests using specialized equipment.
Frequently Asked Questions
How Long Does a DIY Geothermal Manifold Typically Last Before Needing Replacement?
You can expect your DIY geothermal manifold to last 15-20 years with proper maintenance. However, its lifespan depends on factors like materials used, installation quality, and environmental conditions. Regular inspections and care will help maximize its durability.
Can I Integrate a Geothermal Manifold With My Existing HVAC System?
Yes, you can integrate a geothermal manifold with your existing HVAC system. You'll need to guarantee compatibility and may require professional help. It's an efficient way to combine geothermal heating and cooling with your current setup.
What Are the Energy Savings Compared to Traditional Heating and Cooling Systems?
You'll typically save 30-60% on energy costs with geothermal systems compared to traditional HVAC. They're more efficient, using the earth's constant temperature for heating and cooling. Your savings will depend on local energy prices and climate.
Are There Any Local Regulations or Permits Required for Installing a Geothermal Manifold?
You'll likely need permits for your geothermal manifold installation. Check with your local building department, as regulations vary by area. They'll guide you on zoning laws, environmental requirements, and necessary inspections. Don't skip this vital step!
How Does Weather Affect the Efficiency of a Geothermal Manifold System?
Weather doesn't greatly impact your geothermal manifold's efficiency. It's underground, so it's protected from temperature fluctuations. However, extreme weather can affect the above-ground heat pump's performance, slightly altering the system's overall effectiveness.
In Summary
You've now built your own geothermal manifold! With this DIY approach, you've saved money and gained valuable knowledge about your home's heating system. Remember to regularly check for leaks and maintain your manifold to guarantee peak performance. Don't hesitate to consult a professional if you encounter any issues you can't resolve. Your efforts will pay off in energy efficiency and comfort for years to come. Enjoy your custom geothermal setup!


Leave a Reply