DIY geothermal systems are surprisingly affordable due to substantial long-term energy savings and reduced labor costs. While initial installation expenses are higher than traditional HVAC, you'll see a 30-60% decrease in energy bills. By doing the work yourself, you can cut installation costs by up to 50%. Tax incentives and rebates further offset upfront expenses. These systems require minimal maintenance and have a lifespan of 20-25 years for heat pumps and over 50 years for ground loops. With a payback period of 5-10 years, DIY geothermal systems offer an attractive return on investment. There's more to uncover about this eco-friendly heating and cooling solution.
Understanding Geothermal Heat Pump Basics
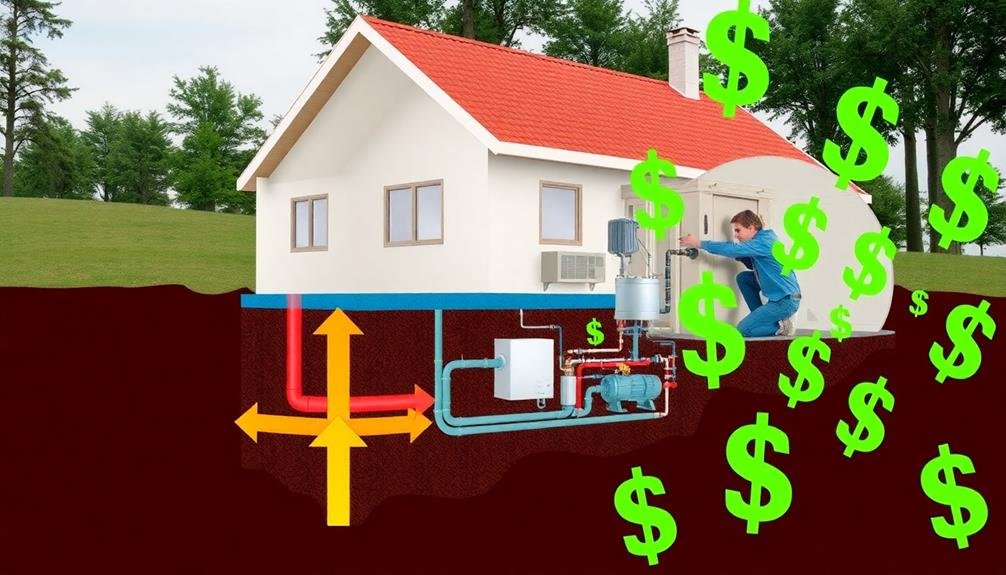
Geothermal heat pumps are energy-efficient marvels that tap into the Earth's constant underground temperature. They work by circulating a fluid through a loop of pipes buried in the ground, which absorbs heat in winter and releases it in summer. This process allows the system to heat and cool your home with minimal energy consumption.
You'll find two main types of geothermal systems: closed-loop and open-loop. Closed-loop systems use a sealed network of pipes filled with an antifreeze solution, while open-loop systems use groundwater directly. The choice between these depends on your property's characteristics and local regulations.
The heart of a geothermal system is the heat pump itself. It's similar to a traditional air conditioner but can reverse its operation to provide both heating and cooling. The pump uses a compressor, condenser, and evaporator to transfer heat efficiently between your home and the ground.
Understanding these basics is essential when considering a DIY geothermal project. You'll need to assess your property's suitability, choose the right system type, and properly size the heat pump for your home's needs.
With this knowledge, you're better equipped to tackle the installation process and reap the long-term benefits of geothermal energy.
Cost Comparison With Traditional HVAC
When it comes to comparing costs, geothermal systems often seem pricier than traditional HVAC setups at first glance. However, you'll find that the long-term savings can make a DIY geothermal system surprisingly affordable.
While the initial installation cost of a geothermal system can be 2-3 times higher than a conventional HVAC system, you'll recoup this investment through energy savings. Geothermal systems typically use 25-50% less electricity than traditional heating and cooling methods, resulting in lower monthly utility bills.
You'll also benefit from reduced maintenance costs. Geothermal systems have fewer moving parts and are protected from outdoor elements, leading to fewer repairs and replacements.
Traditional HVAC systems, on the other hand, require more frequent maintenance and have shorter lifespans.
Don't forget about available tax incentives and rebates. Many governments offer financial incentives for installing geothermal systems, which can greatly offset your initial costs.
When you factor in energy savings, lower maintenance expenses, and potential incentives, a DIY geothermal system can become more cost-effective than a traditional HVAC system within 5-10 years.
After that, you'll continue to enjoy lower operating costs for decades to come.
Long-Term Energy Savings Potential
The long-term energy savings potential of DIY geothermal systems is truly impressive. When you install a geothermal heat pump, you're tapping into a renewable energy source that can greatly reduce your heating and cooling costs for decades to come.
Unlike traditional HVAC systems that rely on fossil fuels or electricity from the grid, geothermal systems use the earth's constant temperature to heat and cool your home efficiently.
You'll experience substantial savings on your energy bills, often seeing a reduction of 30-60% compared to conventional systems. These savings accumulate over time, allowing you to recoup your initial investment within 5-10 years. After that, it's all profit for you and benefit for the environment.
Here's why DIY geothermal systems' long-term savings potential is so exciting:
- Lower monthly utility bills
- Reduced dependency on fluctuating energy prices
- Increased home value
- Peace of mind from sustainable living
With proper maintenance, your DIY geothermal system can last up to 25 years for indoor components and 50+ years for ground loops.
This longevity, combined with consistent energy savings, makes geothermal an excellent investment for your home and the planet.
DIY Installation Process Overview
Installing a DIY geothermal system is a multistep process that requires careful planning and execution. You'll need to start by evaluating your property's suitability, considering factors like soil type, available space, and local regulations. Once you've determined feasibility, you'll design your system, including loop configuration and heat pump sizing.
The installation process typically involves:
| Step | Task | Equipment Needed |
|---|---|---|
| 1 | Excavation | Backhoe or trencher |
| 2 | Loop installation | Pipe, fittings, antifreeze solution |
| 3 | Backfilling | Excavator or shovel |
| 4 | Heat pump setup | Geothermal heat pump unit |
| 5 | Ductwork connection | Ducts, insulation, sealant |
You'll begin by excavating the area for your ground loops, either horizontally or vertically. Next, you'll install the pipe loops, guaranteeing proper connections and pressure testing. After backfilling, you'll set up the heat pump indoors and connect it to your home's ductwork. Throughout the process, you'll need to follow local building codes and obtain necessary permits. While DIY installation can save money, it's vital to have a solid understanding of the system components and installation techniques to secure peak performance and efficiency.
Required Tools and Equipment
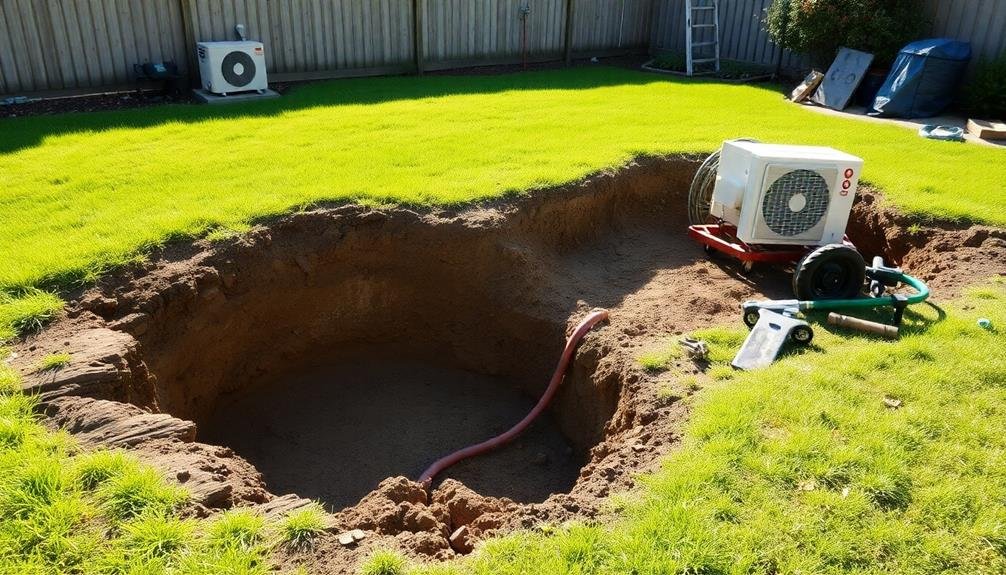
To successfully install your DIY geothermal system, you'll need a range of specialized tools and equipment. While some items may already be in your toolbox, others are specific to geothermal installations.
Essential tools include a trencher or excavator for digging the ground loops, fusion welding equipment for connecting HDPE pipes, and pressure testing tools to verify your system is leak-free. You'll also need basic hand tools like wrenches, pliers, and screwdrivers for various connections and adjustments.
Equipment-wise, you'll require a heat pump unit, ground loop pipes, antifreeze solution, and a circulation pump. Don't forget safety gear such as gloves, safety glasses, and sturdy work boots.
Depending on your specific system design, you might need additional components like a desuperheater or zone controls.
While the list may seem intimidating, remember that investing in these tools and equipment can lead to:
- Substantial long-term energy savings
- A sense of pride in your self-sufficiency
- Reduced carbon footprint for a cleaner future
- Increased property value and marketability
Excavation and Loop Installation Costs
Excavation and loop installation's costs often represent the most significant portion of your DIY geothermal system expenses.
However, you'll find these costs can be surprisingly manageable when you take the DIY route. By renting excavation equipment and doing the work yourself, you can save up to 50% compared to hiring professionals.
For horizontal loop systems, you'll need to dig trenches about 4-6 feet deep and 400-600 feet long per ton of heating and cooling capacity.
Vertical systems require drilling 150-400 feet deep holes. The cost of renting a backhoe or mini-excavator for horizontal systems ranges from $200-$400 per day.
For vertical systems, you might spend $500-$1000 per day on a drilling rig rental.
The loop pipe itself is relatively inexpensive, costing around $0.50-$2 per foot.
You'll also need fittings, antifreeze solution, and backfill material. These materials typically total $1000-$3000 for a standard residential system.
Heat Pump Unit Pricing
You'll find that heat pump unit prices have become more affordable in recent years.
This trend is driven by economies of scale as geothermal systems gain popularity, increased competition among manufacturers, and technological advancements that lower production costs.
As you explore options for your DIY geothermal system, you'll likely benefit from these market forces that have made heat pump units more accessible to homeowners.
Economies of Scale
With geothermal heat pump systems, size matters when it comes to pricing. As you scale up your system's capacity, you'll often find that the cost per ton of heating and cooling decreases. This economy of scale makes larger systems more cost-effective, especially for bigger homes or commercial buildings.
You'll see significant savings when you opt for a single, higher-capacity unit instead of multiple smaller ones.
The benefits of economies of scale in geothermal systems extend beyond just the initial purchase price.
You'll also experience:
- Lower installation costs per ton of capacity
- Reduced maintenance expenses over time
- Improved overall system efficiency
- Greater long-term energy savings
Manufacturer Competition Increases
As the geothermal heat pump market expands, competition among manufacturers has heated up, leading to more affordable unit prices for consumers. You'll find that increased competition has driven innovation, resulting in more efficient and cost-effective heat pump models. This trend has made DIY geothermal systems increasingly accessible to homeowners like you.
With more manufacturers entering the market, you'll notice a wider range of options and price points. This competition has forced companies to streamline their production processes and reduce costs to stay competitive. As a result, you can now purchase high-quality heat pump units at lower prices than ever before.
Here's a comparison of heat pump unit prices over the past decade:
| Year | Average Price | Number of Manufacturers |
|---|---|---|
| 2012 | $7,500 | 5 |
| 2017 | $6,000 | 8 |
| 2022 | $4,500 | 12 |
As you can see, the average price of heat pump units has decreased considerably while the number of manufacturers has more than doubled. This trend has made DIY geothermal systems a more viable option for budget-conscious homeowners looking to invest in sustainable heating and cooling solutions.
Technology Advancements Reduce Costs
Advancing technology has played an essential role in reducing the costs of heat pump units for DIY geothermal systems. You'll find that modern heat pumps are more efficient, durable, and affordable than ever before.
Manufacturers have invested heavily in research and development, resulting in units that require less energy to operate and have longer lifespans. The improved efficiency of these units means you'll save money on your energy bills, offsetting the initial investment more quickly.
Additionally, advancements in manufacturing processes have streamlined production, lowering the overall cost of heat pump units. You'll also benefit from the increased availability of high-quality, yet affordable components.
Here are four ways technology advancements have made DIY geothermal systems more accessible:
- Smart controls optimize performance and reduce energy waste
- Eco-friendly refrigerants improve efficiency and lower environmental impact
- Variable-speed compressors adapt to your home's changing needs
- Improved heat exchangers extract more energy from the ground
These technological improvements have greatly reduced the cost barrier for homeowners interested in DIY geothermal systems.
You'll find that the combination of lower upfront costs and increased energy savings makes these systems a more attractive and feasible option for sustainable home heating and cooling.
Ductwork and Distribution System Expenses
Three major factors influence the cost of ductwork and distribution systems in DIY geothermal setups.
First, the size of your home determines the extent of ductwork needed. Larger houses require more extensive systems, increasing costs. However, if you're retrofitting an existing home, you may be able to use some of your current ductwork, saving money.
Second, the layout of your home affects installation complexity. Open floor plans are easier to work with, while multi-story homes or those with complex layouts might require more intricate ductwork, driving up expenses. You can minimize costs by carefully planning the most efficient routes for your ducts.
Lastly, the type of distribution system you choose impacts expenses. Traditional forced-air systems are generally less expensive, but radiant floor heating or baseboard systems might be more efficient in certain situations.
You'll need to weigh the initial costs against long-term energy savings.
Permits and Inspection Fees
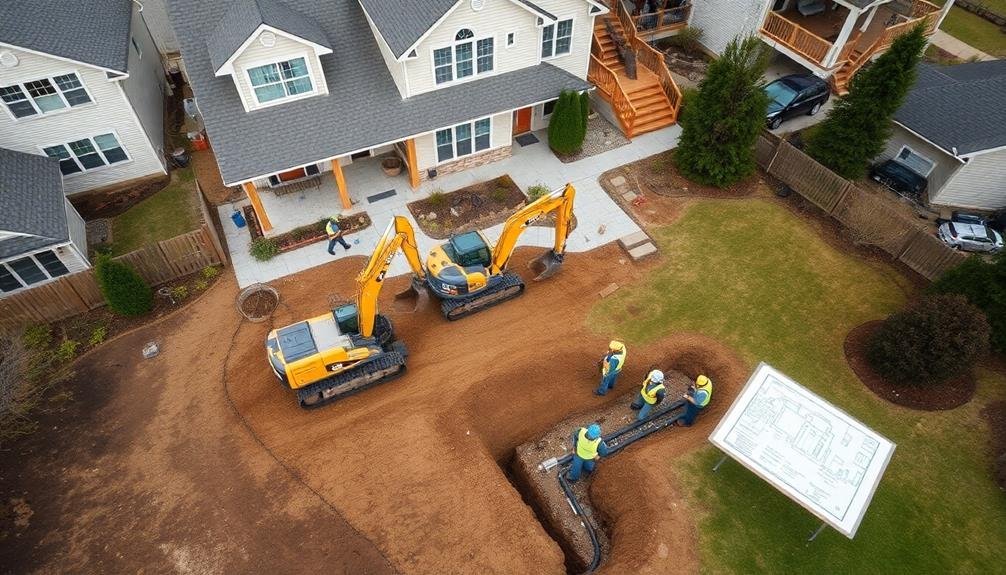
Obtaining the necessary permits and passing inspections are essential steps in any DIY geothermal project. While these requirements may seem intimidating, they're typically less expensive and complicated than you might expect.
Most local building departments have streamlined processes for residential geothermal installations, recognizing their environmental benefits.
You'll need to submit detailed plans of your system, including loop field layout and equipment specifications. The fees for permits and inspections vary by location but usually range from $200 to $800. This cost is relatively low compared to the overall project expense and guarantees your installation meets safety and environmental standards.
When budgeting for permits and inspections, consider these emotional benefits:
- Peace of mind knowing your system is legally compliant
- Confidence in the safety and efficiency of your installation
- Pride in contributing to sustainable energy solutions
- Potential increase in property value due to proper documentation
Tax Incentives and Rebates
Excitement builds when you realize the potential savings from tax incentives and rebates for your DIY geothermal system. The federal government offers a 30% tax credit on the total cost of your installation, including equipment and labor.
This credit can greatly reduce your out-of-pocket expenses and make the project more affordable.
Many states provide additional incentives, such as property tax exemptions or income tax credits. Some utility companies offer rebates for installing energy-efficient systems, which can further decrease your costs.
You'll find that local municipalities may have their own incentive programs, too.
To maximize your savings, research all available options in your area. Contact your state's energy office, local utility providers, and tax professionals to identify every possible incentive.
Keep detailed records of your expenses and installation process, as you'll need this information when claiming credits and rebates.
Maintenance and Operating Costs
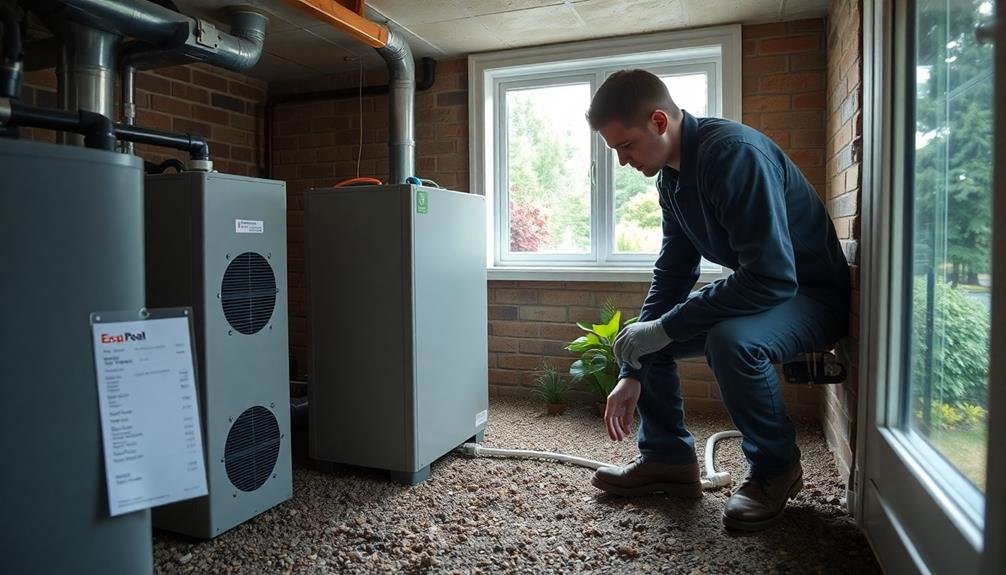
With proper care, your DIY geothermal system can operate efficiently for decades. Unlike traditional HVAC systems, geothermal heat pumps have fewer moving parts, reducing wear and tear.
You'll find that maintenance costs are considerably lower, often limited to occasional filter changes and periodic inspections of the heat pump unit.
Operating costs are where you'll see the most considerable savings. Geothermal systems are incredibly efficient, using the earth's constant temperature to heat and cool your home.
You can expect to save 30-70% on your energy bills compared to conventional systems. While the initial investment may be higher, the long-term savings make DIY geothermal systems surprisingly affordable.
Here are four reasons to be excited about geothermal maintenance and operating costs:
- Minimal annual maintenance requirements
- Reduced energy bills from day one
- Longer system lifespan (20-25 years for heat pumps, 50+ years for ground loops)
- Lower environmental impact due to increased efficiency
Return on Investment Analysis
When considering a DIY geothermal system, you'll want to evaluate its long-term financial benefits. To calculate your return on investment (ROI), start by comparing your current heating and cooling costs to the projected expenses with a geothermal system. You'll typically see energy savings of 30-70%, depending on your location and energy prices.
Next, factor in the initial installation costs, which you've greatly reduced by taking the DIY route. Don't forget to include any tax credits or rebates available for renewable energy systems. These incentives can considerably offset your upfront expenses.
Calculate the payback period by dividing your net installation costs by your annual energy savings. For DIY geothermal systems, this period often ranges from 5-10 years, compared to 10-20 years for professionally installed systems.
Consider the lifespan of your system components. The ground loop can last over 50 years, while the heat pump may need replacement after 20-25 years.
Factor these future costs into your long-term ROI analysis.
Common Misconceptions About Geothermal Costs
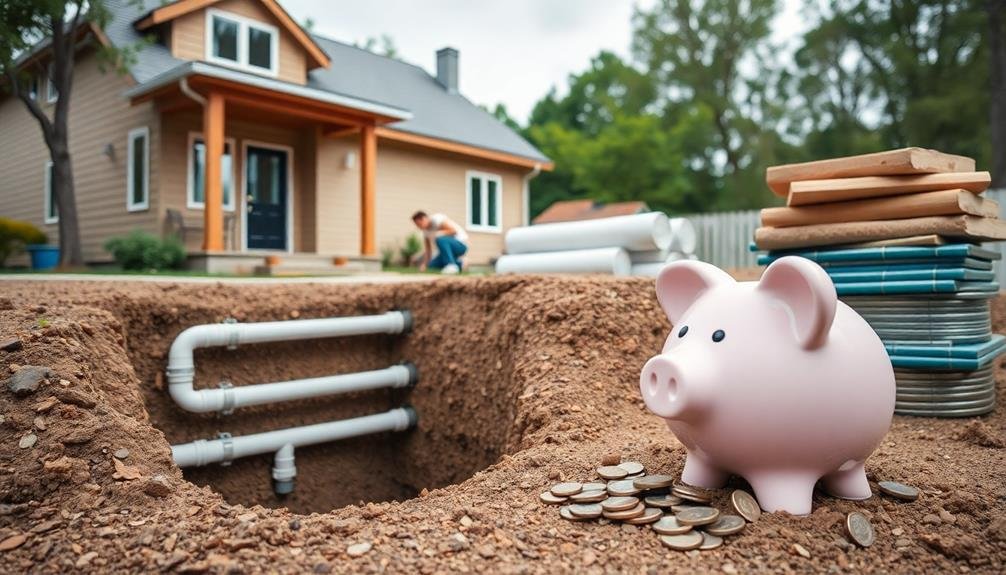
Many people shy away from geothermal systems due to persistent myths about their costs. You might've heard that these systems are prohibitively expensive, but that's not always the case, especially with DIY installations.
Let's debunk some common misconceptions about geothermal costs.
First, it's essential to understand that while upfront costs can be higher than traditional HVAC systems, the long-term savings are considerable. You'll recoup your investment through lower energy bills and reduced maintenance costs.
Don't let the initial price tag deter you from exploring this eco-friendly option.
Another misconception is that geothermal systems are only suitable for large properties. In reality, vertical loop systems can work in smaller yards, making geothermal accessible to more homeowners.
You might also think that DIY installation isn't feasible, but with proper research and guidance, it's possible to tackle much of the work yourself, greatly reducing costs.
Here are four emotional reasons to reflect on geothermal despite cost misconceptions:
- Pride in reducing your carbon footprint
- Joy of long-term energy independence
- Satisfaction of mastering a DIY project
- Relief from unpredictable energy bills
Frequently Asked Questions
How Does Geothermal Heating Affect Property Values?
You'll likely see your property value increase with geothermal heating. It's an attractive feature for buyers, offering long-term energy savings and eco-friendliness. Your home's efficiency and reduced utility costs can make it stand out in the market.
Can Geothermal Systems Be Used for Both Residential and Commercial Properties?
Yes, you can use geothermal systems for both residential and commercial properties. They're versatile and efficient, providing heating and cooling for homes, offices, and larger buildings. You'll benefit from lower energy costs and reduced carbon footprint in any setting.
Are There Any Environmental Impacts of Installing a Geothermal System?
Yes, there are environmental impacts when you install a geothermal system. You'll reduce your carbon footprint and reliance on fossil fuels. However, you might disturb local ecosystems during installation. It's generally considered an eco-friendly heating and cooling option.
How Noisy Are Geothermal Heat Pumps Compared to Traditional HVAC Systems?
You'll find geothermal heat pumps are much quieter than traditional HVAC systems. They don't have outdoor units, so there's no noisy compressor or fan. Inside, you'll only hear a gentle hum, similar to your refrigerator.
Can Geothermal Systems Be Integrated With Other Renewable Energy Sources?
Yes, you can integrate geothermal systems with other renewable energy sources. They pair well with solar panels or wind turbines, creating a more efficient and eco-friendly home. You'll reduce your carbon footprint and potentially lower energy costs even further.
In Summary
You've discovered that DIY geothermal systems can be surprisingly affordable. With potential long-term savings, tax incentives, and the ability to install it yourself, you're looking at a cost-effective heating and cooling solution. Don't let common misconceptions deter you. By understanding the basics, comparing costs, and analyzing the return on investment, you'll see that geothermal can be a smart choice for your home. It's time to rethink your HVAC options.


Leave a Reply