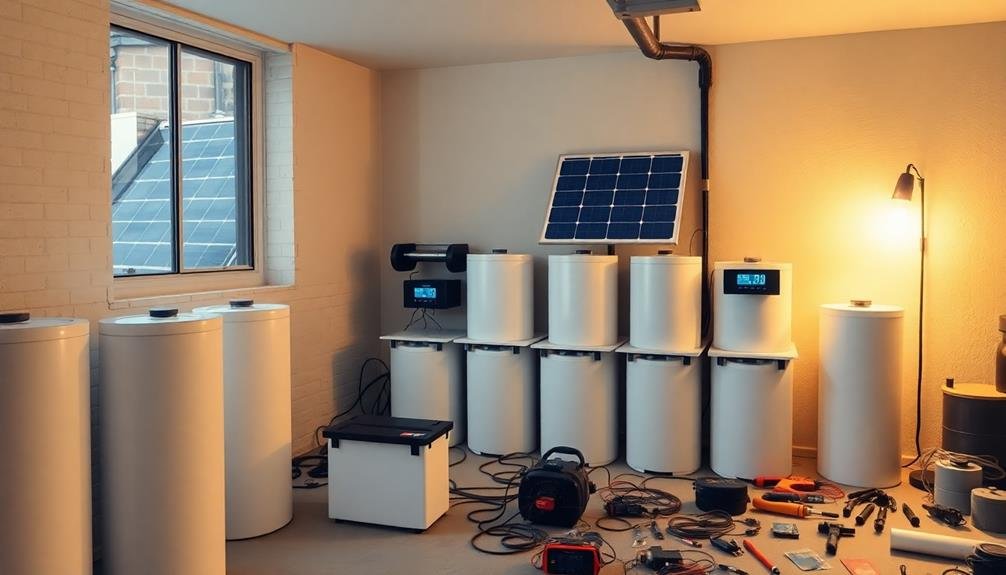
You can create seven different home battery storage systems to boost your energy independence. Options include a lead-acid battery bank, a DIY lithium-ion pack, a saltwater battery solution, a nickel-iron setup, and a repurposed EV battery array. For alternative approaches, consider building a flywheel energy storage system or a compressed air energy storage unit. Each system has unique components, advantages, and maintenance requirements. Some are easier to construct, while others offer longer lifespans or environmental benefits. By exploring these DIY options, you'll gain insights into various energy storage technologies and their potential applications for your home.
Lead-Acid Battery Bank System

The workhorse of home battery storage, lead-acid battery bank systems have been a reliable choice for decades. These systems consist of multiple deep-cycle lead-acid batteries connected in series or parallel to provide the desired voltage and capacity.
You'll need to house them in a well-ventilated area, as they can release hydrogen gas during charging.
To set up a lead-acid battery bank, you'll need batteries, a charge controller, an inverter, and proper wiring. Choose batteries with matching specifications and age for best performance. Connect them using thick copper cables, ensuring tight connections to minimize resistance.
Maintenance is essential for longevity. Regularly check electrolyte levels, adding distilled water when necessary. Keep terminals clean and corrosion-free. Equalization charges help prevent sulfation and extend battery life.
While lead-acid batteries are affordable and widely available, they've drawbacks. They're heavy, require frequent maintenance, and have a shorter lifespan compared to newer technologies.
They're also sensitive to deep discharges, which can greatly reduce their capacity over time.
Despite these limitations, lead-acid battery banks remain a cost-effective option for those willing to invest time in maintenance and proper care.
DIY Lithium-Ion Battery Pack
Building your own lithium-ion battery pack requires careful planning and specific materials.
You'll need lithium-ion cells, a battery management system (BMS), nickel strips, a spot welder, and safety equipment like gloves and goggles.
Before assembly, it's essential to understand the risks involved and follow strict safety protocols to prevent accidents during construction and operation.
Materials and Tools Needed
Assembling a DIY lithium-ion battery pack requires a specific set of materials and tools to guarantee safety and functionality.
You'll need lithium-ion cells, preferably 18650 cells, which are widely available and offer a good balance of capacity and size. A battery management system (BMS) is essential for monitoring cell voltage, temperature, and current flow.
You'll also need nickel strip for connecting the cells, a spot welder for attaching the nickel strips, and insulating materials like fish paper and kapton tape.
For tools, you'll want a multimeter to test voltages, a soldering iron for electrical connections, and wire strippers. Safety equipment is non-negotiable: wear safety glasses, gloves, and work in a well-ventilated area. A fire extinguisher should be nearby.
Additional materials include balance wires, main power cables, and a suitable enclosure for your battery pack. You might also need a power supply for initial charging and testing.
Assembly and Safety Precautions
Safety stands paramount when assembling a DIY lithium-ion battery pack. Always work in a well-ventilated area and wear protective gear, including safety goggles and gloves. Keep a fire extinguisher nearby, as lithium-ion batteries can be volatile if mishandled.
Begin by organizing your cells and testing each one's voltage. Discard any cells that are outside the safe operating range. Use your spot welder to connect the cells in series or parallel, depending on your desired voltage and capacity. Be careful not to short-circuit the cells during this process.
Once you've connected the cells, attach the BMS to monitor and protect your battery pack. Confirm all connections are secure and properly insulated. Install temperature sensors at various points within the pack to detect any hotspots.
Before sealing your battery pack, double-check all connections and run a final voltage test. Encase the pack in a sturdy, non-conductive material for added protection. Label your battery pack clearly with its specifications and safety warnings.
When charging your DIY battery pack for the first time, monitor it closely for any signs of swelling, heat, or unusual odors. If you notice any issues, disconnect the pack immediately and seek professional assistance.
Saltwater Battery Storage Solution
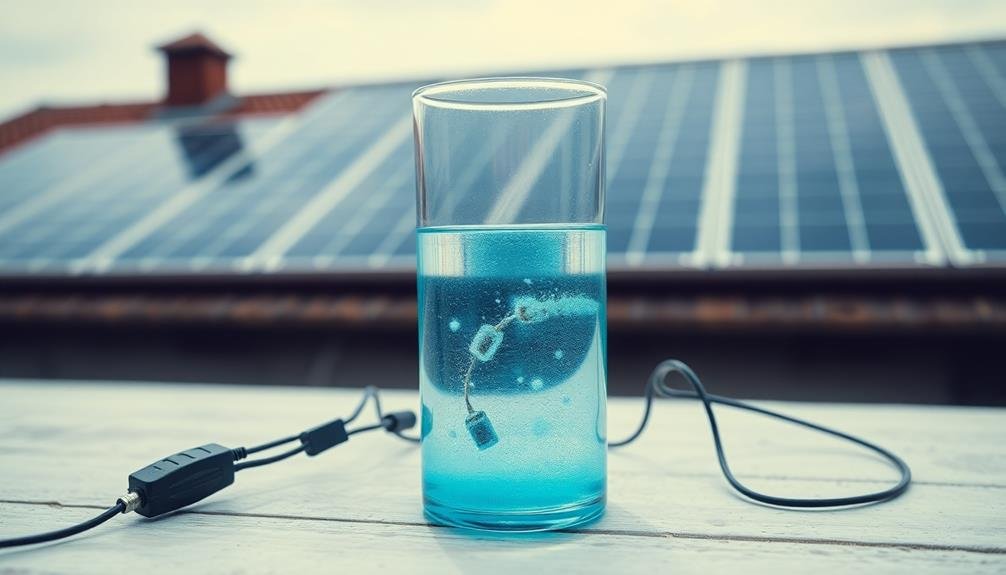
A promising alternative in the world of home battery storage is the saltwater battery solution. This eco-friendly option uses a saltwater electrolyte instead of traditional lithium-ion technology. You'll find it's non-toxic, non-flammable, and easily recyclable, making it a safe choice for home use.
To create your own saltwater battery, you'll need containers, electrodes (typically made of carbon and manganese dioxide), and a saltwater solution. The process involves arranging the electrodes in the containers and filling them with the electrolyte. You can connect multiple cells in series or parallel to increase voltage or capacity.
While saltwater batteries have a lower energy density compared to lithium-ion, they offer advantages in safety and environmental impact. They're particularly suitable for stationary applications like home energy storage. You can charge them using solar panels or other renewable sources, storing excess energy for later use.
Maintenance is relatively simple, as you'll only need to top up the saltwater solution periodically. Remember to monitor the electrolyte levels and check connections regularly to guarantee peak performance.
With proper care, your saltwater battery can provide reliable energy storage for your home.
Nickel-Iron Battery Setup
The Nickel-Iron battery setup offers a robust and long-lasting energy storage solution for your home. These batteries, invented by Thomas Edison, are known for their durability and can last up to 30 years with proper maintenance.
To create your own Nickel-Iron battery system, you'll need iron plates, nickel hydroxide plates, potassium hydroxide electrolyte, and a sturdy container.
Start by preparing the electrolyte solution, mixing potassium hydroxide with distilled water. Next, assemble the plates alternately in the container, ensuring they don't touch each other. Connect the plates in series or parallel, depending on your voltage and capacity requirements. Fill the container with the electrolyte solution, leaving some space for gas expansion.
Nickel-Iron batteries are resistant to overcharging and deep discharging, making them ideal for off-grid systems. They're also non-toxic and environmentally friendly.
However, they've a lower energy density compared to lithium-ion batteries and require regular topping up of the electrolyte. You'll need to charge them initially and perform a few charge-discharge cycles to reach full capacity.
With proper care, your DIY Nickel-Iron battery setup can provide reliable energy storage for decades.
Repurposed EV Battery Array
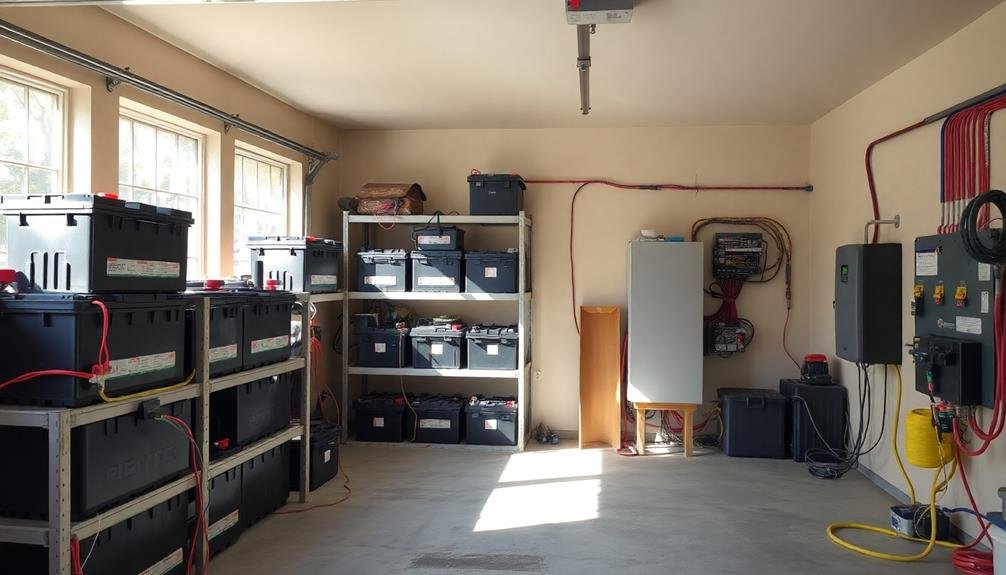
Harnessing the potential of discarded electric vehicle (EV) batteries, repurposed EV battery arrays offer an eco-friendly and cost-effective home energy storage solution.
You'll find that these batteries often retain 70-80% of their original capacity, making them ideal for stationary storage applications. By acquiring used EV batteries from salvage yards or online marketplaces, you can build a robust home energy system at a fraction of the cost of new batteries.
To create your repurposed EV battery array, you'll need to:
- Test and sort the individual cells or modules
- Build a custom battery management system (BMS)
- Design and construct an appropriate enclosure
- Install necessary safety features, such as fuses and thermal management
When assembling your array, guarantee proper wiring and connections between cells or modules.
You'll also need to program your BMS to monitor voltage, current, and temperature, protecting your system from overcharging or deep discharging.
With proper maintenance and care, your repurposed EV battery array can provide reliable home energy storage for years to come, reducing your reliance on the grid and maximizing the use of renewable energy sources.
Flywheel Energy Storage System
Flywheel energy storage systems offer unique advantages for home power storage.
You'll find they're efficient, have a long lifespan, and can provide rapid power discharge when needed.
If you're handy, you might even consider building a small-scale flywheel system yourself, using readily available materials and following proper safety guidelines.
Advantages of Flywheel Systems
An innovative approach to energy storage, flywheel systems offer several unique advantages for home battery storage. These systems use a spinning rotor to store kinetic energy, which can be converted back to electricity when needed.
You'll find that flywheels are particularly effective for short-term energy storage and can provide quick bursts of power on demand.
One of the main benefits of flywheel systems is their long lifespan. Unlike traditional chemical batteries, flywheels don't degrade over time, allowing for thousands of charge-discharge cycles without losing capacity.
They're also environmentally friendly, as they don't contain toxic materials and are fully recyclable at the end of their life.
Here are four key advantages of flywheel systems for home energy storage:
- Rapid response time for power delivery
- High power density in a compact form factor
- Low maintenance requirements
- Ability to operate in extreme temperatures
When considering a flywheel system for your home, you'll appreciate its efficiency in storing and releasing energy.
These systems can achieve round-trip efficiencies of up to 90%, meaning you'll lose less energy during the storage process compared to some other technologies.
DIY Flywheel Construction Tips
While professional flywheel systems offer impressive performance, you can explore the technology through a DIY approach.
To build a basic flywheel, you'll need a sturdy frame, a high-speed motor, and a heavy circular disk. Choose a material like steel or concrete for the disk, ensuring it's perfectly balanced to prevent vibrations.
Mount the disk on a shaft connected to the motor, using high-quality bearings to reduce friction. Enclose the system in a vacuum chamber to minimize air resistance, which will greatly improve efficiency. You can create a simple vacuum chamber using a thick-walled PVC pipe and end caps.
For safety, install a protective casing around the entire system to contain potential failures. Use a controller to regulate the motor's speed and monitor the system's performance.
To store and retrieve energy, connect an inverter and charge controller to your home's electrical system.
Compressed Air Energy Storage
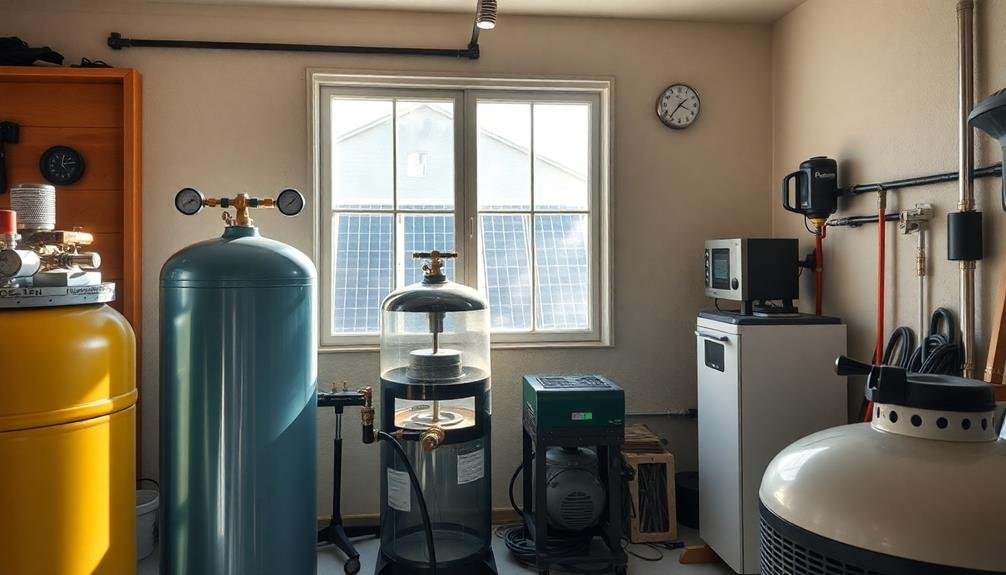
Compressed air energy storage (CAES) systems offer a unique approach to home battery alternatives. You can harness the power of air pressure to store energy for later use. By compressing air during off-peak hours or when renewable energy is abundant, you'll create a reservoir of potential energy.
When you need power, simply release the compressed air through a turbine to generate electricity.
To build a basic CAES system at home, you'll need:
- A sturdy, high-pressure tank
- An air compressor
- A turbine or pneumatic motor
- Pressure regulators and safety valves
Start by selecting a location for your tank, ensuring it's well-ventilated and secure. Connect the air compressor to the tank, using appropriate fittings and safety measures.
Install the turbine or pneumatic motor to convert the released air into mechanical energy, which can then power a generator.
Frequently Asked Questions
How Do I Safely Dispose of Old or Damaged Batteries?
To safely dispose of old or damaged batteries, you'll need to take them to a recycling center or designated collection point. Don't throw them in regular trash. Many stores and electronics retailers also offer battery recycling programs.
What Permits or Regulations Apply to Home Battery Storage Systems?
You'll need to check local building codes and electrical regulations. Many areas require permits for installing battery systems. Contact your city's planning department and utility company to understand specific requirements and safety standards that apply to your project.
Can I Integrate My DIY Battery System With Solar Panels?
Yes, you can integrate your DIY battery system with solar panels. You'll need to connect them through a charge controller and inverter. It's a great way to store excess solar energy for use when the sun isn't shining.
What Maintenance Is Required for These Homemade Battery Storage Systems?
You'll need to regularly check connections, clean terminals, and monitor electrolyte levels in flooded batteries. Keep an eye on voltage and capacity. Replace damaged components promptly. Don't forget to update your system's software if applicable.
How Do These DIY Systems Compare to Commercially Available Home Batteries?
You'll find DIY systems are often cheaper but less efficient than commercial options. They're customizable but require more maintenance. Commercial batteries offer better performance, safety, and warranties, but you'll pay a premium for these advantages.
In Summary
You've now explored seven DIY home battery storage options. From traditional lead-acid banks to innovative compressed air systems, there's a solution for every skill level and budget. Remember, safety is paramount when working with electrical systems. Always research thoroughly, follow local regulations, and consult professionals if you're unsure. By creating your own energy storage, you're taking a big step towards energy independence and sustainability. Start small, learn as you go, and enjoy the journey to a more self-sufficient home.


Leave a Reply