To set up a DIY home fuel cell, start by evaluating your energy needs and choosing the right fuel cell type. Secure necessary permits and prepare your installation site. Install a fuel supply system and implement essential safety measures. Connect the fuel cell to your home's power grid, then test and calibrate the system. Maintain your fuel cell regularly for peak performance. Don't forget to optimize fuel flow and manage sensors for efficiency. Remember to conduct annual inspections and consult professionals when needed. By following these steps, you'll be on your way to a cleaner, more sustainable energy future. The journey doesn't end here; there's much more to explore.
Assess Your Energy Requirements
Before diving into your DIY fuel cell project, you'll need to calculate your energy needs. Start by listing all the electrical devices and appliances you intend to power with your fuel cell system. Include everything from lights and refrigerators to computers and HVAC units.
Next, determine the wattage of each item and estimate how many hours per day you'll use them. Multiply the wattage by the hours of use to get the daily watt-hours for each device. Sum up these values to find your total daily energy requirement.
Don't forget to account for peak usage times when multiple high-draw appliances might run simultaneously. Consider seasonal variations in energy consumption, especially for heating and cooling.
Add a 20-30% buffer to your calculated energy needs to guarantee your fuel cell system can handle unexpected demands. This assessment will help you determine the size and capacity of the fuel cell you'll need to install.
It'll also guide your decisions on hydrogen storage requirements and whether you'll need to supplement your fuel cell with other power sources like solar panels or wind turbines.
Choose the Right Fuel Cell
Once you've assessed your energy needs, it's time to select the appropriate fuel cell for your DIY setup. Consider the different types available, including proton exchange membrane (PEM), solid oxide, and phosphoric acid fuel cells. Each has its own advantages and limitations.
PEM fuel cells are popular for residential use due to their low operating temperature and quick start-up time. They're efficient and compact but require pure hydrogen as fuel.
Solid oxide fuel cells can use various fuels, including natural gas, and have high electrical efficiency. However, they operate at high temperatures and have longer start-up times.
Phosphoric acid fuel cells are more suitable for larger applications but can be adapted for home use. They're more tolerant of fuel impurities but less efficient than PEM cells.
Consider factors like power output, fuel availability, maintenance requirements, and cost when choosing your fuel cell. Match the cell's capacity to your energy needs, accounting for peak demand periods.
Don't forget to factor in the space available for installation and any local regulations that may affect your choice. Consulting with a fuel cell specialist can help you make an informed decision.
Secure Necessary Permits and Approvals
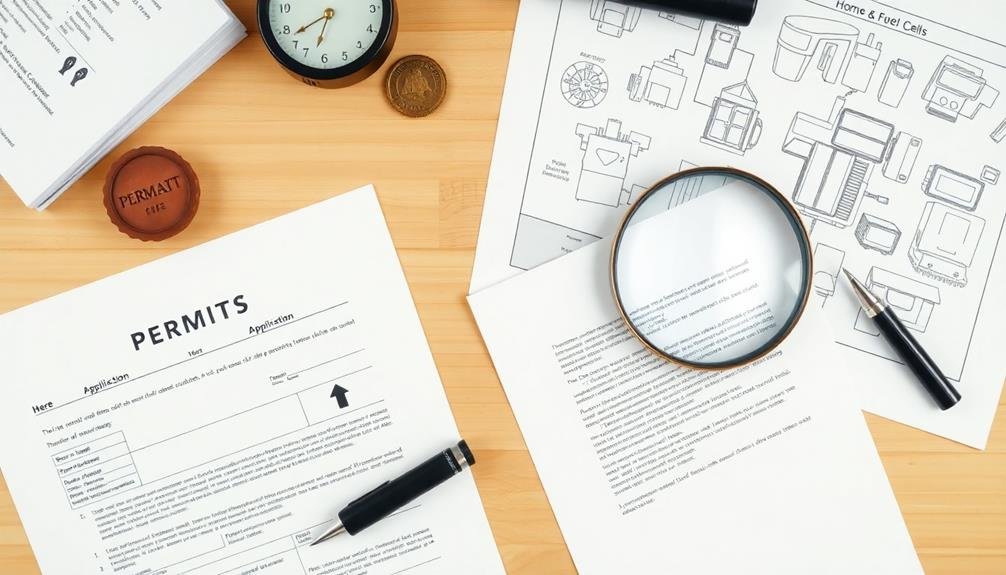
While you might be enthusiastic to start building your home fuel cell system, it's crucial to secure the necessary permits and approvals first.
Begin by contacting your local building department to inquire about specific requirements for fuel cell installations. You'll likely need to obtain a building permit and possibly an electrical permit.
Next, check with your utility company. They'll need to approve your system's connection to the grid and may require additional safety measures. Some areas mandate professional installation, so verify if you're allowed to DIY or if you need a certified installer.
Don't forget to consult your homeowner's insurance provider. Installing a fuel cell might affect your coverage, and they may have specific safety requirements.
If you're part of a homeowners association, review their regulations regarding energy systems.
Environmental permits might also be necessary, especially if your fuel cell uses hydrogen. Contact your local environmental agency to confirm compliance with air quality regulations.
Prepare Installation Site
Typically, preparing the installation site is a critical step in setting up your home fuel cell system. You'll need to verify the area meets all safety requirements and can accommodate the equipment. Start by selecting a well-ventilated space, preferably outdoors or in a dedicated utility room.
Clear the area of any flammable materials and verify it's easily accessible for maintenance. You'll need to install proper ventilation systems and safety sensors to detect any potential gas leaks. Consider the following table for key site preparation tasks:
| Task | Tools Needed | Estimated Time |
|---|---|---|
| Clear area | Gloves, broom | 1-2 hours |
| Install ventilation | Drill, ductwork | 3-4 hours |
| Set up safety sensors | Screwdriver, wire cutters | 2-3 hours |
| Prepare electrical connections | Multimeter, wire strippers | 2-3 hours |
Next, prepare the mounting surface for your fuel cell. This may involve pouring a concrete pad or reinforcing an existing floor. Verify the surface is level and can support the weight of the system. You'll also need to plan for fuel supply lines, electrical connections, and water drainage. Consider hiring a professional for complex electrical or plumbing work to verify safety and compliance with local codes.
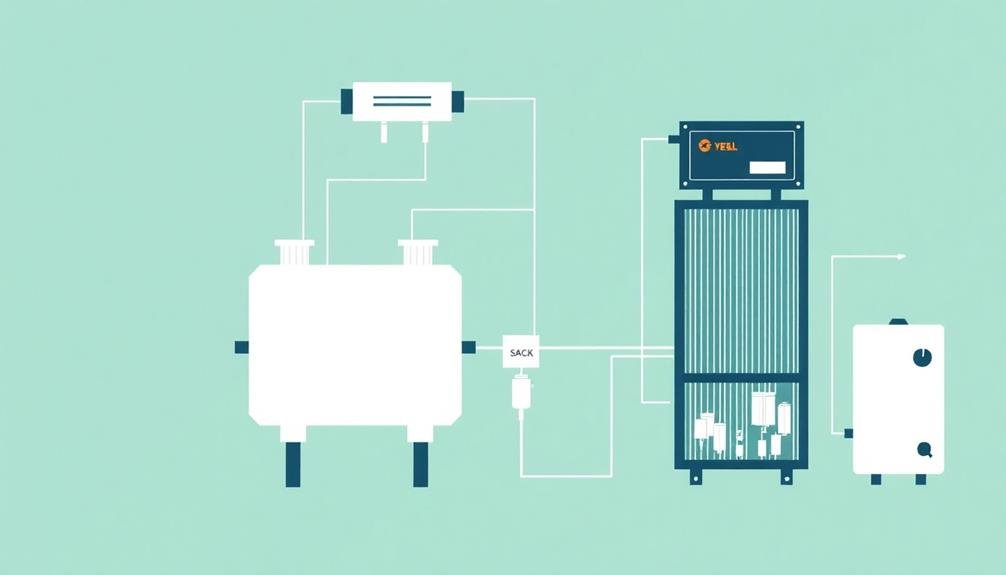
Install Fuel Supply System
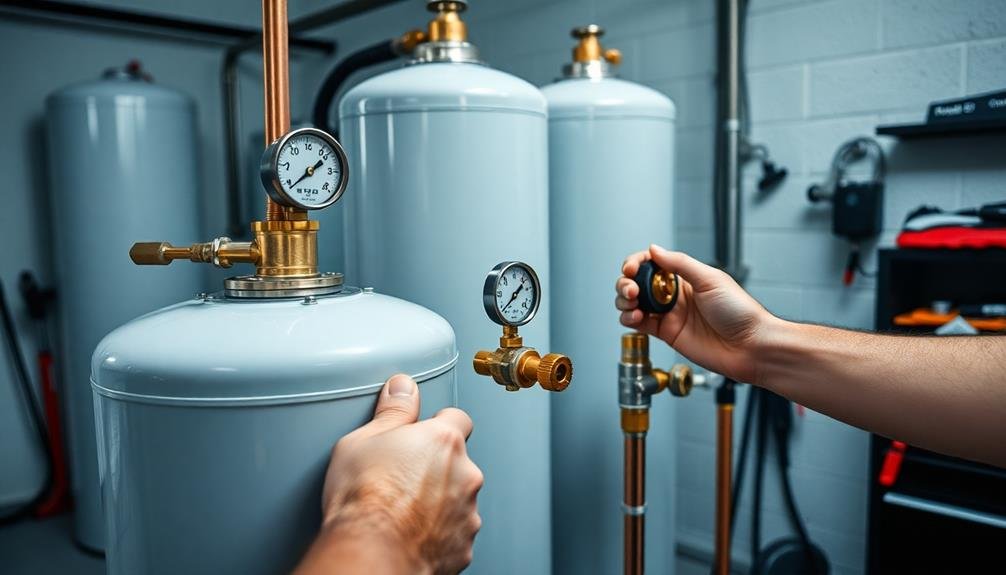
The fuel supply system is a crucial component of your DIY home fuel cell setup. You'll need to install a reliable and safe method for delivering hydrogen or natural gas to your fuel cell.
First, choose the appropriate fuel source based on your fuel cell type and local availability. For hydrogen, you'll need a storage tank and specialized piping designed to handle this highly flammable gas. If using natural gas, you'll connect to your home's existing gas line.
Install a pressure regulator to guarantee consistent fuel flow to the fuel cell. This device maintains ideal pressure for efficient operation.
Next, set up a fuel filtration system to remove impurities that could damage your fuel cell. Install leak detection sensors throughout the fuel supply system for safety. These will alert you to any potential gas leaks.
Verify all connections are tight and use appropriate sealants. Test the system thoroughly for leaks using a gas detector before operation.
Install shut-off valves at key points in the system for emergency situations. Finally, label all components clearly and create a detailed diagram of your fuel supply system for future reference and maintenance.
Set Up Electrical Connections
After installing the fuel supply system, you'll need to set up the electrical connections for your DIY home fuel cell. Begin by connecting the fuel cell's positive and negative terminals to a charge controller. This device regulates the voltage and current output, protecting your system from overcharging or discharging.
Next, wire the charge controller to a battery bank. Use deep-cycle batteries designed for renewable energy systems. Connect the batteries in series or parallel, depending on your voltage and capacity requirements.
From the battery bank, run cables to an inverter, which converts DC power to AC power for household use. Install a main DC disconnect switch between the charge controller and inverter for safety.
Add fuses or circuit breakers at key points in the system to protect against electrical faults. Use properly sized cables throughout to minimize power loss and prevent overheating.
Connect the inverter's output to your home's electrical panel through a transfer switch. This allows you to safely switch between fuel cell power and grid power.
Implement Safety Measures
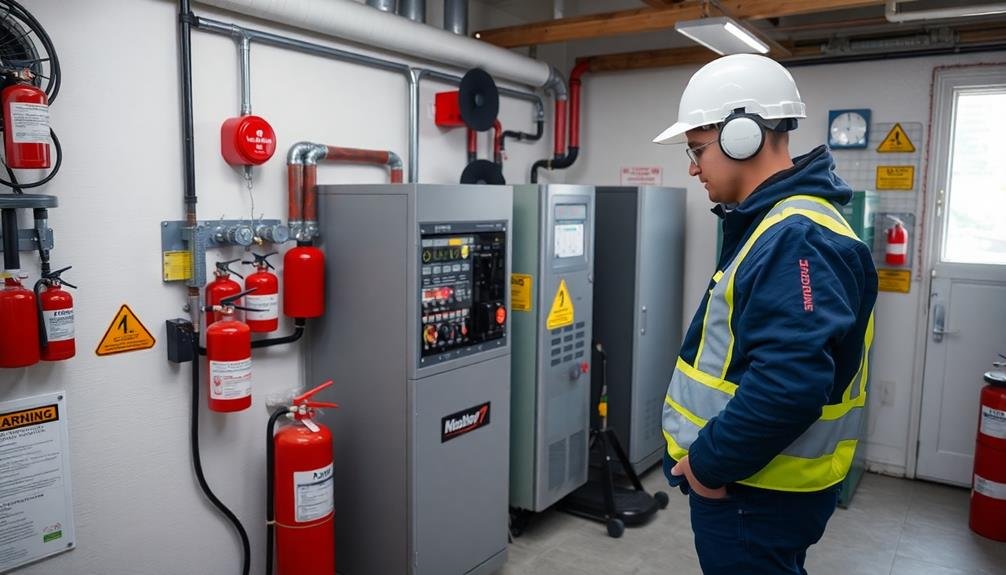
Implementing robust safety measures is vital when setting up a DIY home fuel cell system. You'll need to prioritize safety to protect yourself, your family, and your property.
Start by installing hydrogen detectors in your fuel cell area and nearby spaces. These sensors will alert you to any gas leaks, allowing for quick action.
Guarantee proper ventilation in your fuel cell room. Install exhaust fans and keep windows accessible to prevent hydrogen buildup. You should also have a fire suppression system in place, specifically designed for hydrogen fires.
Here are four vital safety measures you can't overlook:
- Use explosion-proof electrical components and wiring
- Install an automatic shut-off valve for your hydrogen supply
- Create an emergency response plan and train household members
- Regularly inspect and maintain all fuel cell components
Don't forget to wear appropriate personal protective equipment when working on your fuel cell system. This includes safety glasses, gloves, and non-static clothing.
Keep a class C fire extinguisher nearby, and never smoke or use open flames in the vicinity of your fuel cell setup.
Regularly test your safety systems and update your knowledge on fuel cell safety protocols to guarantee ongoing protection.
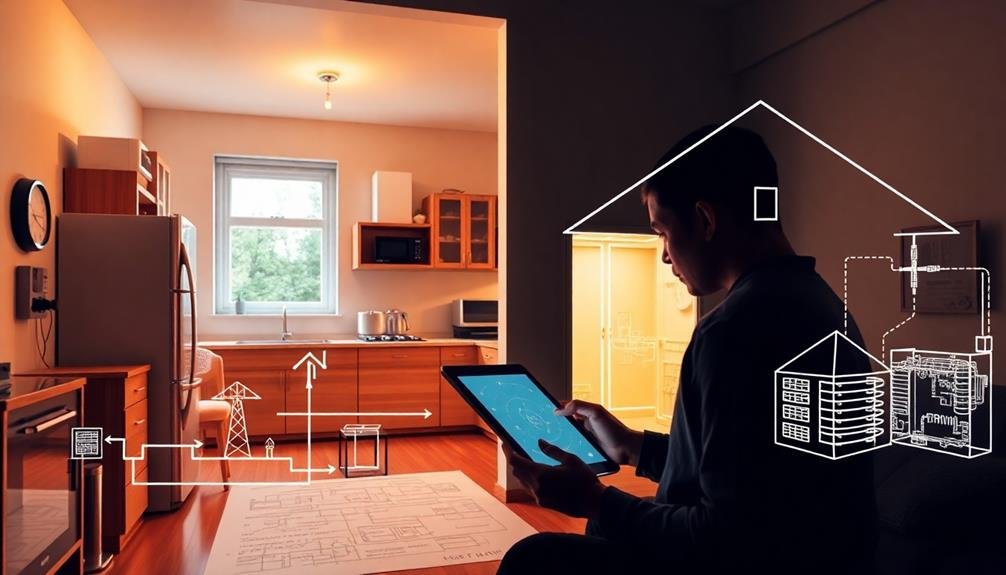
Connect to Home Power Grid
To connect your fuel cell to your home's power grid, you'll need to select and install an appropriate inverter.
Confirm the inverter meets safety standards and can handle the output of your fuel cell system.
It's essential to comply with local regulations and obtain necessary permits before connecting to the grid, as improper installation can be dangerous and potentially illegal.
Inverter Selection and Installation
The final vital component in your DIY home fuel cell setup is the inverter. This device converts the DC power produced by your fuel cell into AC power compatible with your home's electrical system. Selecting the right inverter and installing it correctly is essential for peak performance and safety.
When choosing an inverter, consider these key factors:
- Power rating: Verify it can handle your fuel cell's output capacity.
- Efficiency: Look for high-efficiency models to minimize power loss.
- Wave form: Pure sine wave inverters are best for sensitive electronics.
- Grid-tie capability: Necessary for connecting to the main power grid.
To install your inverter, you'll need to mount it securely in a well-ventilated area, preferably close to your fuel cell and battery bank.
Connect the inverter's DC input to your battery bank using appropriately sized cables. Then, wire the AC output to your home's electrical panel through a dedicated circuit breaker.
It's vital to follow local electrical codes and obtain necessary permits. If you're not confident in your electrical skills, hire a licensed electrician to guarantee a safe and compliant installation.
Safety and Regulation Compliance
With safety and regulation compliance, connecting your DIY fuel cell system to the home power grid becomes a vital step. You'll need to guarantee your setup meets local building codes and utility regulations.
First, contact your local utility company to discuss their interconnection requirements. They'll likely require a professional inspection and may have specific equipment standards.
Install a grid-tie inverter that's compatible with your fuel cell system and meets UL 1741 standards. This device synchronizes your system's output with the grid's voltage and frequency.
You'll also need a bidirectional meter to track energy flow between your system and the grid.
Don't forget safety disconnects. Install manual and automatic shut-off switches that isolate your system from the grid during power outages or maintenance. These prevent backfeeding, which can endanger utility workers.
Grounding is vital. Properly ground all components to prevent electrical shock and equipment damage.
Use appropriate surge protection devices to safeguard against voltage spikes.
Test and Calibrate System
Before powering up your fuel cell system, perform thorough safety checks to guarantee all connections are secure and there are no gas leaks.
Once safety is confirmed, measure the voltage output across different load conditions to verify the system's performance.
Safety Checks First
Safety checks form the cornerstone of any DIY fuel cell project. Before powering up your system, it's vital to perform a thorough inspection to guarantee everything's in order.
You'll want to focus on key areas that could pose potential risks if overlooked. Start by examining all connections and seals for any signs of leakage. Next, verify that your ventilation system is functioning correctly to prevent the buildup of potentially harmful gases.
Don't forget to test your safety shut-off mechanisms to confirm they'll activate in case of an emergency.
Here's a quick checklist of essential safety checks:
- Inspect all fuel lines and connections for leaks
- Test gas detectors and alarms
- Verify proper ventilation in the installation area
- Check electrical connections and grounding
Once you've completed these safety checks, you're ready to move forward with testing and calibrating your fuel cell system.
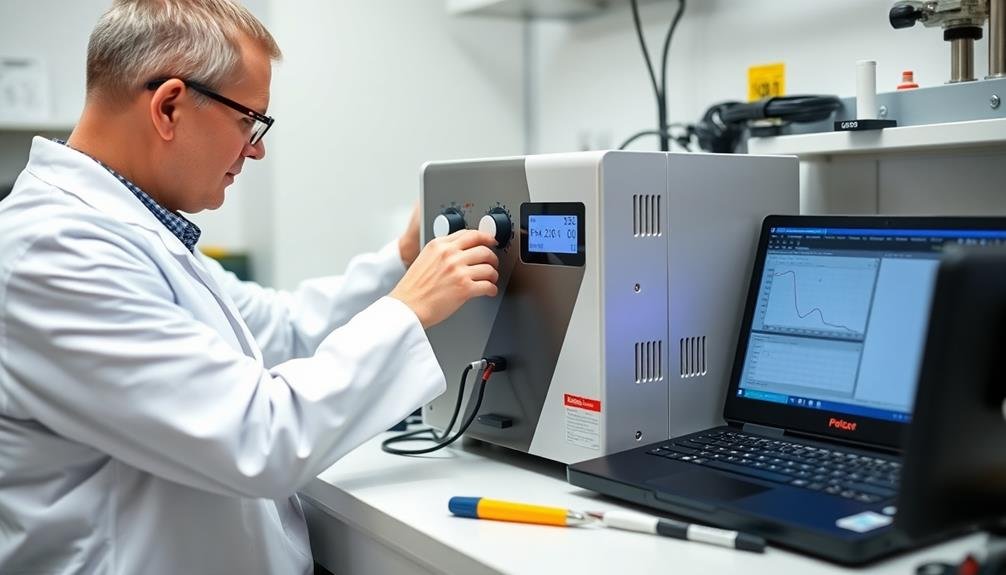
Measure Voltage Output
Once you've completed all safety checks, it's time to measure your fuel cell's voltage output. Begin by connecting a digital multimeter to the fuel cell's terminals. Set the multimeter to measure DC voltage, guaranteeing it can handle the expected output range. Start the fuel cell and allow it to reach its operating temperature before taking readings.
Take multiple voltage measurements at different load levels to assess performance across various conditions. Record these readings in a table for easy reference:
| Load Level | Expected Voltage (V) | Measured Voltage (V) |
|---|---|---|
| No Load | 1.0 – 1.2 | |
| 25% Load | 0.8 – 1.0 | |
| 50% Load | 0.7 – 0.9 | |
| 75% Load | 0.6 – 0.8 | |
| Full Load | 0.5 – 0.7 |
Compare your measured values to the expected voltage ranges. If there are significant discrepancies, troubleshoot potential issues such as fuel flow problems, membrane degradation, or electrical connection faults. Adjust the fuel cell's operating parameters as needed to optimize performance. Remember to monitor temperature and pressure during testing to verify they remain within safe limits.
Optimize Fuel Flow
Maximizing fuel flow is critical for enhancing your fuel cell's efficiency and longevity. You'll need to carefully test and calibrate your system to guarantee the right amount of fuel is delivered at the correct pressure. Start by checking all connections for leaks and tightening them as needed.
Then, adjust your fuel regulator to the manufacturer's recommended pressure.
To fine-tune your fuel cell's performance, follow these steps:
- Monitor the fuel consumption rate while running the cell at different power outputs
- Adjust the fuel flow rate incrementally and observe changes in voltage and current
- Record data for each setting, including fuel flow, power output, and efficiency
- Analyze the data to determine the ideal fuel flow rate for your specific setup
Use a flow meter to precisely measure and control the fuel input.
You'll want to find the sweet spot where you're supplying enough fuel to meet demand without wasting excess. Keep in mind that ideal flow may vary depending on the load and environmental conditions.
Regular monitoring and adjustment will help maintain peak performance over time. Don't hesitate to consult your fuel cell's documentation for specific guidance on maximizing fuel flow for your particular model.
Maintain Your Fuel Cell
Proper maintenance is essential for keeping your DIY fuel cell running efficiently and safely. Regularly inspect your system for any signs of wear, leaks, or damage. Check all connections, hoses, and seals monthly, tightening or replacing them as needed.
Clean the fuel cell stack every three months using distilled water to remove any buildup or contaminants. Monitor your fuel cell's performance by tracking power output and efficiency. If you notice a decline, it may be time to service or replace components.
Keep the area around your fuel cell clean and well-ventilated to prevent dust accumulation and guarantee suitable airflow. Maintain suitable water levels in the system, using only distilled water to prevent mineral buildup.
Replace air and fuel filters according to the manufacturer's recommendations, typically every six months to a year. Check and calibrate sensors regularly to guarantee accurate readings and peak performance.
Conduct a thorough annual inspection, including testing for electrical continuity and insulation resistance. If you're unsure about any maintenance tasks, consult a professional or the manufacturer's guidelines.
Frequently Asked Questions
How Long Does a Typical Home Fuel Cell System Last?
You'll typically see a home fuel cell system last 10-15 years with proper maintenance. It's essential you follow manufacturer guidelines for upkeep. Some systems may even last up to 20 years if you're diligent about care.
Can Fuel Cells Be Used as a Primary Power Source?
Yes, you can use fuel cells as a primary power source. They'll provide reliable, clean energy for your home or business. You'll need to guarantee a steady fuel supply and proper maintenance, but they're an efficient alternative to traditional power sources.
What's the Average Cost Savings Compared to Traditional Electricity Sources?
You'll find cost savings vary widely depending on your location and energy usage. On average, you could save 20-30% compared to grid electricity. However, upfront costs are high, so it's essential to calculate your long-term savings potential.
Are There Any Government Incentives for Installing Home Fuel Cells?
You'll find various government incentives for home fuel cells. These can include tax credits, rebates, and grants at federal, state, and local levels. Check with your local energy office or visit the Database of State Incentives for Renewables & Efficiency.
How Noisy Are Fuel Cell Systems During Operation?
You'll find most fuel cell systems operate quietly. They don't have moving parts, so they're nearly silent. You might hear a gentle hum from auxiliary components like fans or pumps, but it's usually not disruptive.
In Summary
You've now got the essential steps to set up your own home fuel cell system. Remember, this is a complex project that requires careful planning and execution. Don't hesitate to consult professionals if you're unsure about any aspect. With proper installation and maintenance, you'll be enjoying clean, efficient energy for years to come. Keep learning and stay safe as you commence this exciting journey towards energy independence.


Leave a Reply