Safe DIY insulation removal is vital to protect your health and home from hidden dangers. Old insulation can release harmful particles, including asbestos, mold spores, and fiberglass fibers, which pose serious health risks. Improper removal can spread these contaminants throughout your living space, potentially causing respiratory issues, skin irritation, and long-term health problems. You'll need to use proper protective equipment, guarantee adequate ventilation, and follow safe disposal methods to minimize exposure. Additionally, you must be aware of electrical hazards and potential structural damage during the removal process. Understanding the risks and proper techniques is essential for a successful and safe insulation removal project.
Health Risks of Old Insulation
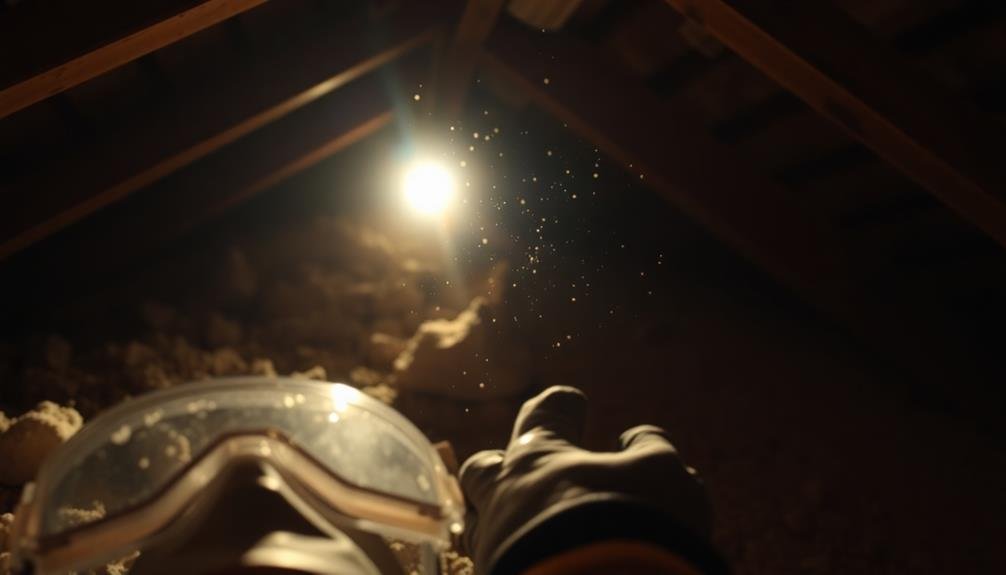
While old insulation may seem harmless, it can pose serious health risks to you and your family. Over time, insulation materials can deteriorate, releasing harmful particles into the air you breathe. Fiberglass insulation, commonly used in older homes, can cause skin irritation, eye problems, and respiratory issues if fibers become airborne. Prolonged exposure may lead to more severe health complications.
Older insulation often harbors mold, especially in damp or poorly ventilated areas. Mold spores can trigger allergic reactions, asthma attacks, and other respiratory problems.
Additionally, insulation installed before the 1980s might contain asbestos, a known carcinogen. Disturbing asbestos-containing materials releases microscopic fibers that, when inhaled, can cause serious lung diseases, including mesothelioma.
Pest infestations in old insulation create another health hazard. Rodents and insects can leave behind droppings, urine, and carcasses, which may carry harmful bacteria and viruses.
These contaminants can spread through your home's air circulation system, potentially causing illnesses. By removing old insulation safely, you'll eliminate these health risks and create a healthier living environment for you and your loved ones.
Proper Protective Equipment
Equip yourself properly before tackling any insulation removal project. Your safety gear is vital for protecting against the hazards associated with old insulation.
Start with a respirator mask rated for particulates, making certain it fits snugly to prevent inhalation of harmful fibers and dust. Don't skimp on eye protection; use sealed safety goggles to shield your eyes from airborne debris.
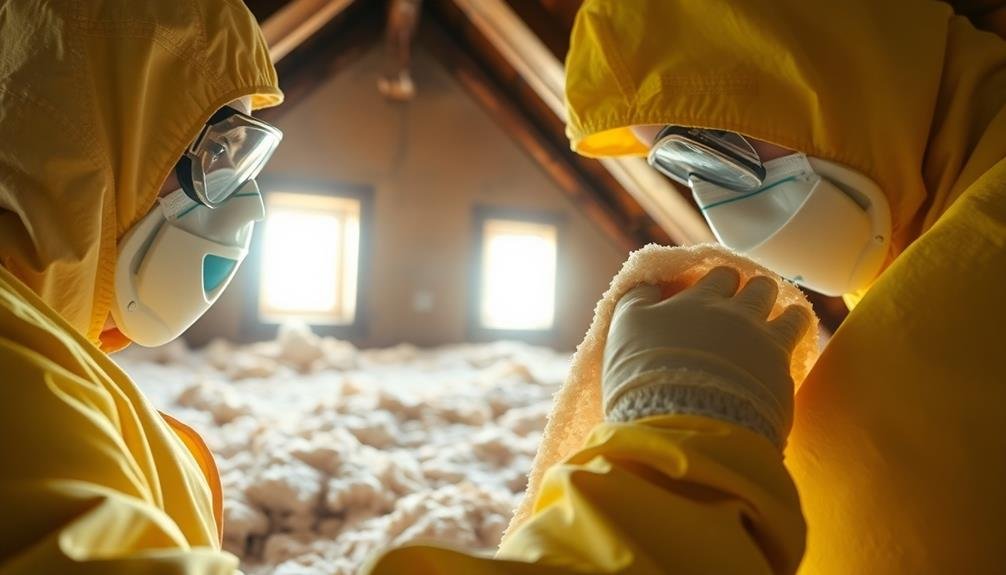
Cover your skin completely with disposable coveralls, including a hood to protect your head and neck. Wear sturdy, cut-resistant gloves to guard against sharp objects and irritants.
Choose boots or shoe covers that can be easily cleaned or disposed of after the job. Consider using a hard hat if you're working in an attic or crawl space with low clearance.
Don't forget to have a HEPA vacuum on hand for cleanup. Proper lighting is also essential, so bring a headlamp or work light to guarantee you can see clearly in dimly lit areas.
Identifying Hazardous Insulation Materials
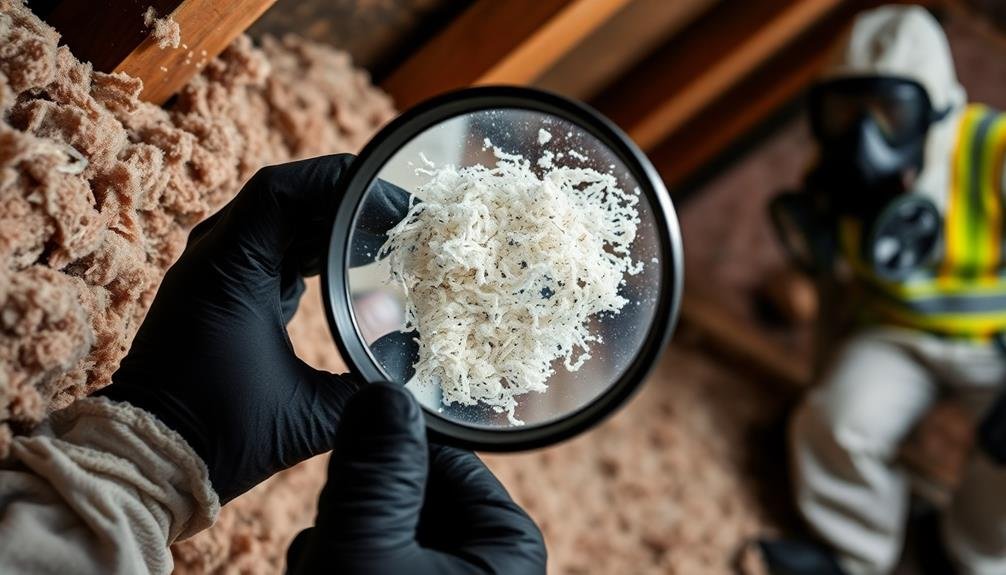
When removing insulation, you'll need to be alert for potential hazards.
Look for warning signs of asbestos, such as older homes with insulation installed before the 1980s or materials that are gray and fibrous.
You should also check for visible mold or mildew growth, which can appear as dark spots or a musty odor in damp areas.
Asbestos Warning Signs
Before you begin any DIY insulation removal project, it's crucial to identify potential asbestos-containing materials. Asbestos was commonly used in insulation before the 1980s, and its presence can pose serious health risks.
To protect yourself and your family, you'll need to recognize the warning signs of asbestos-containing insulation.
Look out for these key indicators:
- Gray or white fibrous material
- Dimpled or corrugated surface texture
- Paper-like backing on insulation
- Vermiculite insulation (small, pebble-like pieces)
- Labels or markings indicating asbestos content
If you suspect your insulation contains asbestos, don't disturb it. Even small disturbances can release harmful fibers into the air.
Instead, contact a professional asbestos inspector to assess your home. They'll take samples and conduct laboratory tests to confirm the presence of asbestos.
Mold and Mildew Detection
In addition to asbestos, mold and mildew can lurk within old insulation, posing significant health risks. You'll need to be vigilant in identifying these hazards before proceeding with insulation removal.
Look for discolored patches, musty odors, or damp areas in your insulation. Black, green, or brown spots are telltale signs of mold growth.
Use a flashlight to inspect dark corners and crevices where moisture might accumulate. Pay special attention to areas near pipes, vents, and windows, as these are prone to leaks and condensation.
If you notice a musty smell but can't see visible growth, mold may be hiding behind walls or under floorboards.
Consider using a moisture meter to detect high humidity levels, which can indicate potential mold growth. If you're unsure, take a small sample of the suspicious material and have it tested by a professional laboratory.
Ventilation During Removal Process
Proper ventilation is vital during the insulation removal process. It helps protect you from harmful particles and guarantees a safer working environment. When removing insulation, you'll be disturbing fibers, dust, and potentially hazardous materials that can become airborne.
To maintain adequate ventilation, open windows and doors to create cross-ventilation, and use fans to direct airflow out of the work area.
Consider these key points for effective ventilation:
- Use exhaust fans to pull contaminated air out of the space
- Set up a negative air pressure system to prevent particles from spreading
- Wear a respirator mask to filter out airborne particles
- Create barriers between work areas and living spaces
- Regularly clean and maintain ventilation equipment
You'll need to monitor air quality throughout the removal process. If you notice a decrease in air flow or an increase in dust, stop work immediately and reassess your ventilation setup.
Safe Disposal Methods
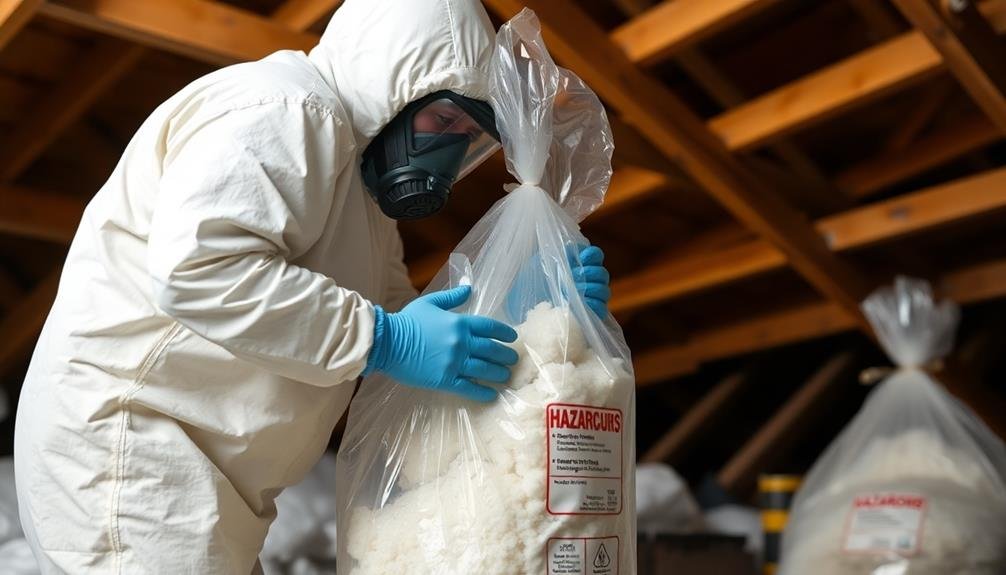
When disposing of old insulation, you'll need to follow proper safety protocols.
Check with local professional disposal facilities that are equipped to handle potentially hazardous materials.
Familiarize yourself with hazardous waste regulations in your area, as these will dictate the specific steps you must take for legal and safe disposal.
Professional Disposal Facilities
Professional disposal facilities play an essential role in safely managing removed insulation. These specialized centers are equipped to handle various types of insulation materials, including those that may contain hazardous substances like asbestos. When you're dealing with large quantities of insulation or potentially dangerous materials, it's vital to utilize these facilities.
Professional disposal centers offer several advantages:
- Proper containment and storage of insulation materials
- Compliance with local and federal regulations
- Trained staff to handle hazardous materials
- Environmentally friendly disposal methods
- Documentation for proper waste management
By using these facilities, you'll guarantee that your removed insulation is disposed of correctly, minimizing environmental impact and potential health risks.
Many centers also offer additional services, such as testing for hazardous materials or providing guidance on safe removal practices.
To find a professional disposal facility near you, check with your local waste management authority or environmental agency. They can provide a list of approved centers in your area.
Hazardous Waste Regulations
Numerous hazardous waste regulations govern the safe disposal of insulation materials, especially those containing asbestos or other toxic substances.
You'll need to familiarize yourself with both federal and local laws to guarantee compliance. The Environmental Protection Agency (EPA) sets national standards, but your state or municipality may have additional requirements.
When removing insulation, you must properly contain and label the waste. Use heavy-duty plastic bags or sealed containers specifically designed for hazardous materials.
Double-bagging is often recommended for added safety. You'll need to clearly mark these containers with warning labels indicating the presence of hazardous substances.
Don't attempt to dispose of hazardous insulation in regular trash. It's illegal and dangerous. Instead, you must transport it to a designated facility licensed to handle such materials.
Some areas offer special collection days for household hazardous waste, which may include insulation.
Before starting your project, contact your local waste management authority. They can provide specific guidelines for your area and information on nearby disposal facilities.
Tools for Effective Insulation Removal
The right tools make all the difference when removing insulation safely and efficiently. You'll need protective gear and specialized equipment to guarantee a thorough and hazard-free removal process. Start by investing in high-quality personal protective equipment (PPE), including a respirator, goggles, gloves, and disposable coveralls.
For the actual removal, you'll want to have these essential tools on hand:
- Industrial-strength vacuum with HEPA filter
- Heavy-duty garbage bags
- Utility knife or insulation saw
- Rake or pitchfork for loose-fill insulation
- Portable lighting for hard-to-see areas
A HEPA vacuum is vital for capturing fine particles and preventing them from becoming airborne. Use garbage bags specifically designed for insulation disposal to contain the material securely.
The utility knife or insulation saw will help you cut through batts or boards, while a rake or pitchfork is ideal for scooping up loose-fill insulation. Don't forget about proper lighting, as many attics and crawl spaces are dimly lit.
With these tools at your disposal, you'll be well-equipped to tackle your insulation removal project safely and effectively.
Preparing the Work Area
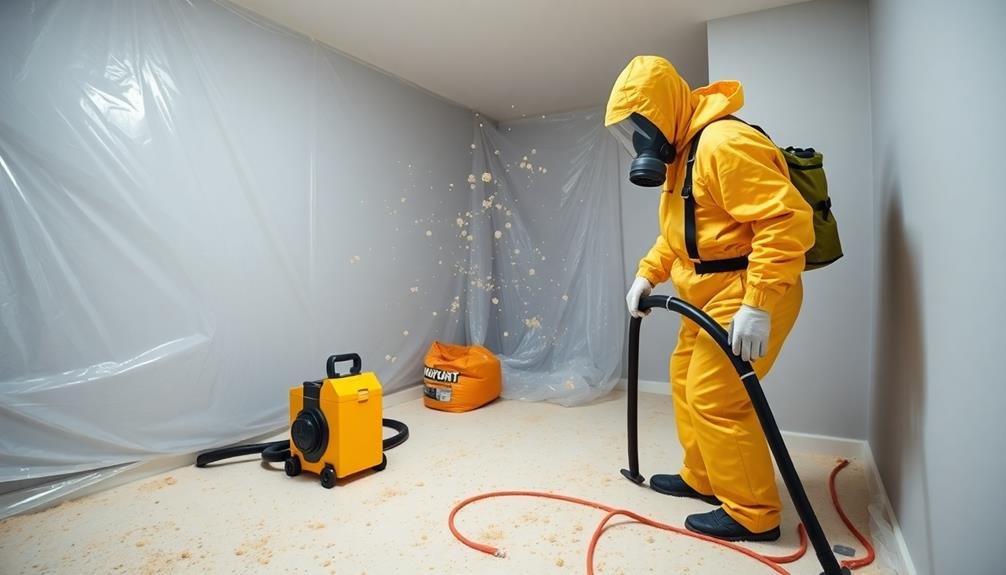
Before you begin removing insulation, you'll need to clear and seal the work area to prevent contamination of other spaces.
Don't forget to gather essential protective gear, including a respirator, goggles, and disposable coveralls.
Clear and Seal Space
Prior to starting your insulation removal project, you'll need to properly prepare the work area.
Begin by clearing the space of all furniture, belongings, and obstacles. This will provide you with ample room to work and prevent any damage to your possessions.
Next, seal off the area to contain dust and insulation particles. Use plastic sheeting and tape to cover doorways, vents, and any openings to other parts of your home.
To guarantee a safe and efficient workspace, follow these essential steps:
- Remove all items from the attic or crawl space
- Lay down protective plastic sheeting on the floor
- Install temporary lighting for better visibility
- Set up a fan near a window for ventilation
- Create a designated area for storing removed insulation
Protective Gear Essentials
With your workspace prepared, it's time to focus on personal safety. Proper protective gear is essential when removing insulation, as it shields you from harmful particles and potential irritants.
Start with a well-fitting respirator or dust mask rated for insulation fibers. This will protect your lungs from inhaling dangerous particles.
Next, don protective goggles or safety glasses to safeguard your eyes from flying debris and dust. Opt for a pair that seals tightly around your eyes for maximum protection.
Cover your hands with thick, durable gloves to prevent cuts and skin irritation. Choose gloves made of sturdy materials like leather or heavy-duty rubber.
Wear a disposable full-body suit or coveralls to keep insulation fibers off your skin and clothes. Verify the suit covers your entire body, including your arms and legs.
Don't forget to protect your feet with sturdy, closed-toe shoes or work boots. If possible, use disposable shoe covers for an extra layer of protection.
Lastly, cover your head with a hat or hood to prevent insulation from getting in your hair.
With this gear, you'll be well-equipped to tackle insulation removal safely and effectively.
Ventilation and Lighting Setup
Proper ventilation and lighting are essential aspects of preparing your work area for insulation removal. Before you begin, set up fans to create a cross-breeze, ensuring that contaminated air is directed out of your living space. Open windows and doors to maximize air circulation, and consider using a HEPA air scrubber for added safety.
Adequate lighting is vital for identifying potential hazards and ensuring thorough removal. Use bright, portable work lights to illuminate dark corners and hard-to-reach areas. Position them strategically to avoid shadows that could obscure your view.
To create a safe and efficient work environment:
- Install an exhaust fan in a window to pull contaminated air out
- Set up multiple work lights at different angles to eliminate shadows
- Use extension cords with GFCI protection for electrical safety
- Place a dehumidifier in the work area to control moisture levels
- Create a clear path for easy access and quick exits if needed
Dealing With Mold and Mildew
Encountering mold and mildew during insulation removal can pose serious health risks. If you spot these fungal growths, it's essential to take immediate action. First, stop your work and assess the extent of the problem.
For small areas, you can treat them with a mixture of water and bleach, applying it carefully with a spray bottle. However, if the mold covers more than 10 square feet, it's best to call in professionals.
When dealing with mold, always wear a respirator mask, gloves, and protective eyewear. Don't attempt to remove moldy insulation without proper equipment, as you'll risk spreading spores throughout your home.
If you decide to proceed, use a HEPA vacuum to collect loose mold particles before carefully removing the affected insulation.
After removal, thoroughly clean the area with a mold-killing solution and verify it's completely dry before installing new insulation.
Electrical Safety Considerations
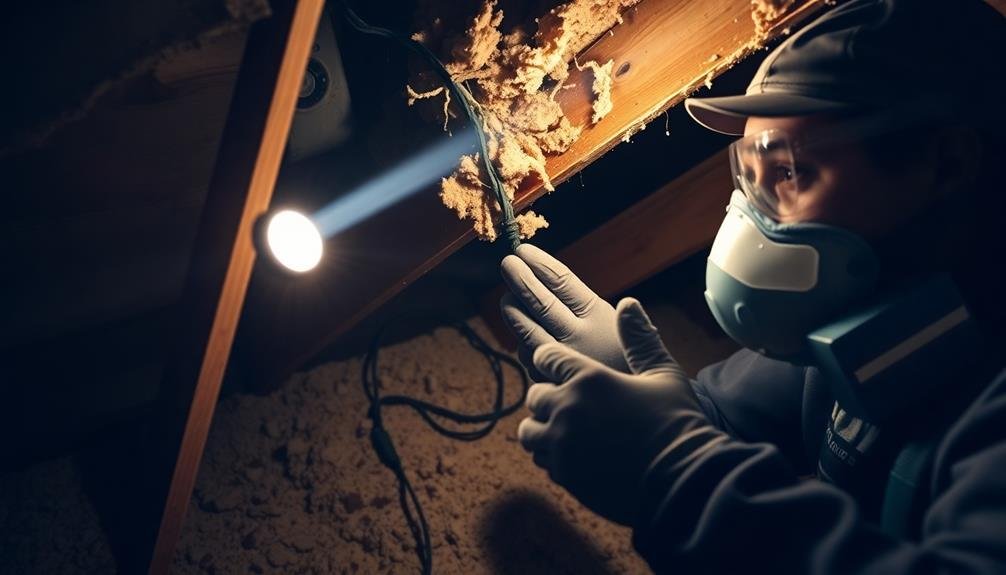
When removing insulation, you must prioritize electrical safety to avoid potentially fatal accidents. Before starting, turn off the main power supply to the area you're working in. Use a non-contact voltage tester to confirm that all wires are de-energized.
Be aware that even with the power off, capacitors in electrical devices can still hold a charge. Inspect the area for any damaged wiring, exposed conductors, or signs of electrical issues. If you encounter any problems, stop work immediately and consult a licensed electrician.
When removing insulation around electrical boxes, switches, or outlets, exercise extreme caution to avoid damaging the wiring.
Here are key electrical safety considerations for DIY insulation removal:
- Wear appropriate personal protective equipment (PPE)
- Use insulated tools when working near electrical components
- Keep metal ladders and tools away from power lines
- Don't touch grounded objects while working with electrical equipment
- Be aware of hidden electrical hazards in walls and ceilings
Post-Removal Cleanup Techniques
After insulation removal, thorough cleanup is vital for health and safety.
Begin by vacuuming the entire area with a HEPA-filtered vacuum cleaner to capture fine particles and debris. Don't forget to clean walls, rafters, and any other surfaces where insulation dust may have settled.
Next, wipe down all surfaces with damp cloths or mops to remove any remaining dust. Use a mild detergent solution for stubborn areas.
Be sure to dispose of cleaning materials properly, as they may contain harmful particles.
Inspect the area for any remaining insulation fragments and remove them carefully. Pay special attention to corners, crevices, and hard-to-reach spots.
If you've removed asbestos-containing insulation, consider hiring a professional for post-removal air testing to verify the area is safe.
Choosing Replacement Insulation Materials
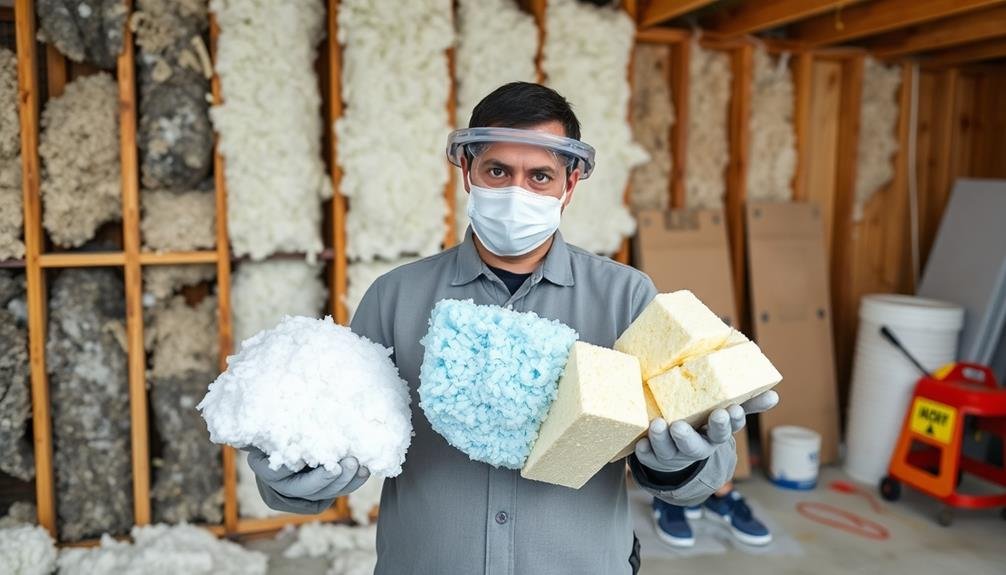
Selecting the right replacement insulation is essential for energy efficiency and comfort in your home. When choosing new insulation materials, consider factors like R-value, moisture resistance, fire safety, and cost. Fiberglass, cellulose, and spray foam are popular options, each with unique benefits and drawbacks.
To make an informed decision, evaluate the following:
- Your climate zone and local building codes
- The area you're insulating (attic, walls, or crawl space)
- Your budget and long-term energy savings goals
- Environmental impact and sustainability concerns
- Any allergies or sensitivities to certain materials
Fiberglass is affordable and widely available, but it can irritate skin and lungs during installation.
Cellulose, made from recycled paper products, is eco-friendly but may settle over time.
Spray foam offers excellent air sealing properties but is more expensive and requires professional installation.
Don't forget to assess your home's ventilation needs when selecting insulation. Proper airflow is critical for preventing moisture buildup and maintaining indoor air quality.
If you're unsure about the best insulation choice for your situation, consult a professional energy auditor or insulation contractor for personalized recommendations.
Frequently Asked Questions
How Long Does DIY Insulation Removal Typically Take?
You'll typically spend 1-2 days removing insulation from an average-sized home. It's a time-consuming process that depends on your home's size, insulation type, and accessibility. Don't rush it; take breaks and work safely throughout the project.
Can I Reuse Any of the Old Insulation Materials?
You shouldn't reuse old insulation materials. They're likely contaminated with dust, mold, or pests. It's best to dispose of them properly and install fresh insulation for better energy efficiency and indoor air quality in your home.
What's the Average Cost Savings of DIY Versus Professional Insulation Removal?
You'll typically save 30-50% on insulation removal costs by doing it yourself. However, you're trading time and effort for those savings. Don't forget to factor in equipment rental and disposal fees when calculating your DIY costs.
Are There Specific Weather Conditions Ideal for Insulation Removal?
You'll want dry, mild weather for insulation removal. Avoid rain or extreme temperatures. Cool, overcast days are ideal. You don't want moisture affecting the insulation, and comfortable conditions will make your work easier and safer.
How Soon After Removal Can New Insulation Be Installed?
You can install new insulation immediately after removal. There's no need to wait. However, confirm the area is clean, dry, and any necessary repairs are completed first. It's best to have new insulation ready to minimize your home's exposure.
In Summary
You've now learned why safe DIY insulation removal is essential. By understanding the health risks, using proper equipment, and following correct procedures, you'll protect yourself and your home. Don't forget to ventilate, dispose of materials safely, and address any mold issues. Remember to prioritize electrical safety and thorough cleanup. When you're ready to replace the insulation, choose materials wisely. With these precautions, you'll guarantee a safer, more efficient home renovation process.

Leave a Reply