To craft your own wood pellet hopper, start by selecting durable, heat-resistant materials like stainless steel for the body and sturdy aluminum for the frame. Design a blueprint considering capacity and shape, typically 100-200 pounds for home use. Gather essential tools including cutting equipment, drills, and safety gear. Build the frame using lumber and plywood, then install the feed mechanism with an auger and motor. Seal and weatherproof all joints, and apply protective coatings. Test thoroughly for smooth operation and address any issues. Regular maintenance guarantees peak performance. With these expert tips, you'll be well-equipped to tackle this DIY project.
Choosing the Right Materials
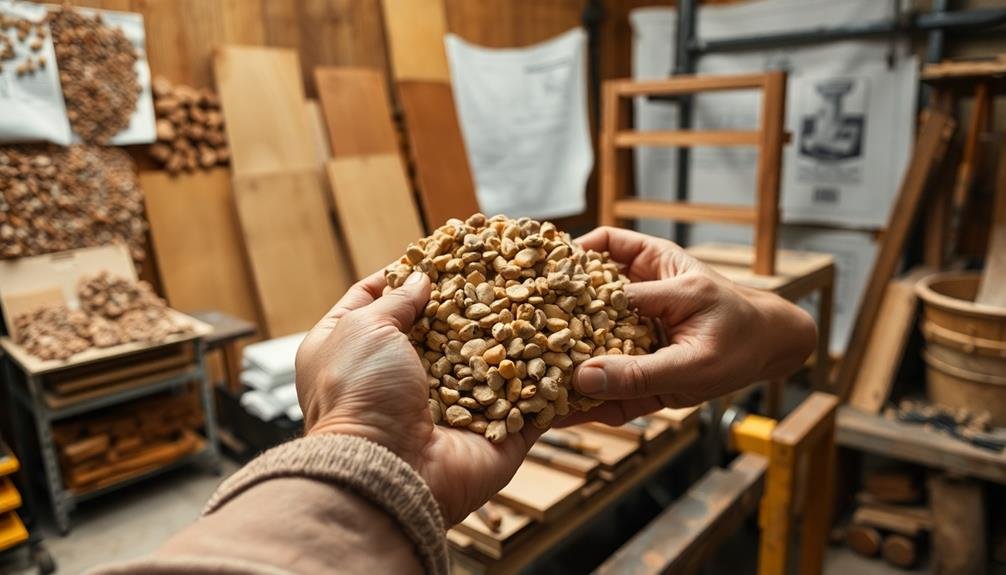
When it comes to choosing the right materials for your wood pellet hopper, durability and heat resistance are key. You'll want to opt for materials that can withstand constant exposure to heat and friction from the pellets.
Stainless steel is an excellent choice for the main body of the hopper, as it's corrosion-resistant and can handle high temperatures.
For the hopper's frame, consider using sturdy aluminum or galvanized steel. These materials offer strength without adding excessive weight to your structure.
The chute, where pellets flow into the stove, should be made of a smooth, heat-resistant material like stainless steel or high-grade aluminum to guarantee easy pellet movement.
Don't forget about the hopper's lid. A thick, food-grade plastic or a lightweight metal like aluminum works well here. Ascertain it fits snugly to keep moisture out.
For joints and connections, use high-temperature silicone sealant and heat-resistant bolts or screws.
Lastly, consider adding a clear viewing window made of heat-resistant plastic or tempered glass. This allows you to monitor pellet levels easily without opening the hopper.
Designing Your Hopper
The blueprint for your wood pellet hopper is essential to its functionality and efficiency. Begin by sketching your design, considering the hopper's capacity, shape, and how it'll interface with your pellet stove. Aim for a conical or pyramid shape to guarantee smooth pellet flow.
Calculate the hopper's dimensions based on your pellet usage and desired refill frequency. A typical home hopper might hold 100-200 pounds of pellets. Factor in the pellet stove's feed mechanism when designing the outlet at the bottom of the hopper.
Include a clear viewing window in your design to easily monitor pellet levels. Plan for a tight-fitting lid to keep moisture out and prevent dust from escaping. Consider adding a small vent to equalize pressure as pellets are consumed.
Don't forget to incorporate support structures into your design. The hopper must withstand the weight of the pellets and any external forces. If you're planning an outdoor hopper, design it to withstand weather conditions and prevent water ingress.
Lastly, make sure your design allows for easy cleaning and maintenance. A removable bottom or access panel can be invaluable for this purpose.
Essential Tools for Construction
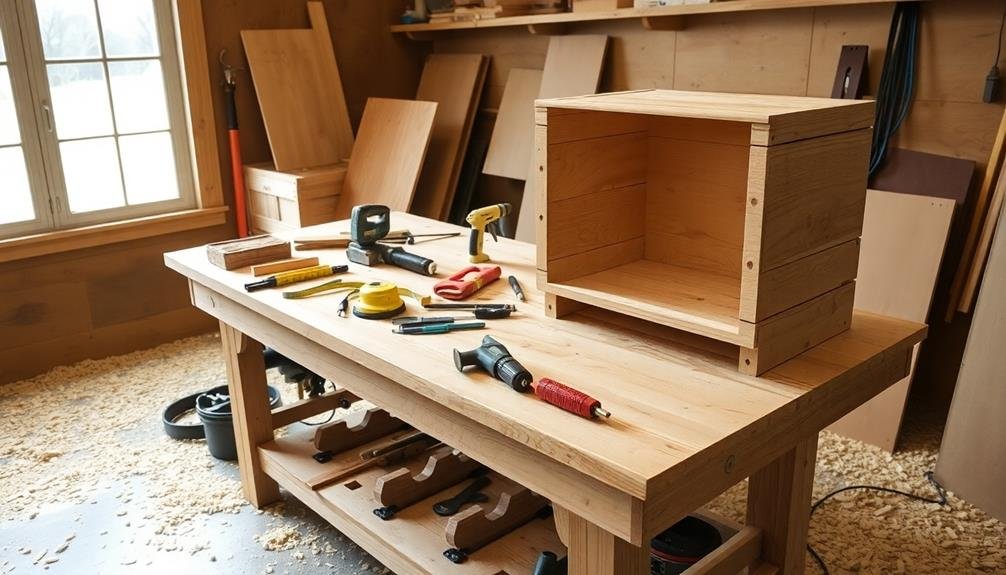
Gather your tools before starting on your wood pellet hopper construction project.
You'll need a circular saw or table saw for cutting the wood panels to size. A drill with various drill bits is vital for creating holes for screws and bolts. Don't forget a screwdriver set and wrench set for fastening components together.
For precise measurements and marking, you'll require a tape measure, carpenter's square, and pencil. A level will guarantee your hopper is properly aligned. You'll also need wood glue for reinforcing joints and creating a tight seal.
Safety equipment is essential: wear safety glasses, ear protection, and a dust mask when cutting and drilling. Work gloves will protect your hands during construction.
Additional tools that'll come in handy include clamps for holding pieces together while gluing or screwing, sandpaper for smoothing rough edges, and a utility knife for trimming any excess material.
If you're incorporating metal components, you might need tin snips or a metal cutting saw.
Building the Hopper Frame
With your tools at the ready, it's time to construct the frame of your wood pellet hopper. Begin by cutting your 2×4 lumber to the desired dimensions for the base, sides, and top of the hopper. Verify all cuts are straight and precise for a sturdy structure.
Next, assemble the base frame by joining the cut pieces using wood screws or nails. Make sure it's square and level before proceeding.
For the side frames, attach vertical supports to the base at each corner. Add horizontal braces between these supports for added stability. As you build upwards, remember to maintain the hopper's sloped design to facilitate pellet flow.
Install diagonal braces to reinforce the structure and prevent warping. Create the top frame by connecting the upper ends of the side supports. Add cross-members for additional strength.
Throughout the process, use a level to check that everything remains plumb and square. Finally, attach plywood sheets to the frame, starting from the bottom and working your way up. Secure the sheets tightly to prevent any gaps where pellets could escape.
Your hopper frame is now ready for the next steps.
Installing the Feed Mechanism
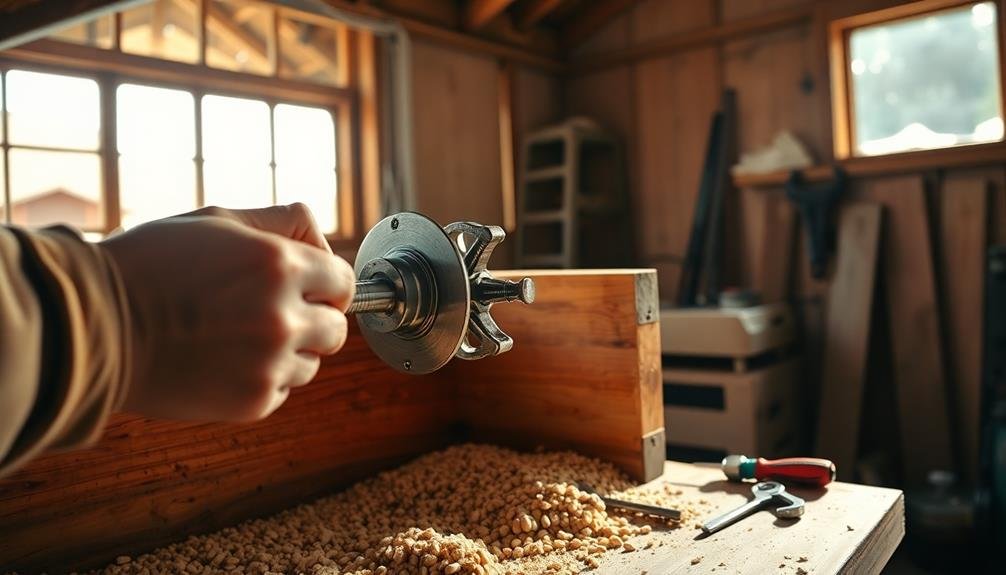
At the heart of your wood pellet hopper, the feed mechanism guarantees a steady flow of fuel. To install it correctly, you'll need an auger, a motor, and a control system.
Begin by positioning the auger at the bottom of your hopper frame. Confirm it's aligned with the outlet and securely fastened to prevent any movement during operation.
Next, attach the motor to the auger. You'll want to use a variable-speed motor to control the pellet flow rate. Mount it firmly to the frame, making sure it's protected from moisture and debris.
Connect the motor to the auger shaft using a coupling designed for this purpose.
Install the control system near the motor. This will regulate the feed rate based on your stove's demand.
Wire the motor to the control system, following the manufacturer's instructions carefully. Don't forget to include an emergency shut-off switch for safety.
Sealing and Weatherproofing
Moisture is the enemy of your wood pellet hopper. To guarantee your pellets remain dry and your hopper functions efficiently, you'll need to focus on proper sealing and weatherproofing.
Start by applying a high-quality silicone sealant to all joints and seams in your hopper's construction. Pay special attention to areas where different materials meet, such as wood-to-metal connections.
Next, consider applying a waterproof coating to the exterior of your hopper. You can use marine-grade varnish or epoxy for wooden hoppers, or rust-resistant paint for metal ones.
Don't forget to treat the interior as well, using a food-safe sealant to prevent moisture absorption.
To further protect your hopper from the elements, consider these additional steps:
- Install a weather-resistant lid with a rubber gasket
- Add a sloped roof or cover to deflect rain and snow
- Use galvanized or stainless steel hardware to prevent rust
Testing and Troubleshooting
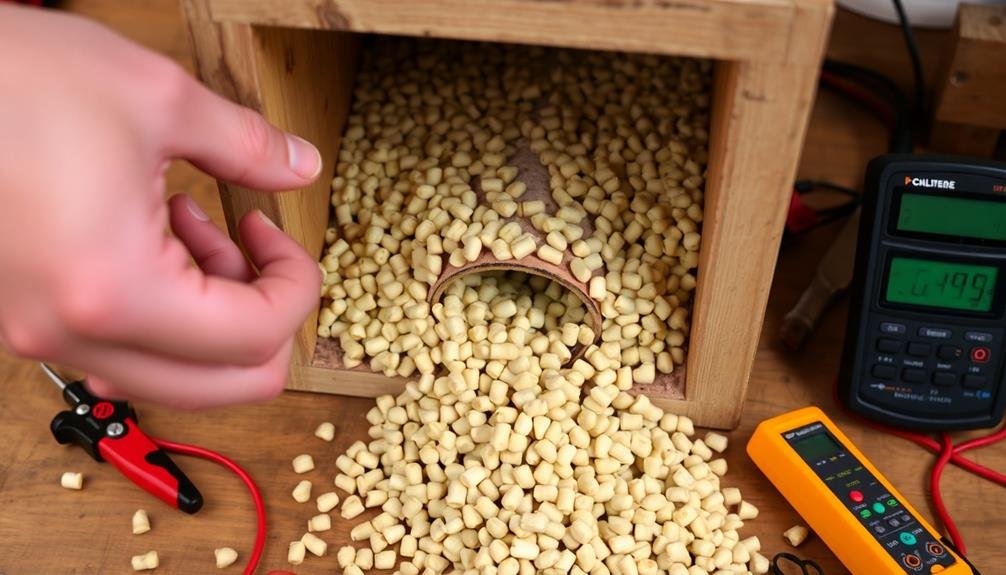
Once you've sealed and weatherproofed your wood pellet hopper, it's time to put it through its paces.
Begin by conducting a dry run without pellets to verify all moving parts function smoothly. Check that the auger rotates freely and the hopper's lid closes securely.
Next, load a small batch of pellets and observe how they flow through the system. Look for any clogs or areas where pellets might get stuck. If you encounter issues, adjust the hopper's angle or modify the auger's design to improve flow.
Test the hopper's capacity by filling it to the brim and measuring how many pounds of pellets it holds. Verify that the weight doesn't strain the structure or compromise its stability.
Monitor the hopper's performance in various weather conditions. If you notice moisture seeping in or pellets clumping, revisit your weatherproofing measures and consider adding a dehumidifier or heat tape.
Maintenance and Upkeep Tips
Regular maintenance is crucial for keeping your wood pellet hopper in prime condition. You'll want to establish a routine inspection schedule to catch any potential issues before they become major problems.
Start by checking for wear and tear on moving parts, such as the auger and motor. Look for signs of rust or corrosion, especially in areas exposed to moisture. Clean out any debris or dust that may have accumulated in the hopper or feeding mechanism.
To guarantee peak performance, follow these key maintenance tips:
- Lubricate moving parts regularly with food-grade lubricant
- Replace worn-out components promptly to prevent further damage
- Seal any cracks or gaps to maintain proper airflow and prevent pellet spillage
Don't forget to empty and clean your hopper thoroughly between uses, especially if you're switching pellet types. This will prevent cross-contamination and guarantee consistent burn quality.
Keep an eye on the moisture content of your pellets, as excess moisture can lead to clumping and feeding issues. If you notice any unusual noises or vibrations during operation, investigate immediately to address potential problems.
Frequently Asked Questions
Can I Use a Wood Pellet Hopper for Other Types of Fuel?
You can adapt a wood pellet hopper for other fuel types, but it's not always recommended. You'll need to take into account fuel size, flow characteristics, and moisture content. It's best to use hoppers designed for specific fuels for ideal performance.
How Do I Calculate the Optimal Hopper Size for My Needs?
To calculate your ideal hopper size, consider your stove's burn rate and desired refill frequency. Multiply the hourly pellet consumption by the number of hours between refills. Add 20% for safety. That's your perfect hopper capacity.
Are There Any Safety Concerns When Using a Homemade Wood Pellet Hopper?
You should be cautious when using a homemade wood pellet hopper. Make certain it's stable, properly sealed, and free from moisture. Be aware of potential fire hazards and dust accumulation. Always follow safety guidelines for wood pellet storage and handling.
Can I Automate the Pellet Feeding Process in My DIY Hopper?
You can automate your DIY pellet hopper using a small motor and auger system. Install sensors to monitor pellet levels and control feed rate. It'll require some electrical know-how, but it's doable for those with technical skills.
What Certifications or Permits Might I Need for a Custom-Built Hopper?
You'll likely need local building permits and safety certifications for a custom hopper. Check with your city's building department for specific requirements. Don't forget to verify your design meets fire safety codes and regulations.
In Summary
You've now got the knowledge to build your own wood pellet hopper. Remember, it's all about precision and attention to detail. Don't rush the process; take your time to guarantee everything's properly aligned and sealed. With regular maintenance, your custom hopper will serve you well for years to come. If you encounter any issues, revisit the troubleshooting steps. Enjoy the satisfaction of using your DIY creation to fuel your pellet stove efficiently!



Leave a Reply