To install your own energy-saving thermostat, start by gathering tools like screwdrivers, wire nuts, and electrical tape. Turn off power to your HVAC system at the circuit breaker. Remove the old thermostat, carefully labeling wires as you disconnect them. Install the new mounting plate, ensuring it's level. Connect the labeled wires to the corresponding terminals on your new thermostat. Attach the device to the mounting plate and restore power. Set up Wi-Fi connectivity and download the companion app to access advanced features. Program your preferred temperature schedules and explore energy-saving options. With these steps, you'll be on your way to a more efficient home heating and cooling system.
Gather Necessary Tools and Materials

Gathering the right tools and materials is crucial before you begin installing your energy-saving thermostat.
You'll need a screwdriver set, including both flathead and Phillips head screwdrivers, to remove the old thermostat and secure the new one. A drill with appropriate bits may be necessary if you need to create new mounting holes. Have a level handy to guarantee your new thermostat is installed straight.
For materials, you'll need wire nuts or connectors to join the thermostat wires securely. Electrical tape can help insulate connections and label wires. If your wall has damage from the old thermostat, spackling compound and sandpaper will help you patch and smooth the area.
Don't forget a pencil for marking drill points and a vacuum or brush to clean up debris.
Most importantly, obtain your new energy-saving thermostat. Verify it's compatible with your HVAC system before purchasing. You may also need batteries, depending on the model. If you're uncomfortable working with electrical systems, consider having a voltage tester to confirm the power is off.
Turn Off Power Supply
Before you begin any work on your thermostat, it's important to turn off the power supply to your HVAC system. This step is vital for your safety and to prevent any electrical damage to your equipment.
Locate your home's circuit breaker panel, which is typically found in the basement, garage, or utility room. Once you've found the panel, open it and look for the circuit labeled "HVAC," "Furnace," or "Air Conditioning."
If you're unsure which breaker controls your heating and cooling system, turn off the main breaker that supplies power to your entire home. After switching off the appropriate breaker, return to your thermostat and test it to verify the power is truly off.
Try adjusting the temperature settings or switching the system on and off. If the thermostat doesn't respond and you don't hear your HVAC system running, you've successfully cut the power.
For added safety, use a non-contact voltage tester to check for any residual current in the wires behind the thermostat. This extra precaution will give you peace of mind as you proceed with the installation of your new energy-saving thermostat.
Remove Old Thermostat
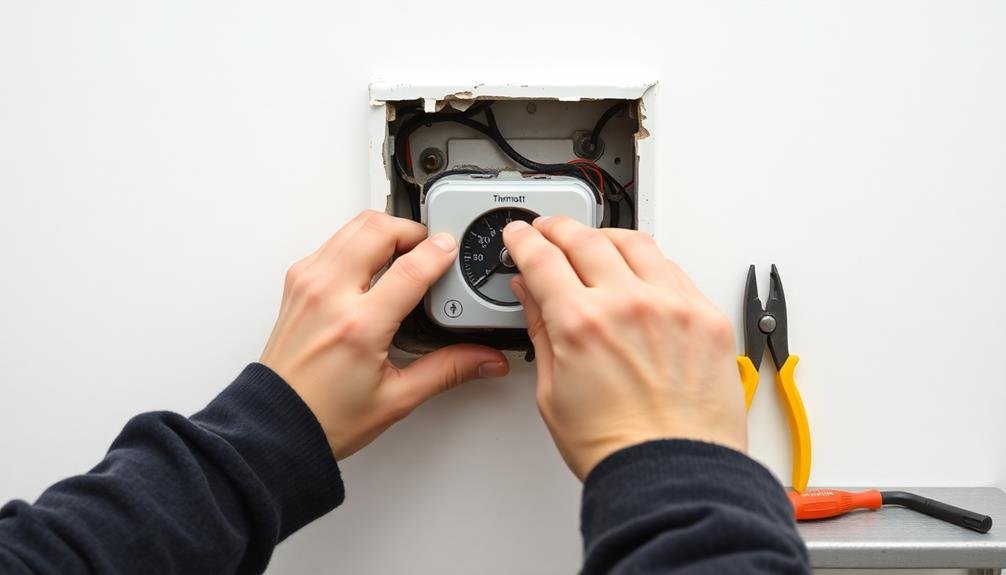
The next step in your thermostat upgrade is removing the old unit. Begin by carefully removing the cover of your existing thermostat. This usually involves gently pulling it off or unscrewing it, depending on the model.
Once you've exposed the internal components, take a photo of the wiring configuration. This will serve as a reference when installing your new thermostat.
Next, disconnect the wires from the terminals. You'll likely see labels like "R," "W," "Y," and "G" on the terminals. As you remove each wire, wrap a small piece of masking tape around it and label it with its corresponding terminal letter. This step is essential for proper installation of your new thermostat.
After all wires are labeled and disconnected, unscrew the mounting plate from the wall. Be careful not to let the wires fall back into the wall opening. If they do, you may need to fish them out with a wire hanger or call an electrician.
Inspect the wall for any damage or old paint that might need touching up before installing the new thermostat. Clean the area thoroughly to guarantee a smooth installation surface for your energy-saving upgrade.
Identify and Label Wires
While the previous step involved removing and labeling wires, it's vital to double-check your work and guarantee all wires are correctly identified.
Take a photo of the wiring configuration for reference, then carefully examine each wire. You'll typically encounter color-coded wires: red (power), white (heat), yellow (cooling), green (fan), and blue or black (common).
If the wires aren't color-coded, use the letter labels on your old thermostat as a guide. "R" or "Rh" is for power, "W" for heat, "Y" for cooling, "G" for fan, and "C" for common. Some systems may have additional wires, such as "O" for heat pumps or "B" for reversing valves.
Use small adhesive labels or masking tape to mark each wire with its corresponding letter. Don't rely solely on color, as installations can vary.
If you're unsure about a wire's function, consult your HVAC system's manual or contact a professional. It's important to get this step right, as incorrect wiring can damage your new thermostat or HVAC system.
Once you've confirmed all wires are properly identified and labeled, you're ready to move on to the next step.
Install Mounting Plate
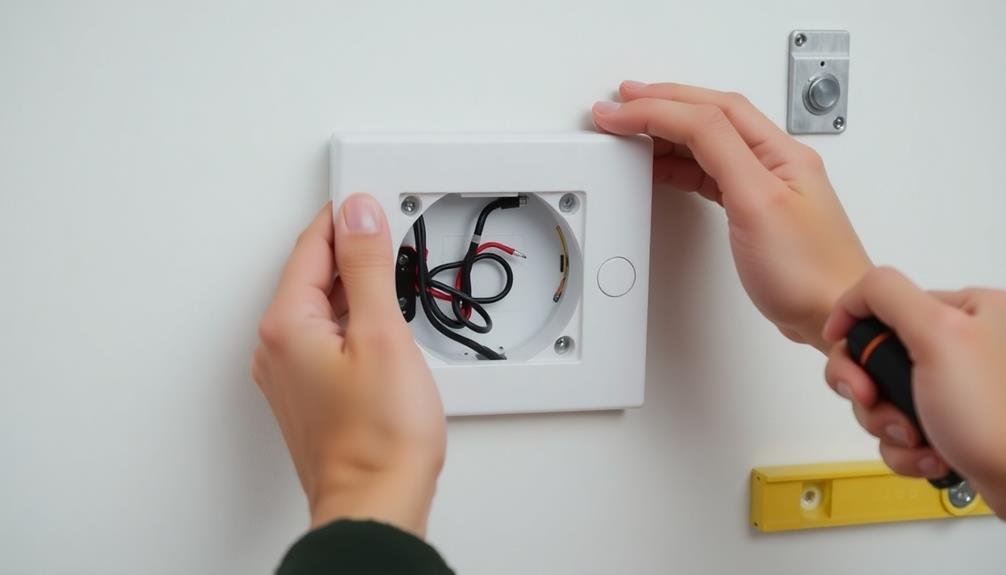
Now that you've identified and labeled the wires, it's time to tackle the mounting plate installation. Begin by removing the old thermostat's base plate, being careful not to damage the wall. Clean the surface thoroughly to guarantee proper adhesion of the new mounting plate.
Next, thread the labeled wires through the opening in the new mounting plate. Hold the plate against the wall, confirming it's level. Mark the screw holes with a pencil. If there aren't existing holes, you'll need to drill new ones. Use a level to double-check the plate's positioning before securing it.
| Step | Action | Tool Needed |
|---|---|---|
| 1 | Remove old plate | Screwdriver |
| 2 | Clean surface | Cloth or sponge |
| 3 | Drill new holes | Electric drill |
Once you've marked or drilled the holes, place the mounting plate against the wall. Insert the screws and tighten them carefully, making sure not to over-tighten. The plate should be secure but not warped. If your new thermostat came with wall anchors, use them for added stability. Double-check that the wires are still accessible and not pinched behind the plate. You're now ready to move on to connecting the wires to your new thermostat.
Connect Wires to New Thermostat
Precision is key when connecting wires to your new thermostat. Start by carefully removing the wires from your old thermostat, making sure to label each one according to its terminal. Most thermostats use standard color coding, but it's always best to double-check.
Now, take your new thermostat and locate its wiring terminals. They're typically labeled with letters corresponding to specific functions. Match each wire to its appropriate terminal based on your labels or the color coding. If you're unsure, consult the thermostat's manual or take a picture of your old thermostat's wiring for reference.
Strip about 1/4 inch of insulation from the end of each wire if necessary. Carefully insert each wire into its designated terminal and tighten the screw to secure it. Ascertain there's no exposed wire beyond the terminal to prevent short circuits.
Double-check all connections to make certain they're tight and in the correct terminals. If your new thermostat has a base plate, you may need to push excess wire back into the wall before attaching the thermostat to its mounting plate.
Take your time with this step to avoid damaging the wires or creating loose connections.
Attach Thermostat to Mounting Plate
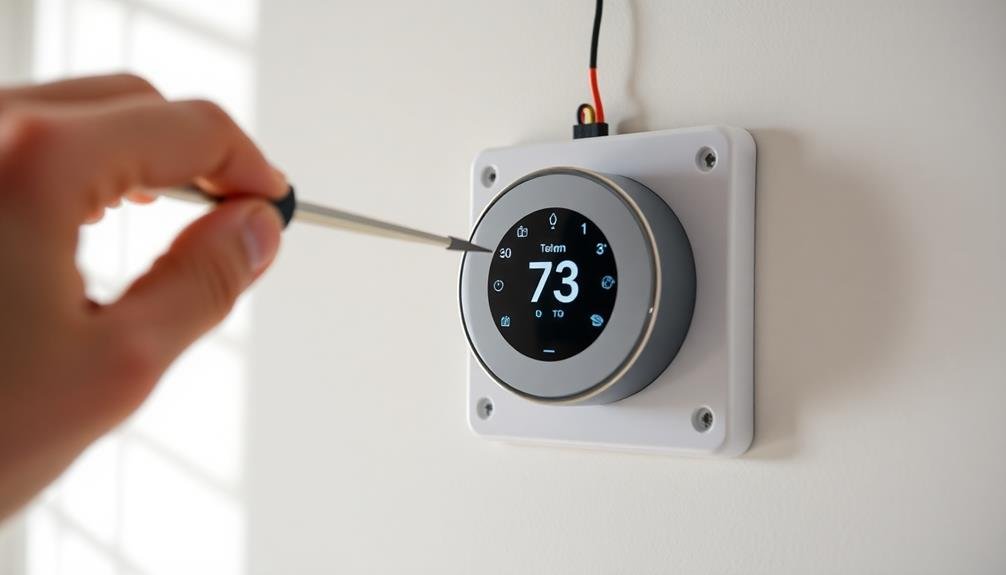
With all the wiring in place, it's time to attach your new thermostat to the mounting plate. Carefully align the thermostat with the mounting plate, ensuring that the pins on the back of the thermostat match up with the corresponding slots on the plate. Gently push the thermostat onto the plate until you hear a click or feel it snap into place.
Double-check that the thermostat is level and flush against the wall. If it's not, remove it and adjust the mounting plate as needed. Once you're satisfied with the positioning, secure the thermostat to the plate using the screws provided in your installation kit. Don't overtighten the screws, as this could damage the thermostat or the wall.
If your thermostat model has a faceplate or cover, snap it into place now. Make sure all buttons and display features are accessible and functioning properly.
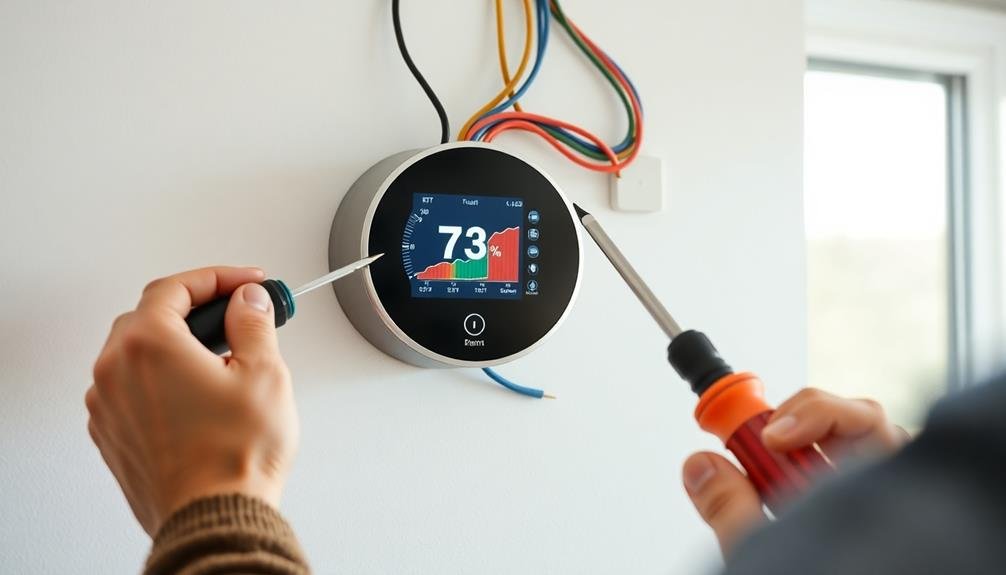
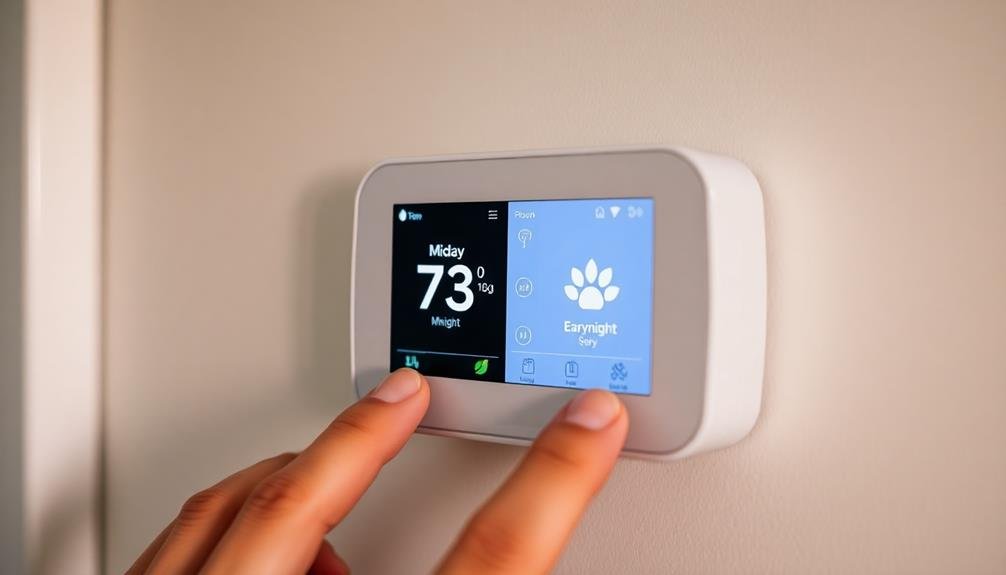
Restore Power and Test
Once you've completed the installation, it's time to power up and put your new thermostat through its paces. Head to your circuit breaker and switch the power back on for your HVAC system.
Return to your thermostat and wait for it to initialize. This process may take a few minutes, so be patient.
After initialization, follow the on-screen prompts to set up your thermostat's basic functions. You'll need to input the current date, time, and your preferred temperature settings.
If your model connects to Wi-Fi, now's the time to link it to your home network.
Test your thermostat by adjusting the temperature settings. Listen for your HVAC system to kick in. You should hear your furnace or air conditioner start up within a few minutes.
Check multiple rooms to ascertain proper heating or cooling.
Don't forget to program your thermostat's schedule. Set different temperatures for various times of the day to maximize energy savings.
Many smart thermostats offer mobile apps for remote control and monitoring.
If you encounter any issues during testing, consult your user manual or contact the manufacturer's support line. They can guide you through troubleshooting steps or arrange for professional assistance if needed.
Program Temperature Settings
Now that your thermostat is up and running, it's time to enhance its performance. Programming your temperature settings is essential for maximizing energy savings and comfort. Start by familiarizing yourself with your thermostat's interface and menu options.
Set different temperature schedules for weekdays and weekends. For weekdays, program lower temperatures when you're asleep or away at work, and higher temperatures when you're home and active. On weekends, adjust the schedule to match your typical routine.
Consider setting the temperature 7-10 degrees lower for heating or higher for cooling during sleep or away periods.
Use the thermostat's advanced features like "vacation mode" or "away mode" for extended absences. Some models offer learning capabilities, adapting to your habits over time.
Take advantage of Wi-Fi-enabled features if available, allowing you to adjust settings remotely via smartphone apps.
Don't forget to set appropriate humidity levels if your thermostat includes this function. Aim for 30-50% relative humidity for maximum comfort and energy efficiency.
Regularly review and adjust your programmed settings as seasons change or your schedule shifts to guarantee continued energy savings and comfort throughout the year.
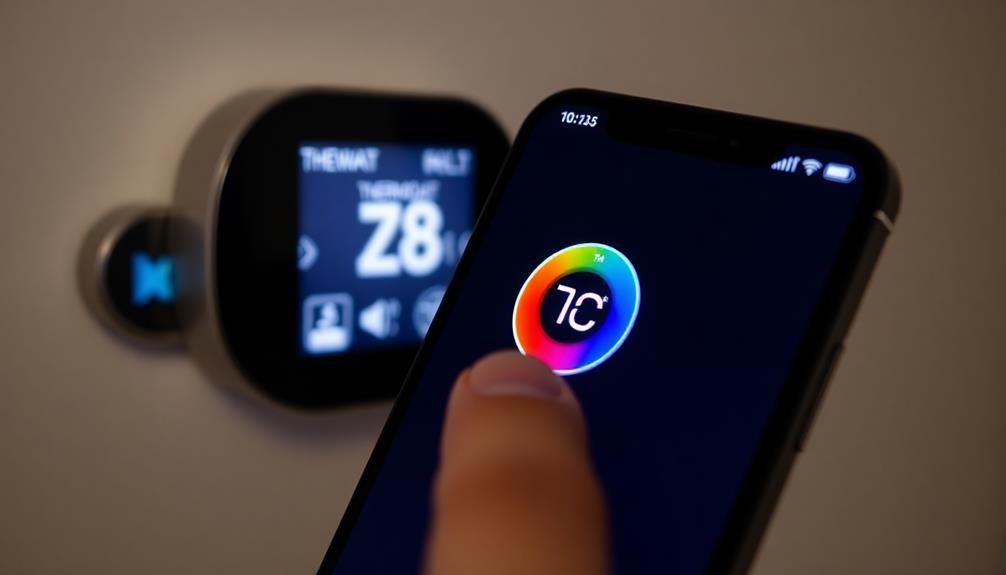
Connect to Wi-Fi Network
To connect your energy-saving thermostat to Wi-Fi, you'll need to follow the network setup process specific to your device.
You'll typically start by selecting your home network and entering the password.
If you encounter connection issues, check your Wi-Fi signal strength and verify you've entered the correct network credentials.
Network Setup Process
Connectivity is key when setting up your energy-saving thermostat. Once you've powered on your device, it'll typically enter a setup mode. Look for a Wi-Fi symbol on the thermostat's display, indicating it's ready to connect.
Open your smartphone's Wi-Fi settings and locate the thermostat's temporary network. It'll usually have a name like "Thermostat_Setup" or the brand name followed by numbers. Connect to this network. Your phone may warn you about no internet access; this is normal.
Launch the thermostat's companion app, which you should have downloaded earlier. Follow the in-app prompts to select your home Wi-Fi network. Enter your Wi-Fi password when prompted. The app will then send this information to the thermostat.
Your thermostat will attempt to connect to your home network. This process may take a few minutes. Once connected, the Wi-Fi symbol on the thermostat should stop blinking and remain solid.
If the connection fails, double-check your Wi-Fi password and verify your router is functioning correctly. Some thermostats may require you to be within a certain distance of your router during setup.
If problems persist, consult the manufacturer's troubleshooting guide or contact their support team.
Troubleshooting Connection Issues
While setting up your Wi-Fi connection is often straightforward, you might encounter some hiccups along the way. If your thermostat fails to connect, first verify you've entered the correct Wi-Fi password. Double-check for any typos or case-sensitivity issues.
If the password is correct, try moving your router closer to the thermostat or using a Wi-Fi extender to boost the signal strength.
Sometimes, restarting both your router and thermostat can resolve connection problems. Unplug your router for about 30 seconds, then plug it back in. Once it's fully rebooted, restart your thermostat according to the manufacturer's instructions.
If you're still having trouble, check if your router's firewall is blocking the thermostat's connection. You may need to adjust your firewall settings or add the thermostat to your list of approved devices.
If none of these steps work, verify your thermostat's firmware is up to date. Outdated firmware can cause connectivity issues.
Download and Set Up App
Before downloading the thermostat app, verify it's compatible with your smartphone's operating system.
Once you've confirmed compatibility, download the app from your device's app store.
Create a user account within the app, following the prompts to enter your personal information and set up your preferences.
App Compatibility Check
Checking app compatibility is an essential step before installing your energy-saving thermostat. Most modern smart thermostats require a companion app for full functionality, so you'll need to verify your smartphone or tablet can run it smoothly.
First, identify the specific app for your thermostat model. You'll usually find this information in the product manual or on the manufacturer's website. Once you've got the app name, head to your device's app store (Google Play for Android or App Store for iOS).
Search for the app and check its system requirements. Pay attention to the minimum operating system version needed. If your device doesn't meet these requirements, you may need to update your OS or consider a different thermostat model.
Also, look at the app's storage requirements. If you're low on space, you might need to free up some memory or use a device with more storage.
Lastly, read user reviews to gauge the app's performance on various devices. If you notice many complaints about compatibility issues with your specific device model, it might be worth exploring alternative thermostat options to verify a smooth installation and operation process.
User Account Creation
Your thermostat's companion app is the gateway to smart energy management. To get started, download the app from your device's app store. Once installed, open it and tap "Create Account." You'll need to provide a valid email address and create a strong password. Some apps may require additional information like your name and location for personalized energy-saving recommendations.
After entering your details, verify your email address by clicking the link sent to your inbox. Once verified, log in to the app using your new credentials. You'll be prompted to connect your thermostat to the app. Confirm your phone's Bluetooth is on and follow the on-screen instructions to pair your device. This typically involves entering a code displayed on your thermostat or scanning a QR code.
With your account set up and thermostat connected, you can now customize your preferences. Set your desired temperature ranges, create schedules, and enable features like geofencing or weather-based adjustments.
Take time to explore the app's interface and familiarize yourself with its energy-saving tools. Remember to enable notifications to receive alerts about energy usage, maintenance reminders, and potential cost-saving opportunities.
Explore Energy-Saving Features
Energy-saving features are the heart of a smart thermostat's efficiency. These features help you reduce energy consumption and lower your utility bills. To maximize your thermostat's potential, take time to explore and understand its various energy-saving capabilities.
Start by familiarizing yourself with the thermostat's scheduling function. You can set different temperatures for various times of the day, ensuring ideal comfort when you're home and energy savings when you're away.
Next, look into the learning capabilities of your device. Many smart thermostats can adapt to your routines and preferences over time, automatically adjusting settings for peak efficiency.
Don't overlook these key energy-saving features:
- Geofencing: Uses your smartphone's location to adjust temperature when you leave or return home
- Energy reports: Provides insights into your usage patterns and suggests ways to improve efficiency
- Smart home integration: Connects with other devices for enhanced energy management
Explore the thermostat's mobile app to access additional features and settings. You'll find options for remote control, energy usage tracking, and personalized energy-saving tips.
Monitor and Adjust Usage
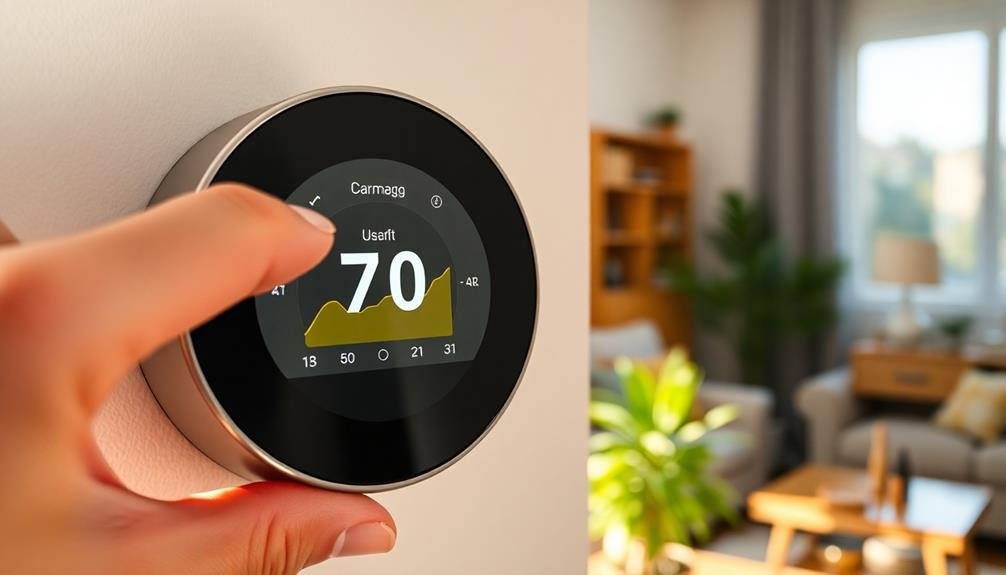
Vigilance is key when it comes to optimizing your thermostat's performance. Regularly monitor your energy usage and adjust settings as needed. Check your monthly utility bills to track consumption patterns and identify areas for improvement. Use your thermostat's built-in reporting features to analyze daily and weekly usage trends.
Experiment with different temperature settings to find the sweet spot between comfort and efficiency. During summer, try increasing the temperature by 1-2 degrees; in winter, lower it slightly. Small adjustments can lead to significant energy savings over time.
Take advantage of your thermostat's scheduling capabilities. Set it to automatically adjust temperatures when you're asleep or away from home. Consider using the "vacation mode" feature when you're out of town for extended periods.
Here's a quick guide to optimizing your thermostat settings:
| Season | Awake | Away | Asleep |
|---|---|---|---|
| Summer | 78°F | 82°F | 80°F |
| Winter | 68°F | 62°F | 65°F |
| Spring | 70°F | 74°F | 68°F |
| Fall | 70°F | 74°F | 68°F |
Remember to reassess your settings as seasons change and your lifestyle evolves. By actively monitoring and adjusting your thermostat usage, you'll maximize energy efficiency and minimize costs.
Frequently Asked Questions
Can I Install a Smart Thermostat if I Have an Older HVAC System?
You can often install a smart thermostat with an older HVAC system. However, you'll need to check compatibility first. Many smart thermostats work with various systems, but it's essential to verify yours has the necessary wiring and features.
How Much Money Can I Expect to Save With an Energy-Saving Thermostat?
You can expect to save 10-15% on your heating and cooling costs with an energy-saving thermostat. Your actual savings will depend on your usage habits, local energy rates, and how well you program the device.
Are There Any Rebates or Incentives Available for Installing Energy-Efficient Thermostats?
Yes, you'll often find rebates and incentives for energy-efficient thermostats. Check with your utility company, state energy office, or local government. They may offer cash back, bill credits, or tax deductions to encourage energy-saving upgrades in your home.
What Should I Do if My Home Doesn't Have a C-Wire?
If your home lacks a C-wire, you've got options. You can install a C-wire adapter, use a power extender kit, or opt for a battery-powered smart thermostat. Alternatively, consider hiring a professional to add a C-wire to your system.
How Often Should I Clean or Maintain My New Energy-Saving Thermostat?
You should clean your energy-saving thermostat every 3-6 months. Gently dust it with a soft brush or cloth. Don't use liquid cleaners. Check batteries annually if it's battery-operated. Follow manufacturer's guidelines for specific maintenance instructions.
In Summary
You've successfully installed your new energy-saving thermostat! Now you're ready to enjoy the benefits of smart temperature control. Don't forget to explore all the features your device offers, like scheduling and remote access. Keep an eye on your energy usage and adjust settings as needed. With your new thermostat, you'll save money and reduce your carbon footprint. Embrace the convenience and efficiency of your upgraded home climate control system.
Leave a Reply