To test your homemade sun oven, start with a temperature measurement test using an oven-safe thermometer. Place it inside the oven in direct sunlight and monitor the temperature every 5-10 minutes until it stabilizes. Next, conduct a water boiling efficiency check by tracking how long it takes to heat 1 liter of water to various temperature milestones. Finally, perform a cooking time comparison by preparing simple dishes in both your sun oven and a conventional oven, noting the differences in cooking duration. These tests will help you gauge your sun oven's performance and identify areas for improvement. Dive deeper to discover the step-by-step process for each test.
Temperature Measurement Test

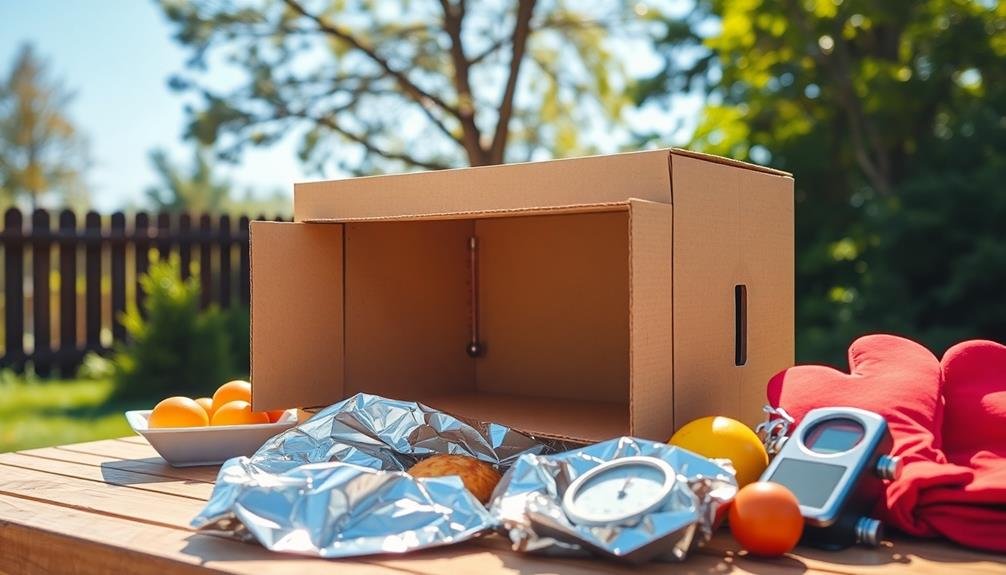
To begin the temperature measurement test, you'll need a reliable thermometer capable of reading high temperatures. Choose an oven-safe thermometer that can withstand at least 400°F (204°C). Place the thermometer inside your sun oven, ensuring it doesn't touch the sides or bottom.
Position your sun oven in direct sunlight, aligning it for maximum exposure. Close the oven door and allow it to heat up for about 30 minutes. Monitor the temperature every 5-10 minutes, recording each reading.
Continue tracking the temperature until it stabilizes or reaches its peak. This process may take 1-2 hours, depending on sunlight intensity and ambient conditions. Note the maximum temperature achieved and how long it took to reach it.
Repeat this test on different days and weather conditions to get a thorough understanding of your sun oven's performance. Compare results to determine its efficiency in various scenarios.
If your sun oven doesn't reach desired cooking temperatures (300-350°F or 149-177°C), consider adjusting its design. Improve insulation, increase reflector size, or modify the glazing to enhance heat retention and boost overall performance.
Water Boiling Efficiency Check
After measuring your sun oven's temperature range, you'll want to assess its practical cooking ability. A water boiling efficiency check is an excellent way to do this.
Start by filling a dark-colored pot with a measured amount of water, typically 1 liter. Place a thermometer in the water and record the starting temperature.
Position your sun oven in direct sunlight, ensuring it's properly aligned to maximize solar exposure. Place the pot of water inside and close the oven. Check and record the water temperature every 15 minutes.
Pay attention to how long it takes for the water to reach various temperature milestones, such as 140°F (60°C) for pasteurization, 165°F (74°C) for cooking most foods, and 212°F (100°C) for boiling. Note the total time it takes to reach boiling point, if achieved.
Compare your results to standard electric or gas stove boiling times. This test will give you a clear idea of your sun oven's efficiency and help you plan cooking times for various dishes.
If your oven struggles to boil water, consider adjusting its design to improve heat retention and solar collection.
Cooking Time Comparison
Once you've completed the water boiling test, it's time to compare cooking times for various dishes in your sun oven versus conventional methods.
Start by selecting a few simple recipes that you'd typically prepare in a regular oven or stovetop. Choose dishes like rice, beans, or baked potatoes, which have predictable cooking times.
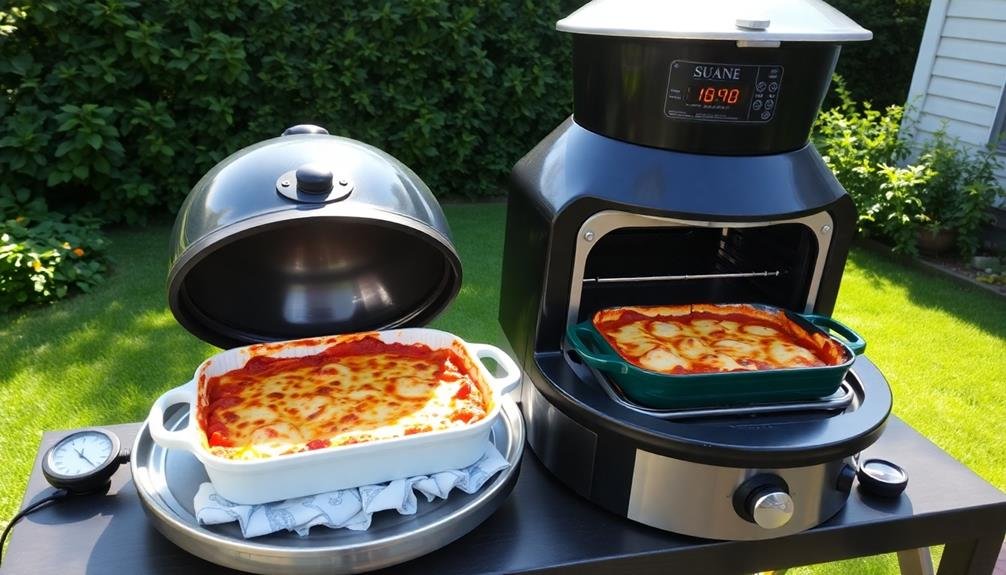
Prepare two identical portions of each dish, one for the sun oven and one for your conventional cooking method. Place them in similar containers and start cooking simultaneously.
Monitor both closely, noting the time each takes to reach the desired level of doneness. As you compare, you'll likely notice that the sun oven takes longer to cook most dishes. However, the difference may not be as significant as you'd expect.
Factors like outdoor temperature, sun intensity, and oven design will affect your results.
Record your findings in a table, listing the dish, conventional cooking time, and sun oven cooking time. This data will help you plan future meals and adjust recipes for solar cooking.
Remember that while sun ovens may be slower, they're energy-efficient and can produce delicious, evenly cooked food.
Frequently Asked Questions
How Long Does a Homemade Sun Oven Typically Last?
Your homemade sun oven's lifespan depends on its construction quality and maintenance. With proper care, it can last several years. You'll need to replace reflective materials periodically and protect it from moisture. Regular upkeep guarantees longer-lasting performance.
Can a Sun Oven Be Used on Cloudy or Partially Overcast Days?
You can use a sun oven on cloudy or partially overcast days, but it'll be less effective. You'll experience longer cooking times and lower temperatures. It's best to save sun oven cooking for clearer, sunnier days when possible.
What Materials Are Best for Constructing a DIY Sun Oven?
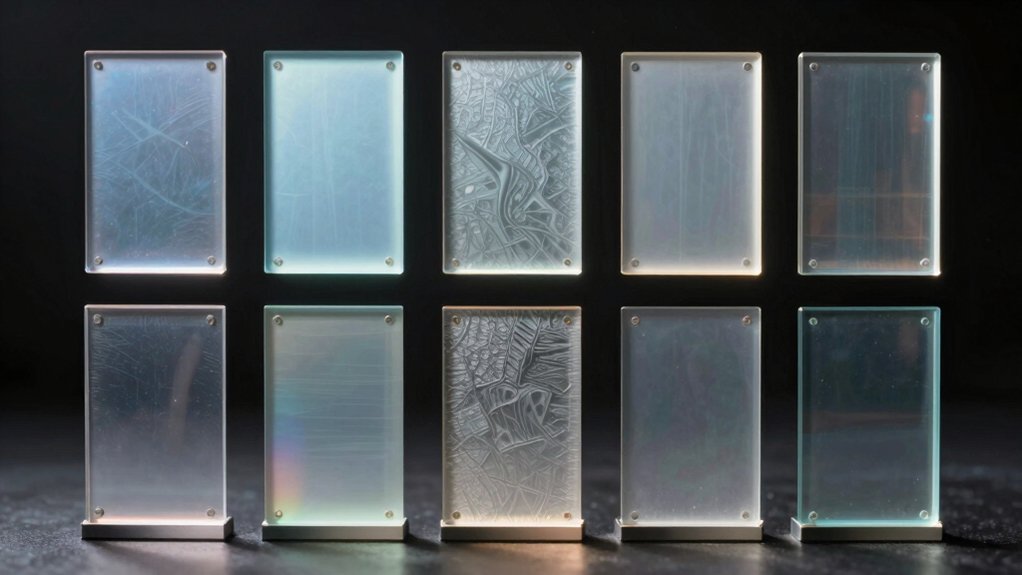
You'll want to use reflective materials like aluminum foil or mylar for the interior. Cardboard or wood works well for the frame. Insulation's essential, so add styrofoam or fiberglass. Don't forget a clear, heat-resistant lid like plexiglass.
Is It Safe to Leave a Sun Oven Unattended While Cooking?
You shouldn't leave a sun oven unattended while cooking. It's safer to monitor it regularly. While the risk of fire is low, unexpected weather changes or animals could interfere. Always prioritize safety when using any cooking equipment outdoors.
How Do You Properly Clean and Maintain a Homemade Sun Oven?
You should clean your homemade sun oven regularly with mild soap and water. Wipe down surfaces, check for damage, and store it in a dry place. Don't forget to clean the reflectors and replace any worn-out parts.
In Summary
You've now got three reliable tests to evaluate your homemade sun oven. By measuring temperature, checking water boiling efficiency, and comparing cooking times, you'll have a clear picture of your oven's performance. Don't hesitate to refine your design based on these results. Remember, practice makes perfect, and you'll soon be harnessing the sun's power to cook delicious meals efficiently. Keep experimenting and enjoy your sustainable cooking journey!

Leave a Reply