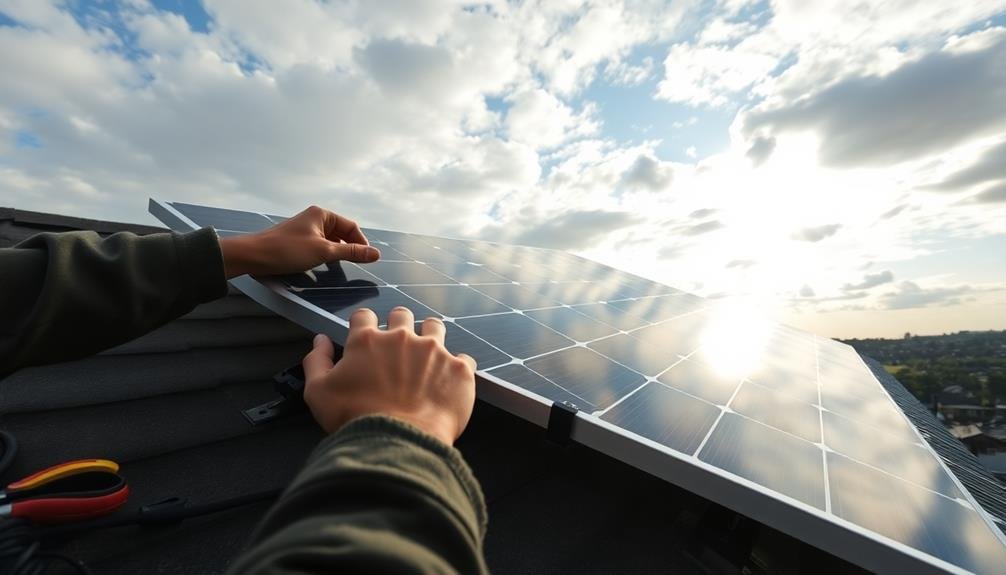
Installing solar panels yourself can greatly reduce costs and your carbon footprint, but it's a complex task. You'll need to assess your roof's suitability, calculate energy requirements, and choose the right panels. Gather necessary tools and plan the layout carefully. Safety is paramount – use proper equipment and follow precautions. You'll install mounting brackets, wire the panels, set up the inverter, and connect to your home's electrical system. Testing and troubleshooting are vital for peak performance. Regular maintenance guarantees longevity and efficiency. With the right preparation and knowledge, you can undertake this rewarding DIY project and harness the sun's power.
Assessing Your Roof's Suitability
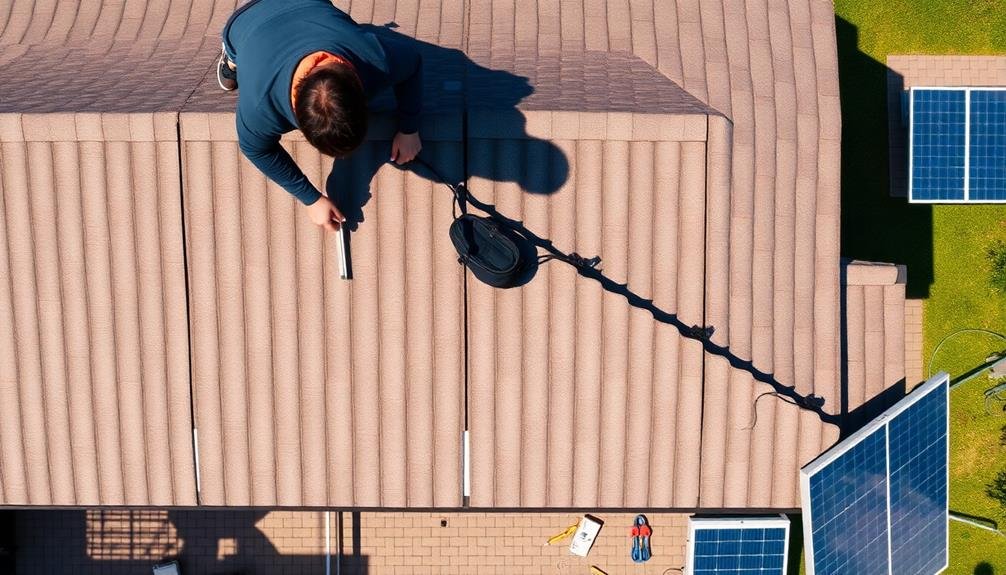
Before diving into solar panel installation, you'll need to determine if your roof is suitable for the job. Start by checking your roof's orientation. South-facing roofs are ideal, but east and west-facing roofs can also work.
Next, assess the roof's angle. A pitch between 30 and 45 degrees is most favorable, though panels can be installed on flatter or steeper roofs with adjustable mounting systems.
Examine your roof's structural integrity. It must be able to support the additional weight of solar panels and mounting equipment. Look for signs of damage or weakness, such as sagging, leaks, or rotting wood. If you're unsure, consult a structural engineer.
Consider shading from nearby trees, buildings, or other obstructions. Solar panels need direct sunlight to function efficiently. Use a solar pathfinder tool to analyze potential shading issues throughout the year.
Lastly, evaluate your roof's size and available space. Measure the usable area, accounting for vents, chimneys, and other features. A typical residential solar system requires about 300-400 square feet.
If your roof can't accommodate enough panels, you might need to explore alternative options like ground-mounted systems or consider a partial installation.
Calculating Solar Energy Requirements
Once you've determined your roof's suitability, it's time to figure out your solar energy needs. Start by reviewing your past year's electricity bills to calculate your average daily energy consumption in kilowatt-hours (kWh). This will help you determine the size of the solar panel system you'll need.
Next, consider your location's average daily sunlight hours and seasonal variations. Use online solar calculators or consult local solar installers to get accurate data for your area. Factor in your roof's orientation and tilt, as these affect solar panel efficiency.
Don't forget to account for future energy needs, such as electric vehicle charging or home additions. It's better to slightly overestimate than underestimate your requirements.
Calculate the number of solar panels needed by dividing your daily energy requirement by the wattage of the panels you plan to use. For example, if you need 30 kWh per day and choose 300-watt panels, you'll need about 20 panels.
Choosing the Right Solar Panels
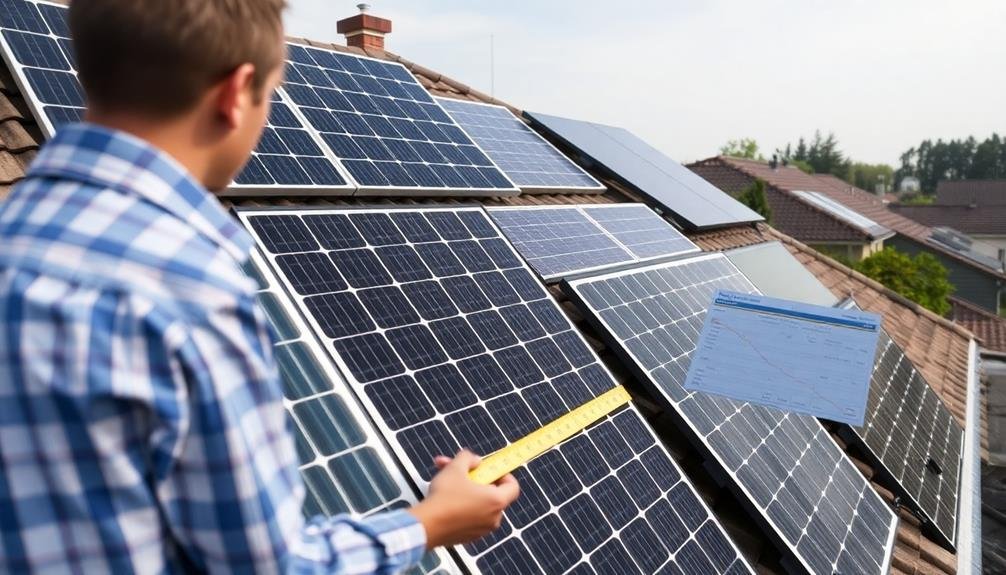
Selecting the right solar panels is essential for maximizing your system's efficiency and longevity. You'll need to take into account several factors when making your choice.
First, evaluate the panel's efficiency rating, which indicates how well it converts sunlight into electricity. Higher efficiency means you'll need fewer panels to meet your energy needs.
Next, reflect on the panel's wattage, which determines its power output. Higher wattage panels produce more electricity but may cost more upfront.
Pay attention to the panel's durability and warranty. Look for panels with robust construction that can withstand various weather conditions. A longer warranty often indicates the manufacturer's confidence in their product's quality.
Don't forget to compare prices and read customer reviews to verify you're getting the best value for your money.
Key factors to take into account when choosing solar panels:
- Efficiency rating (typically 15-22%)
- Wattage output (ranging from 250-400 watts)
- Durability and weather resistance
- Warranty length (usually 20-25 years)
- Price and overall value
Lastly, reflect on the panel's size and weight to confirm it fits your available roof space and that your roof can support the added load.
Gathering Necessary Tools and Equipment

Before you start your solar panel installation, you'll need to gather the right tools and equipment.
Begin by creating an essential tools checklist, which should include items like a drill, wire cutters, and a multimeter.
Don't forget to prioritize safety equipment, such as gloves, safety glasses, and a sturdy ladder, to guarantee a secure working environment.
Essential Tools Checklist
To guarantee a smooth installation process, gathering the right tools and equipment is fundamental. You'll need a combination of standard household tools and specialized solar equipment.
Start by assembling basic tools like a drill, screwdrivers, wrenches, and a tape measure. For electrical work, you'll require wire strippers, crimping tools, and a multimeter.
Safety gear is essential, so don't forget protective eyewear, gloves, and a hard hat. You'll also need ladders or scaffolding for roof access.
Specific to solar installations, confirm you have:
- Solar panel mounting rails and clamps
- MC4 connectors for wiring
- Inverter (string or microinverters)
- Charge controller (for off-grid systems)
- Deep cycle batteries (for off-grid or hybrid systems)
Don't overlook the importance of precise measuring tools like an angle finder and solar pathfinder to optimize panel placement. A voltage tester is critical for safety checks.
If you're mounting panels on a pitched roof, consider renting or purchasing specialized equipment like solar panel lifts or hoists to safely transport panels.
Safety Equipment Overview
Safety should be your top priority when installing solar panels. You'll need proper protective gear to shield yourself from potential hazards during the installation process. Make sure you have a sturdy safety harness and fall protection system when working on the roof. Don't forget to wear non-slip shoes with good traction to prevent accidents on sloped surfaces.
Here's a thorough list of essential safety equipment:
| Equipment | Purpose | Importance |
|---|---|---|
| Safety Harness | Fall protection | Critical |
| Hard Hat | Head protection | Essential |
| Safety Glasses | Eye protection | Vital |
| Work Gloves | Hand protection | Important |
| Steel-Toe Boots | Foot protection | Necessary |
In addition to personal protective equipment, you'll need to secure your work area. Use caution tape to mark off the installation zone and prevent others from entering. Set up a sturdy ladder with proper stabilization, and consider using scaffolding for added safety on steep roofs. Keep a first aid kit nearby in case of minor injuries. Remember to check your tools and equipment for any damage before use, and always follow manufacturer guidelines. By prioritizing safety and using the right protective gear, you'll minimize risks and guarantee a smooth solar panel installation process.
Planning Panel Layout and Positioning
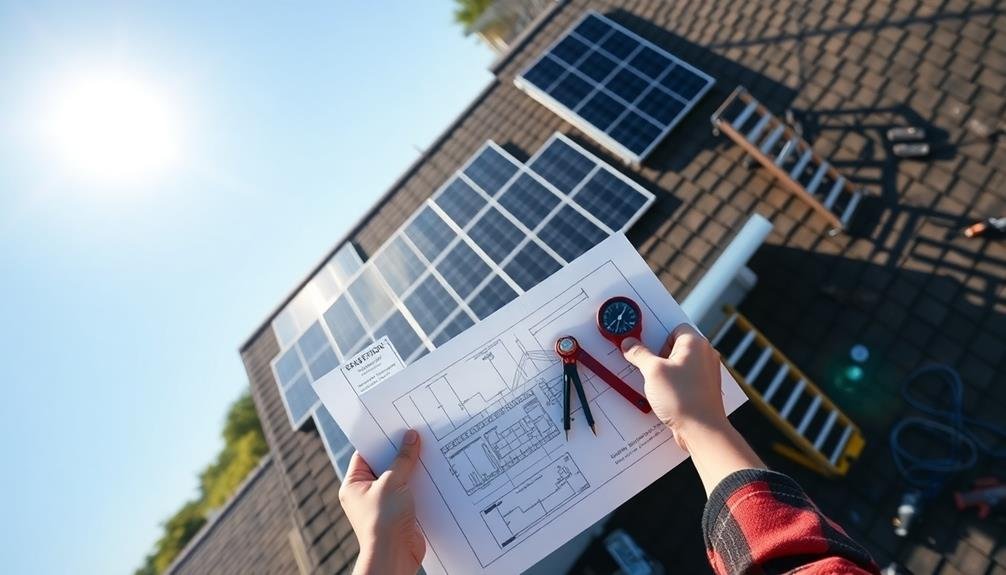
Before mounting your solar panels, you'll need to assess your roof's condition and structure.
Analyze your roof's orientation, pitch, and shading to determine the ideal placement for maximum sun exposure.
You'll want to position the panels where they'll receive the most direct sunlight throughout the day, typically facing south in the Northern Hemisphere.
Roof Assessment Techniques
Evaluating your roof's suitability for solar panels is an essential step in the installation process. You'll need to evaluate various factors to guarantee your roof can support the panels and maximize energy production.
Start by examining your roof's age, condition, and structural integrity. If it's nearing the end of its lifespan, consider replacing it before installing solar panels.
Next, determine your roof's orientation and pitch. South-facing roofs with a 30-45 degree angle are ideal for solar panels in the Northern Hemisphere. However, east and west-facing roofs can still be suitable. Measure your roof's dimensions and calculate the available space for panel installation, taking into account obstructions like chimneys and vents.
Consider these additional factors when evaluating your roof:
- Shading from nearby trees or buildings
- Local climate conditions and average sunlight hours
- Weight-bearing capacity of your roof structure
- Roofing material compatibility with solar panel mounts
- Local building codes and permit requirements
Use a solar pathfinder or smartphone app to analyze shading patterns throughout the day and year. This will help you identify suitable panel placement and estimate potential energy production.
If you're unsure about any aspect of your roof evaluation, consult a professional solar installer or structural engineer for expert advice.
Optimal Sun Exposure
Planning for perfect sun exposure is crucial in maximizing your solar panel system's efficiency. To achieve the best sun exposure, you'll need to take into account several factors.
First, determine your roof's orientation. South-facing roofs in the Northern Hemisphere receive the most sunlight throughout the day. If you don't have a south-facing roof, southeast or southwest orientations can still work well.
Next, assess potential shading issues. Trees, nearby buildings, or other obstructions can greatly reduce your panels' output. You may need to trim trees or adjust your panel layout to minimize shading. Use a solar pathfinder tool to map out shade patterns throughout the year.
Calculate your roof's tilt angle, which should ideally match your latitude for maximum efficiency. If your roof's pitch isn't the best, you can use mounting brackets to adjust the panels' angle.
Take into account seasonal sun patterns when planning your layout. In winter, the sun's path is lower in the sky, so make sure your panels aren't obstructed during these months.
Space your panels efficiently, leaving room for maintenance access and adhering to local building codes. By carefully planning your panel positioning, you'll enhance your system's performance and energy production.
Installing Mounting Brackets and Rails

With your roof prepped and ready, it's time to tackle the essential step of installing mounting brackets and rails. These components form the foundation of your solar panel system, ensuring stability and proper positioning.
Begin by marking the locations for your mounting brackets, using chalk lines to guarantee straight alignment. Drill pilot holes at these marks, being careful not to damage the roof's waterproof membrane.
Next, secure the mounting brackets to your roof using lag bolts and flashing to prevent water infiltration. Once the brackets are in place, attach the rails to them, ensuring they're level and parallel. Use a torque wrench to tighten all bolts to the manufacturer's specifications.
Here are key points to remember during this process:
- Always wear safety gear, including non-slip shoes and a harness
- Double-check measurements before drilling any holes
- Use weather-resistant sealant around all roof penetrations
- Follow local building codes and manufacturer instructions precisely
- Enlist a helper for safety and efficiency
With the mounting system securely in place, you're now ready to move on to the next exciting step: installing the solar panels themselves. This foundation you've built will support your clean energy system for years to come.
Wiring and Connecting Solar Panels

When connecting your solar panels, you'll need to decide between series and parallel wiring configurations.
Series connections increase voltage, while parallel connections increase current, so your choice depends on your system's requirements.
Don't forget to implement proper grounding techniques to guarantee the safety and efficiency of your solar installation.
Series vs. Parallel Connections
The heart of your solar panel system lies in its wiring configuration. When connecting your panels, you'll need to choose between series and parallel connections, each with its own advantages.
In a series connection, you'll link panels end-to-end, increasing voltage while maintaining current. This setup is ideal for longer wire runs and can reduce power loss. Parallel connections, on the other hand, maintain voltage while increasing current, making them suitable for systems with varying sunlight exposure.
To decide which configuration is best for your setup, consider these factors:
- Your inverter's input voltage range
- The total power output you're aiming for
- Your location's climate and shading conditions
- The physical layout of your panels
- Your system's future expansion plans
You can also combine series and parallel connections in a hybrid setup to optimize your system's performance.
Remember, the right configuration will depend on your specific needs and equipment. It's essential to calculate your system's voltage and current requirements accurately before wiring. If you're unsure, consult a professional to guarantee your connections are safe and efficient.
Proper wiring will maximize your solar panel system's output and longevity.
Proper Grounding Techniques
Proper grounding is an essential safety measure in solar panel installations. It protects your system from electrical surges and reduces the risk of fire or electrocution.
To ground your solar panels effectively, you'll need to connect them to a grounding electrode system, typically a copper rod driven into the earth.
Start by attaching a grounding lug to each panel's frame. Use stainless steel bolts and lock washers to guarantee a secure connection.
Next, run a continuous copper wire from the first panel's lug to the last, connecting all panels in series. This wire should be at least 6 AWG in size.
From the last panel, route the grounding wire to your home's main electrical panel or the grounding electrode. If you're using a ground rod, drive it at least 8 feet into the ground, leaving about 4 inches exposed.
Attach the grounding wire to the rod using a clamp designed for this purpose.
Don't forget to ground other metal components of your solar system, such as mounting racks and conduit.
Always consult local electrical codes, as grounding requirements may vary by location. If you're unsure, it's best to hire a professional electrician to guarantee proper grounding.
Setting Up the Inverter System
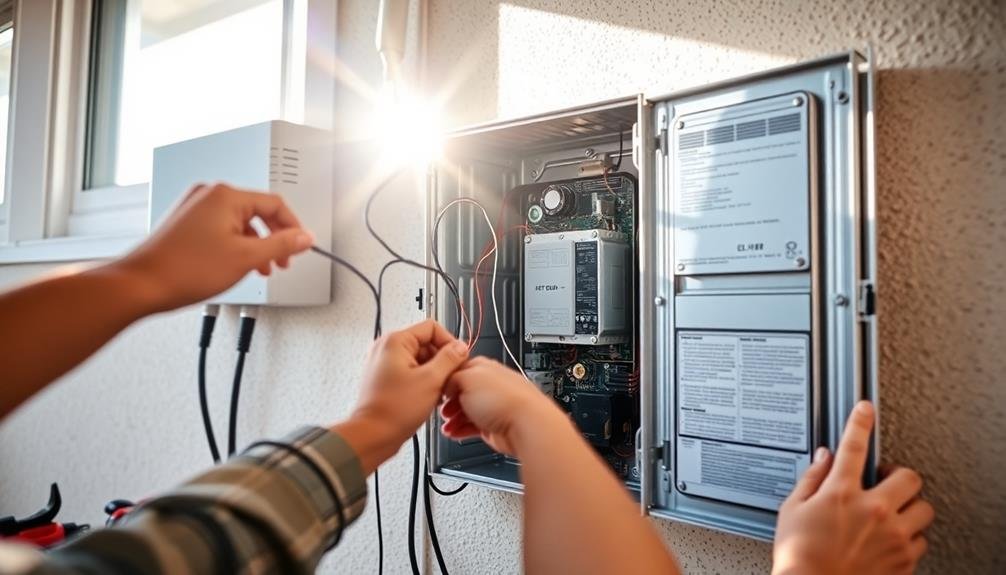
After mounting your solar panels, setting up the inverter system is vital for converting the DC power generated by your panels into usable AC power for your home.
You'll need to choose between a string inverter, microinverters, or a power optimizer system based on your specific needs and budget.
To set up your inverter system:
- Install the inverter in a cool, dry location, preferably indoors or in a shaded area.
- Connect the DC input cables from your solar panels to the inverter.
- Wire the AC output from the inverter to your main electrical panel.
- Install any necessary disconnect switches for safety and maintenance.
- Configure the inverter settings according to your local utility requirements.
When connecting the inverter, verify all wiring is properly sized and secured.
You'll need to program the inverter with the correct voltage and frequency settings for your area. Many modern inverters also offer monitoring capabilities, allowing you to track your system's performance via a smartphone app or web interface.
Remember to check local regulations and obtain any necessary permits before connecting your inverter to the grid.
It's essential to follow all safety protocols and consider hiring a licensed electrician if you're unsure about any part of the process.
Connecting to Home Electrical System

Now that your inverter system is set up, it's time to connect your solar power setup to your home's electrical system. This step requires extreme caution and precision, as you'll be working with high-voltage electricity. If you're not confident in your abilities, hire a licensed electrician.
First, install a new circuit breaker in your main electrical panel specifically for the solar system. This breaker should match your system's output capacity.
Next, run conduit from the inverter to the main panel, ensuring it's properly secured and weatherproofed.
Thread the solar output wires through the conduit and connect them to the new circuit breaker. Double-check all connections are tight and properly insulated.
Install a production meter between the inverter and main panel to track your system's output.
You'll also need to install a disconnect switch between the solar system and the grid. This allows utility workers to safely isolate your system during maintenance or emergencies.
Finally, connect the grounding wire from your solar array to your home's grounding system.
After completing these connections, have your local building inspector and utility company verify the installation before activating the system.
Safety Precautions During Installation
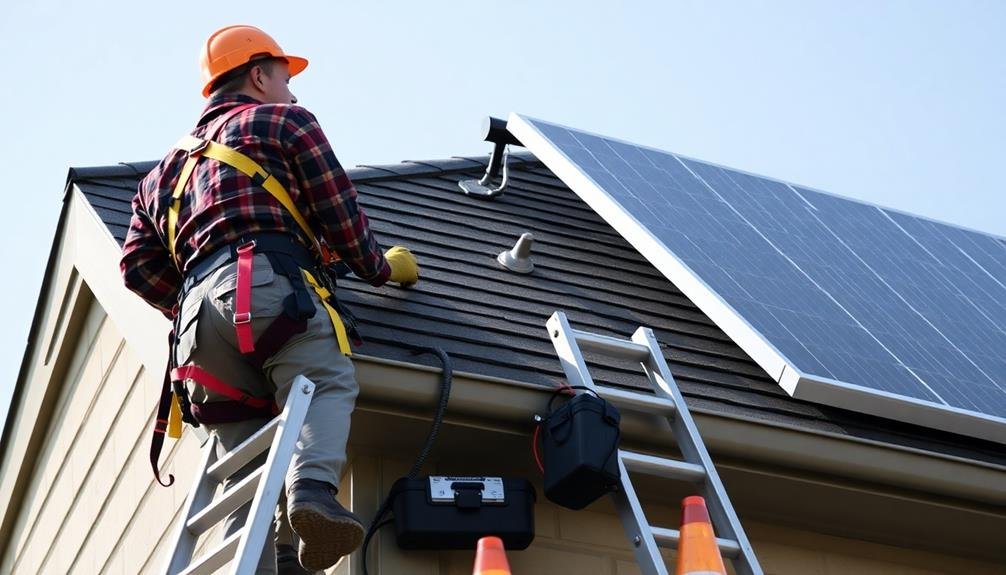
Safety should be at the forefront of your mind throughout the entire solar panel installation process. Working with electricity and at heights can be dangerous, so you'll need to take proper precautions to protect yourself and others.
Always wear appropriate personal protective equipment (PPE), including safety glasses, gloves, and a hard hat. When working on your roof, use a sturdy ladder and make certain it's properly secured. Don't attempt to install panels in wet or windy conditions.
Before connecting the solar panels to your home's electrical system, turn off the main power supply. If you're unsure about any electrical work, consult a licensed electrician. Keep your work area clean and organized to prevent tripping hazards. Be cautious when handling solar panels, as they can be heavy and fragile.
Here are five essential safety precautions to remember:
- Never work alone; always have someone nearby in case of an emergency
- Use fall protection equipment when working on the roof
- Avoid touching live wires or connections
- Keep children and pets away from the work area
- Follow all local building codes and regulations
Testing and Troubleshooting

Testing your newly installed solar panel system is essential to confirm it's functioning correctly and efficiently.
Begin by checking all connections, verifying they're tight and secure. Use a multimeter to measure the voltage output of each panel and compare it to the manufacturer's specifications. If you notice discrepancies, double-check the wiring and connections.
Next, test the inverter's performance by monitoring its display for any error codes or unusual readings. Verify that it's converting DC power to AC power as expected.
If you've installed a battery backup system, check its charge level and cycling performance.
Monitor your system's overall output using the monitoring software or app provided. Compare the actual energy production to your initial estimates. If you notice significant differences, investigate potential issues like shading, dirty panels, or faulty equipment.
Common troubleshooting steps include cleaning the panels, adjusting their angle, and checking for loose connections.
If you encounter persistent problems, consult the manufacturer's troubleshooting guide or contact a professional solar technician.
Remember to perform regular maintenance and testing to confirm your solar panel system continues to operate at peak efficiency throughout its lifespan.
Maintaining Your DIY Solar System
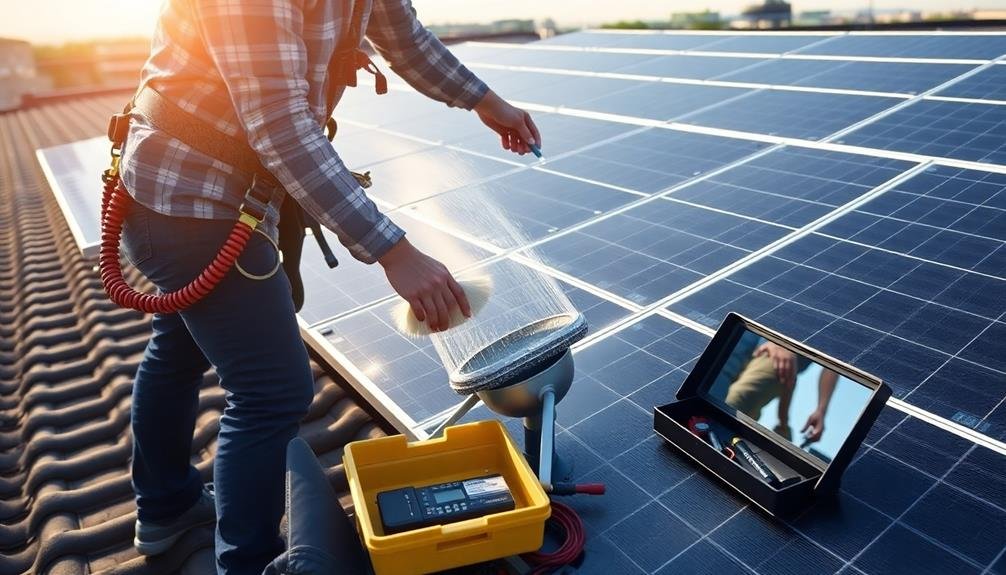
Maintaining your DIY solar system is essential for guaranteeing its longevity and ideal performance. Regular upkeep will help you maximize energy production and prevent costly repairs. Start by implementing a maintenance schedule, including monthly visual inspections and annual thorough check-ups.
Keep your panels clean by gently washing them with water and a soft brush or sponge. Avoid using harsh chemicals or abrasive materials that could damage the surface. Monitor your system's performance through its inverter or monitoring app, and address any significant drops in output promptly.
Here are key maintenance tasks to focus on:
- Inspect wiring connections for corrosion or loose fittings
- Check for any physical damage to panels, such as cracks or discoloration
- Clear debris and vegetation that may cast shadows on your panels
- Guarantee mounting hardware remains secure and properly aligned
- Verify that your inverter is functioning correctly and displaying normal readings
Don't hesitate to consult a professional if you encounter complex issues or notice persistent performance problems.
Maximizing Energy Production and Efficiency
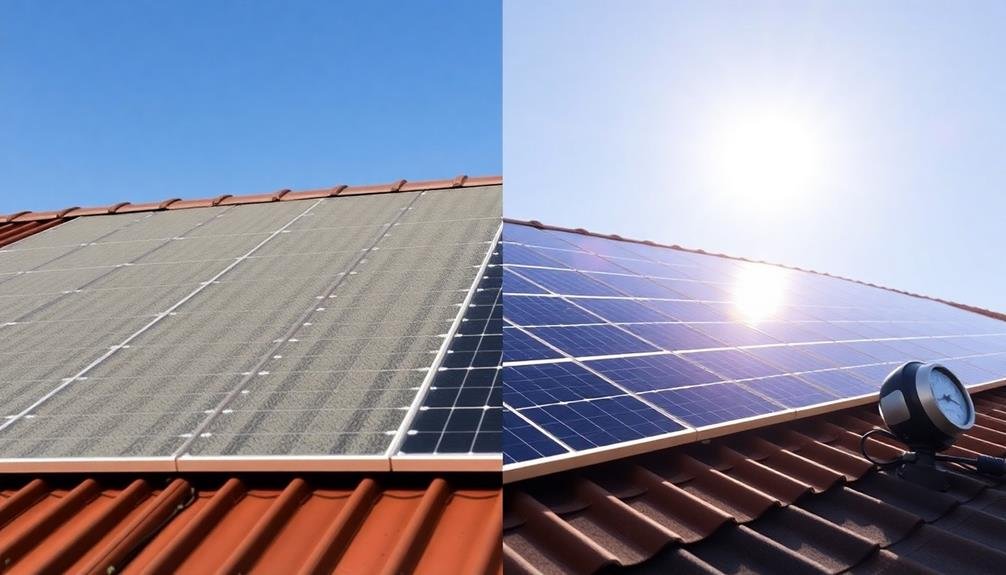
Five key strategies can help you maximize energy production and efficiency in your DIY solar system. First, guarantee ideal panel orientation by facing them south in the northern hemisphere and adjusting the tilt angle based on your latitude. Second, keep your panels clean and free from debris, as even small obstructions can greatly reduce efficiency. Third, invest in a solar tracking system to follow the sun's path throughout the day, increasing energy capture by up to 25%.
Fourth, use high-quality inverters and minimize cable lengths to reduce power losses. Finally, consider adding a battery storage system to store excess energy for use during low-production periods.
To illustrate the impact of these strategies, consider the following table:
| Strategy | Potential Efficiency Gain |
|---|---|
| Ideal orientation | 5-15% |
| Regular cleaning | 3-5% |
| Solar tracking | 20-25% |
| Quality components | 2-5% |
| Battery storage | 10-20% |
Frequently Asked Questions
How Long Does a Typical DIY Solar Panel Installation Take?
You'll typically spend 2-5 days installing solar panels yourself. The time varies based on your system's size, roof complexity, and your experience level. It's essential to plan carefully and allow extra time for unexpected challenges.
Can I Install Solar Panels on a Flat Roof?
Yes, you can install solar panels on a flat roof. You'll need to use special mounting systems and guarantee proper drainage. It's essential to take into account weight distribution and waterproofing. Always check local regulations and consult a professional if you're unsure.
What Permits Do I Need for a DIY Solar Installation?
You'll typically need building and electrical permits for a DIY solar installation. Check with your local government for specific requirements. You may also need a utility interconnection permit if you're connecting to the power grid.
How Much Money Can I Save by Installing Solar Panels Myself?
You can save 10-30% on installation costs by doing it yourself. However, you'll need to factor in the time investment, potential mistakes, and missed professional warranties. Weigh these against the financial savings before deciding.
Are There Any Tax Incentives for DIY Solar Panel Installations?
Yes, you can still qualify for tax incentives with DIY solar installations. You'll often be eligible for the federal solar tax credit, which covers 30% of your system costs. Check your state and local governments for additional incentives.
In Summary
You've now got the knowledge to tackle your DIY solar panel installation. Remember, safety comes first, so don't hesitate to call in professionals if you're unsure. With your new solar system up and running, you'll be saving money and helping the environment. Keep an eye on your panels' performance and maintain them regularly. You've taken a big step towards energy independence – enjoy the benefits of your hard work!

Leave a Reply