To install your whole house fan, start by choosing the right size and gathering necessary tools. Locate an ideal spot, typically in the upper floor ceiling. Prepare the attic and ceiling space, clearing obstructions. Cut an opening in the ceiling, then mount the fan unit securely. Connect the electrical wiring, ensuring safety precautions. Install the ceiling grille for a finished look. Test the fan's operation and adjust settings as needed. Finally, enjoy improved ventilation and energy savings. While these steps provide a basic overview, there's more to take into account for a successful installation.
Choose the Right Fan Size
Selecting the appropriate whole house fan size is essential for peak performance. To determine the right size, you'll need to calculate your home's square footage and consider your local climate. Measure the length and width of each floor, multiply them together, and add up the totals for a multi-story home.
For most regions, you'll want a fan that can change the air in your home 15-20 times per hour.
To calculate the necessary cubic feet per minute (CFM), multiply your home's square footage by the ceiling height, then divide by 3. This gives you the minimum CFM rating you should look for. In hotter climates, opt for a higher CFM rating to guarantee efficient cooling.
Don't forget to factor in your attic size. A larger attic requires a more powerful fan to effectively expel hot air.
Also, consider the fan's noise level, especially if you have bedrooms near the installation site. Look for models with variable speeds, allowing you to adjust airflow and noise levels as needed.
Gather Necessary Tools and Materials
Before diving into the installation process, you'll need to gather all the necessary tools and materials. Start with the whole house fan unit itself, ensuring it matches the size you've chosen for your home.
You'll also need a reciprocating saw or jigsaw for cutting through the ceiling, a drill with various bits, and a sturdy ladder tall enough to reach your attic space.
Essential materials include electrical wiring, a junction box, wire nuts, and electrical tape. Don't forget to pick up weatherstripping to seal around the fan, and louvers if they're not included with your fan unit.
You'll also need wood for framing the fan opening, typically 2x4s or 2x6s, depending on your attic's structure.
For safety, grab a dust mask, safety goggles, and work gloves. Other useful tools include a stud finder, measuring tape, pencil, level, and a voltage tester.
If you're not comfortable working with electricity, consider hiring an electrician for the wiring portion. Having all these items ready before you start will make the installation process smoother and more efficient.
Locate Ideal Installation Spot

When choosing the ideal spot for your whole house fan, you'll need to take into account attic accessibility.
Look for a central location in your home's upper floor ceiling that provides easy access to the attic space above.
Position the fan where it can draw air efficiently from the main living areas, ensuring peak airflow throughout the house.
Attic Accessibility Considerations
Once you've decided to install a whole house fan, finding the perfect spot in your attic is essential for best performance. When reflecting on attic accessibility, you'll need to verify there's enough space for both the fan unit and proper airflow. Check that you have at least 3-4 feet of clearance above the fan's installation point to allow for efficient air circulation.
Examine your attic's structure carefully. Look for areas free from obstructions like roof trusses, electrical wiring, or plumbing pipes. These obstacles can complicate installation and reduce the fan's effectiveness. If you have a finished attic or living space, you'll need to find an alternative location or think about modifying the area.
Assess the attic flooring. You'll need a stable surface to support the fan's weight and withstand vibrations. If your attic has exposed joists, you may need to add plywood or other reinforcements.
Don't forget to think about access for maintenance and repairs. Verify you can easily reach the fan after installation for cleaning, adjustments, or potential troubleshooting.
Lastly, evaluate the attic's ventilation. Your whole house fan will require adequate exhaust vents to expel hot air effectively. If your attic lacks sufficient ventilation, you may need to install additional vents before proceeding with the fan installation.
Optimal Airflow Positioning
Locating the ideal installation spot for your whole house fan is essential for best airflow. You'll want to position it centrally in your home, typically in a hallway ceiling on the top floor. This central location allows the fan to draw air from all rooms efficiently.
Consider the layout of your home and identify areas where air naturally flows. Look for a spot that's not obstructed by walls or large furniture. The fan should have a clear path to pull air from the living spaces below.
Ensure there's adequate attic space above the installation point. You'll need room for the fan unit and ductwork. Check that the chosen location doesn't interfere with existing wiring, plumbing, or structural elements.
Avoid placing the fan near bathrooms or kitchen areas, as it may draw unwanted odors through the house. Instead, opt for a neutral zone that's equidistant from most rooms.
Lastly, consider the direction of prevailing winds in your area. Positioning the fan to work with these natural air currents can enhance its effectiveness, maximizing the cooling power of your whole house fan system.
Prepare Attic and Ceiling Space
Before cutting into your ceiling, you'll need to prepare the attic and ceiling space for your whole house fan.
Clear away any insulation, wiring, or other obstructions in the area where you plan to install the fan.
Carefully measure the available space to guarantee your chosen fan will fit properly and have adequate clearance for peak performance.
Clear Obstructions
To prepare for your whole house fan installation, you'll need to clear the attic and ceiling space of any obstructions. Start by removing stored items, boxes, and insulation from the installation area. Relocate electrical wires, plumbing pipes, or HVAC ducts that might interfere with the fan's placement.
Inspect the rafters and joists to ascertain they're sturdy enough to support the fan's weight. If necessary, reinforce these structures before proceeding. Check for any roof leaks or damage that could compromise the fan's performance or your home's integrity.
Use this table to guide your obstruction clearing process:
| Area to Clear | Items to Remove |
|---|---|
| Attic Floor | Boxes, old furniture |
| Ceiling | Insulation, light fixtures |
| Rafters | Hanging storage, wires |
| Vents | Debris, bird nests |
| Access Points | Clutter, stored materials |
Once you've cleared the space, measure the area to confirm it meets the fan's specifications. Verify there's enough room for proper airflow and maintenance access. Don't forget to wear protective gear like gloves, a dust mask, and safety glasses while working in the attic. With a clear workspace, you're ready to move on to the next step of your whole house fan installation.
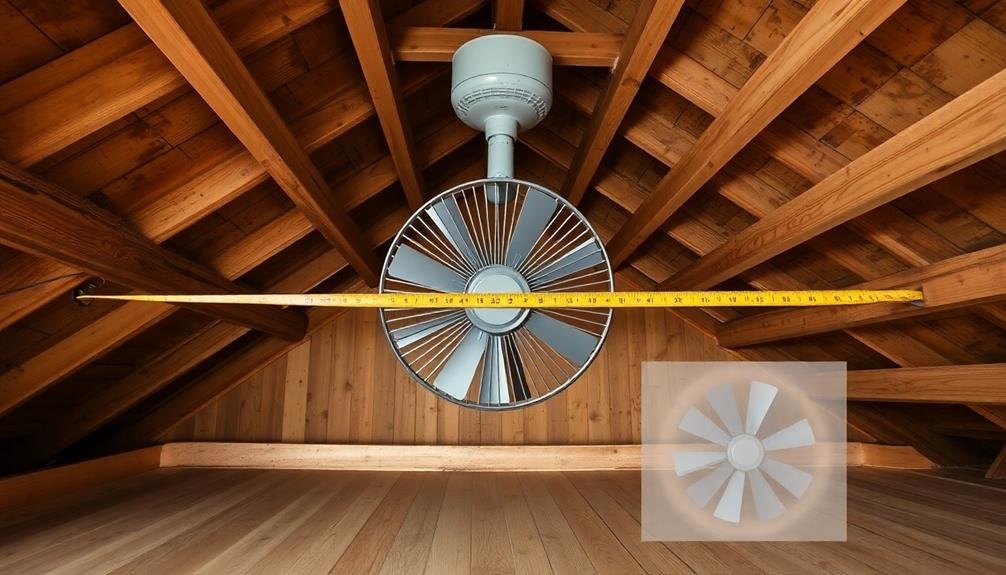
Measure Available Space
Accurate measurements are essential for a successful whole house fan installation. You'll need to measure both your attic space and the ceiling area where you'll install the fan.
In the attic, measure the height from the attic floor to the roof's peak, guaranteeing there's enough clearance for the fan and its housing. Also, measure the width and length of the available space to confirm it can accommodate the fan's dimensions.
Next, measure the ceiling joists' spacing where you'll cut the opening. This information will help you select the right fan size and determine if you need to modify any framing. Measure the thickness of your ceiling to guarantee you have the correct length of screws or bolts for mounting.
In the living space below, measure the area where you'll install the shutter or grille. Consider any obstacles like light fixtures or vents that might interfere with the installation.
Don't forget to measure the distance to the nearest electrical outlet or junction box, as you'll need to connect the fan to a power source. Take detailed notes of all measurements to reference when purchasing your fan and planning the installation.
Cut Opening in Ceiling
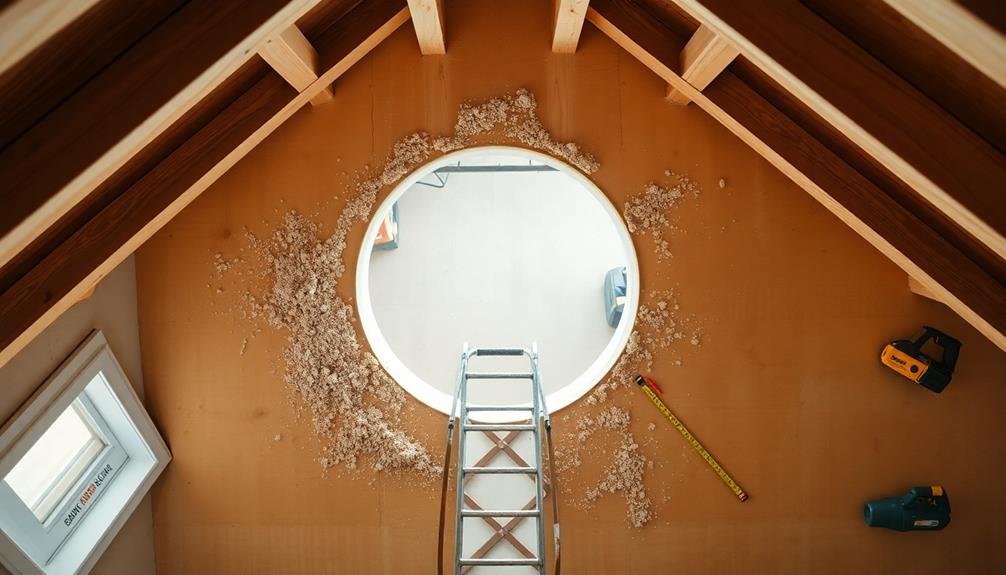
Once you've chosen the ideal location for your whole house fan, cutting the opening in your ceiling is the next critical step.
Begin by marking the outline of the fan on the ceiling using the template provided with your fan kit. Double-check your measurements and guarantee the outline is level.
Before cutting, turn off the power to any electrical wires in the area. Use a drywall saw to carefully cut along the marked line. If you encounter any joists, you'll need to use a reciprocating saw to cut through them. Be prepared to catch falling debris as you cut.
After completing the initial cut, remove any insulation from the opening area. Inspect the space for any obstacles like wires or pipes that may need to be relocated.
If necessary, frame the opening with 2×4 lumber to provide proper support for the fan.
Clean up any dust or debris from the cutting process. Vacuum the area thoroughly and wipe down surfaces to prevent mess from spreading throughout your home.
Install Support Framing
To install support framing, you'll first need to measure and mark the joists in your attic.
Once you've determined the correct dimensions, cut lumber to size for the frame.
Measure and Mark Joists
Before cutting into your attic, you'll need to measure and mark the joists to install support framing for your whole house fan. Start by locating the area where you'll install the fan, typically near the center of your home. Use a stud finder to identify the ceiling joists in this area.
Measure the distance between the joists and compare it to the dimensions of your whole house fan. You'll need to create an opening that's slightly larger than the fan's housing. Mark the joists that will need to be cut to accommodate the fan.
Next, measure and mark where you'll need to install additional framing to support the fan's weight. This usually involves adding cross beams between the existing joists. Mark the locations for these support beams, ensuring they're perpendicular to the joists and provide adequate support for the fan.
Don't forget to account for any electrical wiring or plumbing that may be present in the ceiling. If you encounter any obstacles, you might need to adjust your measurements or consult a professional.
Double-check all your measurements and markings before proceeding to cut or install any framing.
Cut Lumber to Size
With your measurements and markings in place, it's time to prepare the support framing for your whole house fan. Begin by selecting sturdy lumber, typically 2x4s or 2x6s, depending on your attic's structure and the fan's weight. Cut two pieces to fit between the joists where you've marked for the fan opening. These will serve as headers to support the weight of the fan.
Next, cut two more pieces to create the side supports. These should fit snugly between the headers and the existing joists. Make certain all cuts are straight and precise for a secure fit. If your fan requires additional bracing, cut extra pieces as needed.
For a more finished look, you may want to cut a piece of plywood to create a mounting board for the fan. This should be slightly larger than the fan's dimensions to allow for secure attachment. Sand all cut edges to prevent splinters and guarantee safe handling.
Double-check all measurements before making your cuts to avoid wasting materials. Use appropriate safety gear, including goggles and gloves, when operating power tools. If you're unsure about making precise cuts, consider having the lumber pre-cut at a home improvement store.
Secure Framing in Place
The next essential step in installing your whole house fan is securing the framing in place. Begin by positioning the cut lumber pieces inside the attic, aligning them with the marked joists. Use a level to verify the frame is perfectly horizontal and perpendicular to the ceiling joists.
Once aligned, nail the frame securely to the joists using 16d nails. Drive nails at an angle through the frame and into the joists, spacing them every 6 inches for ideal support. Double-check the frame's stability by gently pushing against it.
Next, install blocking between the joists to reinforce the frame. Cut additional lumber to fit snugly between the joists, perpendicular to the frame. Nail these blocks in place, confirming they're flush with the top of the joists.
For added strength, consider using metal joist hangers at each corner of the frame. Attach these hangers using joist hanger nails, following the manufacturer's instructions.
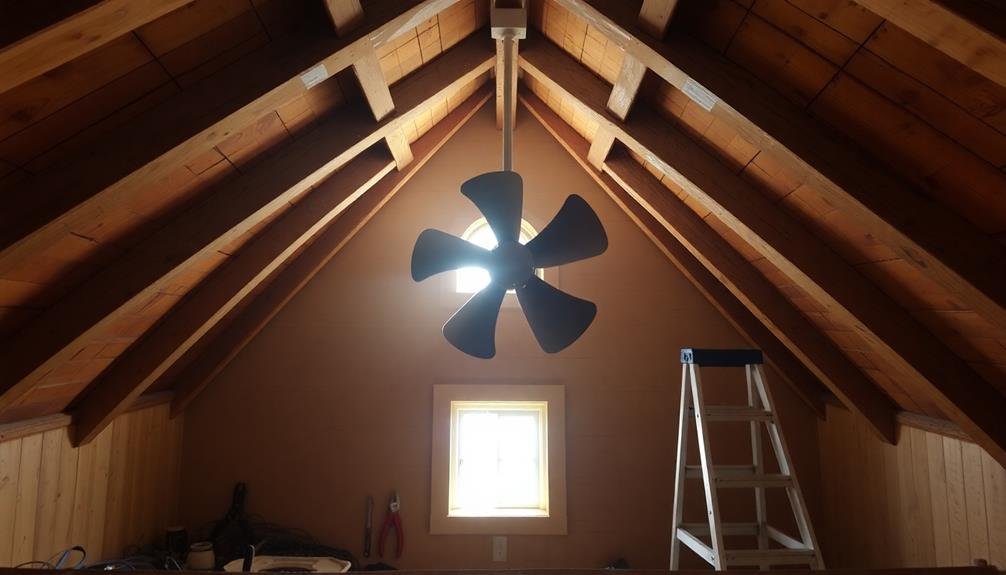
Mount the Fan Unit
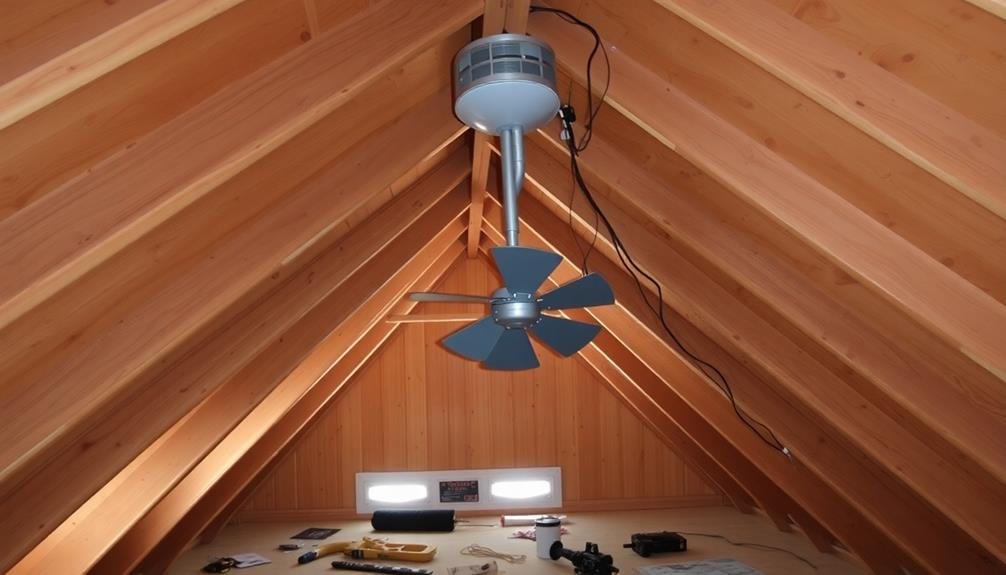
Mounting the fan unit up into the attic space is an essential step in the installation process. Before you begin, verify you have the fan unit, mounting hardware, and any necessary tools ready. You'll need to lift the fan into position, so it's best to have a helper for this task.
First, carefully hoist the fan unit up through the framed opening. Position it so that the fan's intake is aligned with the ceiling opening. Most whole house fans come with mounting brackets or flanges. Use these to secure the fan to the joists or blocking you've installed.
Make sure the fan is level and properly aligned before tightening all fasteners. Double-check that the unit is securely attached and doesn't wobble. If your fan model includes vibration isolators, install them now to reduce noise transmission.
Next, connect the fan to its power source. Follow the manufacturer's wiring instructions carefully, and if you're not comfortable with electrical work, hire a licensed electrician.
Once wired, test the fan to verify it's working correctly and there are no unusual vibrations or noises.
Connect Electrical Wiring
Now that the fan unit is securely mounted, it's time to connect the electrical wiring. First, turn off the power at the main circuit breaker to guarantee your safety.
Locate the electrical box near the fan unit and remove its cover. You'll need to run a dedicated circuit from your home's main electrical panel to this box.
Install a new 20-amp circuit breaker in the main panel and connect it to a 12/2 wire. Run this wire through the attic to the fan's electrical box, leaving enough slack for connections.
Strip the wire ends and attach them to the appropriate terminals in the box. Connect the black wire to the "hot" terminal, white to "neutral," and green or bare copper to "ground."
Next, connect the fan's wiring to these same terminals, following the manufacturer's instructions. If your fan has a speed control switch, install it in a convenient location and wire it according to the provided diagram.
Double-check all connections, secure wire nuts, and replace the electrical box cover. Finally, restore power at the main panel and test the fan to confirm proper operation.
Install Ceiling Grille
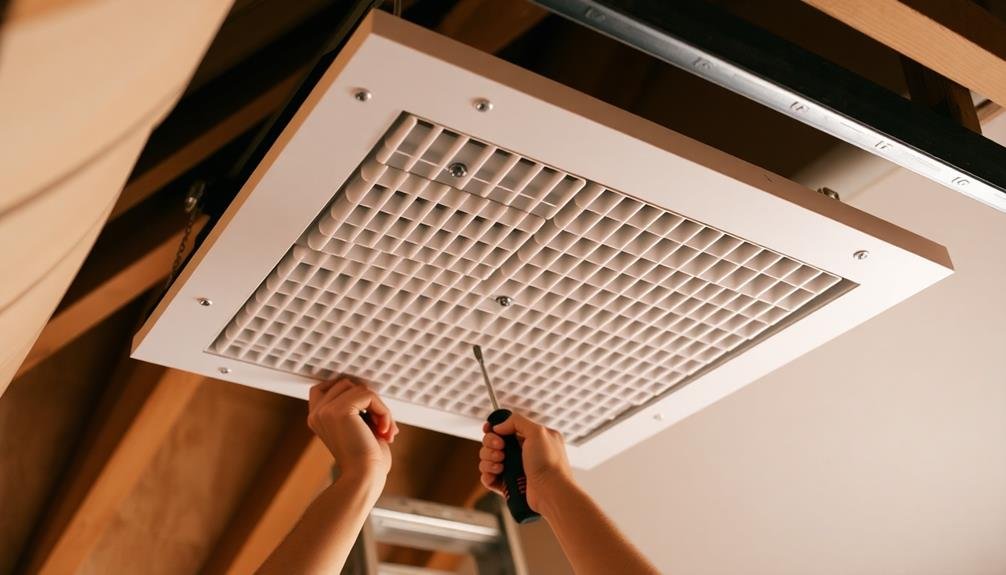
Installing the ceiling grille is your final major step in the whole house fan installation process. Begin by removing any debris or insulation from the opening in your ceiling. Measure the dimensions of the grille and compare them to the opening to guarantee a proper fit. If necessary, adjust the opening slightly using a drywall saw.
Position the grille in the opening and mark the screw holes on the ceiling. Pre-drill these holes to prevent cracking. Apply a bead of caulk around the perimeter of the opening to create an airtight seal. Carefully lift the grille into place, aligning it with the pre-drilled holes. Secure the grille using the provided screws, tightening them evenly to prevent warping.
Once the grille is firmly attached, check for any gaps between it and the ceiling. If you notice any, apply additional caulk to seal them. Clean the grille and surrounding area to remove any dust or debris.
Test and Adjust Fan Operation
With the physical installation complete, it's time to confirm your whole house fan operates correctly.
Begin by turning on the fan at its lowest speed setting. Listen for any unusual noises or vibrations that might indicate improper installation. Check the louvers to verify they open fully when the fan is running and close completely when it's off.
Next, test the fan's effectiveness by opening a few windows on the lower floors of your home. You should feel a strong airflow from outside to inside. If the airflow seems weak, you may need to open more windows or adjust the fan speed.
Remember, the total open window area should be about twice the size of the fan opening for peak performance.
Check the thermostat and timer controls if your fan has these features. Set them according to your preferences and verify they're working correctly.
If you've installed a multi-speed fan, test each speed setting to confirm smooth shifts and proper functioning at all levels.
Frequently Asked Questions
How Noisy Are Whole House Fans During Operation?
You'll find whole house fans typically produce moderate noise during operation. They're quieter than air conditioners but louder than ceiling fans. The noise level can vary based on fan quality, installation, and speed settings you choose.
Can I Install a Whole House Fan in a Home Without an Attic?
You can install a whole house fan without an attic, but it's more challenging. You'll need to create a dedicated duct system or use a ceiling-mounted unit. It's best to consult a professional for proper installation and ventilation.
What's the Average Lifespan of a Whole House Fan?
You can expect your whole house fan to last 15-20 years on average. With proper maintenance, it might even reach 30 years. However, factors like usage frequency, climate, and quality of installation can affect its lifespan.
Are Whole House Fans Effective in Humid Climates?
Whole house fans aren't as effective in humid climates. You'll find they struggle to remove moisture from the air. While they can still provide some cooling, you're better off using air conditioning in high-humidity areas.
How Much Can I Expect to Save on Energy Bills With a Whole House Fan?
You can expect to save 30-50% on your cooling costs with a whole house fan. It's most effective when used in the evening and early morning. Your actual savings will depend on your climate and usage habits.
In Summary
You've successfully installed your whole house fan! Remember to use it during cooler evening hours for maximum efficiency. Don't forget regular maintenance: clean the blades and lubricate bearings annually. If you're unsure about any steps, especially electrical work, don't hesitate to call a professional. With proper use and care, your new fan will provide years of energy-efficient cooling, improving your home's comfort and potentially lowering your energy bills.


Leave a Reply