To create your solar water heater, start by gathering materials and tools, including an insulated tank, copper piping, and safety equipment. Next, design your solar collector based on your household's hot water needs and climate conditions. Then, assemble the collector panel using copper pipes, insulation, and a glass cover. Install the storage tank system, connecting it to the collector and adding necessary components like pumps and valves. Finally, connect everything and test the system, checking for leaks and monitoring temperature changes. By following these steps, you'll be on your way to harnessing the sun's power for your hot water needs. Dive deeper to uncover more detailed insights for each stage of the process.
Gather Materials and Tools
Preparedness is key when initiating your solar water heater project. To guarantee a smooth construction process, gather all necessary materials and tools beforehand.
You'll need a large, insulated water tank, copper piping, a solar collector panel, heat-resistant glass, and a pump. Don't forget essential tools like a soldering iron, pipe cutter, and various wrenches.
For the tank, choose a size that meets your household's hot water needs. The solar collector panel should be large enough to efficiently absorb sunlight and transfer heat to the water. Copper piping is ideal for its excellent heat conductivity, while heat-resistant glass will protect the collector panel.
You'll also need insulation materials, such as foam boards or fiberglass, to minimize heat loss. Acquire a circulation pump to move water between the tank and collector panel. Additional items include temperature sensors, valves, and a control unit to regulate the system.
Lastly, gather safety equipment like gloves, goggles, and a fire extinguisher. With all materials and tools at hand, you're ready to begin constructing your solar water heater efficiently and safely.
Design Your Solar Collector
The solar collector is the heart of your solar water heater system. It's where sunlight is captured and transformed into heat energy. To design an effective collector, you'll need to take into account several factors.
First, determine the size of your collector based on your hot water needs and available space. A general rule is 1-2 square feet of collector area per gallon of daily hot water use. Next, choose the type of collector: flat plate or evacuated tube. Flat plate collectors are more common and cost-effective, while evacuated tubes are more efficient in colder climates.
Select materials that maximize heat absorption and retention. Use a dark-colored absorber plate, typically made of copper or aluminum, and cover it with a selective coating. Insulate the back and sides of the collector to minimize heat loss.
Here's a quick comparison of flat plate and evacuated tube collectors:
| Feature | Flat Plate | Evacuated Tube |
|---|---|---|
| Efficiency | Moderate | High |
| Cost | Lower | Higher |
| Durability | Good | Excellent |
| Weight | Heavier | Lighter |
| Cold Weather | Less effective | More effective |
Take into account your climate, budget, and installation requirements when making your final design decisions.
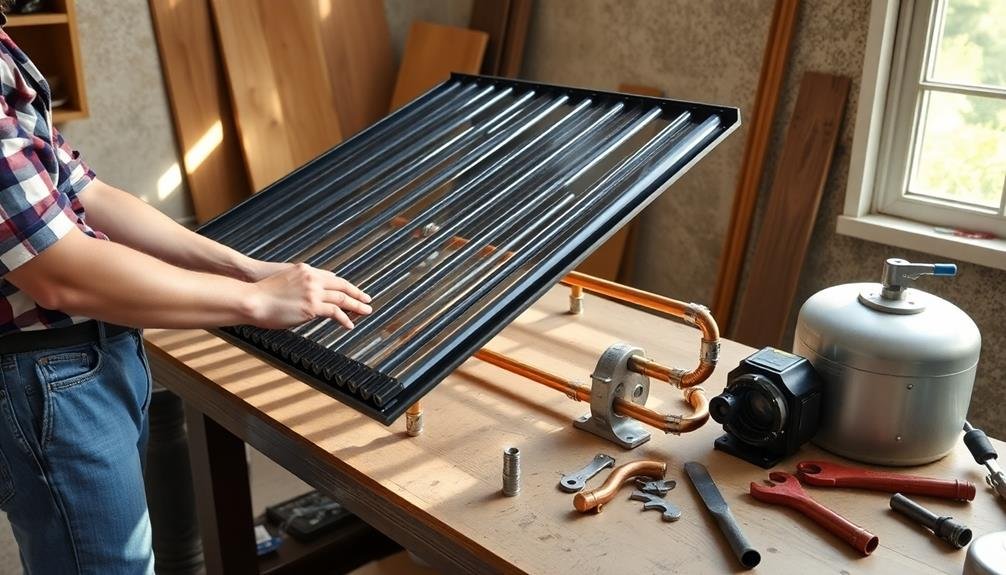
Assemble the Collector Panel
With your collector design finalized, it's time to bring your solar water heater to life. Begin by gathering all the necessary materials, including copper pipes, a wooden frame, insulation, and a glass cover.
Lay out the copper pipes according to your design, verifying they're evenly spaced for peak heat absorption. Secure the pipes to the frame using clips or brackets, making sure they're firmly in place.
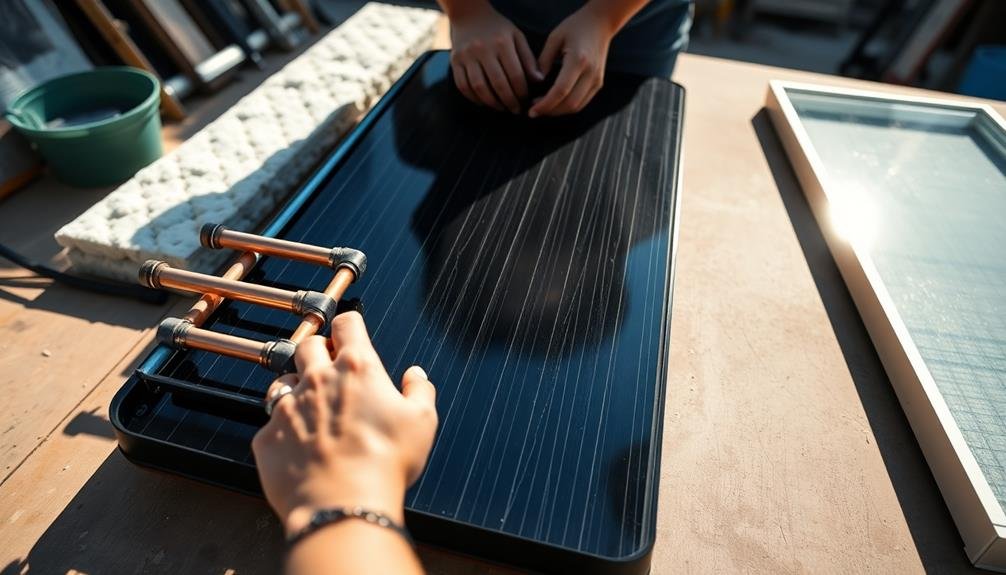
Next, add a layer of insulation beneath the pipes to minimize heat loss. Install the absorber plate, typically made of copper or aluminum, directly above the pipes to enhance heat transfer.
Carefully attach the glass cover to the frame, creating a sealed environment that traps heat while allowing sunlight to penetrate. Use weather-stripping or silicone sealant to guarantee a watertight seal around the edges.
Connect the inlet and outlet pipes to your collector, making sure all joints are properly soldered and leak-free. Finally, paint the absorber plate and exposed pipes with a heat-resistant black paint to augment heat absorption.
Double-check all connections and seals before moving on to the next step in your solar water heater construction process.
Install Storage Tank System
How will you store the heated water from your solar collector? You'll need to install a storage tank system to retain the heated water for later use.
Start by choosing an insulated tank that can hold enough water for your household needs. Place it in a location that's easily accessible and close to your collector panel.
Next, connect the inlet pipe from your collector panel to the bottom of the storage tank. This allows cold water to flow into the collector for heating.
Install a pump to circulate water between the tank and collector if you're using an active system. For passive systems, guarantee proper elevation difference between the collector and tank for natural circulation.
At the top of the tank, connect an outlet pipe to distribute hot water to your home's plumbing. Install a temperature sensor and control valve to regulate water temperature and prevent overheating.
Don't forget to include a pressure relief valve for safety.
Insulate all pipes to minimize heat loss.
Finally, connect a backup heating element or integrate with your existing water heater to guarantee hot water availability during cloudy days or high-demand periods.
Test the system thoroughly before full operation.
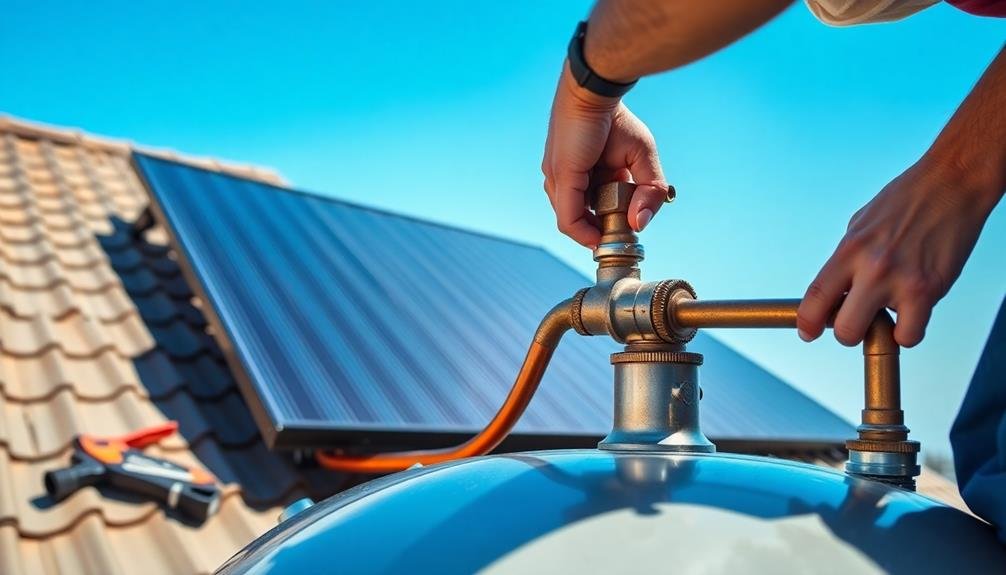
Connect and Test System
Once you've installed the storage tank system, it's time to connect and test your solar water heater.
Begin by connecting the solar collectors to the storage tank using insulated pipes. Verify all connections are tight and properly sealed to prevent leaks.
Next, fill the system with water and check for any leaks or pressure issues. If everything looks good, it's time to test the system's functionality.
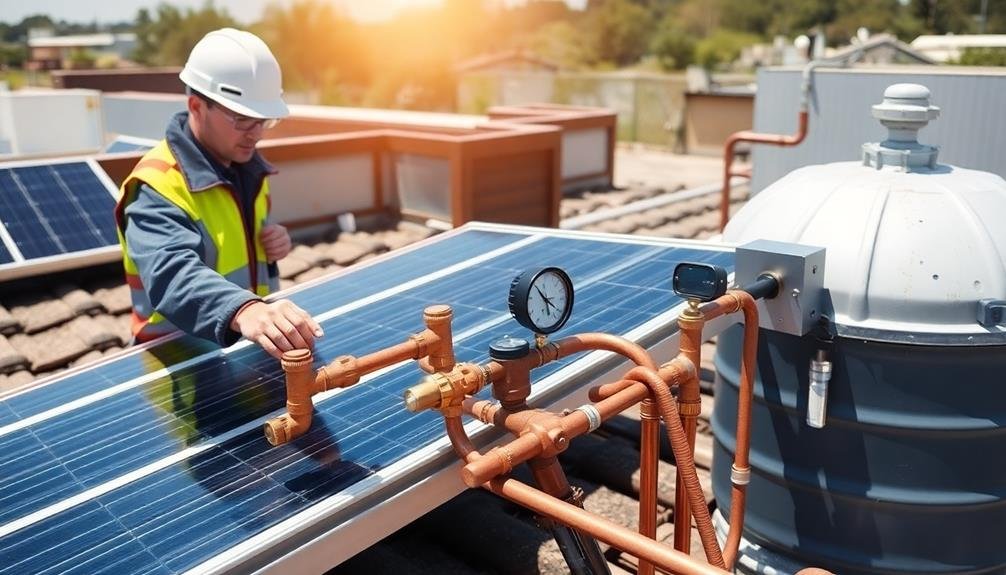
To test your solar water heater, follow these steps:
- Monitor the temperature: Check the temperature gauge on your storage tank to see if it's rising during sunny hours.
- Run hot water: Turn on a hot water tap and feel if the water is warming up as expected.
- Inspect for issues: Look for any unusual noises, leaks, or inconsistencies in performance.
During the testing phase, pay close attention to how quickly the water heats up and how long it stays hot.
If you notice any problems, troubleshoot immediately. Common issues include air locks in the pipes or faulty valves.
Don't hesitate to consult a professional if you're unsure about any aspect of the system's operation.
With proper connection and testing, your solar water heater should be ready to provide efficient, eco-friendly hot water for your home.
Frequently Asked Questions
How Long Does a DIY Solar Water Heater Typically Last?
Your DIY solar water heater can last 15-20 years with proper maintenance. You'll need to regularly check for leaks, clean the collector, and replace parts as needed. Longevity depends on materials used and environmental factors.
What Maintenance Is Required for a Homemade Solar Water Heater?
You'll need to regularly clean the collector surface, check for leaks, and inspect insulation. Don't forget to flush the system annually, maintain proper fluid levels, and guarantee the pump's functioning. Replace any worn components as needed for peak performance.
Can a Solar Water Heater Work Effectively in Colder Climates?
Yes, you can use solar water heaters in colder climates. They're less efficient but still effective with proper insulation and freeze protection. You'll need to adjust your expectations and may require a backup heating system for winter months.
How Much Money Can I Save Annually With a Solar Water Heater?
You can save considerably with a solar water heater. On average, you'll cut your water heating costs by 50-80%. Your annual savings depend on your location, system size, and energy prices, but typically range from $200-$600.
Are There Any Safety Concerns When Using a DIY Solar Water Heater?
You'll need to be cautious of potential leaks, overheating, and pressure buildup in DIY solar water heaters. Ascertain proper installation, use safety valves, and regularly maintain your system to prevent scalding or equipment damage. Always prioritize safety over cost savings.
In Summary
You've now completed the steps to build your own solar water heater. With your new system in place, you'll enjoy eco-friendly hot water and reduced energy bills. Remember to regularly maintain your setup for peak performance. As you become more familiar with solar technology, you might consider expanding your system or helping others create their own. You've taken a significant step towards sustainable living – keep up the great work!


Leave a Reply