To guarantee effective radiant floors, focus on these five key insulation tips: First, choose the right insulation material, considering R-value and moisture resistance. Second, determine the ideal insulation thickness based on your climate and energy goals. Third, install a vapor barrier correctly to prevent moisture issues. Fourth, address thermal bridging by insulating weak points like edges and penetrations. Finally, ensure even heat distribution through proper tube spacing and heat transfer plates. By following these tips, you'll maximize your radiant floor's efficiency and comfort. Dive deeper to reveal the full potential of your heating system.
Choose Proper Insulation Material
Homeowners face an essential decision when selecting insulation for radiant floors. The right choice can greatly influence your system's efficiency and overall performance. To make the best decision, take into account factors like thermal resistance (R-value), moisture resistance, and compressive strength.
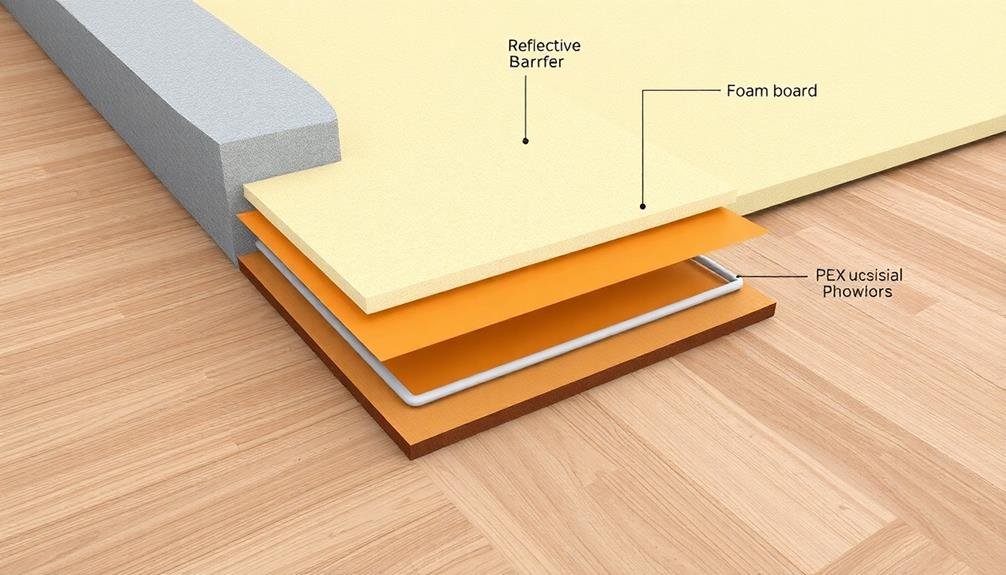
For radiant floor systems, rigid foam insulation is often the top choice. Extruded polystyrene (XPS) and expanded polystyrene (EPS) offer excellent R-values and moisture resistance. XPS typically provides higher R-value per inch and better moisture resistance, making it ideal for below-grade applications.
EPS is more cost-effective and eco-friendly but may require additional vapor barriers in damp conditions.
Polyisocyanurate (polyiso) is another option, offering the highest R-value per inch. However, it's more expensive and may lose some insulating properties at lower temperatures.
For above-grade installations, you might take into account mineral wool or fiberglass batts, which offer good thermal performance and sound insulation.
When choosing insulation, don't forget to take into account your local building codes and climate. In colder regions, you'll need higher R-values to maintain energy efficiency.
Always verify proper installation to maximize the insulation's effectiveness and your radiant floor system's performance.
Determine Optimal Insulation Thickness
Thickness matters when it comes to insulating your radiant floor system. The ideal insulation thickness depends on several factors, including your climate zone, the type of flooring, and the desired energy efficiency. Generally, you'll want to aim for an R-value between R-10 and R-20 for most residential applications.
To determine the right insulation thickness for your radiant floor, consider these key points:
- Assess your local climate: Colder regions require thicker insulation to prevent heat loss.
- Evaluate your subfloor material: Different materials conduct heat differently, affecting insulation needs.
- Consider your energy goals: Higher R-values lead to better energy efficiency but may increase costs.
- Check local building codes: Verify your insulation meets or exceeds minimum requirements.
Once you've factored in these considerations, you can calculate the necessary insulation thickness. For example, if you're using extruded polystyrene with an R-value of 5 per inch and you're aiming for R-15, you'll need 3 inches of insulation.
Don't skimp on thickness, as proper insulation is essential for your radiant floor's performance and efficiency. It's often worth investing in slightly thicker insulation to maximize long-term energy savings and comfort.
Install Vapor Barrier Correctly
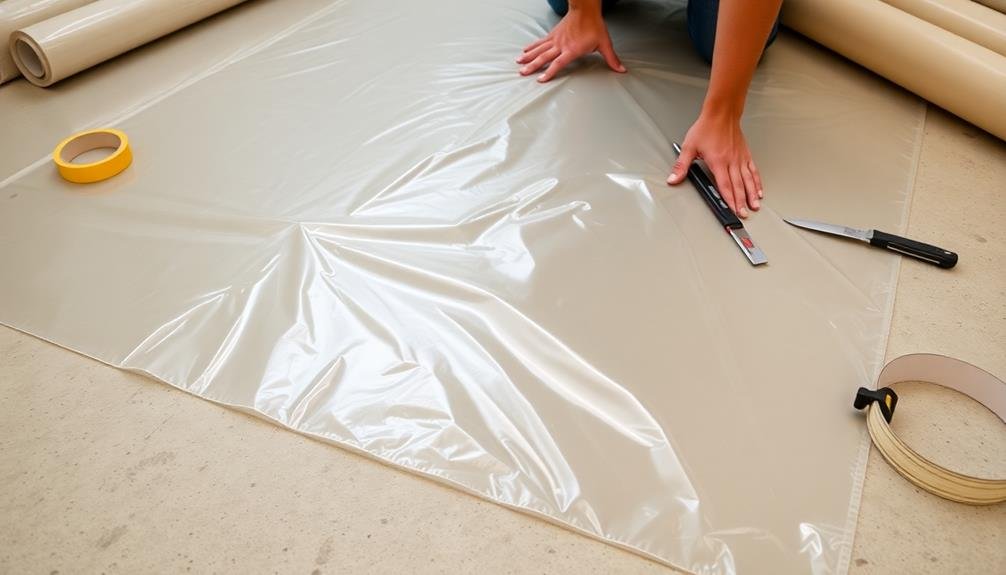
Proper vapor barrier installation is essential for protecting your radiant floor system from moisture damage. To guarantee effectiveness, start by thoroughly cleaning the subfloor, removing all debris and sharp objects that could puncture the barrier.
Choose a high-quality, puncture-resistant vapor barrier material, such as 6-mil polyethylene sheeting.
Begin laying the vapor barrier at one corner of the room, unrolling it across the entire floor surface. Overlap seams by at least 6 inches and seal them with vapor barrier tape. Extend the barrier up the walls by about 2 inches, creating a continuous moisture barrier.
Pay special attention to corners, joints, and penetrations, using specialized tape or sealant to secure these areas.
When installing the radiant tubing, be careful not to damage the vapor barrier. Use plastic staples or clips designed for radiant floor systems to secure the tubing, avoiding metal fasteners that could puncture the barrier.
After installation, inspect the entire surface for any tears or gaps, repairing them immediately with vapor barrier tape.
Address Thermal Bridging Issues
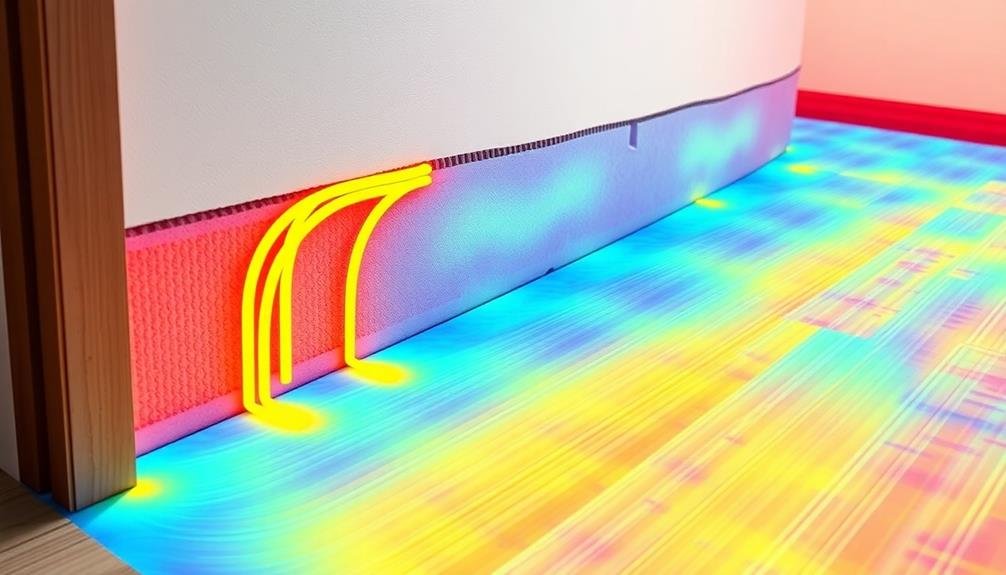
With your radiant floor system protected from moisture, it's time to tackle thermal bridging issues. Thermal bridges are areas where heat can easily escape, reducing the efficiency of your radiant floor. To address these potential weak points, focus on insulating the entire floor perimeter and any penetrations through the slab.
Start by identifying common thermal bridging areas:
- Edges where the floor meets exterior walls
- Plumbing or electrical conduits passing through the slab
- Support columns or interior walls
- Shifts between different flooring materials
Once you've identified these areas, use rigid foam insulation to create a thermal break. Cut the insulation to fit snugly around pipes, conduits, and other penetrations.
For floor edges, extend the insulation vertically along the slab's perimeter to prevent heat loss to the foundation walls.
Don't forget to insulate under door thresholds and around floor drains. Use spray foam to fill any small gaps or hard-to-reach areas.
By addressing thermal bridging, you'll greatly improve your radiant floor's performance, ensuring consistent heat distribution and reducing energy costs.
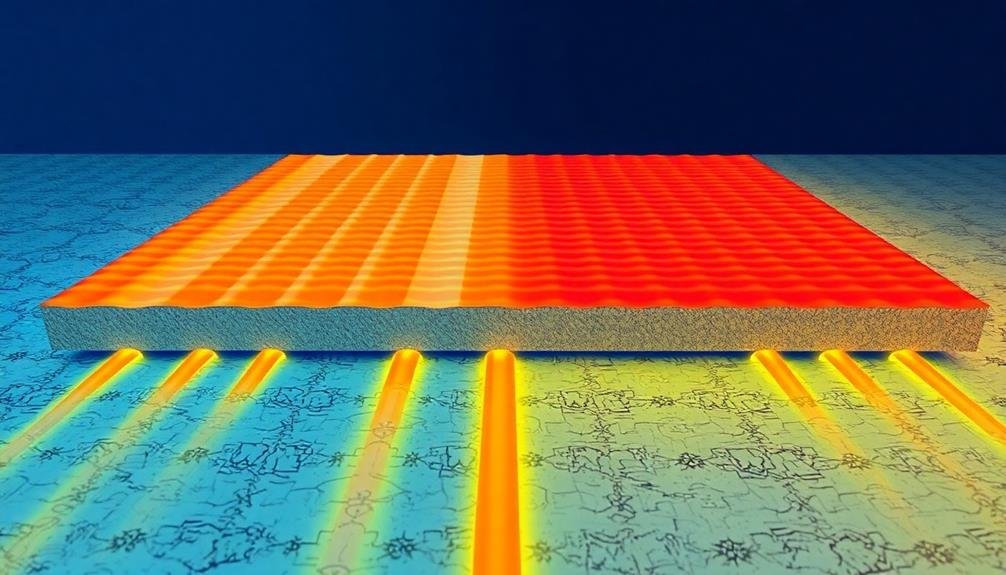
Ensure Even Heat Distribution
Achieving uniform warmth throughout your space is essential for a comfortable and efficient radiant floor system. To guarantee even heat distribution, you'll need to carefully plan your radiant floor layout and installation.
Start by spacing your heating tubes or cables evenly across the entire floor area. Aim for consistent spacing between 6 to 12 inches, depending on your specific system requirements and heat output needs.
Pay special attention to areas near exterior walls and windows, where heat loss is typically higher. You may need to decrease the spacing in these zones to compensate for increased heat demand.
Use heat transfer plates to improve heat distribution from the tubes to the flooring material, especially with wooden subfloors. These plates help spread warmth more evenly across the surface.
Consider installing a manifold system to balance water flow through each heating loop, guaranteeing consistent temperatures throughout your space.
Use a programmable thermostat with multiple sensors placed strategically around your home to monitor and adjust temperatures in different zones. This will help maintain uniform comfort levels and prevent cold spots.
Frequently Asked Questions
How Long Does Radiant Floor Insulation Typically Last Before Needing Replacement?
You'll find that radiant floor insulation typically lasts 20-30 years before needing replacement. However, it's crucial to acknowledge that proper installation and maintenance can greatly extend its lifespan. You should regularly inspect for any signs of wear or damage.
Can Radiant Floor Insulation Be Installed in Existing Homes Without Major Renovations?
Yes, you can install radiant floor insulation in existing homes without major renovations. You'll need to access the subfloor from below or above, depending on your home's structure. It's easier in basements, crawl spaces, or when replacing flooring.
Are There Any Health Concerns Associated With Radiant Floor Insulation Materials?
You shouldn't worry much about health concerns with radiant floor insulation. Most materials are safe, but you'll want to avoid fiberglass if you're sensitive. Guarantee proper installation to prevent moisture issues that could lead to mold growth.
How Does Radiant Floor Insulation Affect the Overall Energy Efficiency of a Home?
You'll see significant improvements in your home's energy efficiency with radiant floor insulation. It reduces heat loss, maintains consistent temperatures, and lowers your heating costs. You'll enjoy a more comfortable living space while using less energy overall.
What Maintenance Is Required for Radiant Floor Insulation Systems After Installation?
You'll find radiant floor insulation systems require minimal maintenance. Regularly check for leaks, guarantee proper system pressure, and clean filters annually. It's wise to have a professional inspection every few years to catch any potential issues early.
In Summary
You've learned the essentials of insulating radiant floors effectively. By choosing the right materials, determining ideal thickness, installing vapor barriers correctly, addressing thermal bridging, and ensuring even heat distribution, you'll maximize your system's efficiency. Remember, proper insulation is vital for your radiant floor's performance and energy savings. Don't skimp on this important step. With these tips in mind, you're well-equipped to create a comfortable, efficient living space with radiant floor heating.


Leave a Reply