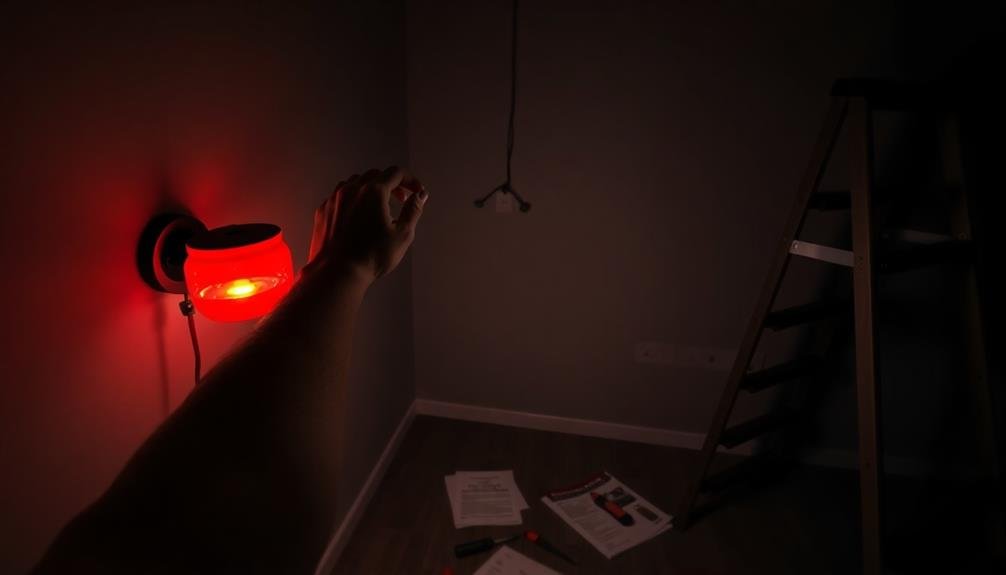
To install emergency lights at home, start by choosing suitable LED fixtures that meet safety standards. Next, determine ideal locations along escape routes and in high-risk areas. Gather necessary tools and materials, including a drill and wire strippers. Prepare the wiring and power source, ensuring you have a suitable circuit. Mount the fixtures securely in your chosen spots, then connect the wiring to the power supply, following safety precautions. Finally, test the lights by simulating a power outage and adjust as needed. By following these steps, you'll be well-prepared for unexpected emergencies and power failures.
Choose Suitable Emergency Light Fixtures
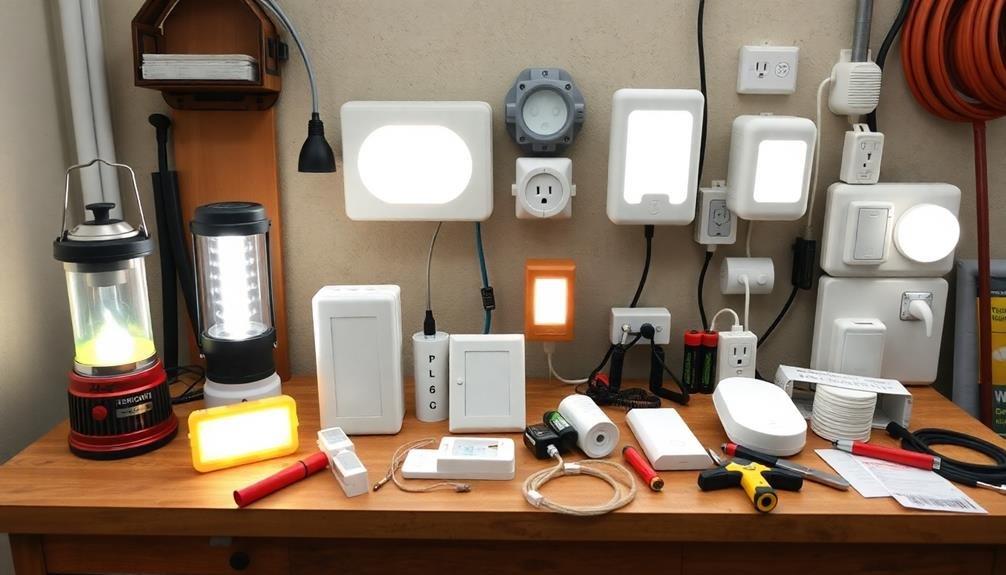
When selecting emergency light fixtures for your home, consider the specific needs of each area. Choose LED lights for energy efficiency and longevity. Opt for battery-powered units to guarantee they'll work during power outages. Look for models with built-in test buttons and automatic charging features.
For hallways and staircases, install wall-mounted lights that provide clear pathways. In larger rooms, ceiling-mounted fixtures offer broader coverage. Consider combo units that function as both emergency lights and exit signs for doorways.
Confirm the lights you choose have adequate brightness, typically between 50 to 100 lumens. For outdoor areas, select weatherproof fixtures that can withstand various conditions.
Don't forget about your garage or basement – these areas often need emergency lighting too.
Check that the fixtures meet local building codes and safety standards. Some areas may require specific types of emergency lighting. Look for UL (Underwriters Laboratories) or ETL (Intertek) certification on the products you're considering.
These certifications indicate that the lights have been tested for safety and performance. By carefully selecting appropriate fixtures, you'll create a safer environment during unexpected power failures.
Determine Optimal Placement Locations
To determine the best locations for your emergency lights, start by mapping out all emergency exit routes in your building.
Next, identify high-risk areas that require extra illumination, such as stairwells, intersections, and potentially hazardous spaces.
Make certain you've covered all critical points along escape paths and in danger zones to maximize safety during emergencies.
Map Emergency Exit Routes
One of the most critical steps in installing emergency lights is mapping out your emergency exit routes.
Begin by creating a detailed floor plan of your home, including all rooms, windows, and doors. Identify primary and secondary escape routes from each room, guaranteeing there are at least two ways out whenever possible.
Consider potential obstacles or hazards that might impede your exit during an emergency, such as furniture or debris. Mark these on your map and plan alternative routes if necessary. Pay special attention to bedrooms, as these are where you're most likely to be during a nighttime emergency.
Once you've mapped out your routes, walk through each one to confirm they're practical and easily navigable. Time yourself to get a sense of how long it takes to reach safety. This practice will help you identify any bottlenecks or areas that need improvement.
Use your completed map to determine the best locations for your emergency lights. Place them strategically along exit routes, near stairs, and in hallways to guide you to safety.
Don't forget to include lights near fire extinguishers and first aid kits. Regularly review and update your map as your home's layout changes.
Identify High-Risk Areas
After mapping your emergency exit routes, it's time to pinpoint high-risk areas in your home. These are locations where accidents or emergencies are more likely to occur, or where extra lighting is essential during power outages.
Start by examining your stairways, both indoor and outdoor. These areas can be treacherous in the dark and should be a top priority for emergency lighting.
Next, focus on your kitchen. With its many appliances and sharp objects, it's a prime spot for potential accidents.
Don't forget your bathroom, where slips and falls are common. Basements and attics, often poorly lit to begin with, should also be on your list.
Consider areas with uneven flooring or obstacles, such as thresholds between rooms or raised flooring. Pay attention to hallways, especially those leading to exit points.
If you have a home office or workshop, include these in your assessment due to potential hazards from equipment.
Lastly, don't overlook outdoor areas like patios, decks, and walkways. Proper lighting in these spaces can prevent accidents and deter intruders during power outages.
Gather Necessary Tools and Materials
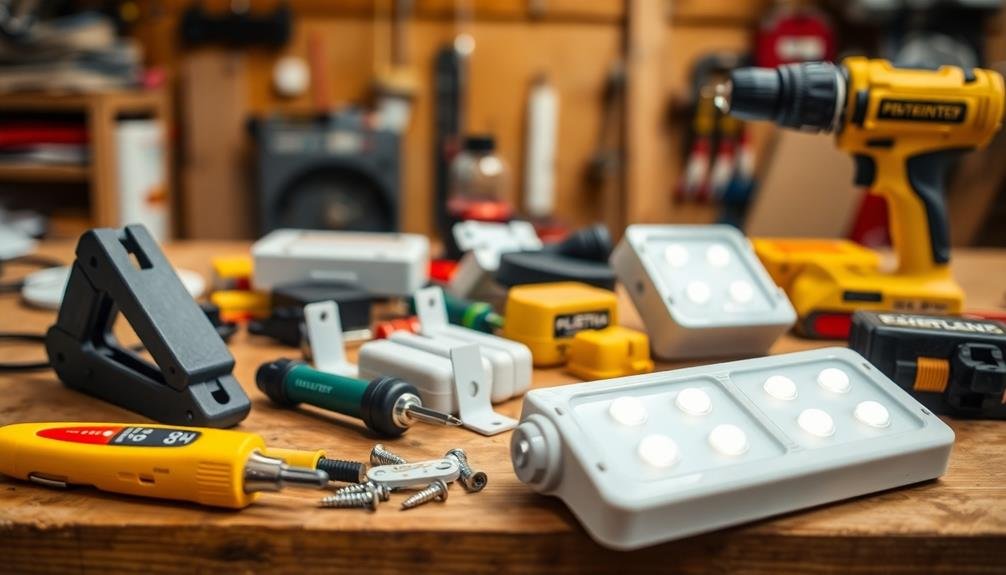
Before diving into the installation process, you'll need to gather all the necessary tools and materials. Start by obtaining the emergency lights themselves, confirming they're suitable for your specific needs and comply with local safety regulations.
You'll also need a power drill with various drill bits, a screwdriver set, wire strippers, electrical tape, and wire nuts.
Don't forget to pick up mounting brackets if they're not included with your emergency lights. You'll need a ladder or step stool to reach higher installation points safely.
If you're connecting the lights to your home's electrical system, gather electrical wire appropriate for the job. It's also wise to have a voltage tester on hand to verify safety when working with electrical connections.
For battery-operated units, stock up on the correct type and size of batteries. Consider purchasing extra batteries as backups.
If you're installing hardwired lights, you might need additional tools like a stud finder and fish tape for running wires through walls.
Prepare Wiring and Power Source
You'll need to carefully select the location for the electrical circuit that will power your emergency lights.
Choose a circuit that can handle the additional load and guarantee it's not already overloaded.
Once you've identified the right circuit, plan your wire routing to safely connect the lights, avoiding potential hazards and following local electrical codes.
Choose Electrical Circuit Location
Selecting the right electrical circuit location is essential for your emergency lighting system. You'll need to choose a circuit that can handle the additional load of your emergency lights without overloading. Ideally, select a dedicated circuit for your emergency lighting to guarantee it remains operational even if other circuits fail.
Consider the layout of your home and identify strategic locations for your emergency lights. Common areas such as hallways, stairwells, and exits should be prioritized. Once you've determined these locations, map out the most efficient route for your wiring.
Locate your home's main electrical panel and identify available circuits. If you're adding the emergency lights to an existing circuit, confirm it has enough capacity. Check the amperage rating of the circuit and calculate the total load, including your new lights.
If you're installing a new dedicated circuit, you'll need to add a new breaker to your panel. Make sure you have enough space and capacity in your panel for this addition.
Remember to follow local building codes and regulations when selecting your circuit location and planning your installation. If you're unsure, consult a licensed electrician to help you make the best choice for your home's electrical system.
Run Wires Safely
With your circuit location selected, it's time to prepare the wiring and power source for your emergency lights. You'll need to run electrical wires from your chosen power source to each light fixture. Safety is paramount, so always turn off the main power before beginning any electrical work.
Start by measuring the distance between your power source and each light fixture. Purchase electrical wire that's long enough to reach all locations, plus a little extra for flexibility. Choose wire gauge based on the current draw of your lights and the length of the run.
When running wires, follow these essential safety guidelines:
- Use proper wire staples to secure cables along walls and ceilings
- Avoid running wires through doorways or windows
- Keep wires at least 12 inches away from heat sources
- Use junction boxes for all wire connections
If you're not comfortable working with electricity, it's best to hire a licensed electrician. They'll verify your wiring meets local building codes and safety standards.
Once the wiring is in place, you're ready to install the light fixtures and connect them to the power source.
Mount Emergency Light Fixtures
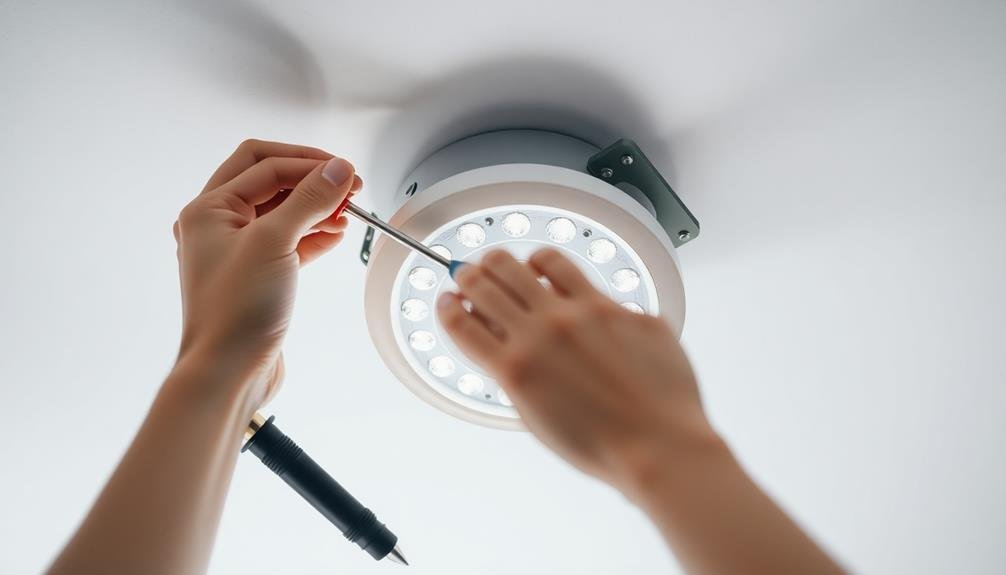
Once you've gathered all the necessary materials, it's time to buckle down and mount the emergency light fixtures.
Begin by choosing strategic locations for ideal coverage during power outages. Focus on hallways, stairways, and exits to guarantee safe navigation.
Mark the mounting points on the wall or ceiling, confirming they're level. Use a stud finder to locate secure attachment points, or install wall anchors if needed.
Drill pilot holes for the mounting screws, being careful not to damage any hidden wires or pipes.
Hold the fixture in place and attach it using the provided screws or bolts. Make sure it's firmly secured and won't come loose over time.
If you're installing battery-operated lights, insert the batteries according to the manufacturer's instructions.
For hardwired fixtures, turn off the power at the circuit breaker before connecting the wires.
Match the colored wires (black to black, white to white, and green or bare to ground) and secure them with wire nuts. Tuck the connections neatly into the junction box.
Connect Wiring to Power Supply
Safety is paramount when connecting your emergency light wiring to the power supply. Before you begin, verify the power is completely shut off at the circuit breaker. Use a voltage tester to double-check that there's no current flowing through the wires.
Once you've confirmed it's safe to proceed, identify the wires coming from your emergency light fixture and those from your power supply. Typically, you'll be working with three wires: black (hot), white (neutral), and green or bare copper (ground).
Follow these steps to make the connections:
- Strip about 3/4 inch of insulation from the ends of each wire
- Match and connect the corresponding wires using wire nuts
- Wrap electrical tape around each wire nut for added security
- Gently tuck the connected wires back into the electrical box
After making all connections, secure the fixture to the electrical box. Double-check that all wires are properly connected and not exposed.
Test and Adjust Installed Lights
Testing and adjusting your newly installed emergency lights is a critical final step. After connecting the wiring, you'll need to verify everything's working correctly. First, turn off the main power supply to simulate an outage. Your emergency lights should immediately activate. Check each light's brightness, angle, and coverage area. If they're not illuminating the intended spaces effectively, adjust their positions or beam angles.
Next, test the battery backup. Let the lights run on battery power for at least 30 minutes to confirm they meet the minimum operating time. If they don't last long enough, you may need to replace the batteries or check for wiring issues.
Here's a quick troubleshooting guide:
| Issue | Possible Cause | Solution |
|---|---|---|
| Lights don't turn on | Faulty wiring | Check connections |
| Dim light output | Weak batteries | Replace batteries |
| Short battery life | Overcharging | Adjust charging circuit |
| Inconsistent activation | Loose connections | Tighten all connections |
Frequently Asked Questions
How Often Should Emergency Lights Be Tested?
You should test your emergency lights monthly for functionality and battery life. Additionally, conduct a more thorough annual inspection. Don't forget to replace batteries as needed. Regular testing guarantees they'll work when you need them most.
Can I Install Emergency Lights in Outdoor Areas?
Yes, you can install emergency lights outdoors. They're ideal for illuminating paths, entrances, and potential hazards during power outages. Choose weather-resistant models designed for exterior use. Ascertain they're properly sealed and positioned to withstand the elements for peak performance.
What's the Average Lifespan of Emergency Light Batteries?
You'll find that emergency light batteries typically last 3-5 years. However, their lifespan can vary based on usage and quality. It's best to check your specific model's specifications and replace them regularly to guarantee reliability when needed.
Are There Any Building Codes or Regulations for Residential Emergency Lighting?
You'll find that building codes for residential emergency lighting vary by location. Check with your local authorities for specific requirements. Generally, they're not mandatory for homes, but they're strongly recommended for safety, especially in stairways and exits.
Can I Integrate Emergency Lights With My Home Security System?
Yes, you can integrate emergency lights with your home security system. Many modern systems allow for this connection, enabling your lights to activate during alarms or power outages. It's a smart way to enhance your home's safety features.
In Summary
You've successfully installed emergency lights in your home, providing essential illumination during power outages. Remember to test your new system regularly and replace batteries as needed. Don't forget to familiarize your family with the locations of these lights and create an emergency plan. With these steps completed, you're now better prepared for unexpected situations. Stay safe and enjoy the peace of mind that comes with having reliable emergency lighting in your home.


Leave a Reply