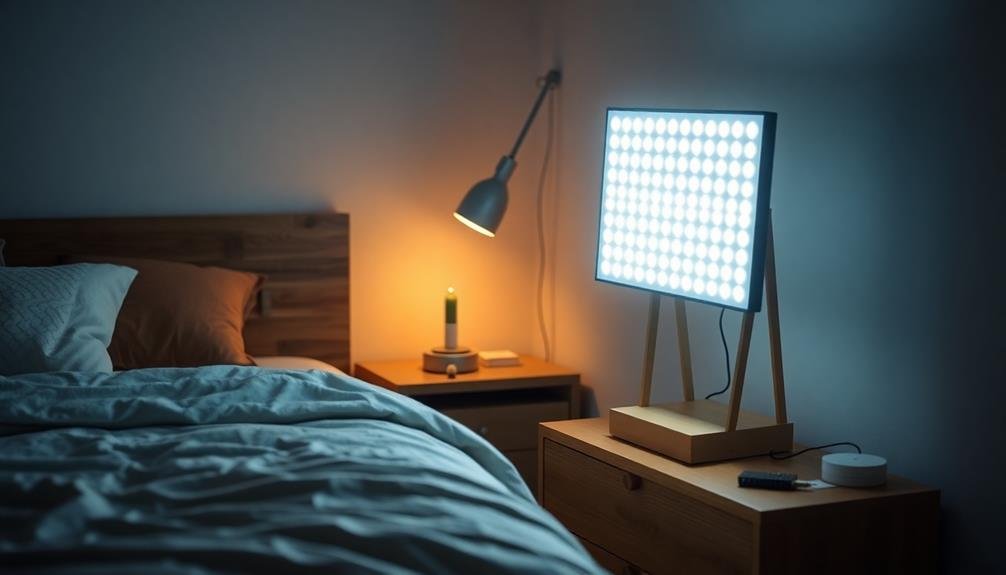
Building your own light therapy lamp at home can be a rewarding project that provides customized treatment for seasonal affective disorder and other mood-related issues. You'll need full-spectrum LED bulbs, a fixture or housing, and basic electrical components. Start by designing a light box that's 12-15 inches square, then choose LEDs with a color temperature of 5000K-6500K and brightness of 10,000 lux. Wire the circuit carefully, build an enclosure, and add a diffuser for even light distribution. Don't forget to include controls for dimming and timing. With proper assembly and safety precautions, you'll soon have a powerful tool for mood enhancement at your fingertips.
Understanding Light Therapy Benefits

Light therapy has gained popularity over the years as a treatment for seasonal affective disorder (SAD) and other mood-related conditions. It's a non-invasive method that exposes you to bright, artificial light mimicking natural sunlight. This exposure can help regulate your body's circadian rhythm and boost serotonin production, leading to improved mood and energy levels.
You'll find that light therapy can benefit you in several ways. It's particularly effective in treating SAD, a type of depression that occurs during specific seasons, typically winter. By using a light therapy lamp, you're effectively tricking your body into thinking it's experiencing more daylight, which can alleviate symptoms like fatigue, low mood, and sleep disturbances.
But the benefits don't stop there. Light therapy can also help with non-seasonal depression, sleep disorders, and jet lag. Some studies suggest it may even improve cognitive function and reduce the symptoms of certain skin conditions.
It's crucial to recognize that while light therapy is generally safe, you should consult with a healthcare professional before starting treatment, especially if you have eye problems or take medications that increase light sensitivity.
Required Materials and Tools
Preparation is key when starting on your DIY light therapy lamp project. You'll need to gather specific materials and tools to guarantee a successful build.
First, acquire a light source: opt for full-spectrum LED bulbs or tubes with a color temperature of 6500K and a brightness of at least 10,000 lux. You'll also need a fixture or housing to hold the lights, such as a desk lamp base or a custom-built box.
For the electrical components, gather a power cord, switch, and any necessary wiring. Don't forget safety equipment like wire nuts and electrical tape.
You'll need basic tools including a screwdriver, wire strippers, and pliers. If you're building a custom housing, add a saw, sandpaper, and wood glue to your list.
Consider adding a dimmer switch for adjustable brightness and a timer for controlled therapy sessions. For aesthetics and light diffusion, include a frosted acrylic sheet or fabric diffuser.
Designing Your Light Box
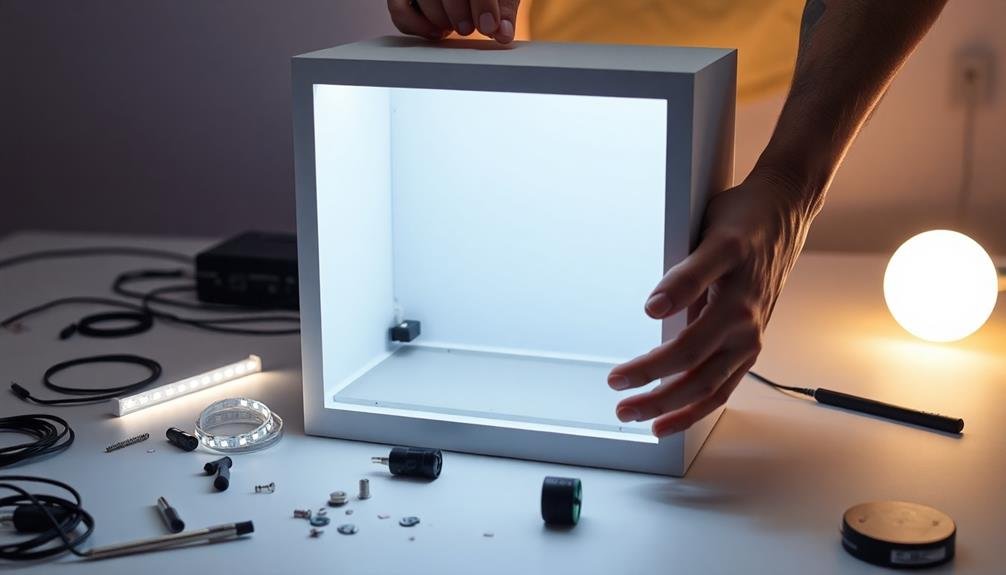
When designing your light therapy box, you'll need to take into account three key factors.
First, choose an appropriate size that fits your space and usage needs.
Next, select materials that are durable, lightweight, and safe for electrical components.
Choosing the Right Size
How large should your light therapy lamp be? The size of your light box plays a significant role in its effectiveness and usability. Generally, a surface area between 12 and 15 inches square is considered ideal for most users. This size provides enough light exposure while remaining compact enough for easy placement on a desk or table.
When determining the perfect size for your DIY light therapy lamp, consider the following factors:
- Distance from the light: Larger boxes allow you to sit farther away while still receiving adequate light exposure.
- Portability: If you plan to move your lamp frequently, a smaller size might be more convenient.
- Light intensity: Larger surfaces can accommodate more bulbs, potentially increasing the overall light output.
- Room aesthetics: Choose a size that complements your space without overwhelming it.
Selecting Appropriate Materials
Your light box's effectiveness and longevity depend on the materials you choose. When selecting components, prioritize safety, durability, and light quality. Opt for UL-listed electrical parts to guarantee your device meets safety standards. Choose a sturdy, heat-resistant enclosure to house your components securely.
For the light source, consider full-spectrum LED bulbs or panels. They're energy-efficient, long-lasting, and emit minimal heat. The diffuser is essential for even light distribution and glare reduction. Select a high-quality acrylic or polycarbonate sheet for peak light transmission.
Here's a quick guide to essential materials:
| Component | Recommended Material |
|---|---|
| Enclosure | ABS plastic or wood |
| Light Source | Full-spectrum LED bulbs |
| Diffuser | Frosted acrylic sheet |
| Wiring | 18-gauge stranded wire |
Don't forget to include a timer for convenient usage control. A digital programmable timer allows you to set specific treatment durations. Finally, consider adding a dimmer switch to adjust light intensity, making your therapy sessions more comfortable and personalized. By carefully selecting high-quality materials, you'll create a safe, effective, and durable light therapy lamp that meets your specific needs.
Light Placement Considerations
Three key factors influence the effectiveness of your light therapy lamp: distance, angle, and coverage area. When designing your light box, you'll need to contemplate these elements carefully to guarantee ideal results.
The distance between you and the light source should typically be around 16-24 inches, allowing for sufficient light exposure without causing discomfort or eye strain.
The angle of the light is vital for maximizing its benefits. Position the lamp so that it shines downward at about a 30-45 degree angle, mimicking natural sunlight. This angle helps reduce glare and guarantees that the light reaches your eyes effectively.
Reflect on the coverage area when placing your light therapy lamp. A larger surface area can provide more even illumination and increase the likelihood of consistent exposure.
Here are four key placement tips to keep in mind:
- Position the lamp slightly off-center, allowing peripheral vision exposure.
- Make sure the light doesn't cast shadows on your face or work area.
- Place the lamp on a stable surface to prevent accidental tipping.
- Adjust the height of the lamp to accommodate your seated or standing position.
Choosing the Right LEDs
Selecting the right LEDs is essential for building an effective light therapy lamp. You'll want to focus on LEDs that emit full-spectrum light, which closely mimics natural daylight. Look for LEDs with a color temperature between 5000K and 6500K, often labeled as "daylight" or "cool white." These provide the blue light wavelengths necessary for regulating your circadian rhythm.
When choosing LEDs, opt for high-quality, energy-efficient options with a high Color Rendering Index (CRI) of 90 or above. This guarantees the light produced will accurately represent colors, enhancing the overall effectiveness of your therapy lamp.
Consider the brightness too; aim for LEDs that can produce at least 10,000 lux when positioned correctly.
You'll also need to decide between individual LED bulbs or LED strips. Strips offer flexibility in design but may require additional diffusion. Individual bulbs can be easier to work with but might limit your layout options.
Regardless of your choice, make certain the LEDs are flicker-free to prevent eye strain and headaches. Don't forget to check the power requirements and make sure your chosen LEDs are compatible with your power supply.
Wiring and Circuit Assembly
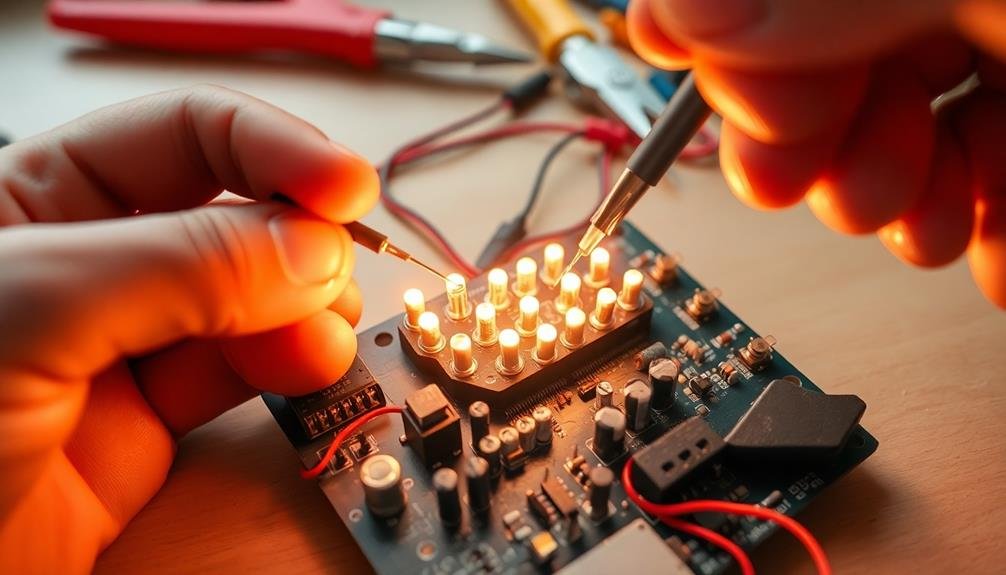
Now that you've selected your LEDs, it's time to connect the components safely.
Begin by arranging your LEDs, resistors, and power source according to your circuit diagram.
Carefully solder the connections, ensuring proper polarity and heat management.
Then test your circuit's functionality with a multimeter before powering it on.
Connecting Components Safely
With your components gathered, it's time to connect them safely and assemble the circuit for your light therapy lamp. Before you begin, verify you're working in a well-lit, clean area with a non-conductive surface. Always disconnect the power source when making connections or adjustments to prevent accidental shocks.
Start by connecting the LED strips to the power supply. Use appropriate gauge wire and secure connections with soldering or wire nuts. Next, install the dimmer switch between the power supply and LED strips to control light intensity. If you're adding a timer, connect it to the power input of the dimmer switch.
Here are four essential safety tips to follow:
- Double-check polarity: Verify positive and negative connections are correct.
- Use heat shrink tubing: Insulate exposed wire connections to prevent short circuits.
- Secure loose wires: Use cable ties or adhesive clips to keep wires tidy and prevent damage.
- Test connections: Use a multimeter to verify continuity and proper voltage before powering on.
Once you've made all connections, carefully inspect your work. Look for any loose wires, exposed metal, or potential short circuits.
If everything looks good, you're ready to test your light therapy lamp's functionality.
Testing Circuit Functionality
Your light therapy lamp's circuit assembly is complete, but it's crucial to test its functionality before final assembly. Begin by double-checking all connections, making sure they're secure and correctly positioned.
Next, connect your power source, but don't turn it on yet. Use a multimeter to verify the voltage across key points in the circuit, confirming it matches your design specifications.
Once you're confident in the wiring, it's time for a live test. Turn on the power source and observe the LEDs. They should illuminate evenly and at the expected brightness. If some LEDs don't light up or appear dimmer than others, recheck their connections and polarity.
Listen for any unusual sounds, like buzzing or crackling, which could indicate a short circuit.
Test the dimmer switch or controller if your design includes one. Verify it smoothly adjusts the light intensity without flickering or sudden changes.
If you've incorporated a timer, check that it accurately controls the lamp's on/off cycles.
Building the Enclosure
The enclosure forms the foundation of your light therapy lamp, housing all the components and directing the light output. When building the enclosure, consider both functionality and aesthetics. Choose materials that are lightweight, durable, and heat-resistant. Wood, plastic, or metal are suitable options, depending on your preferences and skills.
Start by sketching your design, keeping in mind the size of your LED panel and other components. Guarantee proper ventilation to prevent overheating. Cut and assemble the enclosure pieces, leaving room for wiring and the power supply. Create openings for the light panel, switches, and power cord.
Here are four key steps to building your enclosure:
- Measure and cut materials to size
- Drill holes for ventilation and component mounting
- Assemble the enclosure using screws, glue, or brackets
- Sand and finish the exterior for a polished look
Once you've built the basic structure, install the LED panel, ensuring it's securely fastened.
Mount the power supply and other components inside the enclosure, keeping wires organized and away from heat sources. Finally, add any additional features like a stand or adjustable arm for positioning the lamp.
Installing Light Diffusers
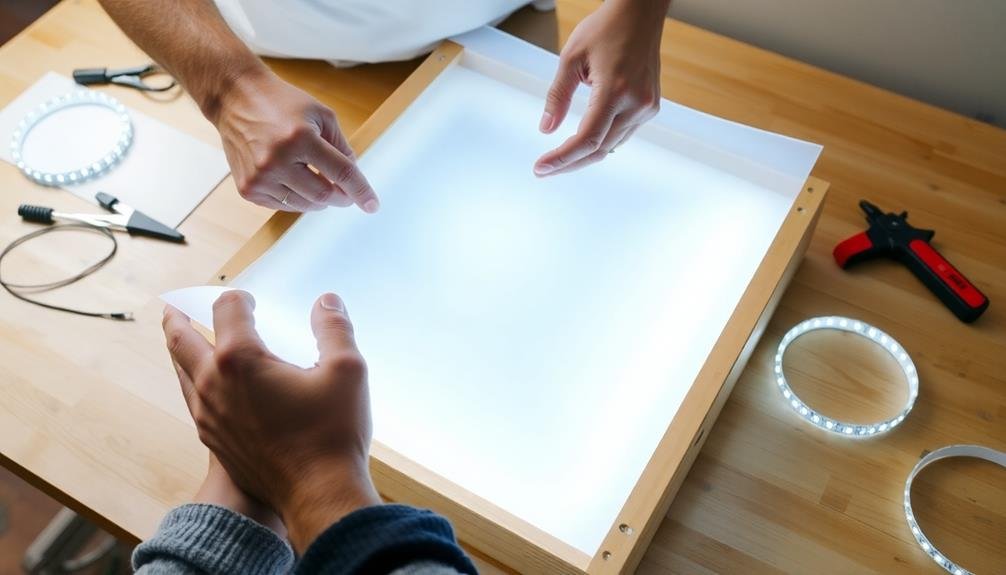
After completing the enclosure, it's time to focus on light diffusion. Light diffusers play an essential role in your DIY light therapy lamp by spreading the light evenly and reducing glare. You'll need to choose a suitable diffuser material, such as frosted acrylic or polycarbonate sheets.
Measure the front opening of your enclosure and cut the diffuser material to fit snugly. If you're using a thin material, consider doubling it up for better light distribution. Clean the diffuser thoroughly before installation to guarantee peak light transmission.
To install the diffuser, you have several options. You can use small brackets or clips to secure it in place, or create a groove in the enclosure to slide the diffuser into. If you're comfortable with adhesives, you can use a clear silicone sealant to attach the diffuser to the enclosure's edges.
Confirm that the diffuser is firmly in place and doesn't rattle or move. Test the light distribution by turning on your lamp in a dark room. If you notice any hot spots or uneven lighting, you may need to adjust the placement of your LED strips or add an additional layer of diffusion material.
Adding Controls and Dimming
Most DIY light therapy lamps benefit from controls that allow you to adjust brightness and timing.
You'll want to incorporate a dimmer switch and a timer to customize your light therapy sessions. These features enhance the lamp's functionality and help you tailor the treatment to your specific needs.
To add controls and dimming capabilities to your light therapy lamp, consider the following options:
- Inline dimmer switch: Install a simple inline dimmer between the power source and the LED lights. This allows you to adjust brightness manually.
- PWM controller: Use a pulse-width modulation (PWM) controller for more precise dimming and potential color temperature adjustments.
- Smart controls: Integrate smart plugs or Wi-Fi-enabled controllers to manage your lamp remotely via smartphone apps.
- Programmable timer: Add a digital timer to automate your light therapy sessions and guarantee consistent daily use.
When selecting controls, verify they're compatible with your LED lights and power supply.
You'll need to wire the controls carefully, following manufacturer instructions and safety guidelines. If you're not comfortable with electrical work, consult a professional.
Remember to test your controls thoroughly before regular use to validate they function correctly and safely.
Testing and Troubleshooting
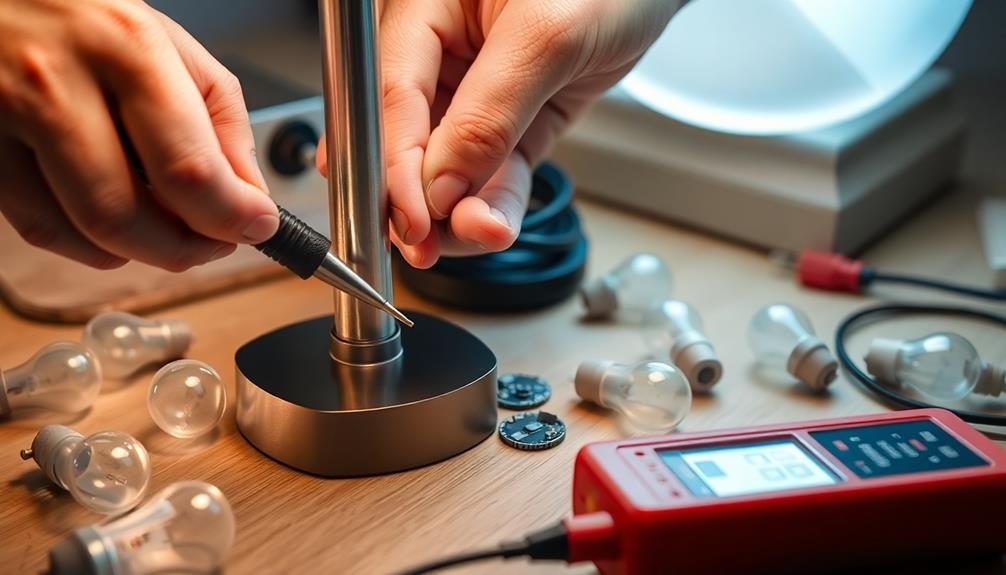
Once you've assembled your light therapy lamp and added controls, it's time to verify everything works as intended. Begin by conducting a visual inspection of all connections and components. Confirm that all wires are securely fastened and there are no loose parts.
Next, plug in your lamp and turn it on. Check if all LED panels light up evenly and at the expected brightness. If some LEDs aren't working, double-check their connections or replace faulty units.
Test the dimming feature by adjusting the controls. The light should smoothly shift between intensity levels without flickering. If you encounter issues, start by verifying power supply connections. Confirm the voltage and current ratings match your LED requirements.
For uneven lighting, examine individual LED connections and validate proper heat dissipation. If dimming doesn't work correctly, inspect the dimmer switch and its wiring.
Use a lux meter to measure light output at various distances. Compare these readings to recommended levels for light therapy. If the output is insufficient, consider adding more LEDs or adjusting their arrangement.
Usage Tips and Safety Precautions
When using your DIY light therapy lamp, aim for 20-30 minutes of exposure daily, preferably in the morning.
You'll want to protect your eyes by avoiding direct gaze at the light source and maintaining a distance of about 16-24 inches from the lamp.
It's essential to follow these guidelines to maximize the benefits of light therapy while minimizing potential risks.
Optimal Exposure Duration
To maximize the benefits of your DIY light therapy lamp, understanding the ideal exposure duration is vital. Generally, you'll want to use your lamp for 20 to 30 minutes each day, preferably in the morning.
However, individual needs may vary, so it's important to pay attention to your body's response and adjust accordingly.
When starting light therapy, begin with shorter sessions of about 10 minutes and gradually increase the duration. If you experience any discomfort or side effects, reduce the exposure time.
Remember that consistency is key, so try to use your lamp at the same time each day for best results.
Here are some tips to help you determine your ideal exposure duration:
- Monitor your mood and energy levels after each session
- Keep a journal to track improvements in sleep patterns and overall well-being
- Consult with a healthcare professional for personalized recommendations
- Adjust exposure time based on the lamp's intensity and your distance from it
Eye Protection Guidelines
While optimizing exposure duration is important, protecting your eyes during light therapy sessions is equally essential. Always follow these eye protection guidelines to guarantee safe and effective use of your DIY light therapy lamp:
First, never look directly at the light source. Position the lamp at a 45-degree angle to your face, allowing the light to enter your eyes indirectly. This reduces glare and minimizes potential eye strain. If you wear glasses, keep them on during your sessions, as they provide an additional layer of protection.
Consider using UV-blocking safety glasses if you're particularly sensitive to light or if your lamp emits any UV rays. While most light therapy lamps don't produce harmful UV radiation, it's better to err on the side of caution.
If you experience any discomfort, such as headaches, eye strain, or vision changes, stop using the lamp immediately and consult your healthcare provider. It's also wise to have regular eye check-ups, especially if you use light therapy frequently.
Lastly, keep your DIY lamp clean and well-maintained. Dust and debris on the light source can affect its performance and potentially cause eye irritation.
Frequently Asked Questions
How Long Does It Take to Build a DIY Light Therapy Lamp?
You can build a DIY light therapy lamp in just a few hours. It'll depend on your skill level and the materials you've chosen. With the right supplies and instructions, you'll have your lamp ready in no time.
Can I Use Colored LEDS Instead of White Ones?
You shouldn't use colored LEDs for light therapy. White light is essential for its effectiveness. Colored lights won't provide the same benefits and could even be counterproductive. Stick to bright, white LEDs for the best results in your therapy lamp.
Is It Possible to Make a Portable, Battery-Powered Version?
Yes, you can make a portable, battery-powered version. You'll need rechargeable batteries, a compact LED array, and a lightweight enclosure. Choose energy-efficient LEDs and a high-capacity battery pack to guarantee longer usage between charges. It's a practical on-the-go solution.
How Does a Homemade Light Therapy Lamp Compare to Commercial Options?
You'll find homemade light therapy lamps can be effective, but commercial options often have more consistent light output and safety features. Your DIY version may lack the intensity or spectrum of professional models, but it's typically more affordable.
Are There Any Certifications or Regulations for DIY Light Therapy Lamps?
There aren't specific certifications for DIY light therapy lamps. You'll need to guarantee your lamp meets safety standards for electrical devices. It's vital you follow proper wiring guidelines and use quality components to avoid potential hazards.
In Summary
You've now built your own light therapy lamp, saving money and gaining a custom solution. Remember to use it consistently for best results, typically 20-30 minutes each morning. If you experience any discomfort or side effects, discontinue use and consult your doctor. With proper care and maintenance, your DIY light therapy lamp will provide years of mood-boosting benefits. Enjoy the brighter days ahead with your new personalized light therapy tool!

Leave a Reply