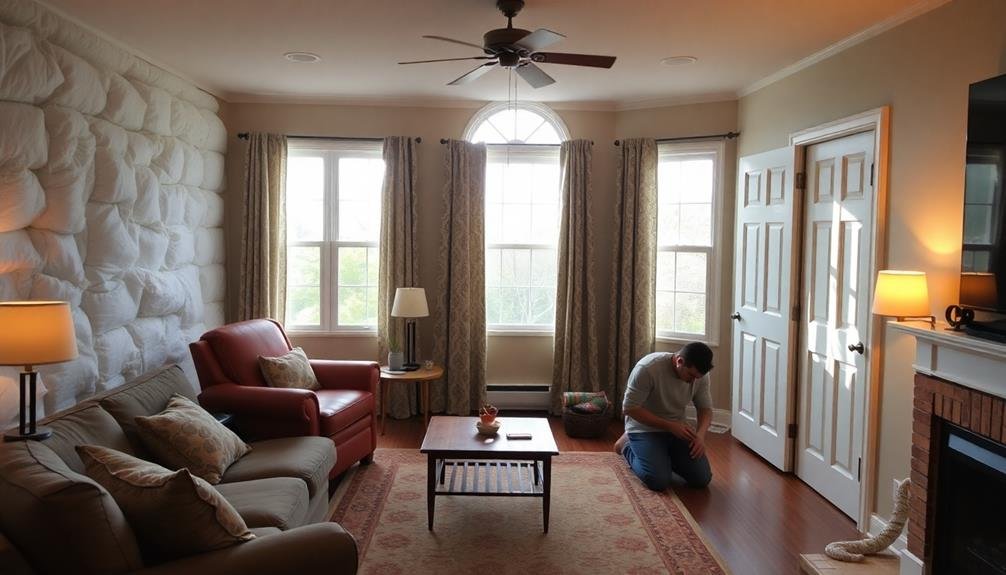
You can insulate your home affordably with several DIY methods. Start by weatherstripping doors and windows to reduce drafts. Seal air leaks around outlets, pipes, and vents using foam tape or caulk. Add insulation to your attic using fiberglass batts or blown-in cellulose for significant energy savings. Hang thermal curtains or install cellular shades to minimize heat loss through windows. Don't forget to insulate your water heater and pipes to cut down on energy bills. For a more advanced approach, consider radiant barriers in your attic or foam board insulation for walls. These cost-effective techniques can transform your home's efficiency and comfort.
Weatherstripping Doors and Windows
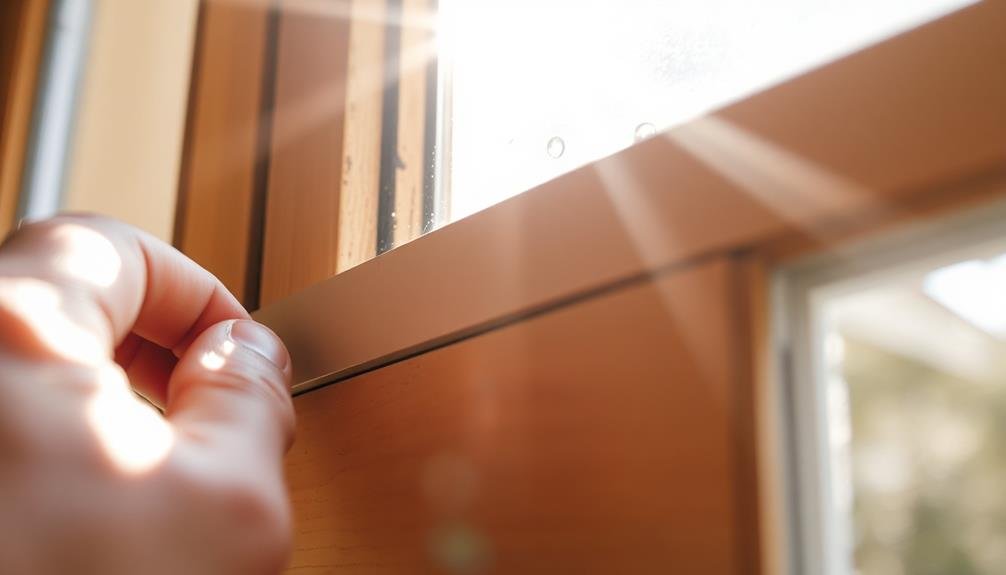
Weatherstripping around doors and windows is one of the most cost-effective ways to boost your home's insulation.
It's a simple DIY project that can greatly reduce drafts and air leaks, helping you maintain a comfortable indoor temperature while lowering your energy bills.
To get started, you'll need to choose the right type of weatherstripping for your needs. Options include adhesive-backed foam tape, V-strip, and tubular rubber gaskets.
Measure the perimeter of your doors and windows to determine how much material you'll need. Clean the surfaces thoroughly before applying the weatherstripping to guarantee proper adhesion.
For doors, focus on the bottom, sides, and top. Install a door sweep at the bottom to seal the gap between the door and threshold.
For windows, apply weatherstripping to the sashes and frame. Pay special attention to movable parts to guarantee smooth operation.
Don't forget about less obvious areas like attic hatches, mail slots, and electrical outlets.
These can also be sources of air leaks. By addressing all these areas, you'll create a more energy-efficient home without breaking the bank.
Sealing Air Leaks
To effectively seal air leaks in your home, you'll first need to identify common leak areas such as around windows, doors, and electrical outlets.
You can easily spot these leaks by feeling for drafts or using a lit incense stick to detect air movement.
Once you've pinpointed the leaks, you can apply DIY weatherstripping techniques using materials like foam tape, door sweeps, or caulk to close gaps and improve your home's insulation.
Identify Common Leak Areas
In order to effectively insulate your home, you'll need to identify and seal common air leak areas. These leaks can greatly impact your home's energy efficiency and comfort. Start by inspecting both the interior and exterior of your house, focusing on areas where different materials meet or where there are gaps and cracks.
Here's a table of common leak areas to check:
| Interior | Exterior | Both |
|---|---|---|
| Windows | Foundation | Doors |
| Electrical outlets | Siding joints | Vents |
| Baseboards | Roof edges | Chimneys |
| Attic hatches | Outdoor faucets | Pipes |
| Recessed lights | Corners | Utility entrances |
Pay special attention to the attic and basement, as these are often major sources of air leaks. Use your hand to feel for drafts or a lit incense stick to detect air movement. On a windy day, you can also use a damp hand to locate leaks, as moving air will feel cooler on wet skin. Don't forget to check around windows and doors, as these are common culprits for air infiltration. By identifying these problem areas, you'll be better equipped to tackle the sealing process and improve your home's insulation.
DIY Weatherstripping Techniques
Once you've identified the air leak areas in your home, it's time to tackle them with some DIY weatherstripping techniques.
Start with doors and windows, as they're often the biggest culprits. For doors, install adhesive-backed foam tape along the frame where the door meets it when closed. This creates a tight seal and blocks drafts effectively.
For windows, use V-seal weatherstripping. It's easy to install and works well for both single and double-hung windows. Simply cut it to size and press it into the tracks where the window slides.
Don't forget about electrical outlets on exterior walls. Use foam gaskets behind the cover plates to prevent air leakage.
For larger gaps around pipes or vents, apply expanding foam insulation. It fills cracks and hardens to create an airtight barrier.
For attic hatches, attach weatherstripping around the opening and add foam board insulation to the hatch itself. This prevents warm air from escaping through the attic.
Lastly, use door sweeps on exterior doors to block drafts at the bottom. They're simple to install and make a noticeable difference in energy efficiency.
DIY Attic Insulation
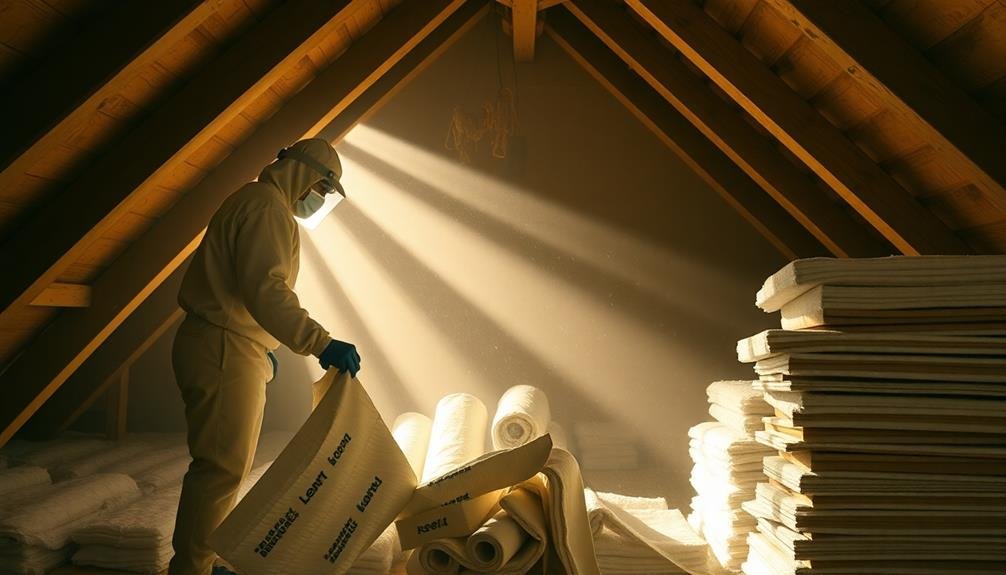
Insulating your attic by yourself can be a cost-effective way to improve your home's energy efficiency. Before you begin, measure your attic space and calculate the amount of insulation needed. Choose between fiberglass batts or blown-in cellulose insulation, both of which are affordable options for DIY projects.
For fiberglass batts, start by sealing any air leaks and installing baffles to maintain proper ventilation. Lay the batts between joists, ensuring they fit snugly without compression.
For blown-in cellulose, rent a blowing machine from a home improvement store and follow the manufacturer's instructions carefully.
Wear protective gear, including a respirator, gloves, and safety goggles. Work carefully around electrical fixtures and avoid covering recessed lights or soffit vents. If you encounter any knob-and-tube wiring, consult an electrician before proceeding.
Remember to insulate and weatherstrip the attic access door or hatch. For best results, aim for an R-value of R-38 to R-60, depending on your climate zone.
Thermal Curtains and Window Coverings
Another affordable and effective way to boost your home's insulation is through the use of thermal curtains and window coverings. These specialized window treatments can considerably reduce heat loss in winter and heat gain in summer, helping you maintain a comfortable indoor temperature while lowering energy costs.
Thermal curtains are made with multiple layers of fabric and often include a layer of acrylic foam or thermally reflective film. This construction creates an insulating barrier that traps air between the window and the room. When properly installed, they can reduce heat loss by up to 25%.
You'll find various options for thermal window coverings, including cellular shades, Roman shades, and insulated panels. Cellular shades, also known as honeycomb shades, are particularly effective due to their unique design that traps air in individual cells. Roman shades with thermal lining offer both style and insulation benefits.
For maximum effectiveness, verify your thermal curtains or shades fit snugly against the window frame and extend below the windowsill. Consider using magnetic strips or Velcro to create a tight seal.
During winter, open curtains on south-facing windows during the day to let in sunlight and close them at night to retain heat.
Insulating Water Heaters and Pipes
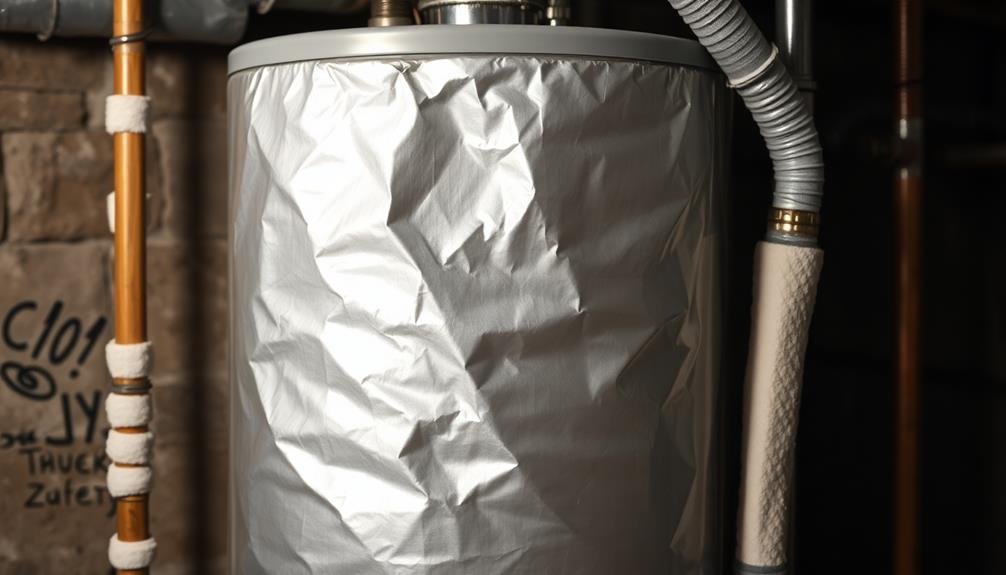
Energy efficiency extends beyond your living spaces to your plumbing system. Insulating your water heater and pipes can greatly reduce heat loss and lower your energy bills.
For your water heater, purchase a pre-cut jacket or blanket from a hardware store. These are inexpensive and easy to install. Wrap the jacket around the tank, leaving the thermostat, valves, and burner area exposed for safety.
Next, focus on your hot water pipes. Use foam pipe insulation sleeves, which are affordable and simple to apply. Measure your pipes' diameter and length to buy the right size and amount. Cut the sleeves to fit, then slip them over the pipes, securing with tape if needed.
Pay special attention to pipes in unheated areas like basements or crawl spaces. Don't forget cold water pipes in these areas too, as insulating them prevents condensation and potential water damage.
For added savings, lower your water heater temperature to 120°F (49°C). This reduces energy consumption without sacrificing comfort.
Radiant Barriers for Attics
Radiant barriers can greatly reduce heat gain in your attic during hot summer months.
You'll find these metallic sheets relatively easy to install, either by stapling them to the underside of your roof rafters or laying them on the attic floor.
While the initial cost may seem high, the long-term energy savings often justify the investment, especially in climates with hot summers and mild winters.
Installation and Effectiveness
Installing a radiant barrier in your attic can be a cost-effective way to improve your home's energy efficiency. You'll find two main types of radiant barriers: foil-faced sheets and spray-on coatings. Both work by reflecting radiant heat, preventing it from entering your living space during hot weather or escaping during cold months.
To install a radiant barrier effectively, follow these steps:
- Clean your attic space thoroughly, removing dust and debris.
- Measure the area you'll be covering and cut the foil sheets to size.
- Secure the barrier to the underside of your roof rafters, leaving an air gap.
- Verify proper ventilation is maintained throughout the attic.
The effectiveness of radiant barriers depends on various factors, including your climate and existing insulation. In hot, sunny regions, you can expect to reduce cooling costs by up to 10%.
However, their impact is less significant in cooler climates. Radiant barriers work best when combined with other insulation methods, such as fiberglass batts or blown-in cellulose.
While they're relatively inexpensive to install, keep in mind that their performance may decrease over time due to dust accumulation.
Cost-Benefit Analysis
When evaluating a radiant barrier for your attic, it's crucial to weigh the costs against potential savings.
Radiant barriers typically cost between $0.10 to $0.95 per square foot, with professional installation adding $0.25 to $0.75 per square foot. For an average-sized attic, you're looking at a total cost of $750 to $2,500.
The energy savings from radiant barriers vary depending on your climate and existing insulation. In hot, sunny regions, you might see a 5-10% reduction in cooling costs. However, in cooler climates, the benefits are minimal.
On average, you can expect to save $100 to $150 annually on energy bills.
To determine if it's worthwhile, calculate your payback period. Divide the total cost by your estimated annual savings. If it takes more than 7-10 years to recoup your costs, you might want to explore other insulation options.
Foam Board Insulation Techniques
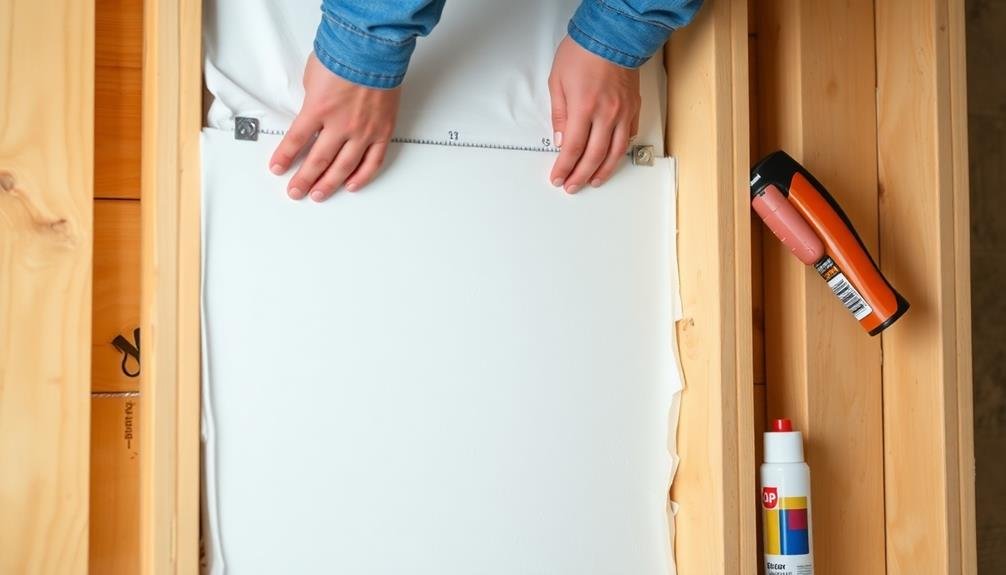
Foam board insulation's versatility makes it an excellent choice for various home insulation projects. You'll find it easy to work with and effective in reducing heat transfer.
When using foam board, consider these techniques to maximize its insulating properties:
- Cut precisely: Measure twice and cut once to guarantee a snug fit in wall cavities, attics, or crawl spaces. Use a utility knife or foam board cutter for clean, accurate cuts.
- Seal gaps: Apply foam sealant around the edges of each board to prevent air leakage. This step is essential for maintaining the insulation's effectiveness.
- Layer properly: In areas requiring higher R-values, layer multiple boards. Stagger the seams between layers to minimize thermal bridging.
- Protect from moisture: Use a vapor barrier when installing foam board in damp areas like basements or crawl spaces.
You can install foam board insulation in exterior walls, attics, and even under siding. It's particularly useful for insulating unfinished basement walls or adding an extra layer of insulation to existing walls.
Remember to check local building codes before installation, as some areas require a fire-rated covering over foam board insulation in living spaces.
Frequently Asked Questions
How Does Insulation Impact Home Resale Value?
Proper insulation can greatly boost your home's resale value. You'll see increased energy efficiency, lower utility bills, and improved comfort. Buyers often prioritize well-insulated homes, making your property more attractive and potentially commanding a higher price in the market.
Can Proper Insulation Reduce Noise Pollution From Outside?
Yes, proper insulation can greatly reduce noise pollution from outside. You'll notice a quieter home environment as insulation absorbs sound waves. It's particularly effective against high-frequency noises, helping you create a more peaceful living space.
Are There Any Tax Incentives for Home Insulation Improvements?
Yes, you'll find various tax incentives for home insulation improvements. They're often available at federal, state, and local levels. Check with your local energy office or tax professional to learn about current deductions or credits you might qualify for.
What's the Average Payback Period for Investing in Home Insulation?
You'll typically see a payback period of 3-5 years for home insulation investments. It depends on your climate, energy costs, and the type of insulation you choose. You'll start saving money immediately on your energy bills.
How Often Should Home Insulation Be Replaced or Upgraded?
You should replace or upgrade your home insulation every 15-20 years. However, you'll need to inspect it annually for signs of damage or settling. If you notice drafts or energy bill spikes, it's time to contemplate upgrading sooner.
In Summary
You've got plenty of affordable options to boost your home's insulation. By tackling these DIY projects, you'll see significant improvements in energy efficiency and comfort. Don't underestimate the power of small changes like weatherstripping and thermal curtains. Remember, insulating your attic, water heater, and pipes can lead to substantial savings. With a bit of effort and minimal investment, you'll create a cozier home and reduce your energy bills year-round. Start with one project and work your way through the list.

Leave a Reply