To maximize natural airflow, use passive design ventilation techniques that harness wind and temperature differences. Start by analyzing your site's prevailing winds and orienting your building to capture them. Position larger openings on the windward side and smaller ones on the leeward side to create pressure differences. Incorporate elongated designs for cross-breezes and vertical spaces like atriums to leverage the stack effect. Strategically place windows on opposite walls, and consider features like wind towers or earth tubes for enhanced cooling. Don't forget to integrate vegetation and courtyards to create microclimates. By combining these strategies, you'll create a naturally ventilated, comfortable space. Dive deeper to reveal the full potential of passive ventilation.
Understanding Natural Ventilation Principles
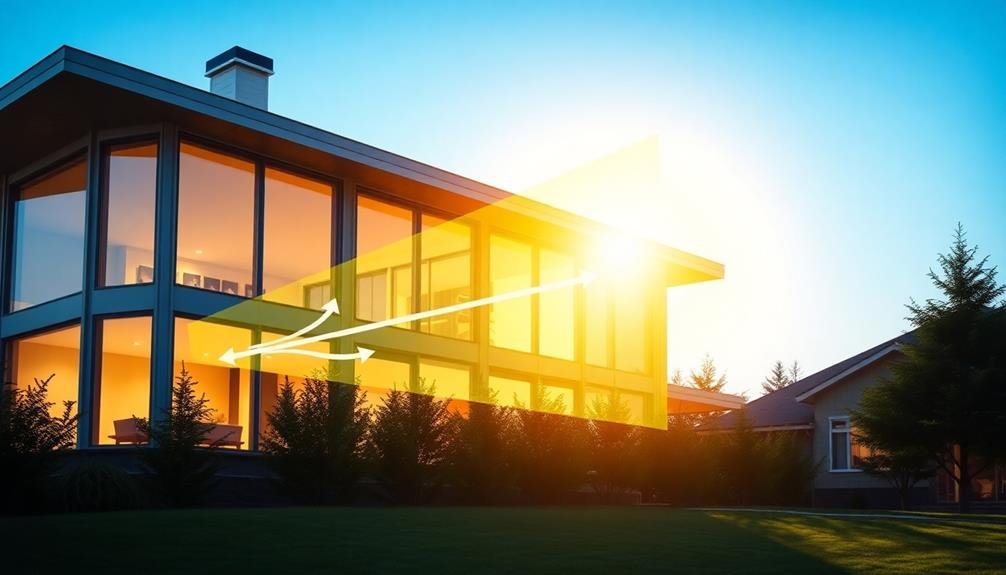
Natural ventilation harnesses the power of wind and temperature differences to create airflow within buildings. To effectively implement passive ventilation, you'll need to understand the fundamental principles that drive this process.
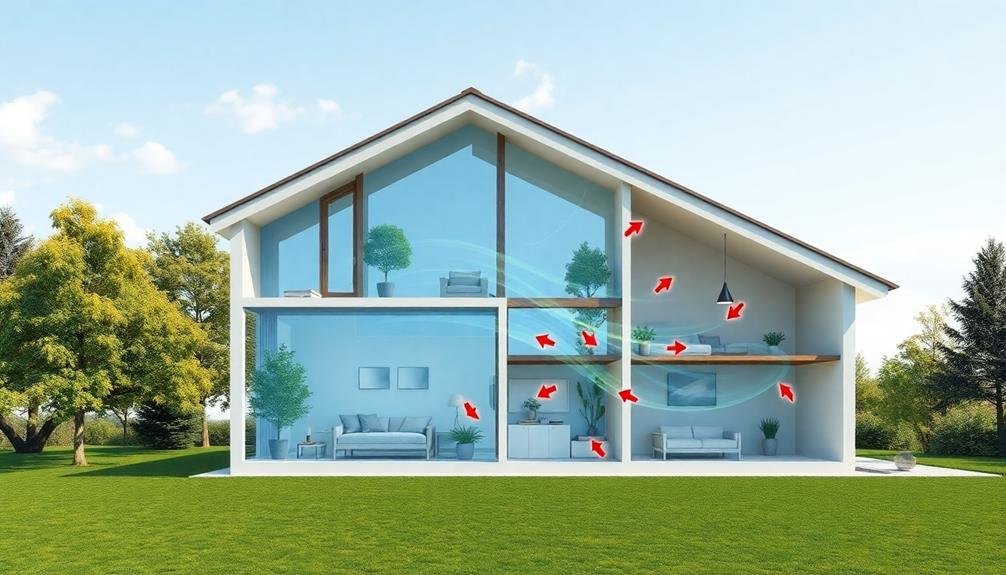
Wind-driven ventilation relies on pressure differences between a building's exterior and interior. When wind hits a structure, it creates positive pressure on the windward side and negative pressure on the leeward side. By strategically placing openings, you can leverage these pressure differences to encourage air movement through your space.
Stack effect ventilation, on the other hand, utilizes temperature-induced density differences in air. As warm air rises, it creates a natural upward flow. You can exploit this phenomenon by incorporating vertical spaces like atriums or stairwells, which act as chimneys to draw cool air in from lower levels and expel warm air at the top.
To maximize natural ventilation, you'll want to take into account factors such as prevailing wind directions, building orientation, and the placement of openings.
Cross-ventilation, achieved by aligning openings on opposite sides of a space, can greatly enhance airflow. By understanding these principles, you'll be better equipped to design and implement effective passive ventilation strategies in your projects.
Site Analysis for Optimal Airflow
When analyzing your site for ideal airflow, you'll need to contemplate several key factors.
Start by identifying the prevailing wind patterns in your area, as these will greatly influence natural ventilation strategies.
Next, examine the local topography and any nearby obstructions, such as buildings or vegetation, that might affect wind flow and create microclimates around your structure.
Prevailing Wind Patterns
Understanding prevailing wind patterns is essential for effective passive ventilation design. You'll need to analyze local wind data to determine the predominant direction and speed of winds throughout the year. This information helps you position openings and design building features to maximize natural airflow.
Start by obtaining wind rose diagrams for your site, which visually represent wind direction, frequency, and speed. You can find these from local weather stations or meteorological services. Pay attention to seasonal variations, as wind patterns may change considerably between summer and winter.
Once you've identified prevailing winds, consider how surrounding topography and nearby structures might affect airflow. Hills, valleys, and neighboring buildings can create wind tunnels or sheltered areas. Use this knowledge to your advantage when orienting your building and placing windows, doors, and other openings.
Don't forget to account for microclimates around your site. Vegetation, water bodies, and local terrain can influence wind patterns on a smaller scale. By understanding these nuances, you'll be better equipped to design a passive ventilation system that works efficiently year-round.
Topography and Obstructions
A thorough site analysis is essential for maximizing natural airflow in passive ventilation design. When evaluating your site's topography and obstructions, you'll need to regard both natural and man-made features that can impact airflow.
Start by examining the terrain surrounding your building. Hills, valleys, and slopes can greatly alter wind patterns. Structures positioned on hilltops or ridges often benefit from increased wind exposure, while those in valleys may experience reduced airflow. Reflect on how these landforms might channel or block winds reaching your site.
Next, identify existing vegetation and nearby buildings that could obstruct airflow. Dense tree lines or neighboring structures can create wind shadows, reducing ventilation potential. However, strategically placed vegetation can also help funnel breezes towards your building.
Water bodies like lakes or rivers can influence local air currents, potentially creating cooling effects. Take note of these features and their potential impact on your site's microclimate.
Building Orientation and Shape
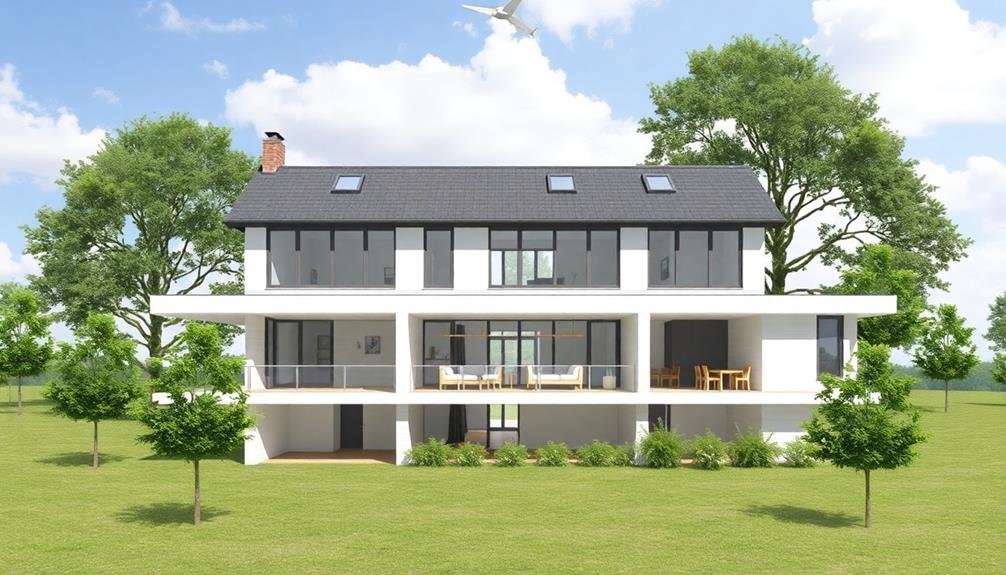
When considering building orientation and shape for passive ventilation, you'll want to factor in prevailing wind directions to maximize natural airflow.
You can choose between elongated designs that capture cross-breezes or compact structures that minimize heat gain, depending on your climate and site conditions.
Don't forget to incorporate vertical spaces that can leverage the stack effect, encouraging warm air to rise and exit through upper openings while drawing cooler air from below.
Wind Direction Considerations
Wind's direction plays an essential role in passive ventilation design. To maximize natural airflow, you'll need to take into account prevailing winds when orienting your building. Start by researching local wind patterns throughout the year, as they can vary seasonally.
Position your building to capture these dominant winds, typically at a 45-degree angle to the prevailing direction. This orientation allows you to funnel air through the structure more effectively.
You'll want to place larger openings on the windward side and smaller ones on the leeward side to create a pressure difference, encouraging airflow.
Don't forget to account for potential obstructions like nearby buildings or trees that might alter wind patterns. You can use these elements to your advantage by channeling breezes towards your structure.
Consider incorporating features like wing walls or fins to direct airflow into your building. These can be particularly useful when prevailing winds aren't ideal for your site.
Lastly, design your interior layout to promote cross-ventilation. Align doorways and windows to create unobstructed paths for air to flow through the building, ensuring efficient natural cooling and improved indoor air quality.
Elongated vs. Compact Designs
Building shape and orientation are key factors in passive ventilation design. When considering elongated vs. compact designs, you'll find that each has its advantages for natural airflow. Elongated buildings typically allow for better cross-ventilation, as they provide more surface area for wind exposure. On the other hand, compact designs can be more energy-efficient and easier to manage regarding overall airflow control.
To optimize your building's shape for passive ventilation, consider the following:
| Factor | Elongated Design | Compact Design |
|---|---|---|
| Cross-ventilation | Excellent | Limited |
| Wind exposure | High | Moderate |
| Heat gain/loss | Higher | Lower |
| Space efficiency | Lower | Higher |
| Flexibility | Limited | Greater |
When deciding between elongated and compact designs, you'll need to weigh these factors against your specific climate and site conditions. In hot climates, an elongated design oriented perpendicular to prevailing winds can maximize natural cooling. However, in colder regions, a compact design might be preferable to minimize heat loss. Remember that building shape isn't the only consideration; you'll also need to factor in window placement, interior layout, and landscape features to create an effective passive ventilation system.
Stack Effect Utilization
One of the most effective passive ventilation techniques is the stack effect, which you can harness through smart building orientation and shape. The stack effect relies on the principle that warm air rises, creating a natural convection current within a building. To maximize this effect, design your structure with vertical spaces that allow air to flow upward.
Orient your building to take advantage of prevailing winds, positioning openings at the base to capture cool air and vents at the top to release warm air. Incorporate tall, narrow spaces like atriums or stairwells that act as chimneys, drawing air upward. You'll want to guarantee there's a significant height difference between lower and upper openings to increase the pressure differential and enhance airflow.
Consider using thermal mass materials on lower levels to absorb heat during the day and release it at night, further driving the stack effect. Implement operable windows or vents at different heights to control airflow and adjust for seasonal variations.
Window Placement and Design
In light of effective passive ventilation, window placement and design play a crucial role. You'll want to position windows strategically to maximize cross-ventilation and capture prevailing winds.
Place windows on opposite walls or adjacent walls to create airflow paths through your living spaces. Consider the height of your windows too; higher windows can help expel warm air, while lower windows allow cooler air to enter.
Window types also impact airflow. Casement windows open fully, offering maximum ventilation, while double-hung windows allow you to control airflow by adjusting both upper and lower sashes.
Louvered windows provide excellent air circulation and can be angled to direct breezes.
Don't forget about window size. Larger windows generally allow more air movement, but you'll need to balance this with energy efficiency concerns.
Operable transoms or clerestory windows can help release hot air that accumulates near the ceiling.
Lastly, consider adding exterior features like awnings or overhangs. These can protect windows from direct sunlight while still allowing for ventilation.
Cross Ventilation Strategies
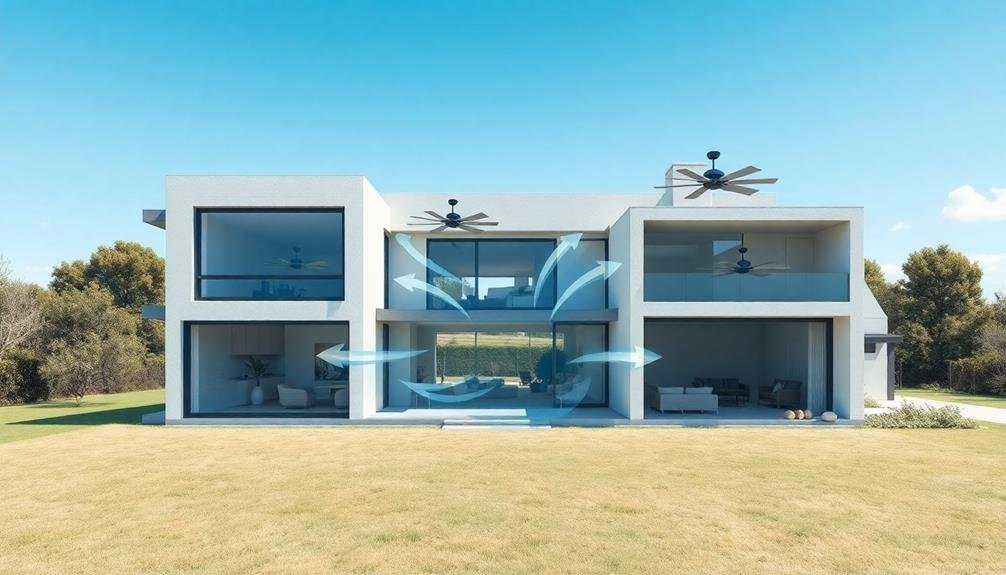
Harnessing the power of cross ventilation can greatly enhance your home's natural cooling. To achieve effective cross ventilation, you'll need to strategically place openings on opposite or adjacent walls. This creates a pathway for air to flow through your living spaces, pushing out stale, warm air and bringing in fresh, cooler air.
Consider the prevailing wind direction in your area when planning your ventilation strategy. You'll want to position your inlet openings facing the wind and outlet openings on the opposite side. To maximize airflow, make certain that the total area of outlet openings is slightly larger than the inlet openings.
Here's a quick guide to cross ventilation strategies:
| Strategy | Description | Best for |
|---|---|---|
| Single-sided | Openings on one wall | Small rooms |
| Double-sided | Openings on opposite walls | Large spaces |
| Corner | Openings on adjacent walls | L-shaped rooms |
| Stack effect | Vertical openings | Multi-story homes |
| Wing walls | External barriers to direct airflow | Enhancing wind capture |
Stack Effect Ventilation Techniques
Stack effect ventilation leverages temperature differences to create natural air movement in buildings. You'll find this technique particularly effective in multi-story structures, where warm air naturally rises and escapes through upper-level openings, drawing cooler air in at lower levels.
To maximize stack effect ventilation, consider these key elements:
- Vertical height: Taller buildings create stronger air pressure differences
- Temperature gradient: Larger temperature differences between inside and outside enhance airflow
- Strategically placed openings: Locate inlets low and outlets high
- Chimney-like structures: Incorporate atria, stairwells, or dedicated ventilation shafts
You can enhance stack effect ventilation by combining it with other passive design strategies. For instance, use solar chimneys to heat air at the top of the building, increasing the temperature difference and airflow.
Alternatively, integrate wind towers to capture and direct prevailing winds, amplifying the stack effect.
When designing for stack effect ventilation, you'll need to carefully consider your building's layout, climate, and occupancy patterns. Properly sized and placed openings are essential for ideal performance.
Remember that stack effect can work in reverse during hot weather, so incorporate controls to manage airflow direction and prevent unwanted heat gain.
Thermal Chimney Design
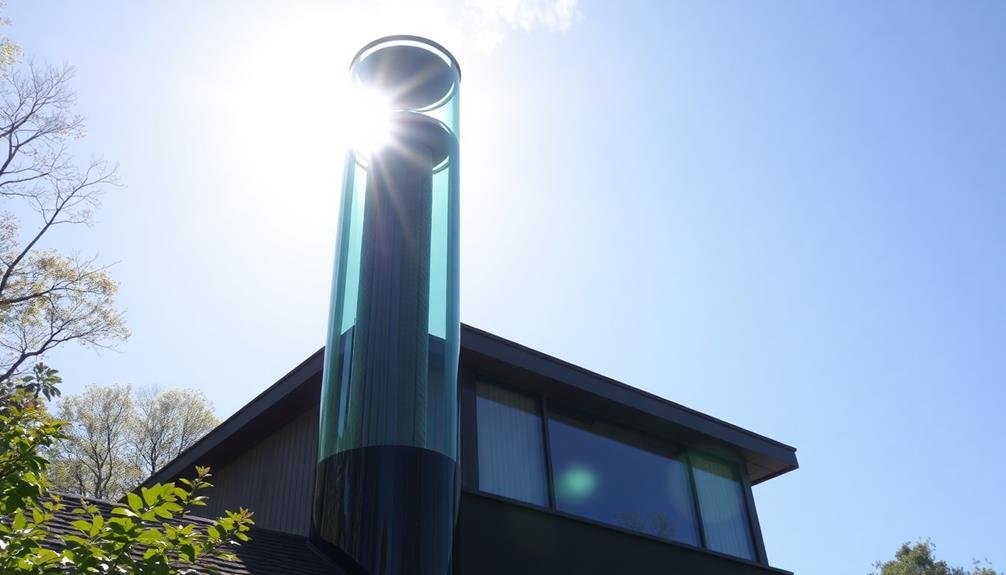
To design an effective thermal chimney, you'll need to apply stack effect principles to create a natural airflow system.
You should consider the height, shape, and positioning of the chimney to maximize air movement and temperature differentials.
When selecting materials and planning construction, focus on thermal mass, insulation properties, and the integration of heat-absorbing surfaces to enhance the chimney's performance.
Stack Effect Principles
How can buildings naturally cool themselves without relying on mechanical systems? The stack effect is a powerful passive ventilation technique that harnesses the natural movement of air due to temperature differences. You can utilize this principle to create a self-cooling building by designing vertical spaces that encourage warm air to rise and escape through high openings.
To effectively implement the stack effect in your building design, consider these key factors:
- Height difference between inlet and outlet openings
- Temperature gradient within the space
- Cross-sectional area of the vertical shaft
- Size and placement of ventilation openings
The stack effect works by creating a pressure difference between the lower and upper parts of a building. As warm air rises, it creates negative pressure at the bottom, drawing in cooler air from outside.
This continuous cycle of air movement helps maintain a comfortable indoor temperature without the need for energy-intensive cooling systems. By strategically placing openings at different heights and utilizing thermal mass to enhance temperature differences, you can maximize the stack effect's cooling potential.
Material and Construction Considerations
Several key material and construction considerations play an essential role in designing an effective thermal chimney for passive ventilation. You'll want to focus on materials with high thermal mass, such as concrete, brick, or stone, which can absorb heat during the day and release it at night, creating a more consistent air flow.
The chimney's height is critical; taller chimneys generate stronger stack effects, so aim for maximum vertical distance within your building's constraints.
Insulation is important to prevent heat loss and maintain the temperature gradient. Use high-quality insulation materials on the chimney's exterior walls to enhance its performance.
The chimney's cross-sectional area should be carefully calculated to optimize air flow rates. Consider incorporating adjustable vents or dampers to control air movement and adapt to changing weather conditions.
Surface treatments can also impact efficiency. Dark-colored or heat-absorbing finishes on the chimney's interior can enhance heat gain and air movement.
Finally, guarantee proper sealing and weatherproofing to prevent unwanted air leakage, which can compromise the chimney's effectiveness.
Courtyard and Atrium Ventilation
Incorporating courtyards and atriums into building design offers powerful passive ventilation solutions. These open spaces create natural air circulation pathways, drawing cool air in and expelling warm air through the stack effect.
You'll find that courtyards and atriums not only enhance ventilation but also provide additional benefits:
- Natural light penetration into building interiors
- Increased social interaction spaces
- Improved thermal comfort for occupants
- Enhanced connection to nature and outdoor environments
When designing courtyards and atriums for ideal ventilation, consider their size, orientation, and surrounding building heights. Larger spaces generally promote better airflow, while proper orientation can capture prevailing winds.
You should also strategically place openings to encourage cross-ventilation through adjacent rooms.
To maximize the ventilation potential of these spaces, incorporate water features or vegetation. These elements can help cool the air and create microclimates within the courtyard or atrium.
Additionally, you can use movable shading devices to control solar gain and airflow patterns throughout the day.
Wind Towers and Catchers

While courtyards and atriums harness natural airflow within buildings, wind towers and catchers take advantage of external wind patterns to enhance ventilation. These ancient techniques, originating in the Middle East, can greatly improve your home's natural cooling.
Wind towers, also known as windcatchers or badgirs, are tall, chimney-like structures with openings at the top. They capture prevailing winds and funnel them down into your living spaces. You'll find they're particularly effective in hot, arid climates where wind speeds are higher.
Wind catchers, on the other hand, are horizontal projections on roofs designed to direct airflow into your home. They're often adjustable, allowing you to optimize ventilation based on wind direction and strength.
To implement these systems, you'll need to contemplate your local climate and wind patterns. Position wind towers on the windward side of your home and verify they're taller than surrounding structures.
For wind catchers, install them on your roof's highest point for maximum exposure.
Both systems work best when paired with strategically placed openings in your home. This creates a pressure differential, encouraging air to flow through your living spaces and exit through lower openings on the opposite side.
Passive Cooling With Earth Tubes
Another innovative passive cooling technique taps into the earth's natural temperature stability: earth tubes. These underground pipes use the consistent temperature of the soil to cool incoming air before it enters your home.
You'll find that earth tubes can notably reduce your cooling costs and energy consumption during hot summer months.
To implement earth tubes in your home's design, you'll need to take into account several factors:
- Soil type and moisture content
- Depth of pipe installation
- Length and diameter of the tubes
- Air flow rate and fan power
Earth tubes work best in climates with considerable temperature swings between day and night. As air travels through the tubes, it's cooled by the surrounding soil, which maintains a relatively constant temperature year-round.
You'll typically install the pipes at depths of 6 to 10 feet, where the ground temperature remains steady.
You can enhance the system's efficiency by incorporating a heat exchanger at the tube's exit point. This will further cool the air before it enters your living space.
Remember to include proper filtration and drainage to prevent moisture buildup and maintain air quality.
With careful planning and installation, earth tubes can provide an eco-friendly and cost-effective cooling solution for your home.
Incorporating Vegetation for Airflow

Nature's air conditioning system can be harnessed through strategic vegetation placement. You'll find that incorporating plants into your passive design can greatly enhance airflow and cooling. Trees and shrubs act as natural windbreaks, directing breezes and filtering air as it moves through your space.
Position deciduous trees on the south and west sides of your home to provide shade in summer while allowing sunlight in winter.
Create a microclimate by using plants to cool the air before it enters your home. You can achieve this by placing vegetation near windows and ventilation openings. Vines on trellises or pergolas can shade walls and windows, reducing heat gain.
Consider green roofs or living walls to insulate your home and cool the surrounding air.
Water features like ponds or fountains near air intake points can cool incoming breezes through evaporation. You'll also benefit from the air-purifying qualities of plants, which remove pollutants and increase oxygen levels.
Monitoring and Adjusting Ventilation Systems
Effective passive ventilation doesn't end with installation. To maintain ideal performance, you'll need to monitor and adjust your system regularly. This ongoing process guarantees your ventilation continues to meet your changing needs and adapt to environmental shifts.
Start by establishing a monitoring routine. You'll want to:
- Check airflow patterns using smoke tests or airflow meters
- Measure indoor air quality, including temperature, humidity, and CO2 levels
- Inspect openings for obstructions or damage
- Assess occupant comfort through surveys or feedback
Based on your findings, make necessary adjustments. This might involve tweaking window openings, repositioning furniture, or modifying landscaping elements.
Don't hesitate to consult with experts if you encounter persistent issues or need guidance on complex adjustments.
Remember, your ventilation needs may change with seasons, occupancy levels, or building modifications. Stay proactive by reassessing your system's performance periodically.
Consider installing smart sensors and controls to automate monitoring and adjustments, making it easier to maintain ideal ventilation year-round.
Frequently Asked Questions
Can Passive Ventilation Techniques Effectively Cool Large Commercial Buildings?
You can effectively cool large commercial buildings using passive ventilation techniques. They'll reduce energy costs and improve air quality. However, you'll need to carefully design the building's layout, orientation, and openings to maximize airflow and temperature control.
How Do Passive Ventilation Systems Perform in Extreme Weather Conditions?
You'll find passive ventilation systems can struggle in extreme weather. They're less effective during heatwaves or severe cold. You might need backup cooling or heating systems for these periods to maintain comfort and safety.
What Are the Maintenance Requirements for Passive Ventilation Systems?
You'll find passive ventilation systems require minimal maintenance. Regularly clean air inlets and outlets, inspect for blockages, and check seals. You should also guarantee moving parts are lubricated and functioning properly. It's a low-effort, cost-effective approach.
Are There Any Health Concerns Associated With Passive Ventilation Techniques?
You should be aware of potential health concerns with passive ventilation. These include increased allergens, outdoor pollutants, and moisture issues leading to mold growth. However, proper design and maintenance can mitigate these risks effectively.
How Can Passive Ventilation Be Integrated With Smart Home Technology?
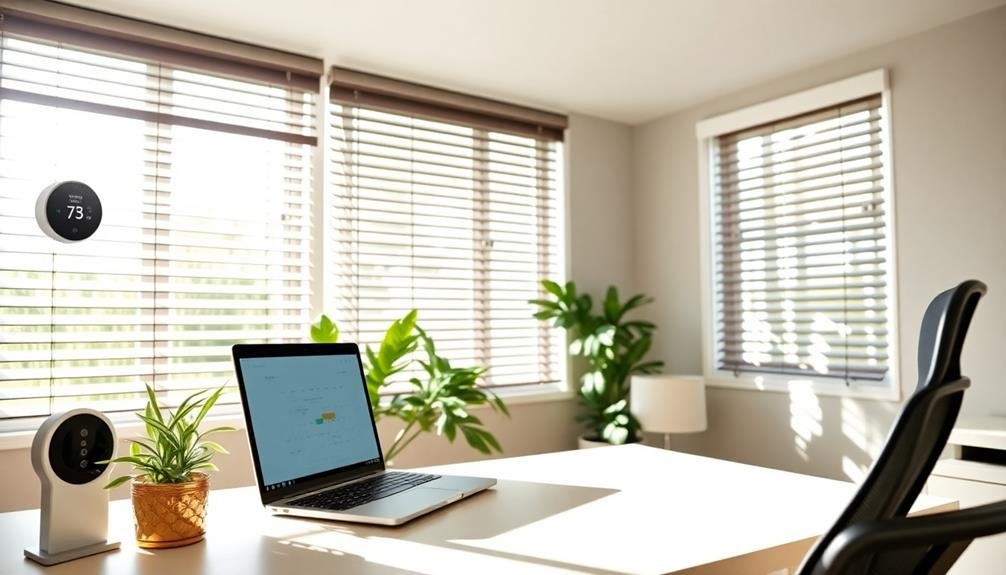
You can integrate passive ventilation with smart home tech by using automated windows, smart thermostats, and sensors. They'll monitor air quality, temperature, and humidity, adjusting ventilation as needed. This enhances efficiency and comfort in your home.
In Summary
You've now explored a range of passive design techniques to maximize natural airflow in your building. By understanding ventilation principles, analyzing your site, and optimizing your building's orientation and features, you'll create a comfortable, energy-efficient space. Remember, it's not just about initial design; you'll need to monitor and adjust your ventilation systems over time. With these strategies, you're well-equipped to harness nature's cooling power and reduce your reliance on mechanical systems.


Leave a Reply