To build your off-grid wind turbine, start by evaluating your wind resource and choosing the right turbine size for your needs. Gather necessary tools and materials, then select an ideal location with strong, unobstructed wind flow. Construct a sturdy tower and assemble the turbine components, including blades, generator, and nacelle. Wire the electrical components and set up a battery bank for energy storage. Connect the system to your home, ensuring proper safety measures are in place. Regular maintenance and troubleshooting will keep your turbine running efficiently. By optimizing performance, you'll maximize your renewable energy production and independence.
Assessing Your Wind Resource

Before diving into building your off-grid wind turbine, you'll need to size up your wind resource. This essential step guarantees you're not wasting time and money on a project that won't yield adequate power. Start by researching local wind data from weather stations or online wind maps. These resources provide average wind speeds for your area, but remember they're often measured at heights different from where your turbine will be.
Next, conduct on-site measurements using an anemometer for at least a year. This device records wind speed and direction, giving you accurate data specific to your location. Pay attention to seasonal variations and wind patterns throughout the day. You'll want an average wind speed of at least 9 mph for a small wind turbine to be effective.
Consider your property's topography and obstacles. Hills, trees, and buildings can greatly impact wind flow. Ideally, your turbine should be placed in an open area, away from obstructions.
The higher you can mount your turbine, the better, as wind speed increases with height. Aim for at least 30 feet above any nearby obstacles within a 500-foot radius.
Choosing the Right Turbine Size
Precision is key when selecting the right turbine size for your off-grid wind power system. You'll need to balance your energy needs with the available wind resource and budget constraints.
Start by calculating your daily energy consumption in kilowatt-hours (kWh) and factor in any future increases in demand.
Consider the average wind speed at your site, as determined in your wind resource assessment. Turbines are rated for specific wind speeds, so choose one that matches your location's conditions. Remember, larger turbines generate more power but require stronger winds to operate efficiently.
Don't overlook your property's physical limitations. Confirm you have enough space for the turbine and tower, and check local zoning regulations for height restrictions. Smaller turbines (1-10 kW) are typically suitable for residential use, while larger ones (20-100 kW) are better for farms or small businesses.
Factor in your budget, including installation costs and long-term maintenance. It's often better to start with a slightly larger turbine to accommodate future needs rather than underestimating and needing to upgrade later.
Consult with a wind energy professional to help fine-tune your selection based on your specific circumstances.
Gathering Necessary Tools and Materials

The toolbox for your off-grid wind turbine project should be well-stocked and carefully curated.
You'll need a mix of standard tools and specialized equipment. Start with basic hand tools: screwdrivers, wrenches, pliers, and a hammer. Include a cordless drill with various bits for drilling and driving screws. A multimeter is essential for electrical work, while wire strippers and crimpers will help with wiring connections.
For blade construction, gather a jigsaw, sandpaper, and a sturdy workbench. You'll also need safety equipment like goggles, gloves, and a dust mask. Don't forget a sturdy ladder for installation.
As for materials, your list should include the wind turbine kit or individual components like the generator, blades, and tower. You'll need weatherproof wiring, a charge controller, and deep-cycle batteries for energy storage.
Include mounting hardware, guy wires, and concrete for the foundation. Gather PVC pipes for blade molds if you're making your own, along with fiberglass and resin.
Selecting an Ideal Turbine Location
With your tools and materials at the ready, it's time to focus on where you'll place your wind turbine. Selecting the ideal location is essential for maximizing energy production and guaranteeing your turbine's longevity. You'll want to find an area with consistent, strong winds and minimal obstructions.
Start by researching local wind patterns and average speeds in your area. Aim for locations with average wind speeds of at least 9 mph. Take into account elevated areas like hilltops or open fields, as they typically experience stronger winds. Avoid placing your turbine near tall buildings, trees, or other structures that could create turbulence or block wind flow.
Next, assess the terrain and soil conditions. Confirm the ground is stable enough to support your turbine's foundation. You'll also need to take into account accessibility for maintenance and repairs.
Here are key factors to keep in mind when selecting your turbine location:
- Wind speed and consistency
- Elevation and surrounding landscape
- Soil stability and accessibility
Remember to check local zoning laws and regulations before finalizing your turbine's location. Some areas may have restrictions on turbine height or placement.
Building the Turbine Tower

Erecting a sturdy tower forms the backbone of your wind turbine project. You'll need to choose between a freestanding or guyed tower, considering factors like local zoning laws and available space. Freestanding towers require a larger foundation but less land area, while guyed towers use less material but need more ground space for guy wires.
Begin by creating a solid foundation. For a freestanding tower, dig a deep hole and pour a reinforced concrete base. Guyed towers need a smaller central foundation and additional anchor points for the guy wires.
Once the foundation cures, assemble the tower sections on the ground. Use galvanized steel or aluminum for corrosion resistance. Install the wiring conduit inside the tower as you assemble it. This protects the cables and improves the tower's appearance.
Raise the tower using a gin pole and winch system, or hire a crane for taller structures. Verify all bolts are tightened to the correct torque specifications. For guyed towers, tension the wires evenly to keep the structure perfectly vertical.
Assembling the Wind Turbine Blades
What's the most essential component of your wind turbine? It's the blades. They're responsible for capturing wind energy and converting it into rotational motion.
When assembling your wind turbine blades, you'll need to focus on balance, aerodynamics, and durability.
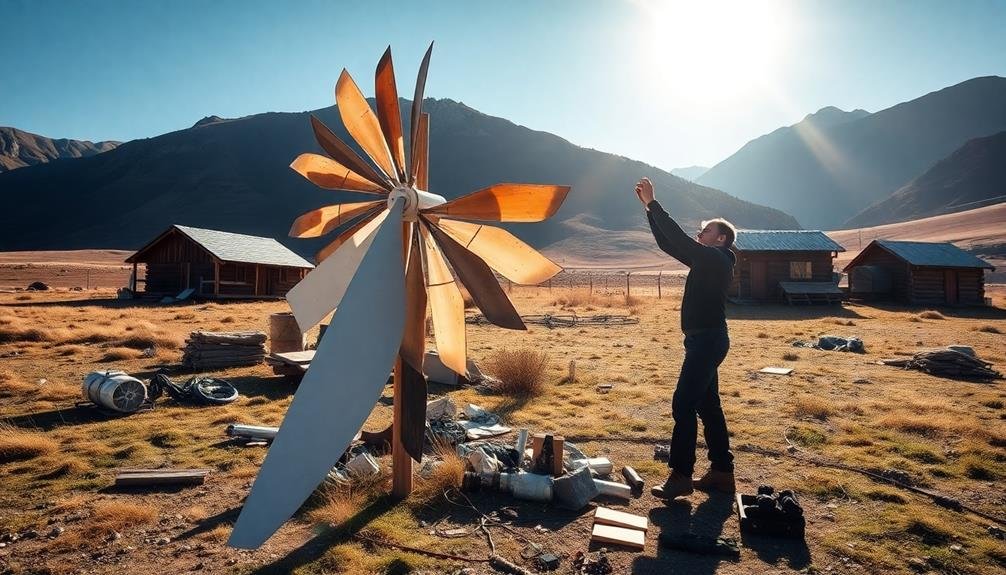
Start by selecting the right material for your blades. Fiberglass or carbon fiber composites are popular choices due to their strength-to-weight ratio. Cut the blades to the desired shape, ensuring they're identical in size and weight. Sand the edges smooth to reduce drag and improve efficiency.
Next, attach the blades to the hub. This connection must be secure to withstand high winds and centrifugal forces. Use high-quality bolts and lock washers to prevent loosening over time. Balance the assembled rotor by adjusting the blade pitch or adding weights if necessary.
Here's a quick overview of the blade assembly process:
- Cut and shape the blades
- Sand and finish the surfaces
- Attach blades to the hub and balance the rotor
Installing the Generator and Nacelle

You'll now focus on installing the essential components that convert wind energy into electricity.
First, mount the generator securely to the turbine's main shaft, ensuring proper alignment for best performance.
Then, attach the nacelle, which houses and protects the generator and other important components, carefully connecting all necessary wiring and control systems.
Mounting the Generator
The next vital step in building your off-grid wind turbine is mounting the generator and nacelle. This key component converts the rotational energy of the blades into electricity.
You'll need to carefully attach the generator to the nacelle, which houses and protects it from the elements. Start by making sure your work area is clean and dry. Place the generator on a stable surface and align it with the mounting points on the nacelle.
Use high-quality bolts and washers to secure the generator, making sure they're tight but not over-tightened. Double-check all connections to prevent any loosening during operation.
Once the generator is mounted, you'll need to connect it to the turbine's electrical system. Follow these steps:
- Strip the ends of the generator's output wires
- Attach appropriate connectors or terminals
- Connect the wires to your turbine's power control system
Remember to use proper insulation and weatherproofing techniques to protect all electrical connections from moisture and corrosion.
It's also important to ground the generator correctly to guarantee safety and peak performance. After mounting and connecting the generator, test it thoroughly before proceeding to the next step in your wind turbine construction process.
Attaching the Nacelle
With the generator securely mounted, it's time to attach the nacelle to your wind turbine structure. The nacelle is the housing that protects the generator and other internal components from the elements.
Begin by carefully lifting the nacelle and positioning it over the generator. Align the mounting holes on the nacelle with those on the tower top plate.
Insert bolts through the aligned holes and secure them with washers and nuts. Tighten the bolts evenly to guarantee a balanced attachment. Don't over-tighten, as this may damage the nacelle or compromise its ability to pivot with changing wind directions.
Next, connect the generator's wiring to the slip ring assembly inside the nacelle. This allows for continuous rotation without tangling the wires. Confirm all connections are secure and properly insulated.
Install the yaw bearing, which enables the nacelle to rotate horizontally. Lubricate the bearing and check that it moves smoothly.
Attach the tail boom and vane to the back of the nacelle. This component helps orient the turbine into the wind for peak energy production.
Wiring the Electrical Components
After assembling the mechanical components, it's time to tackle the electrical wiring of your off-grid wind turbine. This step is vital for converting the mechanical energy into usable electricity. You'll need to connect the generator to the charge controller, which regulates the power output and protects your batteries from overcharging.
Start by running the main power cables from the generator down through the tower. Make certain you're using appropriate gauge wire to handle the expected current.
Next, connect these cables to the charge controller, following the manufacturer's instructions carefully. From there, you'll wire the charge controller to your battery bank and inverter.
Here's a quick overview of the wiring process:
- Generator to charge controller
- Charge controller to battery bank
- Battery bank to inverter
Don't forget to install proper fuses or circuit breakers at key points in your system for safety.
It's also essential to ground your turbine and electrical components to protect against lightning strikes and static buildup. If you're not confident in your electrical skills, consider hiring a professional to make certain your system is wired correctly and safely.
Setting Up the Battery Bank

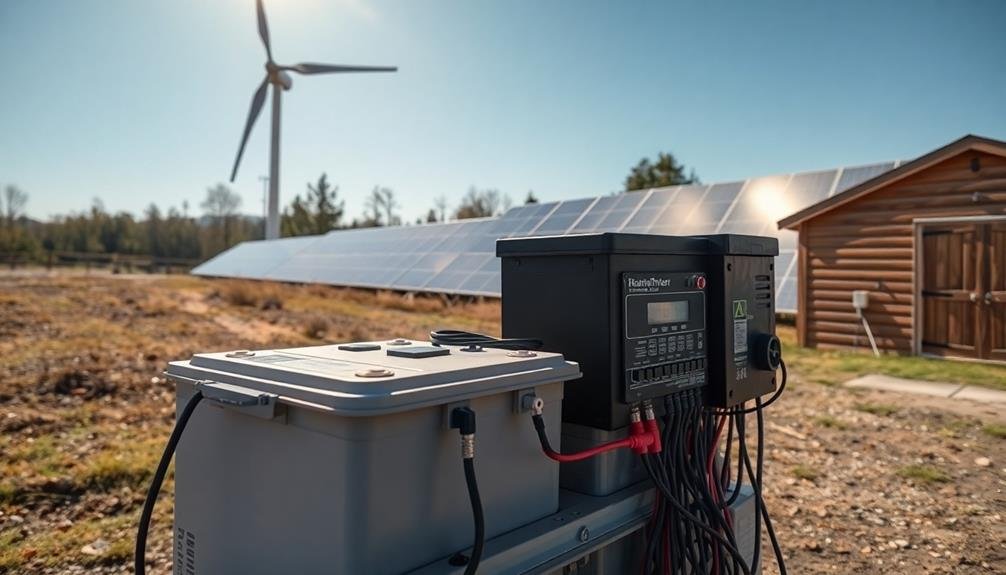
Heart of your off-grid wind turbine system, the battery bank stores the energy you've harvested for later use. To set it up, you'll need deep-cycle batteries designed for renewable energy systems. Choose between lead-acid, AGM, or lithium-ion batteries based on your budget and needs.
Calculate your energy requirements to determine the battery bank's size. Factor in daily power consumption and desired days of autonomy. Arrange the batteries in series or parallel to achieve the desired voltage and capacity. Connect them using thick, insulated cables and guarantee proper terminal connections.
Install a battery monitor to track charge levels and prevent over-discharge. Place the battery bank in a well-ventilated, temperature-controlled area to maximize lifespan. Use a battery box or rack for organization and safety.
Include a charge controller between the wind turbine and battery bank to regulate charging and prevent overcharging. Set up fuses or circuit breakers to protect against short circuits and overloads. Ground the system properly to guarantee safety.
Regularly maintain your battery bank by checking fluid levels, cleaning terminals, and equalizing charges as needed. With proper care, your battery bank will provide reliable off-grid power for years to come.
Connecting to Your Home System
When connecting your wind turbine to your home system, you'll need to select and install an appropriate inverter to convert DC power from your turbine to AC power for your household use.
You'll also want to configure your battery bank to efficiently store excess energy for times when the wind isn't blowing.
Don't forget to install safety and disconnection switches to protect your system and allow for maintenance or emergencies.
Inverter Selection and Installation
Selecting the right inverter is essential for connecting your wind turbine to your home's electrical system. You'll need to choose between a grid-tie inverter and an off-grid inverter, depending on your setup. Grid-tie inverters synchronize with the utility grid, while off-grid inverters work independently.
Consider the power output of your turbine and your home's energy needs when selecting the inverter's capacity.
Once you've chosen the appropriate inverter, it's time to install it. Follow these steps:
- Mount the inverter in a cool, dry location near your battery bank.
- Connect the inverter to your battery bank using properly sized cables.
- Install a disconnect switch between the inverter and your home's electrical panel.
Guarantee proper grounding of the inverter and all connections. If you're not comfortable with electrical work, hire a licensed electrician for the installation. They'll also help you comply with local building codes and obtain necessary permits.
Remember to program your inverter according to the manufacturer's instructions. This may include setting charging parameters, low voltage disconnect, and other features specific to your system.
Regular maintenance of your inverter will help guarantee peak performance and longevity of your wind turbine system.
Battery Bank Configuration
A robust battery bank is essential for storing the energy generated by your off-grid wind turbine. When configuring your battery bank, you'll need to take into account capacity, voltage, and connection type.
Deep-cycle lead-acid batteries are common for off-grid systems, but lithium-ion batteries are gaining popularity due to their longer lifespan and higher efficiency.
To determine the required capacity, calculate your daily energy consumption and plan for several days of autonomy. Connect batteries in series to increase voltage or parallel to increase capacity. For a 48V system, you might connect four 12V batteries in series.
Make sure all batteries in the bank are of the same type, capacity, and age for peak performance. Install a battery monitor to track the state of charge and prevent over-discharging. Use heavy-duty cables and proper terminals to connect batteries, and include fuses or circuit breakers for safety.
Place batteries in a well-ventilated, temperature-controlled area to extend their lifespan. Regularly inspect connections, clean terminals, and check electrolyte levels in flooded lead-acid batteries.
With proper configuration and maintenance, your battery bank will reliably store and supply power for your off-grid system.
Safety and Disconnection Switches
Safety and disconnection switches are essential components when connecting your wind turbine to your home system. These devices protect you, your equipment, and your home from potential electrical hazards and overloads.
You'll need to install a main disconnect switch between your turbine and the battery bank, allowing you to isolate the turbine when necessary. Additionally, install a battery disconnect switch to cut off power from the batteries to your home's electrical system.
When selecting and installing safety switches, consider these key points:
- Choose switches rated for your system's maximum voltage and current
- Install switches in easily accessible locations for quick disconnection
- Use weatherproof enclosures for outdoor switches to protect against the elements
Properly label all switches and create a clear diagram of your system's layout. This will help you and others understand how to safely operate and maintain your wind turbine setup.
Remember to include fuses or circuit breakers in your system to protect against short circuits and overloads. Regular inspection and maintenance of your safety switches will guarantee they function correctly when needed, providing peace of mind and protection for your off-grid power system.
Safety Measures and Precautions

Caution is paramount when constructing and operating an off-grid wind turbine. You'll need to prioritize safety throughout the entire process.
Always wear appropriate personal protective equipment (PPE), including a hard hat, safety glasses, gloves, and steel-toed boots. When working at heights, use a fall arrest system and guarantee you're properly trained in its use.
Be aware of electrical hazards. Never work on live circuits, and always disconnect the turbine from the battery bank before performing maintenance.
Install lightning protection to safeguard your system from electrical surges. Keep your work area clean and organized to prevent trips and falls.
When choosing a location for your turbine, consider potential hazards like overhead power lines or nearby structures. Verify the tower is securely anchored and can withstand high winds.
Regularly inspect your turbine for signs of wear or damage, particularly after severe weather events.
Implement a lockout/tagout system to prevent accidental start-ups during maintenance. Create an emergency shutdown procedure and make sure everyone involved knows how to use it.
Maintenance and Troubleshooting Tips
Regular maintenance is crucial for keeping your off-grid wind turbine operating effectively and extending its lifespan. You'll need to perform routine checks and address any issues promptly to guarantee peak performance.
Inspect your turbine's blades, generator, and tower for signs of wear or damage at least twice a year. Clean the blades to remove dirt and debris, which can affect aerodynamics and reduce efficiency.
When troubleshooting, listen for unusual noises and observe the turbine's behavior. Common issues include:
- Reduced power output
- Excessive vibration
- Yaw system malfunctions
If you notice a decrease in power generation, check your battery bank and electrical connections first. Loose or corroded connections can greatly impact performance.
For vibration problems, inspect the blades for imbalances or damage. Yaw system issues may require lubricating bearings or adjusting the tail vane.
Keep a maintenance log to track your turbine's performance and any repairs you've made. This will help you identify patterns and anticipate potential problems.
If you're unsure about handling a particular issue, don't hesitate to consult a professional to avoid compromising your safety or damaging the turbine.
Optimizing Turbine Performance

With proper maintenance in place, it's time to focus on maximizing your wind turbine's output. Start by enhancing blade pitch and angle. Adjust the blades to capture the most wind energy without risking damage during high winds.
Monitor wind patterns in your area and use this data to fine-tune your turbine's positioning. Consider installing a wind vane and anemometer to track wind direction and speed. This information will help you orient your turbine for peak performance.
Implement an automatic yaw control system to keep the rotor facing the wind. Reduce friction in moving parts by regularly lubricating bearings and checking for proper alignment.
Install a robust braking system to protect your turbine during extreme weather conditions. Consider upgrading to more efficient blades or a better generator if your budget allows.
Minimize obstructions around your turbine by trimming nearby trees or relocating objects that could create turbulence. Install a taller tower to access stronger, more consistent winds.
Frequently Asked Questions
How Long Does a Typical DIY Wind Turbine Last Before Needing Replacement?
You'll find that a typical DIY wind turbine can last 15-20 years with proper maintenance. However, you'll need to replace some components earlier. Blades might need changing every 5-10 years, while bearings could require replacement every 7-10 years.
Can I Install a Wind Turbine on My Roof Instead of a Tower?
You can install a wind turbine on your roof, but it's not ideal. You'll face challenges like reduced wind speed, increased turbulence, and potential structural issues. It's also less efficient and may cause noise and vibration problems.
What Are the Noise Levels Produced by a Home-Built Wind Turbine?
You'll find that noise levels from home-built wind turbines vary. They're typically around 45-60 decibels at the base, similar to a refrigerator's hum. However, factors like turbine size, design, and wind speed can affect noise output.
Are There Any Legal Restrictions on Building Wind Turbines in Residential Areas?
You'll likely face legal restrictions on building wind turbines in residential areas. Check local zoning laws, height limits, and noise regulations. You may need permits or homeowners' association approval. Some areas completely prohibit residential wind turbines.
How Does Extreme Weather Affect the Performance and Durability of DIY Turbines?
Extreme weather can greatly impact your DIY turbine. High winds may damage blades or overload the system. Heavy rain or snow can cause corrosion. Freezing temperatures might affect lubrication. You'll need to think about weatherproofing and regular maintenance for longevity.
In Summary
You've now got the knowledge to build your own off-grid wind turbine. Remember, it's a rewarding but complex project. Take your time, prioritize safety, and don't hesitate to seek expert advice when needed. With proper maintenance and optimization, your turbine will provide clean, renewable energy for years to come. Embrace the learning process and enjoy the satisfaction of harnessing the wind's power for your home.


Leave a Reply