To generate home hydropower using a Pelton wheel, start by evaluating your water source's flow rate and head. Next, design your system based on the calculated potential power output. Gather necessary materials and tools, including the wheel material, generator, and safety equipment. Construct the Pelton wheel by cutting the disk, attaching buckets, and balancing it for smooth rotation. Finally, install the setup by mounting the wheel, connecting it to the generator, and setting up the water supply system. Test and adjust as needed. With these five steps, you'll be on your way to harnessing clean, renewable energy from your property's water resources.
Assess Your Water Source
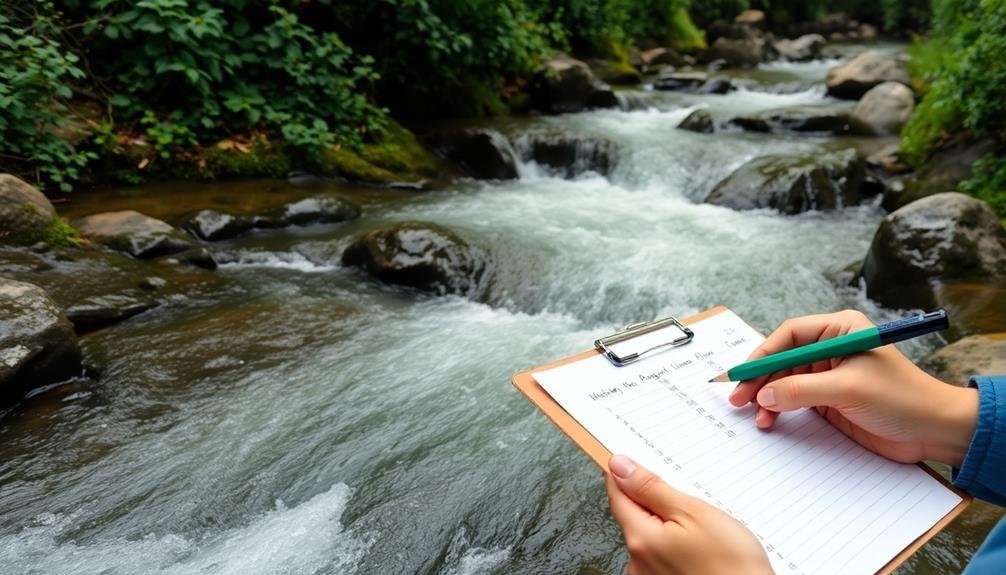
Before diving into your Pelton wheel project, you'll need to assess your water source carefully. Start by measuring the flow rate of your stream or river. You can do this using the float method: time how long it takes a floating object to travel a set distance downstream.
Next, determine the head, which is the vertical drop from your water source to the turbine location. Use a topographic map or laser level for accurate measurements.
Calculate the potential power output using the formula: Power (watts) = Head (meters) x Flow (liters/second) x 9.81 x 0.5. The 0.5 factor accounts for system efficiency. Make sure your water source provides consistent flow year-round, considering seasonal variations.
Check local regulations regarding water usage and environmental impact. Evaluate accessibility for installation and maintenance. You'll need to install an intake system, penstock (pipeline), and tailrace.
Consider the distance from your power source to your home and any obstacles in between. Finally, assess water quality, as debris or sediment can damage your Pelton wheel. Install appropriate filtration systems if necessary to protect your equipment and guarantee peak performance.
Design Your Pelton Wheel System
With your water source assessed, it's time to design your Pelton wheel system.
Calculate the potential power output using the formula: Power (watts) = Head (meters) × Flow (liters/second) × 9.81 × 0.7. This will help you determine the appropriate size for your Pelton wheel and generator.
Choose a Pelton wheel diameter based on your available head and flow rate. Generally, higher heads require smaller wheels, while lower heads need larger ones.
Select a generator that matches your calculated power output, guaranteeing it's compatible with your wheel's rotational speed.
Design your penstock pipe, considering factors like:
- Pipe diameter to minimize friction losses
- Material strength to withstand water pressure
- Length and route to maximize head
- Filtration system to prevent debris clogging
Plan your turbine housing, tailrace, and electrical components.
Ensure proper sealing and weatherproofing for all outdoor elements.
Don't forget to include a load controller to regulate power output and protect your system from overload.
Gather Materials and Tools
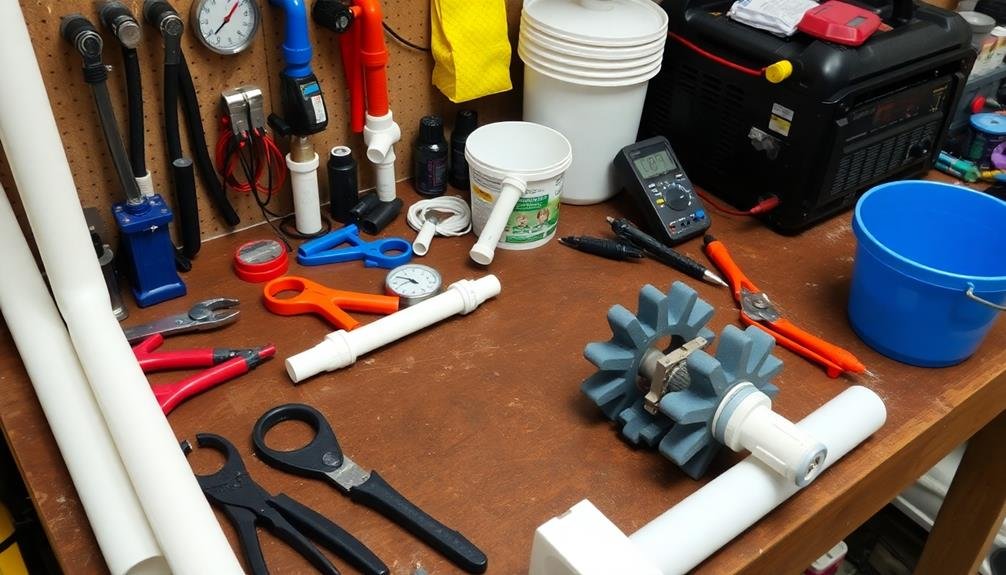
The success of your Pelton wheel project hinges on having the right materials and tools at hand. Begin by sourcing a durable material for the wheel itself, such as aluminum or high-density plastic. You'll need a sturdy shaft, bearings, and a generator to convert the wheel's motion into electricity. Don't forget to gather pipes, fittings, and nozzles for your water delivery system.
Essential tools include a drill, saw, wrenches, and measuring devices. If you're working with metal, you might need welding equipment or a metal lathe. For precision cuts on the wheel's buckets, consider using a CNC machine or 3D printer.
| Materials | Tools |
|---|---|
| Wheel material | Drill and bits |
| Shaft and bearings | Saw (metal/plastic) |
| Generator | Wrenches and pliers |
Remember to prioritize safety equipment like goggles, gloves, and ear protection. It's vital to have all materials and tools ready before starting construction to avoid delays and guarantee a smooth building process. Double-check your design plans to make sure you haven't overlooked any critical components or specialized tools that might be required for your specific Pelton wheel configuration.
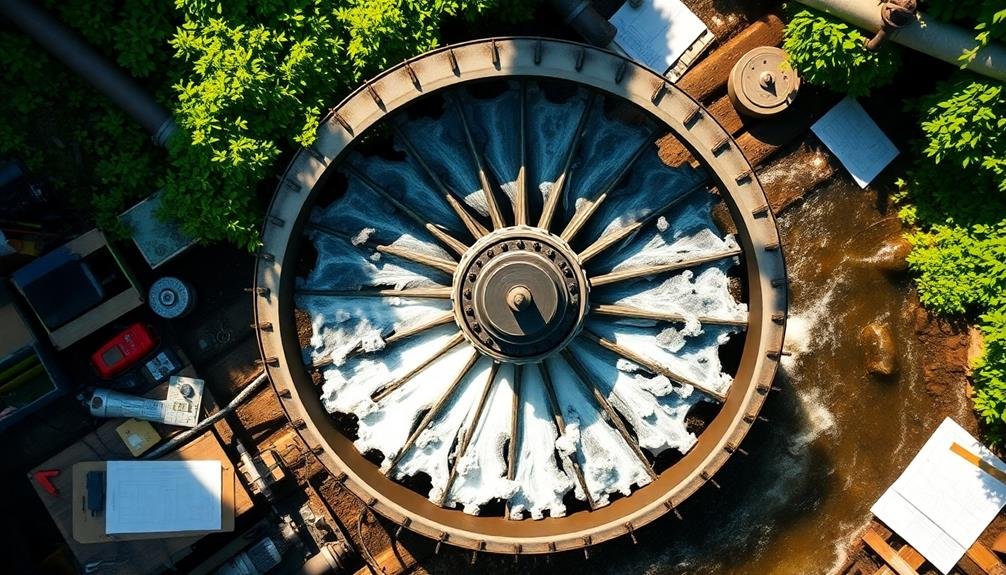
Construct the Pelton Wheel
Now that you've gathered your materials, it's time to plunge into constructing the Pelton wheel. Begin by cutting your circular disk to the desired size, typically 12-18 inches in diameter. Drill a hole in the center for the axle, ensuring it's slightly larger than the shaft you'll use.
Next, mark evenly spaced points around the disk's circumference for your buckets. Cut your buckets from sheet metal, shaping them into curved scoops. Attach these to the marked points on your disk using bolts or welding, depending on your materials. Make sure they're securely fastened and aligned properly to maximize efficiency.
Here's a quick checklist for constructing your Pelton wheel:
- Cut and prepare the main disk
- Create and attach the buckets
- Install the central shaft
- Balance the wheel for smooth rotation
Once you've attached all the buckets, slide the shaft through the central hole and secure it with washers and nuts on both sides.
Test the wheel's balance by spinning it gently. If it's uneven, adjust the bucket positions or add small weights as needed. Your Pelton wheel is now ready for the next step in your home hydropower project.
Install and Test Setup
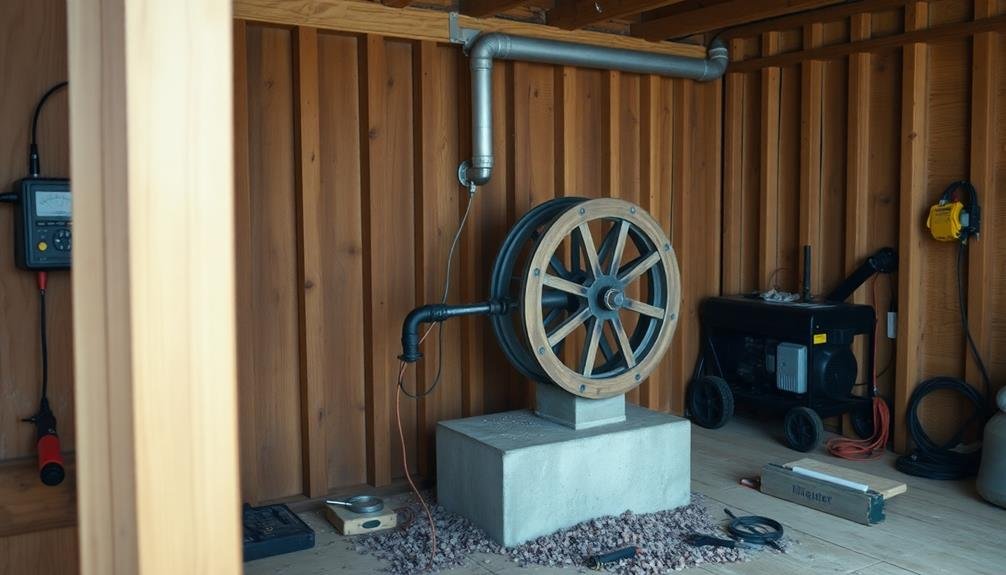
Installation time has arrived for your homemade Pelton wheel. Begin by securing the wheel to its shaft and mounting it in a sturdy frame. Make sure the wheel can rotate freely without any obstructions.
Next, connect the shaft to your generator using a belt or direct coupling. Position the nozzle so it's aimed directly at the wheel's buckets, maximizing water impact.
Set up your water supply system, connecting the pipe from your water source to the nozzle. Install a valve to control water flow and pressure. Place a collection basin beneath the wheel to catch and redirect the used water. If possible, create a closed-loop system to recirculate the water.
Now it's time to test your setup. Slowly open the valve and observe the wheel's rotation. Adjust the nozzle position if needed for peak performance.
Monitor the generator's output using a multimeter or power meter. Gradually increase water flow and pressure, noting how it affects power generation. Check for any leaks, vibrations, or unusual noises.
Make necessary adjustments to improve efficiency and stability. Once you're satisfied with the performance, you can begin using your Pelton wheel to generate clean, renewable energy for your home.
Frequently Asked Questions
How Much Electricity Can a Home Pelton Wheel System Typically Generate?
You can typically generate 100-5000 watts with a home Pelton wheel system. Your output depends on factors like water flow, head height, and turbine efficiency. It's enough to power essential appliances or supplement your grid usage.
What Is the Average Lifespan of a DIY Pelton Wheel Installation?
You can expect your DIY Pelton wheel installation to last 15-25 years with proper maintenance. Your system's lifespan depends on water quality, materials used, and regular upkeep. Don't forget to inspect and clean it periodically for peak performance.
Are There Any Legal Restrictions on Installing a Pelton Wheel System?
You'll likely face legal restrictions when installing a Pelton wheel system. Check local water rights, environmental regulations, and zoning laws. You may need permits for water diversion and construction. Always consult authorities before starting your project.
Can a Pelton Wheel Be Used in Saltwater or Only Freshwater Sources?
You can use a Pelton wheel in saltwater, but it's not ideal. You'll face corrosion issues and reduced efficiency. It's best to stick with freshwater sources. If you must use saltwater, you'll need special materials and maintenance.
How Does the Efficiency of a Pelton Wheel Compare to Other Hydropower Systems?
You'll find Pelton wheels are highly efficient, often reaching 90% or more. They're among the most effective for high-head, low-flow conditions. However, other systems like Francis turbines may outperform them in different water scenarios.
In Summary
You've now learned how to harness the power of flowing water to generate your own electricity at home. By following these five steps, you'll be able to create a functional Pelton wheel system. Remember to assess your water source carefully, design thoughtfully, gather materials diligently, construct precisely, and test thoroughly. With some effort and ingenuity, you'll soon be enjoying clean, renewable hydropower right in your backyard. Embrace this sustainable energy solution and reduce your carbon footprint.


Leave a Reply