To heat your greenhouse with solar air, start by evaluating your energy needs based on size, climate, and crop requirements. Choose an efficient solar collector, typically 1 sq ft per 3 sq ft of floor space. Install the collector on a south-facing wall or roof for maximum sun exposure. Set up an air circulation system with fans and ducts for even heat distribution. Insulate your greenhouse thoroughly and integrate the solar system with existing heating methods. Install temperature controls and automate venting to maintain ideal conditions. Regular maintenance and adjustments will guarantee peak performance. With these steps, you'll be on your way to a sustainable, thriving greenhouse environment.
Understanding Solar Air Heating Basics

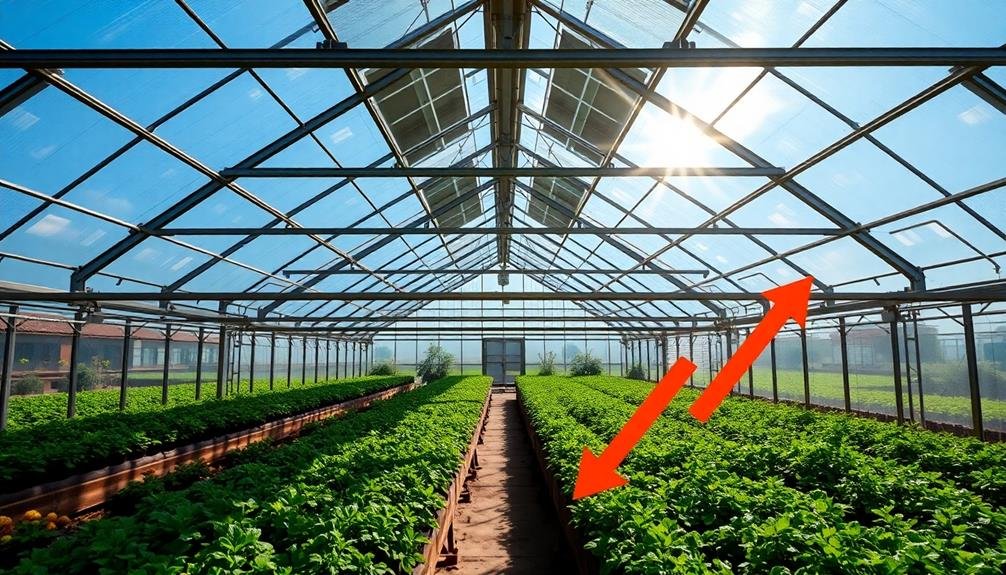
While many greenhouse owners rely on traditional heating methods, solar air heating offers an eco-friendly and cost-effective alternative. This system harnesses the sun's energy to warm your greenhouse, reducing reliance on fossil fuels and lowering energy costs.
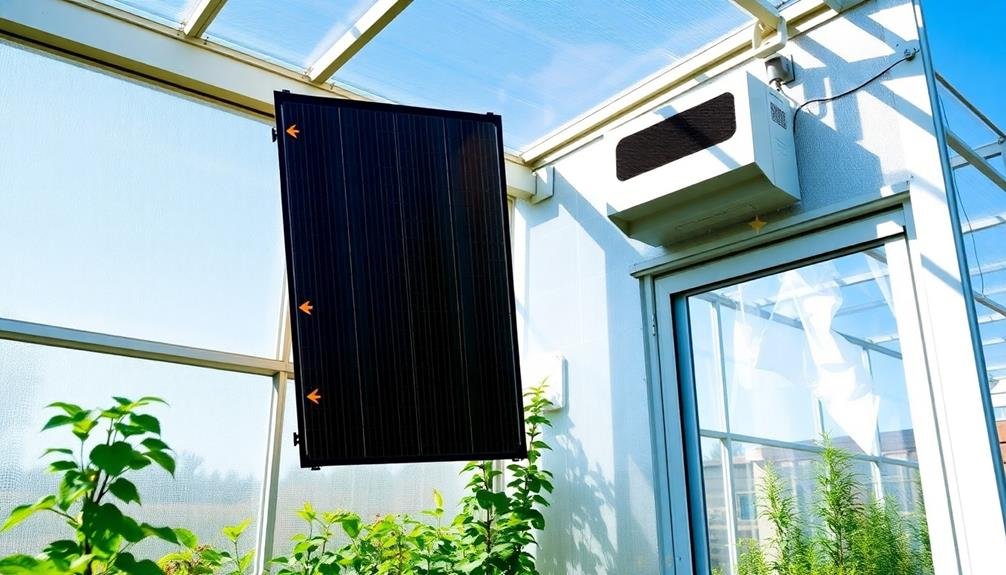
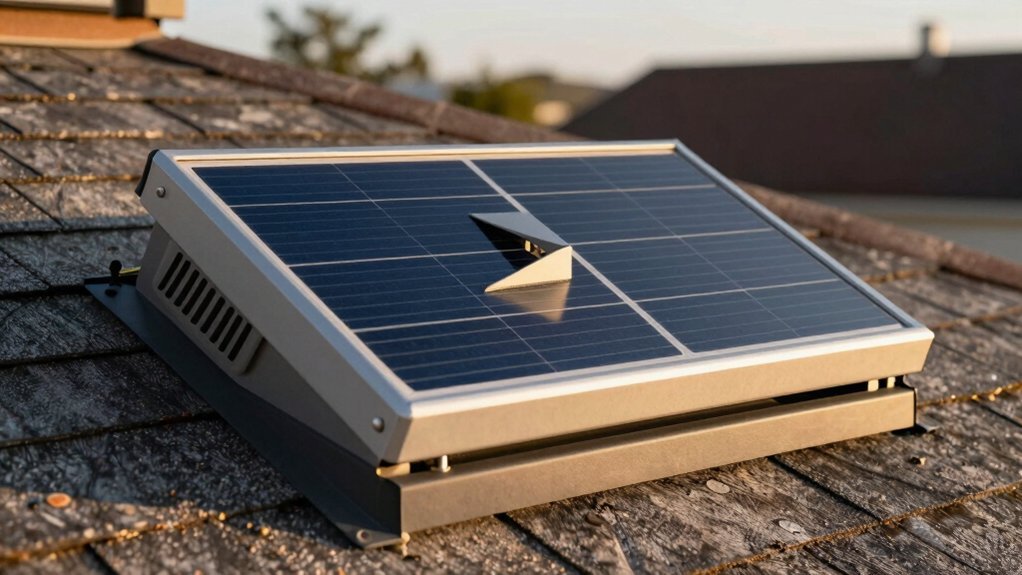
Solar air heating works by capturing solar radiation and converting it into heat. A typical system consists of a solar collector, usually a dark-colored panel that absorbs sunlight, and a fan to circulate the warmed air. As sunlight hits the collector, it heats the air inside. The fan then pushes this warm air into your greenhouse, maintaining a consistent temperature.
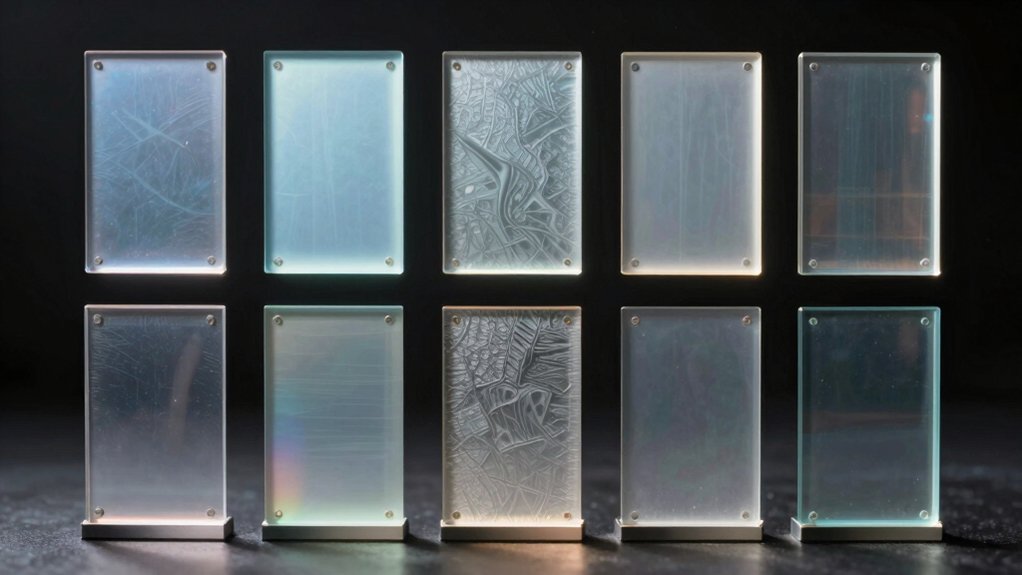
You'll find two main types of solar air heaters: glazed and unglazed. Glazed collectors have a glass or plastic cover that traps heat, making them more efficient but costlier. Unglazed collectors are simpler and less expensive, but they're less effective in colder climates.
The efficiency of your solar air heating system depends on factors like your greenhouse's location, orientation, and size. South-facing greenhouses typically receive the most sunlight, maximizing the system's effectiveness.
You'll also need to take into account insulation and air circulation to guarantee even heat distribution throughout your greenhouse.
Assessing Greenhouse Energy Requirements
Before you can determine the right solar air heating system for your greenhouse, you'll need to assess its energy requirements. Start by calculating the total surface area of your greenhouse, including walls and roof.
Next, determine the desired temperature difference between the inside and outside of the greenhouse. This will help you estimate the heat loss through the structure.
Consider factors like the greenhouse's location, orientation, and local climate. South-facing greenhouses typically receive more sunlight, reducing heating needs. Factor in your region's average temperatures and sunlight hours throughout the year.
Evaluate your greenhouse's insulation and any existing heating systems. Better insulation means lower energy requirements.
Don't forget to account for ventilation needs, as proper air circulation is essential for plant health.
Assess your crop's specific temperature requirements. Different plants need varying temperatures for ideal growth.
Calculate the energy needed to maintain these temperatures during both day and night.
Choosing the Right Solar Collector
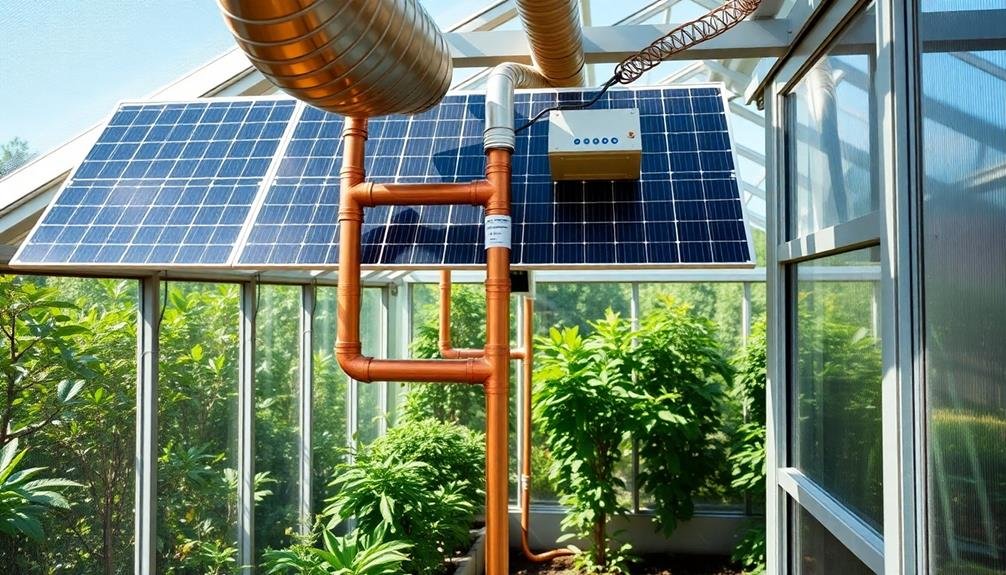
Once you've assessed your greenhouse's energy needs, it's time to focus on choosing the right solar collector. Solar collectors come in various types, but for greenhouse heating, you'll want to take into account air-based systems. These collectors are more efficient for space heating and don't require complex plumbing or heat exchangers.
Look for collectors with high thermal efficiency ratings, typically above 70%. The size of your collector will depend on your greenhouse's heating requirements and available installation space. A general rule of thumb is to aim for 1 square foot of collector area per 3 square feet of greenhouse floor space.
Reflect on the mounting options for your solar collector. Roof-mounted systems are popular, but ground-mounted or wall-mounted options may be more suitable depending on your greenhouse's layout and orientation. Confirm the collector faces south (in the Northern Hemisphere) and is angled to maximize sun exposure during winter months.
Don't forget to factor in the durability of the collector. Look for units with sturdy construction, weather-resistant materials, and good warranties.
Gathering Materials and Tools
After selecting the ideal solar collector for your greenhouse, it's time to gather the necessary materials and tools for installation.
You'll need the solar collector itself, along with mounting brackets, screws, and weatherproof sealant. Don't forget insulation materials like foam board or fiberglass to maximize heat retention.
For the air circulation system, acquire flexible ducting, a thermostat-controlled fan, and air vents. You'll also need wiring supplies, including electrical cables, junction boxes, and switches. To guarantee proper airflow, pick up some PVC pipes and fittings for creating air distribution channels.
Tools you'll need include a drill with various bits, a screwdriver set, wire cutters, and a utility knife. A ladder or scaffolding will be essential for reaching higher areas of your greenhouse.
You might also want a multimeter for testing electrical connections.
Safety equipment is vital, so stock up on work gloves, safety glasses, and a dust mask. If you're working with metal, tin snips and a hacksaw will come in handy.
Preparing the Greenhouse Structure

Typically, preparing your greenhouse structure is an essential step before installing a solar air heating system. Begin by thoroughly inspecting your greenhouse for any damage or weak points. Repair or replace any broken glass panels, damaged frames, or loose fittings. Confirm that all seals around windows and doors are intact to prevent heat loss.
Next, clean the interior and exterior of your greenhouse. Remove any debris, dirt, or algae growth that might interfere with solar absorption or air circulation. Pay special attention to the south-facing wall or roof where you'll install the solar collector.
Assess your greenhouse's insulation. If necessary, add insulation to the north wall and foundation to minimize heat loss. Consider installing thermal curtains or bubble wrap on non-collector surfaces to improve heat retention.
Evaluate your greenhouse's ventilation system. Confirm that vents and fans are functioning correctly, as they'll play an essential role in distributing heated air. If your greenhouse lacks proper ventilation, install additional vents or fans as needed.
Installing the Solar Collector
With the greenhouse structure prepared, it's time to install the solar collector. Begin by choosing the best location for your collector, typically on the south-facing wall or roof of your greenhouse. Verify this spot receives maximum sunlight exposure throughout the day.
Measure and mark the area where you'll mount the collector. Cut an opening in the greenhouse wall or roof, making sure it's slightly smaller than your collector frame. Install flashing around the opening to prevent water infiltration.
Assemble the solar collector according to the manufacturer's instructions. This usually involves attaching the absorber plate to the frame and securing the glazing.
Once assembled, carefully lift the collector into place and secure it to the greenhouse structure using appropriate fasteners.
Connect the collector to your greenhouse's air circulation system. Install ductwork from the collector's outlet to distribute warm air throughout the greenhouse. Add a thermostat-controlled fan to regulate airflow based on temperature needs.
Seal all joints and connections to prevent heat loss and air leaks.
Setting Up Air Circulation System

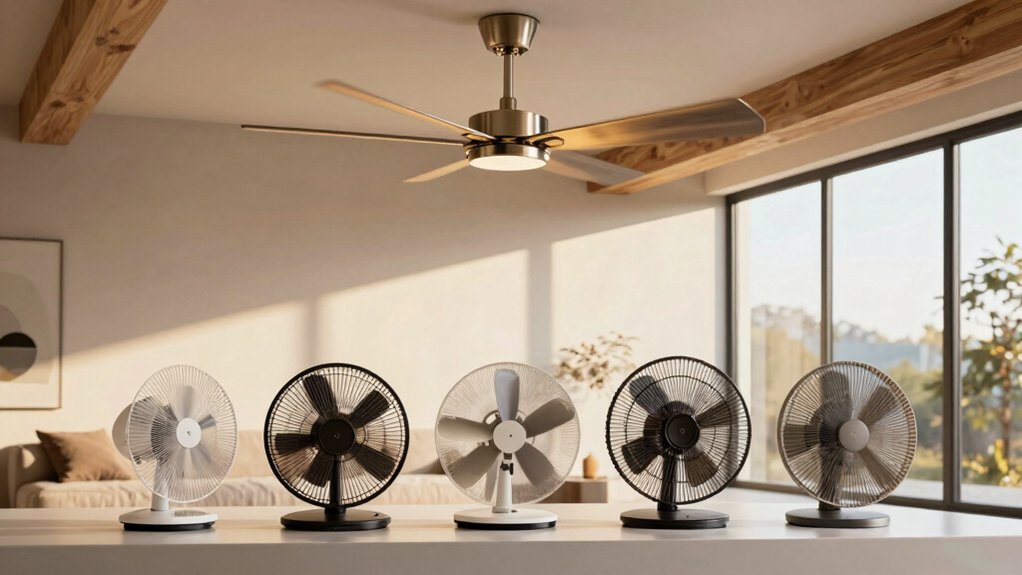
An effective air circulation system is crucial for distributing the warm air from your solar collector throughout the greenhouse. To set up your system, you'll need to install fans, ducts, and vents strategically.
Start by placing a large fan near the solar collector's outlet to push the warm air into the greenhouse. Install ducts along the greenhouse's perimeter to channel the air evenly.
Position smaller circulation fans throughout the space to keep the air moving and prevent cold spots. Don't forget to include thermostat controls to regulate fan speeds based on temperature.
Finally, install vents near the roof to allow hot air to escape when necessary, preventing overheating.
When setting up your air circulation system, keep these key points in mind:
- Confirm proper sizing of fans and ducts for your greenhouse's dimensions
- Use insulated ducts to minimize heat loss during air transport
- Place fans at different heights for best air mixing
- Consider using variable-speed fans for better temperature control
- Regularly clean and maintain your circulation system for peak performance
Insulating for Maximum Efficiency
To maximize the efficiency of your solar-heated greenhouse, proper insulation is essential. Start by sealing any gaps or cracks in the structure to prevent heat loss. Use weatherstripping around doors and windows, and apply caulk to seal smaller openings.
Next, insulate the foundation by burying foam boards vertically along the perimeter, extending at least 12 inches below ground level.
For the walls, consider double-layered polycarbonate panels or install bubble wrap insulation between glass panes. Don't forget the roof—add an insulating layer of bubble wrap or specialized greenhouse insulation material.
Install thermal curtains or screens that can be drawn at night to retain heat. These can greatly reduce heat loss during colder hours.
For added insulation, use straw bales or sandbags along the base of the walls inside the greenhouse.
Consider creating a thermal mass within your greenhouse using water barrels, rocks, or concrete blocks. These materials absorb heat during the day and release it slowly at night, helping to maintain a more stable temperature.
Connecting to Existing Heating System
For those with an existing heating system, integrating your solar air heating can provide a powerful boost to your greenhouse's climate control.
You'll need to carefully plan the connection points to guarantee seamless operation. Start by identifying the best location to tie in your solar-heated air, typically near the return air duct of your current system.
Install a damper or motorized valve to control the flow of solar-heated air into your existing ductwork. This allows you to regulate when and how much solar heat is introduced.
You'll also want to add a thermostat to monitor temperatures and automate the system's operation.
Here are key considerations when connecting to your existing heating system:
- Verify compatibility between your solar air heating and current system
- Calculate the proper sizing for ducts and connections
- Install backflow preventers to avoid heat loss
- Use insulated ducts to maintain air temperature
- Consider a heat exchanger for more efficient transfer
Remember to consult with an HVAC professional to guarantee proper integration and best performance.
They can help you design a system that maximizes the benefits of both your existing heating and new solar air heating, creating an energy-efficient and cost-effective solution for your greenhouse.
Installing Temperature Control Mechanisms
To maintain ideal temperatures in your solar-heated greenhouse, you'll need to install effective control mechanisms.
Start by placing and calibrating a thermostat in a central location, ensuring it accurately reflects the overall greenhouse temperature.
Consider implementing an automated venting system that opens and closes based on temperature readings, providing additional control over your greenhouse's climate.
Thermostat Placement and Calibration
Placing your thermostat correctly is vital for maintaining ideal temperatures in your solar-heated greenhouse. Install it at plant level, away from direct sunlight, heat sources, and drafts. This guarantees accurate readings of the ambient temperature your plants experience. Choose a central location that represents the average greenhouse temperature.
Calibrate your thermostat regularly to guarantee precise temperature control. Use a reliable thermometer to compare readings and adjust the thermostat accordingly. Most thermostats have a calibration screw or digital interface for fine-tuning. Remember that even small discrepancies can greatly impact your plants' growth and health.
Consider these factors when placing and calibrating your thermostat:
- Plant sensitivity: Some plants require more precise temperature control
- Seasonal changes: Adjust settings as daylight and outdoor temperatures fluctuate
- Greenhouse size: Larger spaces may need multiple thermostats for accurate control
- Time of day: Set different temperatures for day and night cycles
- Humidity levels: High humidity can affect temperature readings
Automated Venting Systems
Nearly all efficient solar-heated greenhouses rely on automated venting systems to maintain ideal temperatures. These systems open and close vents automatically based on temperature readings, ensuring your plants aren't exposed to extreme heat or cold.
To install an automated venting system, you'll need motorized vent openers, a thermostat, and wiring to connect them. Start by mounting the motorized openers to your greenhouse's roof vents. These devices typically use a piston or chain mechanism to push the vent open when activated.
Next, install the thermostat in a central location, away from direct sunlight and heat sources. Wire the thermostat to the motorized openers, following the manufacturer's instructions. You may need to hire an electrician if you're not comfortable with electrical work.
Set your thermostat to open the vents at your desired temperature, usually around 80°F (27°C). As the greenhouse warms up, the vents will automatically open, allowing hot air to escape and cooler air to enter. When temperatures drop, the vents will close to retain heat.
Regular maintenance is essential. Check the system monthly, lubricating moving parts and ensuring all connections are secure.
With proper care, your automated venting system will provide efficient temperature control for years to come.
Testing and Adjusting the System

Once you've installed your solar air heating system, it's crucial to test and fine-tune its performance. Start by running the system on a sunny day and monitor the temperature inside your greenhouse. Check for any cold spots or areas where heat isn't distributed evenly. Adjust the fan speed and airflow direction to enhance heat distribution.
Pay attention to humidity levels, as increased heat can affect moisture in the air. Use a hygrometer to measure humidity and make necessary adjustments to your ventilation system. Keep an eye on your plants' response to the new heating system, as some may require time to adapt.
Here are key points to bear in mind when testing and adjusting your solar air heating system:
- Monitor temperature fluctuations throughout the day
- Check for proper air circulation and eliminate dead spots
- Observe how quickly the system heats up in the morning
- Assess heat retention during cloudy periods or at night
- Evaluate energy consumption and compare it to previous heating methods
Don't hesitate to make small tweaks to improve efficiency. It may take several days or weeks to find the best settings for your greenhouse's specific needs.
Regular maintenance and periodic system checks will maintain long-term performance and help you maximize the benefits of your solar air heating system.
Maintaining Your Solar Air Heater
To keep your solar air heater functioning effectively, you'll need to establish a regular cleaning routine.
Make sure you're wiping down the collector surface and checking for any dust or debris buildup in the system.
It's also essential that you frequently inspect your heater for any signs of damage, such as cracks in the glazing or loose connections, addressing issues promptly to maintain efficiency.
Regular Cleaning Routine
While solar air heaters are low-maintenance, regular cleaning is crucial to maintain their efficiency. Dust, pollen, and other airborne particles can accumulate on the collector's surface, reducing its ability to absorb sunlight.
To keep your solar air heater performing at its best, establish a cleaning routine that you'll follow every few months. Start by gently brushing off any loose debris from the collector's surface. Then, use a soft cloth or sponge with a mild soap solution to clean the glass or plastic cover. Rinse thoroughly with clean water and dry with a lint-free cloth to prevent water spots.
Don't forget to clean the air intake and outlet vents, making sure they're free from obstructions.
Here's a quick checklist for your regular cleaning routine:
- Inspect the collector surface for damage or cracks
- Clean the glass or plastic cover thoroughly
- Check and clean air intake and outlet vents
- Examine seals and gaskets for wear or damage
- Test the system after cleaning to verify proper operation
Inspect for Damage
Regular inspections are essential for maintaining your solar air heater's performance and longevity. You should check your system at least once a month, paying close attention to key components.
Examine the glazing for cracks, chips, or clouding that could reduce sunlight transmission. Inspect the absorber plate for any signs of corrosion, warping, or discoloration, which might indicate heat damage or material degradation.
Don't forget to check the seals and weatherstripping around the glazing and frame. Look for gaps, cracks, or brittleness that could lead to air leaks and reduced efficiency.
Inspect the ductwork for any disconnections, tears, or blockages that might impede airflow. Check the fans and motors for unusual noises, vibrations, or reduced performance, which could signal wear or impending failure.
Examine the frame and mounting hardware for rust, loose bolts, or structural issues. If you've installed sensors or controls, verify they're functioning correctly and haven't been damaged by weather or pests.
Maximizing Year-Round Greenhouse Performance

Greenhouse enthusiasts often grapple with the challenge of maintaining ideal growing conditions throughout the year. To maximize your greenhouse's performance, focus on temperature control, ventilation, and lighting.
Install a solar air heating system to provide consistent warmth during colder months, and use shade cloths or reflective coatings to prevent overheating in summer. Implement automated ventilation systems to regulate humidity and air circulation, ensuring optimal plant health.
Don't forget to take into account lighting solutions for shorter winter days. LED grow lights can supplement natural sunlight, extending your growing season. Invest in energy-efficient materials and insulation to minimize heat loss and reduce operating costs. Regular maintenance and cleaning will keep your greenhouse running smoothly year-round.
To further enhance your greenhouse's performance:
- Install thermal mass elements like water barrels or stone floors
- Use raised beds or hydroponic systems for better space utilization
- Implement companion planting techniques to maximize yields
- Install rainwater collection systems for sustainable irrigation
- Utilize vertical growing methods to increase plant capacity
Frequently Asked Questions
Can Solar Air Heating Be Used in Colder Climates With Limited Sunlight?
You can use solar air heating in colder climates with limited sunlight, but it'll be less effective. You'll need to supplement with other heating methods and maximize insulation. Consider using thermal mass to store heat during sunny periods.
How Long Does It Typically Take to Recoup the Initial Investment?
You'll typically recoup your investment in 3-7 years, depending on your climate and energy costs. It's quicker in colder regions with higher heating bills. Don't forget to factor in potential rebates or tax incentives.
Are There Any Government Incentives or Rebates for Solar Greenhouse Heating?
You'll find various government incentives and rebates for solar greenhouse heating. Check with your local and state authorities, as they often offer tax credits, grants, or rebates to encourage renewable energy adoption in agriculture and horticulture.
Can Solar Air Heating Be Combined With Other Renewable Energy Sources?
Yes, you can combine solar air heating with other renewable sources. You'll often see it paired with geothermal systems, wind turbines, or photovoltaic panels. This integration enhances efficiency and provides a more reliable year-round energy solution.
What Impact Does Solar Air Heating Have on Plant Growth and Yield?
Solar air heating can boost your plants' growth and yield. You'll see faster germination, stronger stems, and increased fruit production. It'll extend your growing season, allowing you to cultivate a wider variety of crops year-round.
In Summary
You've now learned how to harness the sun's power to heat your greenhouse efficiently. By following this guide, you've created a sustainable, cost-effective heating solution that'll keep your plants thriving year-round. Remember to monitor and maintain your system regularly for peak performance. With your new solar air heater in place, you're well-equipped to extend your growing season and enjoy a more productive greenhouse. Keep experimenting and refining your setup for even better results!
Leave a Reply