
To maximize your solar cooker's efficiency, you'll want to master five key angle adjustments. First, adjust seasonally, using shallower angles in summer and steeper ones in winter. Next, optimize your cooker's tilt throughout the day, facing east in the morning and gradually shifting westward. Third, factor in your latitude for year-round effectiveness. Don't forget to align your reflectors properly, directing light onto the cooking area. Finally, consider an automatic tracking system for hassle-free adjustments. By understanding these techniques, you'll greatly enhance your solar cooking performance. Dive deeper to reveal the full potential of your sunlight-powered culinary adventures.
Seasonal Sun Angle Adjustment
How does the changing seasons affect your solar cooker's efficiency? As the Earth orbits the Sun, the angle at which sunlight hits your location changes throughout the year. This variation greatly impacts the performance of your solar cooking device.
In summer, the Sun's path is higher in the sky, resulting in more direct sunlight. You'll need to adjust your cooker to a shallower angle, typically between 20-30 degrees from horizontal. This allows it to capture maximum sunlight during longer days.
Winter brings a lower Sun path, requiring a steeper angle adjustment of 40-60 degrees. You'll also need to reposition your cooker more frequently due to shorter daylight hours and the Sun's quicker apparent movement across the sky.
For spring and fall, aim for a middle ground of about 30-45 degrees. These shifting seasons often require the most frequent adjustments as the Sun's path changes rapidly.
To optimize your solar cooker's efficiency year-round, invest in an adjustable stand or support system. This will allow you to easily modify the angle as seasons change, ensuring your device always captures the most direct sunlight possible.
Time-of-Day Tilt Optimization
Beyond seasonal adjustments, enhancing your solar cooker's tilt throughout the day can greatly increase its efficiency. The sun's position changes from east to west, requiring you to adjust your cooker's angle accordingly.
Start by positioning your device facing east in the morning, tilted at about 45 degrees. As the sun climbs higher, gradually decrease the tilt angle. Around noon, when the sun is at its highest point, your cooker should be nearly horizontal.
In the afternoon, begin tilting your cooker westward. Increase the angle as the sun descends, mirroring your morning adjustments.
For precise alignment, use the shadow-stick method: place a vertical stick in front of your cooker and adjust the tilt so that the stick casts no shadow on the reflective surface. You'll need to readjust every 15-30 minutes for peak performance.
Some advanced solar cookers come with automatic tracking systems, eliminating the need for manual adjustments. If you're using a manual device, consider marking common tilt positions on your cooker for quick reference.
This time-of-day enhancement guarantees your solar cooker captures maximum sunlight throughout the day, considerably improving cooking times and overall efficiency.
Latitude-Based Positioning
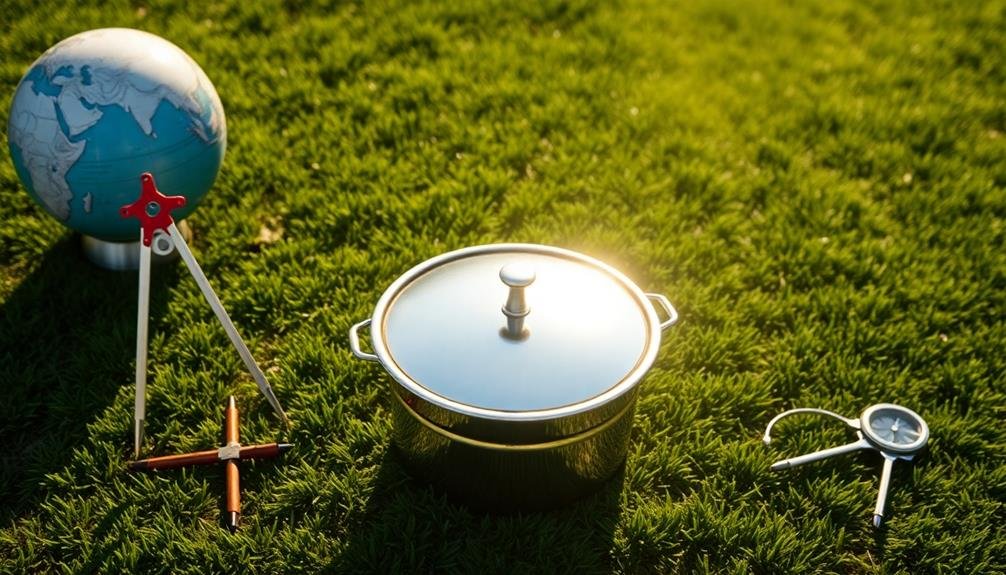
In addition to daily adjustments, your solar cooker's positioning should account for your specific latitude. This is essential because the sun's angle relative to Earth varies greatly depending on your location.
As a general rule, you'll want to set your cooker's angle equal to your latitude during spring and fall equinoxes. For example, if you're at 40° latitude, position your cooker at a 40° angle.
During summer, decrease the angle by about 15° from your latitude. This allows you to capture more sunlight as the sun travels higher in the sky.
Conversely, in winter, increase the angle by roughly 15°. This compensates for the sun's lower path across the horizon.
Reflector Alignment Techniques
Proper reflector alignment is essential for maximizing your solar cooker's efficiency. To achieve the best results, you'll need to adjust your reflectors throughout the day as the sun moves across the sky.
Start by positioning your cooker so that it faces the sun directly. Then, angle your reflectors to redirect sunlight onto the cooking area.
For parabolic cookers, verify the focal point is centered on your cooking pot. You can test this by holding a piece of paper at different distances from the reflector to find where the light concentrates.
With box cookers, adjust the lid's reflector to a 60-degree angle from the base for most effective light capture.
Use a sun-tracking device or sundial to help you reposition your cooker every 15-30 minutes. This frequent adjustment will maintain consistent heat throughout the cooking process.
For panel cookers, experiment with different reflector angles to find the sweet spot that concentrates the most light on your pot.
Automatic Tracking Systems
Sunlight-chasing robots have revolutionized solar cooking efficiency. These automatic tracking systems continuously adjust your solar cooker's position to maintain ideal sunlight exposure throughout the day. By eliminating the need for manual adjustments, you'll achieve more consistent cooking temperatures and faster meal preparation times.
Automatic tracking systems use sensors and motors to follow the sun's path across the sky. They're programmed to calculate the sun's position based on your location, date, and time, guaranteeing your solar cooker always faces the sun at the best angle.
You'll find various types of tracking systems, from simple single-axis trackers to more complex dual-axis models that account for both daily and seasonal sun movements.
When choosing an automatic tracking system for your solar cooker, consider:
- Power source: Solar-powered or battery-operated options
- Durability: Weather-resistant materials for outdoor use
- Compatibility: Verify it fits your specific solar cooker model
While automatic tracking systems can greatly improve your solar cooking experience, they do require an initial investment and occasional maintenance.
However, for serious solar chefs, the benefits of consistent, hands-free operation often outweigh these considerations, making automatic tracking a valuable addition to your sunlight cooking setup.
Frequently Asked Questions
How Do Weather Conditions Affect the Performance of Sunlight-Powered Cooking Devices?
Weather conditions greatly impact your sunlight-powered cooking device's performance. You'll find cloudy skies reduce efficiency, while clear days boost output. Wind can affect stability, and rain may damage components. Temperature also influences cooking times and overall effectiveness.
What Materials Are Best for Constructing Solar Cookers?
You'll want to use reflective materials like aluminum foil or mirrors for the exterior. For insulation, choose cardboard, wood, or foam. The cooking surface should be dark-colored metal or ceramic to absorb heat efficiently. Don't forget a clear glass lid!
Can Sunlight-Powered Cooking Devices Be Used Indoors Near Windows?
You can't effectively use sunlight-powered cooking devices indoors near windows. They require direct sunlight to function properly. Window glass filters out essential UV rays, and indoor placement limits sun exposure, greatly reducing their efficiency and cooking ability.
How Long Does It Typically Take to Cook a Meal Using Solar Power?
You'll find that solar cooking times vary widely. It can take 1-3 hours for most meals, depending on factors like sunlight intensity, food type, and cooker design. But remember, you won't need to actively tend the food.
Are There Safety Concerns When Using Sunlight-Powered Cooking Devices?
Yes, there are safety concerns when using sunlight-powered cooking devices. You'll need to protect your eyes from glare, avoid burns from hot surfaces, and guarantee food safety. Don't leave the cooker unattended and keep children supervised.
In Summary
You've now learned five key angle adjustments to maximize your solar cooker's efficiency. By adapting to seasons, time of day, latitude, and using reflector alignment, you'll harness more sunlight for better cooking results. Remember, these techniques aren't just for experts; they're easy to implement and will greatly boost your device's performance. For the ultimate convenience, consider an automatic tracking system. With these tips, you'll be a solar cooking pro in no time!


Leave a Reply