To excel at solar cooking in winter, start by choosing a well-insulated cooker designed for cold weather. Preheat your oven for at least 30 minutes and use dark-colored cookware to absorb heat efficiently. Maximize sun exposure by positioning your cooker in a sheltered spot and adjusting its angle throughout the day. Incorporate reflective materials like aluminum foil to concentrate sunlight. Insulate the cooking area with windbreaks and thermal mass materials. Monitor weather conditions closely and opt for slow-cooking recipes that suit longer cooking times. With these tips, you'll be well-equipped to harness the sun's power even on chilly days. Discover more ways to optimize your winter solar cooking experience below.
Choose the Right Solar Cooker
Solar cooking enthusiasts know that winter doesn't mean you have to put your outdoor cooking on hold. To make the most of the season, you'll need to choose the right solar cooker.
Opt for a model designed specifically for cold weather performance. Look for cookers with excellent insulation, such as those with double-glazed glass or plastic covers. These retain heat better, allowing you to cook even when temperatures drop.
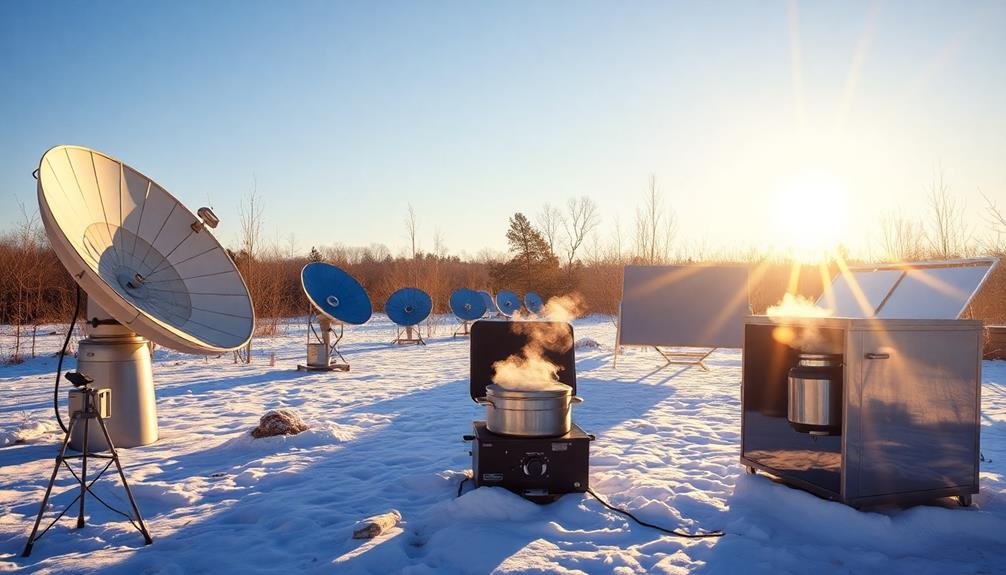
Consider box-style solar ovens, which are typically more efficient in winter than parabolic or panel cookers. They're less affected by wind and maintain a more consistent internal temperature.
Some advanced models even feature reflectors to maximize sunlight capture during shorter winter days.
Size matters too. Smaller cookers heat up faster but may struggle to maintain temperature in cold conditions. Larger ones take longer to warm but retain heat better. Choose based on your typical cooking needs and local climate.
Don't forget about portability. If you plan to chase the sun around your yard, a lightweight, easily movable cooker is essential.
Some models come with wheels or handles for easy repositioning throughout the day, helping you make the most of limited winter sunlight.
Insulate Your Cooking Area
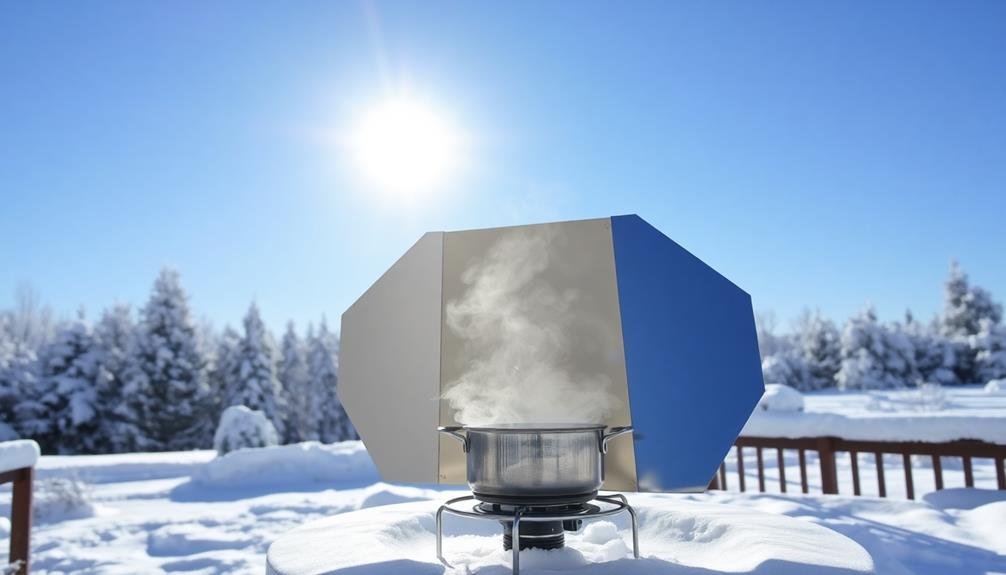
Insulation is key to successful winter solar cooking. You'll want to create a warm microclimate around your solar cooker to maximize its efficiency. Start by placing your cooker in a sheltered spot, away from wind and drafts. Use reflective materials like aluminum foil or mylar blankets to surround the cooking area, redirecting sunlight and trapping heat.
Consider building a simple windbreak using cardboard, plywood, or even snow bricks. This barrier will protect your cooker from heat-stealing gusts. For added insulation, place your solar oven on a dark, heat-absorbing surface like a black mat or stones. These materials will retain warmth and help maintain consistent cooking temperatures.
Don't forget to insulate your cookware too. Wrap pots in dark-colored towels or use oven bags to retain heat. If you're using a box-style solar cooker, line the interior with extra insulation like newspaper or bubble wrap.
For parabolic cookers, a clear plastic bag around the cooking pot can create a greenhouse effect, boosting temperatures considerably.
Preheat Your Solar Oven
Just as you'd preheat a conventional oven, warming up your solar cooker before adding food is crucial for winter cooking success. In colder months, your solar oven needs extra time to reach ideal cooking temperatures. Start by positioning your cooker in the sunniest spot available, ideally sheltered from wind. Aim to begin preheating at least 30 minutes before you plan to start cooking.
To maximize your preheating efficiency:
- Clean the reflectors and glass thoroughly to guarantee maximum sunlight absorption.
- Use dark-colored cookware to absorb heat more effectively during the preheating process.
- Place a dark, heat-absorbing object like a stone or cast-iron pan inside the oven while preheating.
- Cover the oven with a transparent heat trap, such as a clear plastic bag, to retain warmth.
Monitor the oven's internal temperature using a thermometer. Once it reaches your desired cooking temperature, quickly add your prepared ingredients to maintain the heat.
Use Dark-Colored Cookware
Preheating sets the stage, but your cookware choice plays a starring role in winter solar cooking success. Dark-colored pots and pans are your best friends when it comes to efficient solar cooking, especially during colder months. They absorb and retain heat better than their lighter counterparts, making the most of the limited winter sunlight.
Opt for black, dark blue, or deep brown cookware made from materials like cast iron, enamel, or anodized aluminum. These will help your food cook faster and more evenly. Avoid shiny or reflective surfaces, as they'll bounce the sun's rays away instead of absorbing them.
Here's a quick guide to help you choose the right cookware:
| Material | Heat Absorption | Durability | Weight |
|---|---|---|---|
| Cast Iron | Excellent | High | Heavy |
| Enamel | Very Good | Medium | Medium |
| Dark Aluminum | Good | Low | Light |
Remember to use lids on your pots to trap heat and moisture. If you don't have dark-colored lids, cover them with black cloth or paint them with food-safe, heat-resistant black paint. By using the right cookware, you'll maximize your solar oven's efficiency and enjoy delicious meals even on chilly winter days.
Maximize Sun Exposure
The winter sun's position plays a crucial role in successful solar cooking. To maximize sun exposure during colder months, you'll need to be strategic about your setup. First, choose a location that receives direct sunlight for the longest possible duration. South-facing areas are typically best, as they'll catch more rays throughout the day.
Keep in mind that the sun's path is lower in the sky during winter, so you'll want to adjust your solar cooker's angle accordingly. Tilt it towards the sun to capture more direct light.
Don't forget to rotate your cooker every 30 minutes or so to follow the sun's movement across the sky.
Here are four key tips to maximize sun exposure for winter solar cooking:
- Clear any obstacles that might cast shadows on your cooker
- Use reflectors to redirect additional sunlight onto your cooking surface
- Start cooking earlier in the day to take advantage of peak sunlight hours
- Insulate your cooker to retain heat and compensate for lower temperatures
Adjust Cooking Times
You'll need to extend your solar cooking times during winter.
It's essential to check on your food more often, as the reduced sunlight can lead to inconsistent heating.
Plan ahead for slower cooking processes, allowing extra time for your meals to reach the desired temperature and doneness.
Longer Exposure Periods Necessary
Winter's reduced sunlight intensity means you'll need to extend cooking times when using a solar cooker.
You'll find that dishes that typically take an hour in summer might require two or more hours during winter months. It's essential to plan ahead and start your solar cooking earlier in the day to guarantee your meal is ready when you want it.
To make the most of longer exposure periods:
- Begin cooking as soon as the sun rises to maximize daylight hours
- Use a solar reflector to concentrate available sunlight and boost efficiency
- Insulate your solar cooker with extra blankets or foam to retain heat
- Pre-heat your cooker for 30 minutes before adding food to jumpstart the process
You'll need to be patient and flexible with your cooking schedule.
Keep in mind that cloudy days will further extend cooking times, so always have a backup cooking method available.
Monitor your food's progress regularly, but avoid opening the cooker too often, as this releases precious heat.
Monitor Food More Frequently
Due to winter's shorter days and weaker sunlight, you'll need to keep a closer eye on your solar-cooked meals. The reduced solar intensity means your food won't cook as quickly or evenly as it does in warmer months. To guarantee your dishes turn out perfectly, you'll want to check on them more frequently than usual.
Start by setting a timer for shorter intervals, perhaps every 30 minutes instead of hourly. When you check, rotate the solar cooker to follow the sun's path, maximizing exposure.
You might need to adjust your recipes, too. Foods that typically cook in 2-3 hours during summer may require 4-5 hours in winter. Keep a log of cooking times for different dishes to help you plan future meals.
Don't hesitate to use a food thermometer to check internal temperatures, especially for meats. If you notice your food isn't cooking as expected, consider pre-heating ingredients or using dark-colored pots to absorb more heat.
Plan for Slower Cooking
Adjusting your cooking times is a key aspect of successful winter solar cooking. You'll need to plan for longer cooking durations due to reduced sunlight and lower temperatures. Don't expect your meals to be ready as quickly as they'd be during summer months. Instead, embrace the slow cooking process and use it to your advantage.
To effectively plan for slower cooking in winter:
- Start your solar cooking earlier in the day to maximize available sunlight.
- Choose recipes that benefit from longer cooking times, such as stews, soups, and roasts.
- Preheat your solar cooker before adding food to jumpstart the cooking process.
- Use a solar cooking timer or app to track cooking progress and adjust as needed.
Remember that patience is key when solar cooking in winter. You might need to add an extra 30 minutes to an hour to your usual cooking times, depending on weather conditions.
If possible, prepare your meals a day in advance and reheat them using your solar cooker. This approach allows you to take advantage of any available sunlight without relying on it for the entire cooking process.
Incorporate Reflective Materials

To maximize your solar cooking in winter, you'll want to harness every bit of available sunlight.
Using reflective materials can greatly boost the sun's heating power and improve your cooker's efficiency.
Consider adding aluminum foil or reflective panels to your solar cooker to concentrate more sunlight onto your cooking vessel and enhance heat retention.
Boost Sun's Heating Power
Reflective materials are your secret weapon for amplifying the sun's power during winter solar cooking. By strategically placing reflective surfaces around your solar cooker, you'll concentrate more sunlight onto your cooking vessel, increasing its temperature and efficiency. This technique is especially vital during colder months when the sun's intensity is lower.
To boost the sun's heating power, consider these methods:
- Use aluminum foil-covered cardboard panels to create a reflective "wall" around your solar cooker, angling them to direct more sunlight onto your pot.
- Place a shiny metal sheet or mirror beneath your cooking container to bounce additional light upwards.
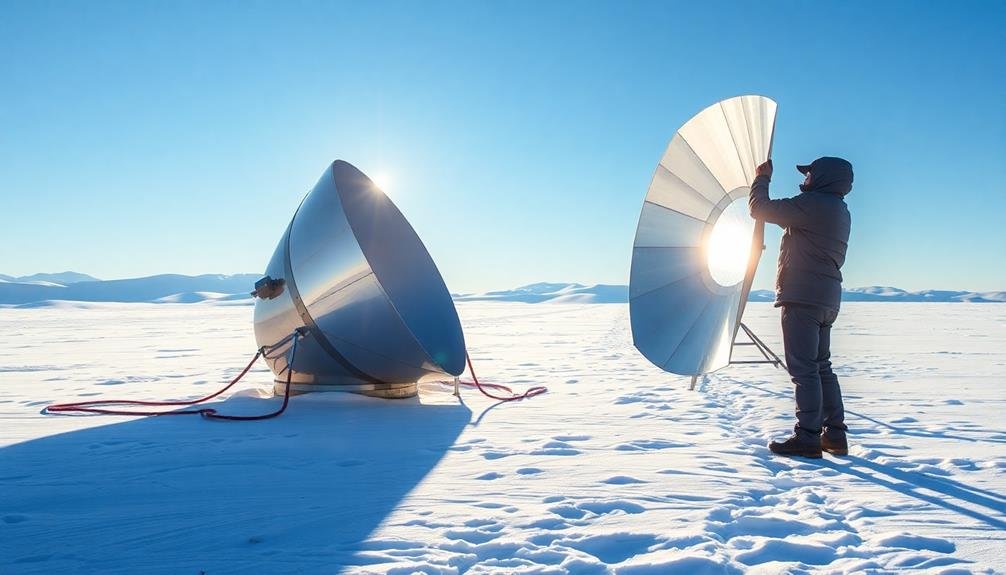
- Incorporate a parabolic reflector to focus sunlight onto a specific point, intensifying the heat on your cooking vessel.
- Experiment with different reflective materials like Mylar sheets, polished metal, or even old CDs to find the most effective combination for your setup.
Don't forget to adjust your reflectors throughout the day as the sun moves across the sky.
Enhance Heat Retention Efficiency
With winter's chill in the air, enhancing heat retention efficiency becomes essential for successful solar cooking. You'll want to focus on incorporating reflective materials to maximize the sun's heat and keep it trapped within your solar cooker.
Start by lining the interior of your cooker with aluminum foil, ensuring it's smooth and wrinkle-free for ideal reflection. Don't forget to cover the lid's underside as well.
Consider adding a layer of insulation between the outer walls and the reflective interior. Materials like foam board or even crumpled newspaper can work wonders in preventing heat loss.
For an extra boost, place a dark-colored, heat-absorbing material at the bottom of your cooker. This could be a black metal tray or even a dark stone.
You can also create a makeshift greenhouse effect by using a clear oven bag or plastic wrap to cover your cooking pot. This traps heat and moisture, speeding up the cooking process.
Remember to position your solar cooker in a sheltered area, away from strong winds that can quickly sap heat.
Monitor Weather Conditions
How can you make the most of solar cooking in winter? It's all about staying on top of the weather conditions. You'll need to be more vigilant and adaptable during the colder months to maximize your solar cooking efficiency.
Keep a close eye on weather forecasts and plan your meals accordingly.
To effectively monitor weather conditions for solar cooking:
- Check daily forecasts: Look for clear, sunny days with minimal cloud cover. Even if it's cold, direct sunlight is essential for solar cooking.
- Use weather apps: Download apps that provide detailed sun exposure information and UV index ratings for your specific location.
- Observe wind patterns: Strong winds can reduce the efficiency of your solar cooker. Choose sheltered spots or use windbreaks on blustery days.
- Monitor temperature fluctuations: Colder temperatures mean longer cooking times. Adjust your recipes and start cooking earlier in the day to compensate.
Opt for Slow-Cooking Recipes
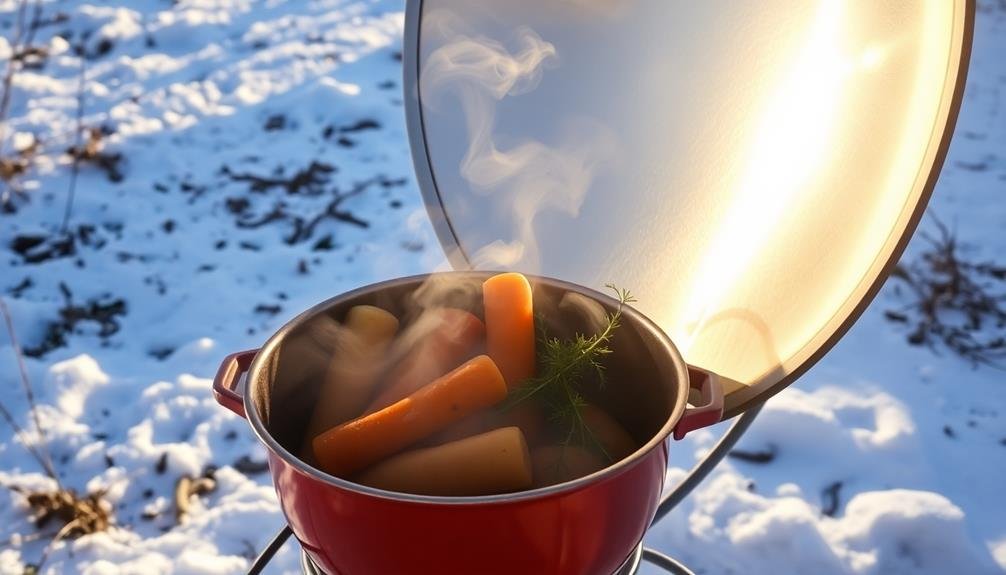
During winter, slow-cooking recipes are your best friend when it comes to solar cooking. These dishes allow you to make the most of limited sunlight hours and lower temperatures. Focus on hearty stews, soups, and casseroles that benefit from extended cooking times.
These recipes are forgiving and won't suffer if the cooking process is interrupted by passing clouds or early sunsets. Choose ingredients that break down slowly, like tough cuts of meat, root vegetables, and dried beans. They'll absorb flavors and become tender over time.
Prepare your ingredients the night before and start cooking early in the morning to maximize daylight hours. Don't forget to preheat your solar oven for superior results.
Consider partially cooking ingredients on a stovetop before transferring them to your solar cooker. This head start guarantees your meal will be ready even if sunlight is limited.
Experiment with one-pot meals that combine proteins, vegetables, and grains for a complete dish. Remember to adjust liquid levels in your recipes, as solar cooking typically requires less moisture due to minimal evaporation.
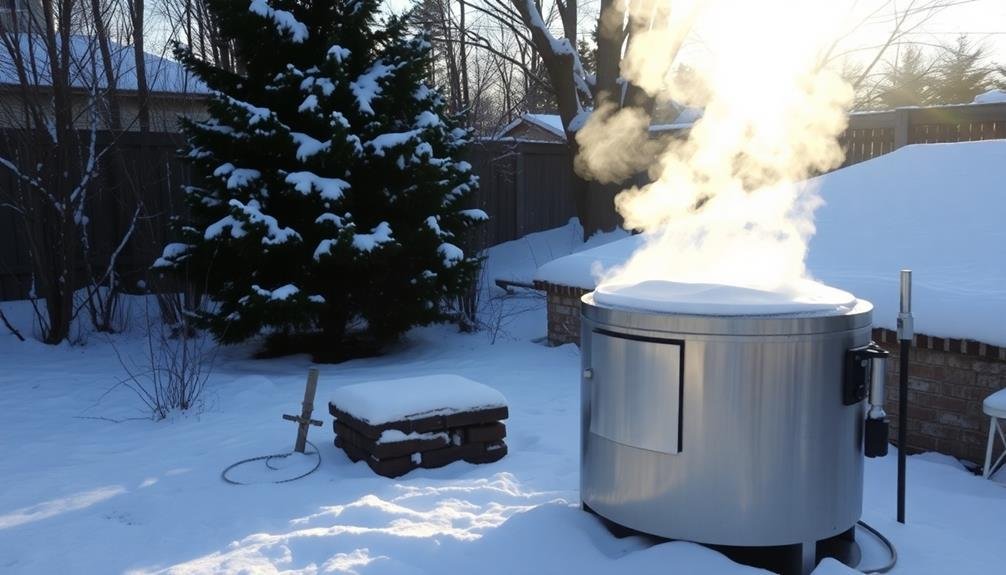
Store Heat Overnight
Slow-cooking methods aren't the only way to maximize your solar cooking efforts in winter. You can also store heat overnight to make the most of your solar cooker's potential. This technique allows you to start cooking early in the morning, even before the sun is at its peak. By retaining heat from the previous day, you'll extend your cooking time and improve efficiency.
To effectively store heat overnight, follow these tips:
- Use thermal mass materials like bricks, stones, or water-filled containers inside your solar cooker to absorb and retain heat.
- Insulate your cooker well with blankets, foam, or other insulating materials to minimize heat loss during the night.
- Place your food in dark, heat-retaining containers before sunset to take advantage of the stored heat.
- Position your cooker to catch the early morning sun, allowing it to start heating up as soon as possible.
Frequently Asked Questions
Can Solar Cooking Be Used for Baking Bread in Winter?
Yes, you can bake bread using solar cooking in winter. You'll need a clear, sunny day and a well-insulated solar oven. It'll take longer than in summer, but with patience, you'll achieve delicious, sun-baked bread.
How Do You Clean and Maintain a Solar Cooker During Colder Months?
You'll want to clean your solar cooker regularly, even in winter. Wipe down surfaces with mild soap and water, dry thoroughly, and store in a dry place. Don't forget to check for any damage and repair as needed.
Are There Safety Concerns When Using Solar Cookers in Freezing Temperatures?
When using solar cookers in freezing temperatures, you'll face safety concerns. Be cautious of slippery surfaces and frostbite risk. Ascertain the cooker's stability on icy ground. Don't let food freeze before cooking. Monitor temperature closely to prevent foodborne illnesses.
Can Solar Cooking Save Money on Energy Bills During Winter?
You can save money on energy bills by solar cooking in winter, but it's limited. You'll need ample sunlight and longer cooking times. It's best as a supplement to traditional cooking methods, not a full replacement.
What Types of Foods Are Best Suited for Winter Solar Cooking?
You'll find soups, stews, and slow-cooked meats work well for winter solar cooking. Don't forget root vegetables and hearty grains. They'll retain heat longer and provide comforting warmth. Try casseroles, chilis, and braised dishes for satisfying meals.
In Summary
You've now got the tools to make solar cooking work even on chilly winter days. Remember, it's all about maximizing sunlight and retaining heat. Don't let cold weather discourage you – with the right setup and techniques, you'll be amazed at what you can cook using just the sun's energy. Keep experimenting, and you'll soon be a pro at eco-friendly winter cooking. Embrace the challenge and enjoy your solar-cooked meals year-round!


Leave a Reply