You can effectively sterilize items in a DIY sun oven using seven proven methods. Boiling water sterilization kills most microorganisms at 212°F for 10 minutes. The dry heat method requires 320°F for 2 hours. Steam sterilization mimics a pressure cooker environment at 250°F for 30 minutes. UV light disinfection harnesses direct sunlight to damage microorganisms' DNA. Chemical disinfectants like hydrogen peroxide can be applied and heated. Pressure cooking sterilization needs 121°C for 15-60 minutes. Pasteurization involves specific temperatures and times for different items. Each method has its advantages and considerations, and understanding their nuances will help you choose the best approach for your needs.
Boiling Water Sterilization
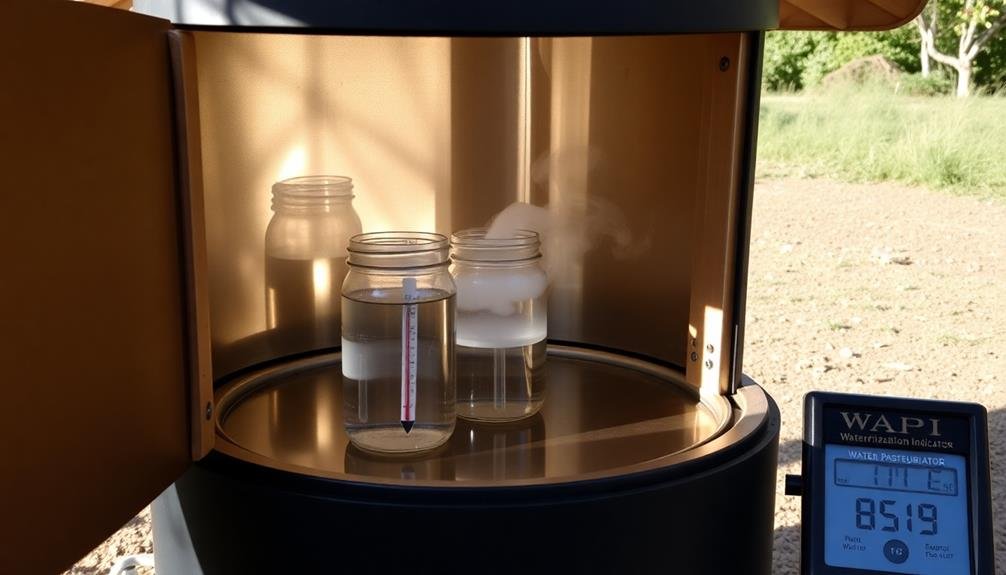
One of the simplest methods for sterilizing items in a sun oven is boiling water sterilization. This technique effectively kills most harmful microorganisms on your tools and equipment.
To begin, fill a large, sun oven-safe pot with clean water and place your items inside. Ascertain they're fully submerged, then cover the pot with a lid.
Position your sun oven to capture maximum sunlight, typically facing south at a 30-45 degree angle. Place the pot inside and close the oven door. Monitor the water temperature using a thermometer until it reaches 212°F (100°C) and maintain this temperature for at least 10 minutes to guarantee thorough sterilization.
For added safety, you can extend the boiling time to 20-30 minutes, especially for denser items or if you're at high altitudes where water boils at lower temperatures.
Once the time's up, carefully remove the pot using oven mitts and allow it to cool. Remove your sterilized items with clean tongs and place them on a sterile surface to air dry.
This method's particularly useful for sterilizing cooking utensils, medical instruments, and water for drinking or food preparation.
Dry Heat Method
To sterilize using the dry heat method in your sun oven, you'll need to maintain a temperature of 160°C (320°F) for at least 2 hours.
Set up your sun oven with a dark, heat-absorbing tray or container to hold the items you're sterilizing.
You can safely sterilize glass, metal instruments, and some heat-resistant plastics using this method, but avoid materials that may melt or degrade at high temperatures.
Temperature and Time Requirements
When using dry heat to sterilize items in a sun oven, you'll need to maintain specific temperature and time requirements for effective results. The general rule is that higher temperatures require less time, while lower temperatures need longer exposure. For ideal sterilization, you should aim for a temperature of 320°F (160°C) for at least 2 hours.
Here are some key points to remember about temperature and time requirements:
- Temperatures below 320°F may require up to 6 hours for complete sterilization
- Maintaining consistent temperature is vital for effective sterilization
- Use a reliable thermometer to monitor the oven's internal temperature
- Start timing only after the oven reaches the target temperature
- Extend sterilization time if you're unsure about temperature consistency
It's important to note that these requirements may vary slightly depending on the items you're sterilizing and their heat resistance.
Always err on the side of caution and opt for longer sterilization times if you're uncertain.
Equipment Setup Process
Now that you understand the temperature and time requirements, let's focus on setting up your equipment for the dry heat sterilization method in a sun oven.
First, gather your materials: the sun oven, a thermometer, heat-resistant gloves, and the items you want to sterilize.
Clean the sun oven thoroughly, ensuring it's free from debris or residue. Place the thermometer inside to monitor the temperature accurately.
Arrange your items on a clean, heat-resistant tray or rack, ensuring they don't touch each other. This allows hot air to circulate freely around each item.
If you're sterilizing glassware or metal instruments, wrap them loosely in aluminum foil. For fabric items, use clean cotton or linen bags. Don't use plastic containers, as they may melt at high temperatures.
Position your sun oven in a sunny spot, adjusting its angle to maximize sunlight exposure. Place the tray with your items inside and close the oven door securely.
Monitor the temperature closely, adjusting the oven's position as needed to maintain the required heat.
Remember to use heat-resistant gloves when handling hot items, and allow everything to cool completely before removal.
Suitable Materials List
Not all materials are suitable for dry heat sterilization in a sun oven. You'll need to choose items that can withstand high temperatures without melting, warping, or releasing harmful chemicals.
When selecting materials for your sun oven sterilization, consider durability, heat resistance, and safety.
For effective dry heat sterilization, you can use:
- Glass items: beakers, test tubes, and petri dishes
- Metal instruments: forceps, scalpels, and scissors
- Ceramic dishes and containers
- Heat-resistant plastics (check manufacturer specifications)
- Cloth items: gauze, bandages, and cotton swabs
Avoid using materials that can't withstand high temperatures, such as regular plastics, rubber, or items with low melting points. Always check the manufacturer's guidelines for temperature limits.
Remember that some materials may become brittle or discolored after repeated sterilization cycles.
When preparing items for sterilization, verify they're clean and free from visible debris. Arrange them in a single layer to allow for even heat distribution.
Don't overcrowd the oven, as this can impede proper sterilization. By selecting appropriate materials and following proper procedures, you'll maximize the effectiveness of your sun oven sterilization process.
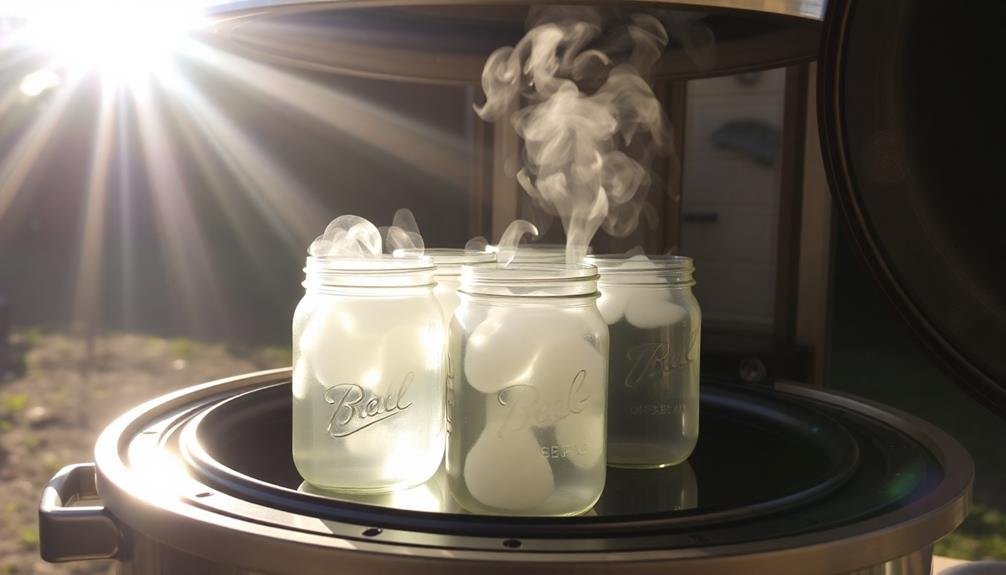
Steam Sterilization Technique
To set up your sun oven for steam sterilization, you'll need to create a pressure cooker-like environment inside.
You can achieve this by placing a sealed container of water alongside your items to be sterilized, allowing steam to build up as the oven heats.
For effective sterilization, you'll want to maintain a temperature of at least 250°F (121°C) for a minimum of 30 minutes, adjusting your oven's position as needed to maintain consistent heat.
Pressure Cooker Setup
While a sun oven can effectively sterilize items, using a pressure cooker for steam sterilization offers a more controlled and efficient method. To set up your pressure cooker for sterilization, you'll need to follow a few key steps.
First, verify your pressure cooker is clean and in good working condition. Add about 2-3 inches of water to the bottom, then place a steaming rack or trivet inside to keep your items above the water level. Arrange the items you want to sterilize on the rack, making sure they don't touch each other or the sides of the cooker.
Here's what you'll need for a successful pressure cooker sterilization:
- A reliable pressure cooker with a tight-fitting lid
- A steaming rack or trivet
- Clean water
- Heat-resistant gloves or tongs
- A timer
Close the lid securely and place the cooker on your heat source. Bring it up to pressure and maintain it for at least 15 minutes.
After the time is up, turn off the heat and allow the pressure to release naturally. Once it's safe to open, carefully remove your sterilized items using heat-resistant gloves or tongs.
Temperature and Duration
For effective steam sterilization in a sun oven, you'll need to maintain the right temperature for an adequate duration. The key is reaching and sustaining a temperature of 121°C (250°F) for at least 30 minutes. This combination of heat and time is vital for killing harmful microorganisms, including bacteria, viruses, and spores.
To achieve this, you'll want to preheat your sun oven to its maximum temperature, which typically ranges from 120°C to 150°C (248°F to 302°F). Once you've reached the target temperature, place your items in the pressure cooker and seal it properly.
Start timing when the pressure cooker reaches full pressure, indicated by a steady hiss or the pressure regulator rising. Maintain the temperature throughout the sterilization process by adjusting the oven's position to track the sun. Use a thermometer to monitor the internal temperature of your pressure cooker.
If the temperature drops below 121°C, you'll need to extend the sterilization time. For larger or denser items, you may need to increase the duration to 45-60 minutes to guarantee thorough sterilization. Always err on the side of caution and sterilize for longer if you're unsure.
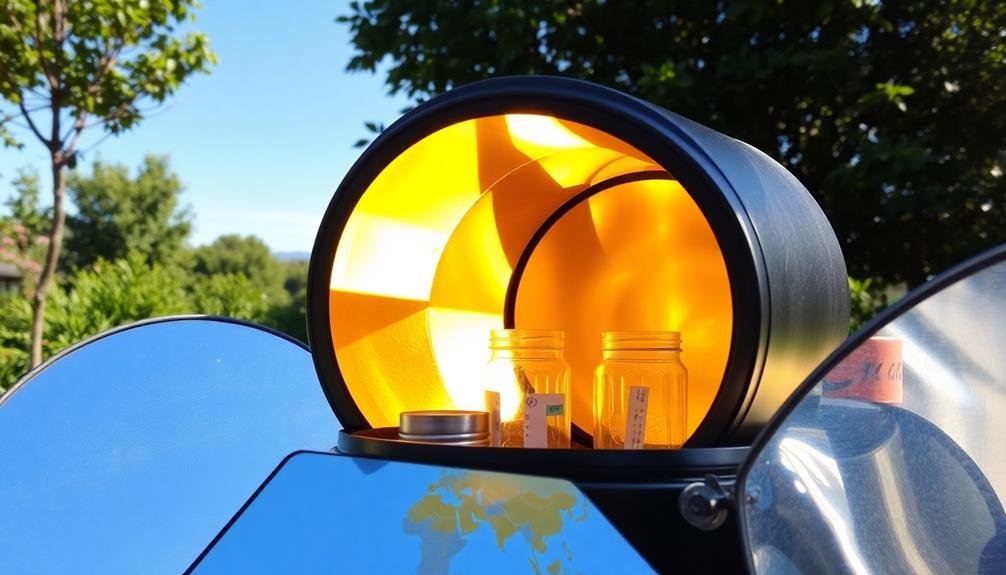
UV Light Disinfection
Sunlight's ultraviolet rays offer a powerful and natural method for disinfecting items in a sun oven. UV light effectively kills bacteria, viruses, and other microorganisms by damaging their DNA and RNA. When using UV light disinfection in your DIY sun oven, you'll need to make sure that the items are exposed to direct sunlight for an adequate amount of time.
To maximize the effectiveness of UV light disinfection in your sun oven:
- Use clear or UV-transparent containers to hold items
- Position the oven to receive direct sunlight
- Rotate items periodically for even exposure
- Keep the oven's reflective surfaces clean
- Monitor UV intensity with a UV meter for consistency
The duration required for effective UV disinfection varies depending on factors such as sunlight intensity, item material, and contamination level. Generally, 2-6 hours of direct sunlight exposure can achieve significant disinfection.
However, it's crucial to acknowledge that UV light disinfection may not be as thorough as high-temperature sterilization methods. For critical items or medical equipment, consider combining UV disinfection with other sterilization techniques to guarantee maximum safety.
Always follow proper safety guidelines when working with UV light to protect your eyes and skin from harmful exposure.
Chemical Disinfectant Application
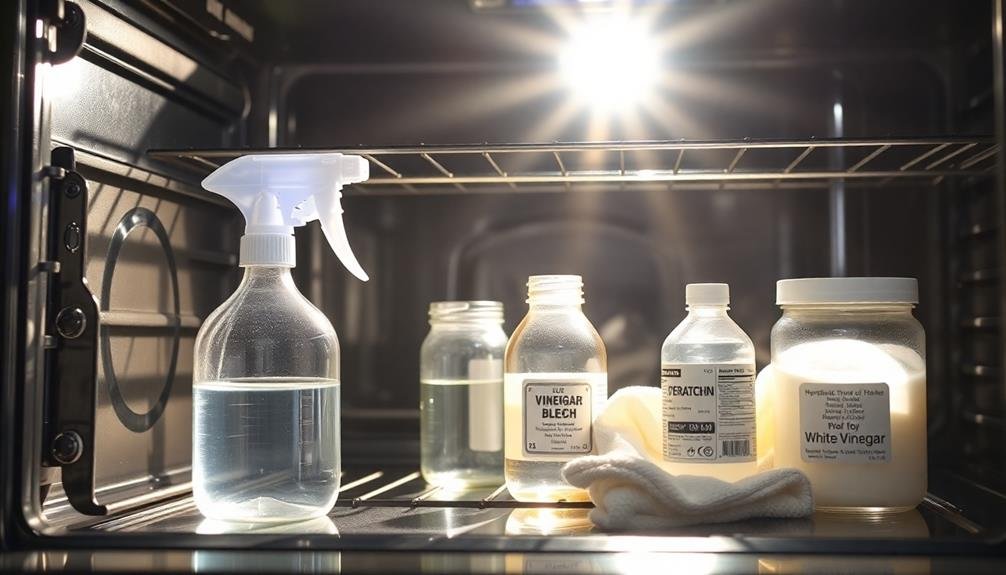
Chemical disinfectants offer another effective method for sterilizing items in your DIY sun oven. You'll find several options suitable for this purpose, including hydrogen peroxide, chlorine bleach, and isopropyl alcohol. These chemicals can effectively kill bacteria, viruses, and fungi when used correctly.
To apply chemical disinfectants in your sun oven, first clean the items thoroughly. Then, dilute the chosen disinfectant according to the manufacturer's instructions. Apply the solution evenly to all surfaces of the items you're sterilizing.
Place the treated objects in your sun oven and close the lid. The sun's heat will enhance the disinfectant's effectiveness and speed up the evaporation process. Let the items sit in the oven for at least 30 minutes to guarantee thorough sterilization. After the treatment, rinse the objects with clean water to remove any chemical residue.
Remember to wear protective gear like gloves and goggles when handling chemical disinfectants. Always work in a well-ventilated area and follow safety guidelines.
While chemical disinfection is effective, it's not suitable for all materials. Avoid using harsh chemicals on delicate fabrics or surfaces that may be damaged by the treatment.
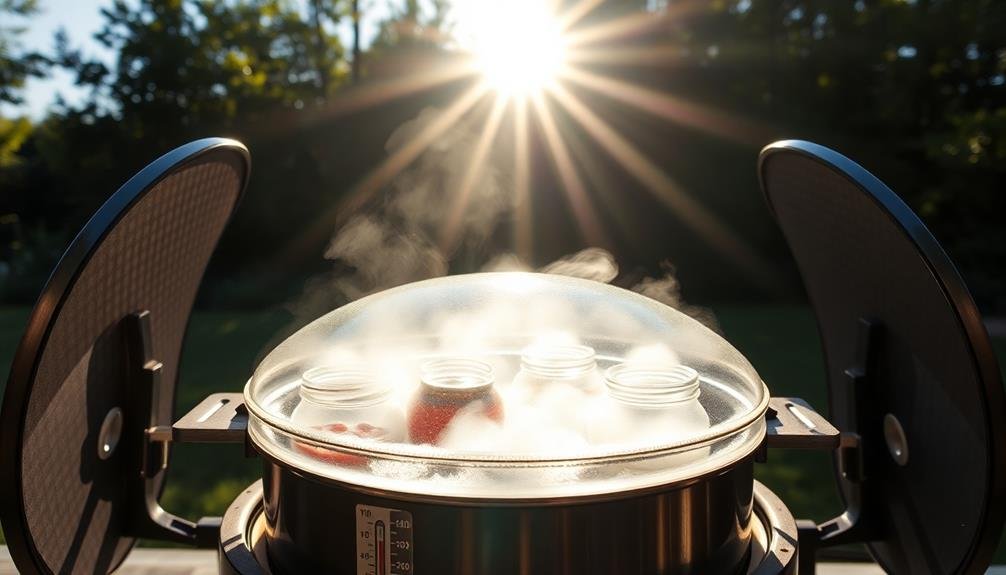
Pressure Cooking Sterilization
Harnessing the power of pressure cooking in your DIY sun oven can greatly boost its sterilization capabilities. By combining the sun's energy with increased pressure, you'll create an environment that effectively kills microorganisms and spores. To achieve this, you'll need to modify your sun oven to safely accommodate a pressure cooker.
When using pressure cooking sterilization in your DIY sun oven, keep these key points in mind:
- Always use a pressure cooker designed for canning or sterilization
- Confirm the pressure cooker's safety features are fully functional
- Monitor the pressure gauge closely throughout the process
- Use distilled water to prevent mineral deposits on sterilized items
- Allow the pressure cooker to cool naturally before opening
Start by placing your items in the pressure cooker with the appropriate amount of water. Position the cooker in your sun oven and allow it to heat up. Once the desired pressure is reached, maintain it for the recommended sterilization time, typically 15-30 minutes.
This method is particularly effective for sterilizing medical instruments, laboratory equipment, and canning supplies. Remember, proper pressure cooking sterilization in your DIY sun oven requires attention to detail and adherence to safety protocols.
Pasteurization Process
Through your DIY sun oven, you can effectively pasteurize various liquids and foods, making them safer for consumption. Pasteurization involves heating items to specific temperatures for set durations to eliminate harmful bacteria and pathogens. Unlike sterilization, pasteurization doesn't kill all microorganisms but reduces them to safe levels.
To pasteurize in your sun oven, you'll need to monitor temperatures closely. Use a thermometer to confirm your items reach and maintain the required heat. Here's a quick guide for common items:
| Item | Temperature | Time | Container |
|---|---|---|---|
| Milk | 145°F (63°C) | 30 minutes | Glass jar |
| Juice | 160°F (71°C) | 15 seconds | Sealed bottle |
| Eggs | 140°F (60°C) | 3.5 minutes | Water bath |
| Water | 149°F (65°C) | 6 minutes | Clear container |
Frequently Asked Questions
How Long Can Sterilized Items Remain Sterile in a Sun Oven?
You'll find sterilized items can remain sterile in a sun oven for several hours if kept sealed. However, it's best to use them promptly. Factors like temperature, humidity, and container integrity affect sterility duration, so use caution.
Can I Sterilize Electronic Devices or Heat-Sensitive Materials in a Sun Oven?
You shouldn't sterilize electronic devices or heat-sensitive materials in a sun oven. It's too risky and can damage them. Instead, use alternative methods like UV light or chemical disinfectants that are safe for these items.
What's the Minimum Temperature Required for Effective Sterilization in Sun Ovens?
You'll need to reach at least 160°F (71°C) for effective sterilization in sun ovens. However, for more thorough disinfection, aim for 250°F (121°C) and maintain it for 30 minutes. Higher temperatures will sterilize faster.
Are There Any Materials That Should Never Be Sterilized in a Sun Oven?
You shouldn't sterilize plastics, electronics, or heat-sensitive items in a sun oven. They can melt, warp, or become damaged. Also, avoid sterilizing anything with toxic chemicals that could release harmful fumes when heated. Stick to heat-resistant materials.
How Does Altitude Affect Sterilization Times and Temperatures in Sun Ovens?
You'll find that higher altitudes lower boiling points, so you'll need longer sterilization times. The thinner air also reduces heat transfer, requiring higher temperatures. Adjust your sun oven's settings accordingly for effective sterilization at different elevations.
In Summary
You've now learned seven effective methods to sterilize your DIY sun oven. Whether you choose boiling water, dry heat, steam, UV light, chemical disinfectants, pressure cooking, or pasteurization, you're equipped to guarantee your oven is safe for food preparation. Remember to select the method that best suits your materials and resources. With these techniques, you'll be confident in the cleanliness of your sun oven and ready to harness solar power for cooking delicious, hygienic meals.
Leave a Reply