Installing your first solar panels can be simplified into three easy steps. First, assess your roof's suitability, considering factors like orientation, angle, and structural integrity. Next, choose and purchase the right equipment, including panels, inverters, and mounting systems based on your energy needs and budget. Finally, mount and connect the panels, ensuring proper alignment, wiring, and safety measures. You'll need to mark mounting locations, secure the panels, and connect them to your electrical system. While these steps provide a basic overview, there's much more to learn about maximizing your solar installation's efficiency and performance.
Assess Your Roof's Suitability
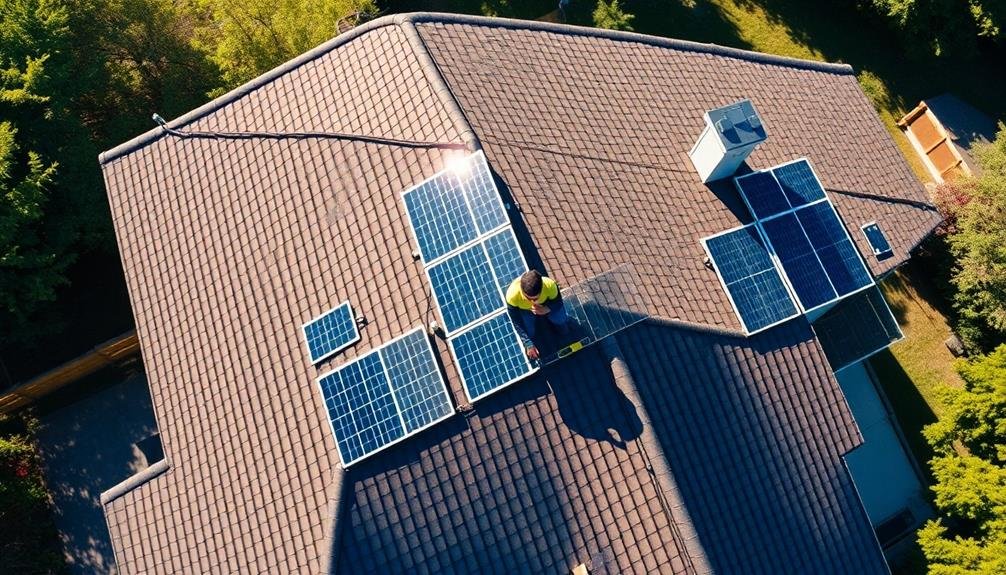
Three key factors determine your roof's suitability for solar panels: orientation, angle, and condition.
Ideally, your roof should face south in the Northern Hemisphere or north in the Southern Hemisphere to maximize sun exposure. East or west-facing roofs can still work but may produce 15-20% less energy.
The best roof angle is between 30-45 degrees, though panels can be installed on slopes ranging from 15-40 degrees. Flat roofs require additional mounting systems to achieve the right angle.
Assess your roof's condition, making sure it's structurally sound and can support the weight of solar panels. Check for any damage, leaks, or weak spots that need repair before installation.
Consider the age of your roof; if it's due for replacement within the next few years, it's best to reroof before installing panels.
Evaluate shading from nearby trees, buildings, or other obstructions that could reduce your panels' efficiency. Use a solar pathfinder tool or consult a professional to determine the best placement for maximum sunlight exposure throughout the year.
Choose and Purchase Equipment
After evaluating your roof's suitability, it's time to select and purchase the necessary equipment for your solar panel system. Start by determining the number of panels you'll need based on your energy consumption and available roof space.
Research different types of solar panels, considering factors like efficiency, durability, and cost. Monocrystalline panels are typically more efficient but pricier, while polycrystalline panels offer a more budget-friendly option.
Next, choose an inverter to convert DC power from the panels into AC power for your home. String inverters are cost-effective for simple installations, while microinverters or power optimizers work better for complex roof layouts or partially shaded areas.
Don't forget to select a mounting system compatible with your roof type and panels. Additionally, you'll need to purchase wiring, conduit, and safety equipment like circuit breakers and disconnect switches.
Consider adding a monitoring system to track your panels' performance. When buying, compare prices from multiple suppliers and look for package deals that include installation.
Remember to check for warranties on all components and verify they meet local building codes and utility requirements.
Mount and Connect Panels
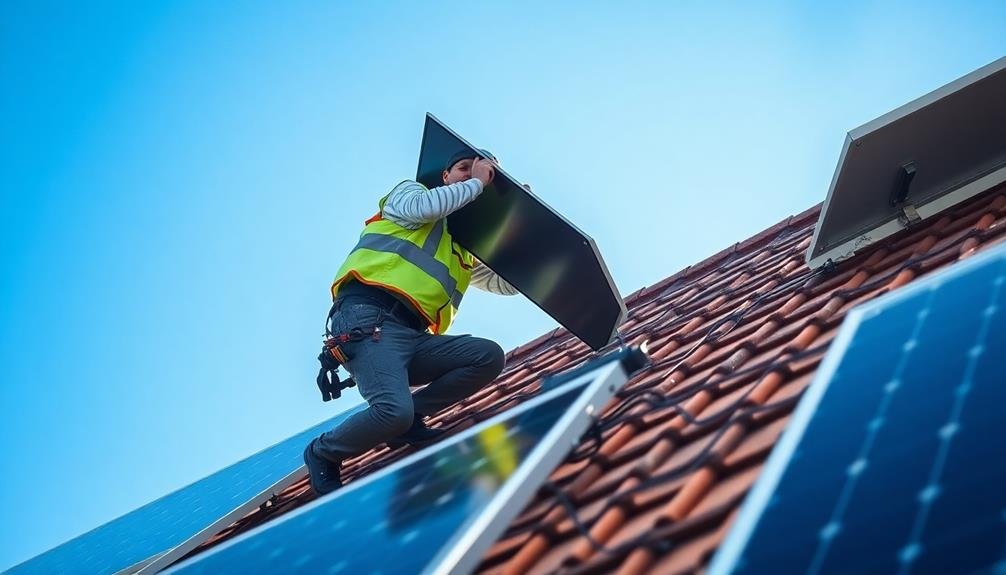
With all equipment in hand, it's time to mount and connect your solar panels.
Begin by marking the locations for your mounting brackets on your roof. Verify they're aligned and level, then securely fasten them using appropriate screws and sealant to prevent water leaks.
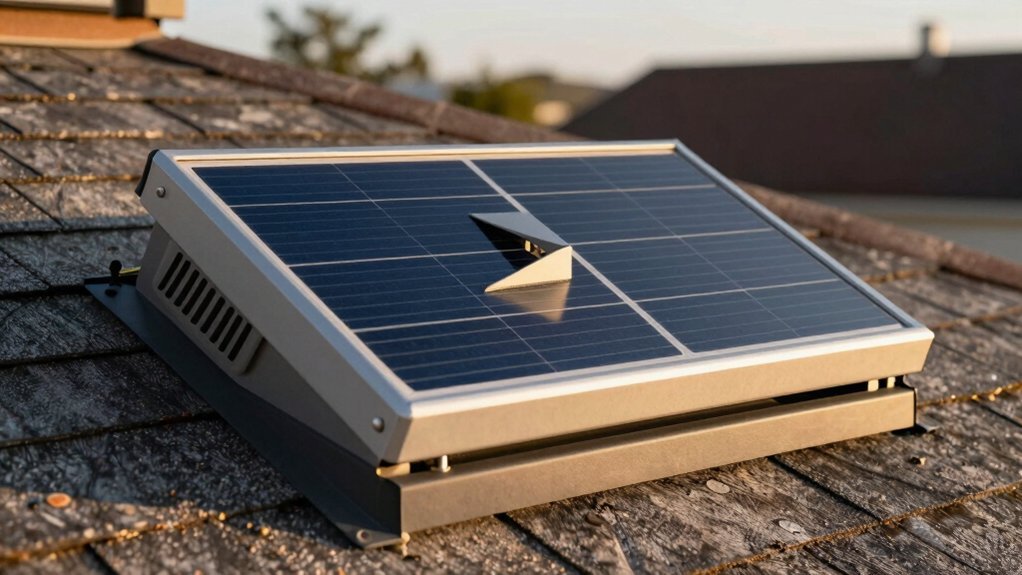
Next, carefully lift the panels onto the roof and attach them to the mounting brackets. Follow the manufacturer's instructions closely, as improper installation can void warranties or reduce efficiency.
Once the panels are in place, connect them in series or parallel, depending on your system design.
Run the wiring from the panels to your inverter, making sure to use weatherproof conduits and proper cable management techniques.
Connect the panels to the inverter, then link the inverter to your home's electrical panel. Install a disconnect switch between the inverter and panel for safety.
Frequently Asked Questions
How Long Does a Typical Solar Panel Installation Take?
You'll typically find that a solar panel installation takes about 1-3 days. It depends on your system's size and complexity. Professionals can often complete the job quickly, but factors like weather and permits may extend the timeline.
Do I Need Special Permits to Install Solar Panels?
Yes, you'll typically need permits to install solar panels. Check with your local government for specific requirements. You'll likely need electrical and building permits. Don't skip this step, as it guarantees safety and compliance with regulations.
Can I Install Solar Panels Myself or Must I Hire Professionals?
You can install solar panels yourself, but it's complex and risky. It's often better to hire professionals who have the expertise, proper equipment, and knowledge of local regulations. They'll guarantee a safe, efficient, and legally compliant installation.
What Maintenance Is Required for Solar Panels After Installation?
You'll need to clean your solar panels regularly, typically every 6-12 months. Check for damage, debris, or shading issues. Monitor your system's performance and guarantee connections are secure. It's wise to have annual professional inspections too.
How Does Weather Affect Solar Panel Performance and Longevity?
You'll find that weather impacts your solar panels' performance and lifespan. Extreme temperatures, hail, and heavy snow can reduce efficiency. UV rays may cause gradual degradation. Regular cleaning helps maintain output in dusty or rainy conditions.
In Summary
You've now learned the basic steps to install your first solar panels. Remember to assess your roof carefully, select the right equipment for your needs, and follow proper safety procedures during installation. Don't hesitate to consult professionals if you're unsure about any part of the process. With your new solar panels in place, you'll soon be generating clean energy and potentially saving on your electricity bills. Enjoy your journey towards sustainable living!


Leave a Reply