
Setting up your solar panel monitoring system is a rewarding DIY project that can boost your energy efficiency. Start by choosing compatible monitoring equipment and gathering necessary tools. Install current sensors and set up data loggers to collect essential information. Calibrate your system for accuracy and configure wireless communication to connect with your home network. Install monitoring software and customize settings to suit your needs. Test the system's functionality thoroughly and learn to analyze the data it provides. With careful setup and regular maintenance, you'll gain valuable insights into your solar panel performance. The following guide will walk you through each step in detail.
Understanding Solar Panel Monitoring Systems

Three key components make up a solar panel monitoring system: sensors, data loggers, and a user interface.
Sensors measure various parameters like voltage, current, temperature, and irradiance. They're attached to your solar panels and inverters to gather real-time data.
Data loggers collect and store this information, acting as the system's brain. They process the raw data and prepare it for analysis.
The user interface is where you'll interact with the collected data, usually through a smartphone app or web portal.
Understanding these components helps you make informed decisions about your system's performance. You'll be able to track energy production, identify potential issues, and optimize your solar setup.
Monitoring systems often include features like remote access, allowing you to check your system's status from anywhere. They can also provide alerts for maintenance needs or unexpected drops in performance.
When setting up your monitoring system, you'll need to choose between wired and wireless options.
Wired systems are more reliable but require additional installation work. Wireless systems offer easier setup but may have connectivity issues.
Consider your specific needs and environment when making this decision.
Choosing the Right Monitoring Equipment

When selecting your solar panel monitoring equipment, you'll need to take into account both hardware and software components.
For hardware, make sure you choose devices compatible with your specific solar panel system, such as current sensors, voltage meters, and data loggers.
On the software side, look for interfaces that offer user-friendly dashboards, real-time data visualization, and customizable alerts to keep you informed about your system's performance.
Compatible Hardware Options
To guarantee ideal performance of your solar panel system, choosing the right monitoring equipment is essential. When selecting compatible hardware options, you'll need to take into account your system's size, budget, and specific monitoring needs.
Many solar inverters come with built-in monitoring capabilities, which can be a cost-effective solution for smaller setups. However, for more extensive data collection and analysis, you may want to invest in dedicated monitoring devices.
Some popular compatible hardware options include:
- Energy meters: These devices measure electricity production and consumption, providing real-time data on your system's performance.
- Data loggers: These units collect and store information from various sensors, allowing for detailed analysis of your solar panel system's output over time.
- Weather stations: By monitoring local weather conditions, you can better understand how environmental factors affect your system's performance.
When choosing your hardware, verify it's compatible with your existing solar panel setup and can integrate with your preferred monitoring software.
Look for devices that offer remote access capabilities, allowing you to check your system's performance from anywhere. Additionally, take into account future-proofing your setup by selecting hardware that can accommodate system expansions or upgrades down the line.
Software Interface Features
While selecting compatible hardware is essential, choosing the right software interface is equally important for an effective solar panel monitoring system.
You'll want to look for software that offers a user-friendly dashboard with real-time data visualization. This feature allows you to quickly assess your system's performance at a glance.
Ensure the software provides detailed energy production reports, including daily, monthly, and annual statistics. Look for interfaces that offer customizable alerts, notifying you of any issues or unusual patterns in your system's output.
Many modern software options also include mobile apps, enabling you to monitor your solar panels remotely from your smartphone or tablet.
Consider software that integrates weather forecasts to help predict future energy production. Some advanced interfaces offer comparison tools, allowing you to benchmark your system's performance against similar setups in your area.
Additionally, look for software that provides easy data export options for further analysis or record-keeping.
Gathering Necessary Tools and Materials
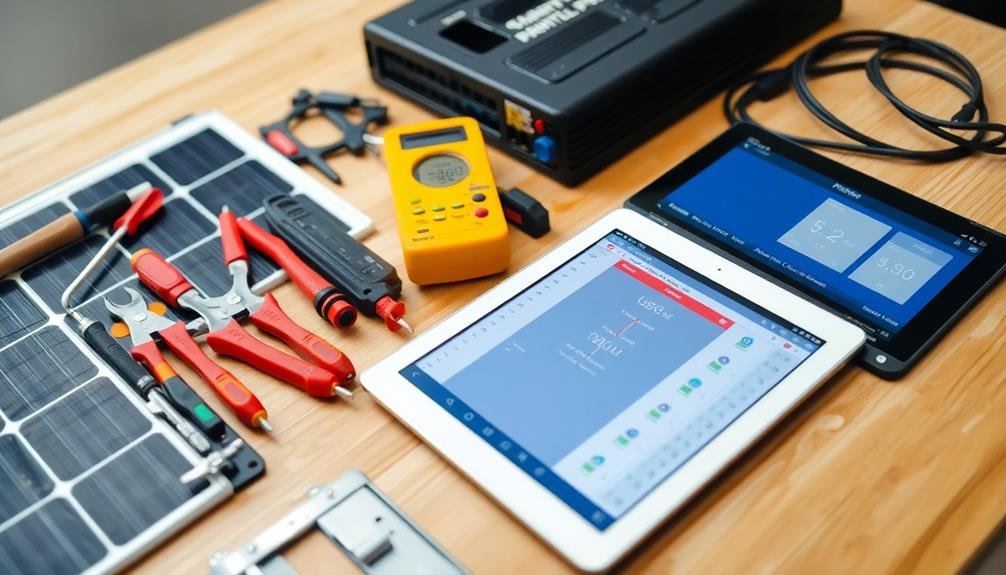
Before diving into the installation process, you'll need to gather all the essential tools and materials for setting up your solar panel monitoring system.
Start by acquiring a compatible monitoring device, such as a data logger or smart meter, that can connect to your solar inverter. You'll also need ethernet cables or a Wi-Fi adapter for data transmission, depending on your chosen setup.
Don't forget to gather basic tools like screwdrivers, wire strippers, and electrical tape. If you're mounting the monitoring device outdoors, make certain you have weatherproof enclosures and sealants to protect it from the elements.
For the software side, verify you have a computer or smartphone with internet access to install the necessary applications and configure your system.
Here's a quick checklist of additional items you might need:
- Voltage tester to guarantee safe electrical connections
- Cable ties for neat wire management
- Multimeter for troubleshooting and testing
Before starting, double-check that you have all the required components and tools at hand. This will help streamline the installation process and prevent unnecessary delays.
If you're unsure about any specific requirements, consult your solar panel manufacturer's guidelines or seek advice from a professional installer.
Installing Current Sensors

When installing current sensors for your solar panel monitoring system, you'll need to select the appropriate sensor types based on your system's specifications.
You'll then wire and connect these sensors to your monitoring equipment, ensuring proper placement and secure connections.
Choosing Appropriate Sensor Types
The installation of current sensors is an essential step in setting up your solar panel monitoring system. Now, you'll need to choose the appropriate sensor types for accurate monitoring. When selecting sensors, consider the specific requirements of your solar panel setup and the data you want to collect.
There are several types of current sensors available, each with its own advantages:
- Hall effect sensors: These are non-intrusive and can measure both AC and DC currents.
- Shunt resistors: They're cost-effective and precise but require direct connection to the circuit.
- Rogowski coils: Ideal for high-current applications and offer excellent linearity.
Choose sensors that match your system's voltage and current ratings. For residential solar installations, Hall effect sensors are often the best choice due to their ease of installation and broad measurement range.
If you're monitoring multiple panels or strings, you'll need separate sensors for each. Consider the sensor's output type and verify it's compatible with your data logger or monitoring device. Some sensors provide analog outputs, while others offer digital interfaces like Modbus or I2C.
Select sensors with appropriate accuracy and resolution to meet your monitoring goals. Don't forget to factor in environmental conditions, as outdoor sensors must withstand temperature fluctuations and moisture.
Wiring and Connection Basics
Now that you've selected the appropriate sensors for your solar panel monitoring system, it's time to install them correctly. Current sensors are essential for monitoring the electricity flow from your solar panels. You'll need to install these sensors on the DC side of your system, typically between the panels and the charge controller or inverter.
First, identify the positive wire coming from your solar array. You'll need to disconnect this wire to install the current sensor. Most current sensors use a split-core design, allowing you to clamp them around the wire without cutting it. Open the sensor's casing and place it around the positive wire, then close and secure it.
Ensure the sensor's arrow points in the direction of current flow, usually towards the charge controller or inverter. Connect the sensor's output wires to your monitoring device or data logger. These typically include power, ground, and signal wires. Double-check your connections and insulate any exposed wires.
For higher accuracy, consider installing sensors on both positive and negative wires. This setup can help detect any ground faults in your system.
Always follow manufacturer instructions and local electrical codes when installing sensors.
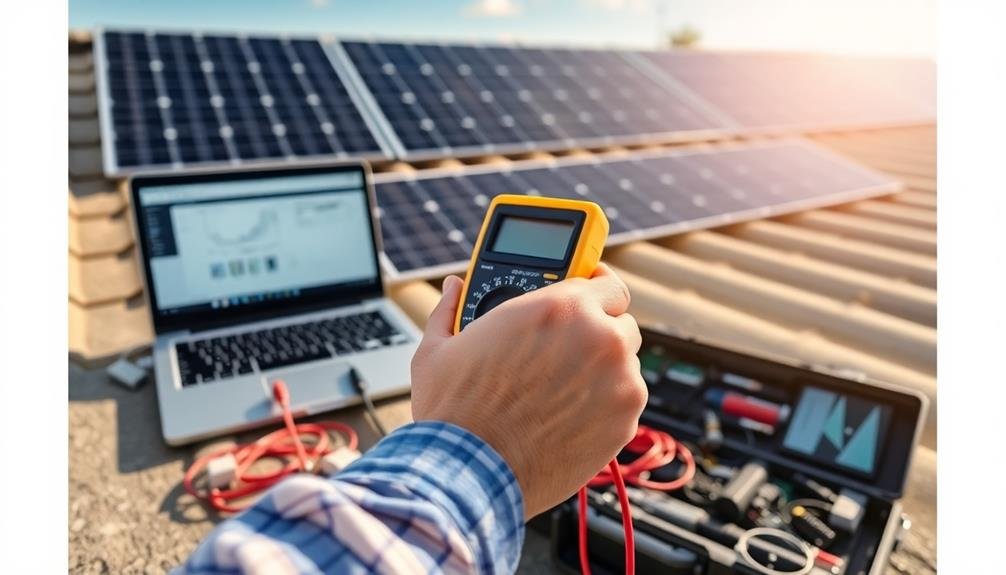
Calibrating for Accuracy
How can you guarantee your current sensors are providing accurate readings? Proper calibration is essential for confirming your solar panel monitoring system delivers precise data.
Start by verifying that your sensors are correctly installed and securely connected to your monitoring equipment. Then, use a high-quality multimeter to measure the actual current flowing through your system at various points.
Compare these measurements to the readings from your monitoring system. If there are discrepancies, you'll need to adjust the calibration settings in your monitoring software. Most systems allow for fine-tuning of sensor sensitivity and offset values. Make small adjustments and retest until your sensor readings closely match the multimeter measurements.
Remember to calibrate your sensors under different conditions:
- Low light/low current scenarios
- Peak sunlight hours
- Varying temperatures
Once you've achieved accurate readings across various scenarios, document your calibration settings for future reference.
It's a good practice to recheck and recalibrate your sensors periodically, especially after any system modifications or extreme weather events. By maintaining properly calibrated current sensors, you'll guarantee your solar panel monitoring system provides reliable data for peak performance tracking and maintenance.
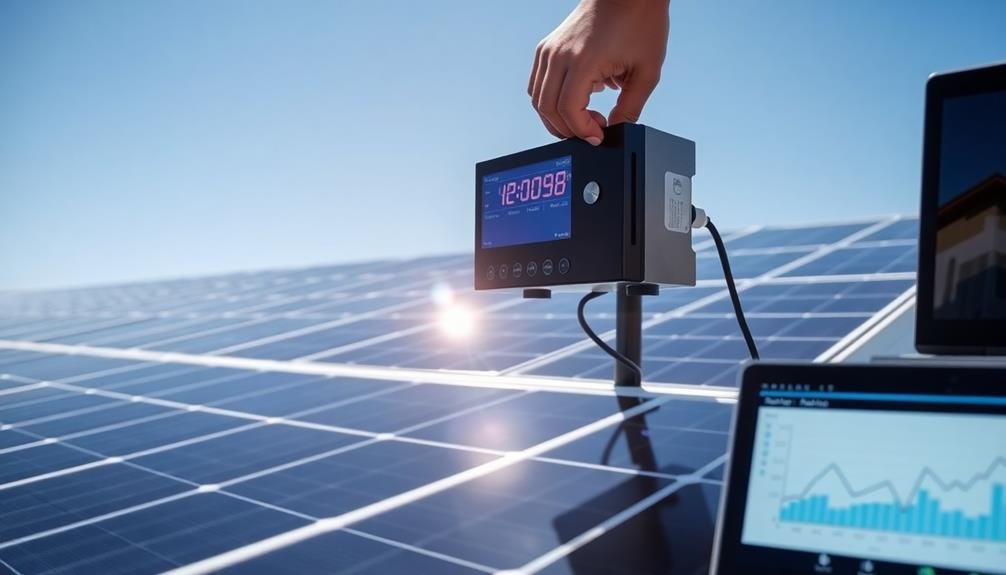
Setting Up Data Loggers

Setting up data loggers is an essential step in establishing an effective solar panel monitoring system. You'll need to choose the right data logger for your setup, considering factors like storage capacity, sampling rate, and compatibility with your sensors.
Once you've selected your logger, mount it in a secure, weather-protected location near your solar array.
Next, connect your sensors to the data logger using the appropriate cables and ports. Verify all connections are tight and properly insulated to prevent data loss or inaccurate readings.
Program your data logger with the correct settings, including sampling intervals, measurement units, and any necessary calculations or conversions.
Configure the data transmission method, whether it's via Wi-Fi, cellular network, or manual retrieval. If using wireless transmission, set up the network connection and test it thoroughly.
For manual retrieval, establish a regular schedule to download the data.
Configuring Wireless Communication Devices

Wireless communication devices are key components in modern solar panel monitoring systems, enabling real-time data transmission and remote access. To configure these devices, you'll need to connect them to your data loggers and set up the appropriate network protocols.
Start by choosing a suitable wireless technology, such as Wi-Fi, cellular, or LoRaWAN, based on your location and coverage requirements.
Next, install the necessary hardware, including antennas and modems, following the manufacturer's instructions. Configure the device's network settings, including IP addresses, gateway information, and security protocols. Make sure that your wireless devices are properly secured to prevent unauthorized access to your solar panel data.
Test the connection between your data loggers and the wireless devices to verify proper data transmission. You may need to adjust antenna positioning or signal strength for peak performance.
Key considerations when configuring wireless communication devices:
- Compatibility with your existing monitoring system
- Power consumption and battery life for remote installations
- Scalability for future expansion of your solar panel array
Connecting to Your Home Network

You'll need to decide between a Wi-Fi or Ethernet connection for your solar panel monitoring system.
Wi-Fi offers flexibility, while Ethernet provides a more stable connection.
Once you've made your choice, you'll need to configure your router to allow communication between the monitoring system and your home network.
Wi-Fi vs. Ethernet Connection
How will you connect your solar panel monitoring system to your home network? You have two main options: Wi-Fi or Ethernet. Both have their advantages and drawbacks, so it's crucial to take into account your specific setup and needs.
Wi-Fi offers convenience and flexibility. You can install your monitoring system anywhere within your router's range without running cables. However, Wi-Fi connections can be less stable and may experience interference from other devices or obstacles.
On the other hand, Ethernet provides a more reliable and faster connection. It's less susceptible to interference and offers consistent speeds, but it requires a physical cable connection to your router.
When deciding between Wi-Fi and Ethernet, take into account:
- Distance between your monitoring system and router
- Potential obstacles or interference sources
- Your home's existing network infrastructure
If your solar inverter is close to your router, Ethernet might be the best choice for reliability. However, if running a cable isn't feasible or you need flexibility in placement, Wi-Fi could be the better option.
Ultimately, choose the connection method that best suits your home's layout and guarantees consistent data transmission from your solar panel monitoring system.
Router Configuration Steps
Once you've chosen your connection method, the next vital step is configuring your router to accommodate your solar panel monitoring system.
Begin by accessing your router's admin panel through a web browser. You'll need to enter your router's IP address, typically found on the device or in its manual. Log in using your admin credentials.
Next, locate the DHCP settings in your router's configuration menu. Assign a static IP address to your solar monitoring device to guarantee a consistent connection. This prevents IP conflicts and maintains uninterrupted data transmission.
Make note of this assigned IP address for future reference.
Enable port forwarding on your router to allow external access to your monitoring system. Identify the required ports for your specific solar monitoring equipment and forward them to the static IP you've assigned.
This step is essential for remote access and data collection.
Installing Monitoring Software

After connecting your hardware components, the next essential step is installing the monitoring software. This software will allow you to track your solar panel's performance, energy production, and consumption in real-time.
Begin by downloading the monitoring software recommended by your solar panel manufacturer or a reputable third-party provider. Verify it's compatible with your system's hardware and operating system.
Once downloaded, run the installation wizard and follow the on-screen prompts. You'll need to input specific details about your solar setup, including panel specifications, inverter type, and system capacity.
After installation, launch the software and configure it to communicate with your solar panel system.
To optimize your monitoring experience:
- Set up customized alerts for performance issues or maintenance needs
- Configure data logging intervals to balance detail and storage requirements
- Enable remote access features for monitoring your system from anywhere
Calibrating Your Monitoring System
With your monitoring software installed and configured, it's time to confirm its accuracy through proper calibration. This step guarantees that your system provides reliable data about your solar panel's performance.
Start by verifying your inverter's readings. Compare the energy output displayed on your inverter with the values shown in your monitoring software. If there's a discrepancy, adjust the software's settings to match the inverter's output.
Next, check the accuracy of your solar irradiance sensor. Place it in direct sunlight and compare its readings with local weather data or a handheld solar meter. Calibrate the sensor if necessary, following the manufacturer's instructions.
Verify your system's voltage and current readings using a multimeter. Measure these values at your solar panels and compare them to the software's display. Adjust any discrepancies in the monitoring system's settings.
Finally, test your power consumption meter's accuracy. Compare its readings with your utility bill or a separate energy monitor. Fine-tune the settings if needed to confirm precise tracking of your energy usage.
Remember to perform these calibration steps periodically to maintain your monitoring system's accuracy over time.
Testing System Functionality
The moment of truth has arrived. It's time to test your newly installed solar panel monitoring system and verify it's functioning as intended. Start by powering on all components and checking for any error messages or warning lights.
Once everything appears operational, access your monitoring interface through your chosen device (smartphone, tablet, or computer).
Begin by verifying that real-time data is being accurately displayed. Compare the readings on your monitoring system with those on your inverter or other physical meters. Pay close attention to power output, voltage, and current measurements.
Next, test the system's ability to track historical data by reviewing past performance logs and graphs.
To thoroughly evaluate your monitoring system's functionality, perform these key tests:
- Simulate a panel malfunction by partially shading one panel and confirm the system detects the drop in performance
- Check alert notifications by intentionally triggering system thresholds
- Verify remote access capabilities by logging in from a different network or location
If any issues arise during testing, consult your system's troubleshooting guide or contact the manufacturer's support team.
Once you've confirmed all features are working correctly, you can rely on your monitoring system to keep a watchful eye on your solar panel performance.
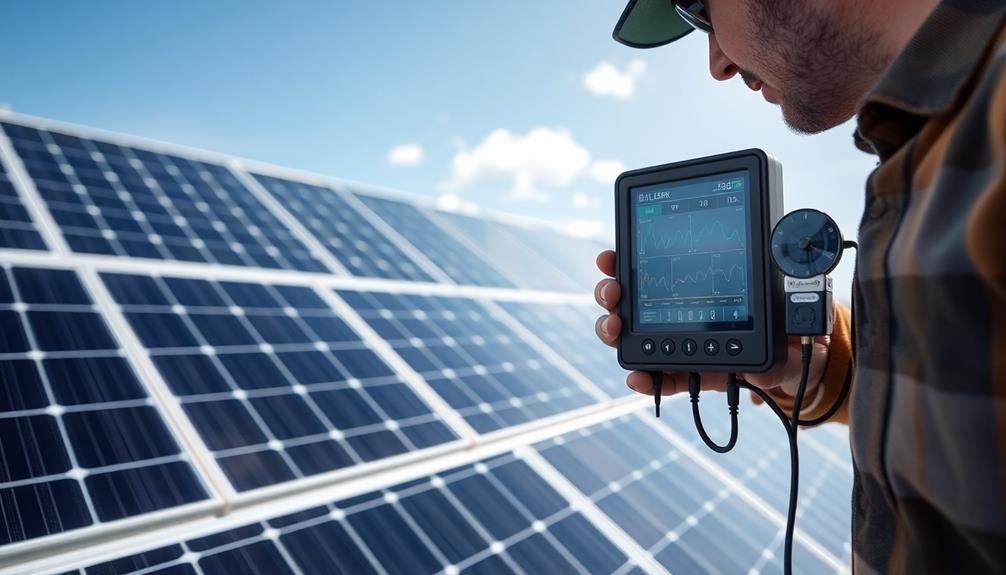
Analyzing and Interpreting Data

Now that your solar panel monitoring system is up and running, it's time to immerse yourself in the data it's collecting. Start by familiarizing yourself with the various metrics your system tracks, such as energy production, voltage, current, and panel temperature.
Look for patterns in daily and seasonal energy production to understand your system's performance better. Pay attention to sudden drops in energy output, which could indicate shading issues or panel malfunctions.
Compare your actual energy production to expected values based on your location and system specifications. This will help you identify if your panels are performing efficiently or if there's room for improvement.
Analyze your energy consumption patterns alongside production data to enhance your usage. You might discover opportunities to shift high-energy activities to peak production hours.
Keep an eye on inverter efficiency and panel degradation over time. If you notice a gradual decrease in performance, it might be time for maintenance or cleaning.
Use the monitoring system's reporting features to generate periodic summaries. These reports can help you track long-term trends and make informed decisions about system upgrades or expansions in the future.
Troubleshooting Common Issues
Even the most well-maintained solar panel monitoring systems can encounter issues. When troubleshooting, start by checking the basics: verify all connections are secure, power sources are functional, and software is up-to-date.
If you're experiencing data inconsistencies, confirm that your sensors are clean and properly calibrated. Sometimes, a simple reset of your monitoring device can resolve minor glitches.
For more complex problems, consult your system's manual or the manufacturer's support resources. Common issues include:
- Communication errors between panels and monitoring devices
- Inaccurate energy production readings
- Unexplained system shutdowns
If you're encountering persistent connectivity problems, check your network settings and verify your monitoring system's firmware is current.
For production discrepancies, compare your system's output with local weather data and historical performance. Unexpected shutdowns might indicate inverter issues or safety features activating.
Don't hesitate to seek professional help if you're unable to resolve the problem. Keep a log of any issues and your troubleshooting steps; this information can be valuable for technicians.
Regular maintenance and prompt attention to minor problems can prevent larger issues from developing, verifying your solar panel monitoring system continues to operate efficiently.
Frequently Asked Questions
How Do Weather Conditions Affect the Accuracy of Solar Panel Monitoring Systems?
Weather conditions can greatly impact your solar panel monitoring system's accuracy. Heavy clouds, rain, and snow can reduce sunlight input, affecting readings. Extreme temperatures may also influence sensor performance, leading to less precise data collection.
Can Monitoring Systems Detect Potential Equipment Failures Before They Occur?
Yes, you can rely on monitoring systems to detect potential failures. They'll track performance metrics and alert you to unusual patterns or declines. You'll get early warnings about issues like inverter problems or panel degradation before they become critical.
Are There Legal Requirements for Installing Solar Panel Monitoring Systems?
Legal requirements for solar panel monitoring systems vary by location. You'll need to check your local building codes and utility regulations. Some areas mandate monitoring for grid-tied systems, while others don't. It's best to consult a local solar expert.
How Does Shading Impact Solar Panel Performance and Monitoring Data?
Shading substantially reduces your solar panels' output. It'll impact your monitoring data, showing lower energy production. You'll see dips in performance when shadows fall on panels, even if it's just partial shading. Keep trees and structures clear.
Can Monitoring Systems Be Integrated With Smart Home Devices for Energy Optimization?
Yes, you can integrate your solar monitoring system with smart home devices. You'll optimize energy use by syncing data with thermostats, appliances, and battery storage. This allows for automated adjustments based on real-time solar production and consumption patterns.
In Summary
You've now set up your own solar panel monitoring system! With this DIY approach, you'll be able to track your energy production, optimize performance, and quickly identify any issues. Remember to regularly check your data and keep your system calibrated. As you become more familiar with the readings, you'll gain valuable insights into your solar setup. Don't hesitate to troubleshoot problems or seek professional help if needed. Enjoy your newfound solar monitoring capabilities!

Leave a Reply