
Maximize your tiny house's temperature control with these 7 thermal mass tips: 1) Place dense materials like concrete or stone in sun-exposed areas. 2) Incorporate water walls or tanks for efficient heat absorption. 3) Use phase change materials to maintain consistent temperatures. 4) Install concrete flooring and countertops for enhanced thermal mass. 5) Apply earthen plaster to walls for natural temperature regulation. 6) Consider masonry heaters or thermal sinks for efficient heat distribution. 7) Add a green roof for superior insulation and energy efficiency. By implementing these strategies, you'll create a more comfortable and energy-efficient living space. Discover how each tip can transform your tiny home's climate control.
Strategic Placement of Dense Materials
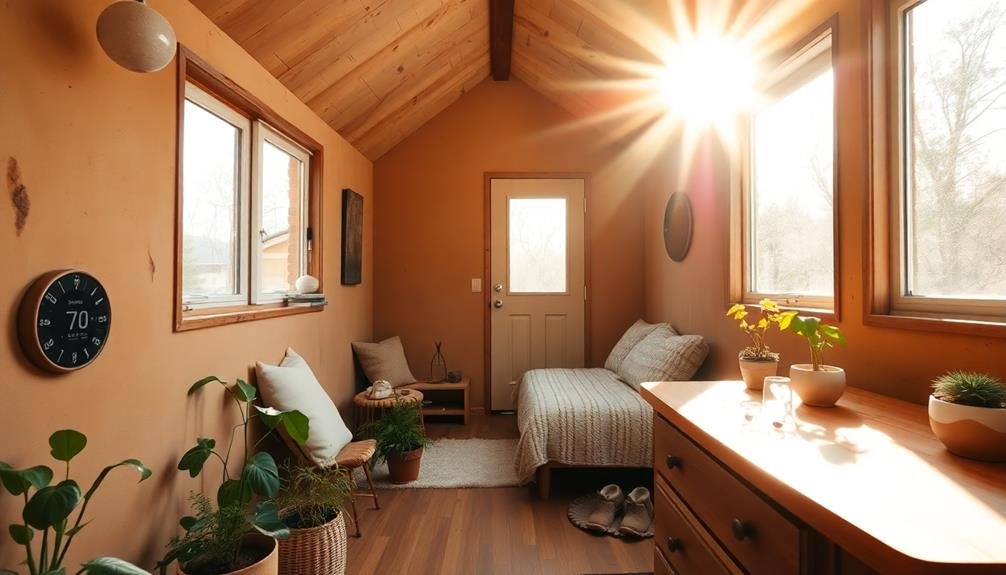
When it comes to maximizing thermal mass in your tiny house, placing dense materials strategically can make all the difference. Focus on areas that receive direct sunlight during the day, such as south-facing walls or floors. These spots will absorb heat effectively and release it slowly as temperatures cool.
Consider using concrete, brick, or stone for flooring in sun-exposed areas. These materials have high thermal mass and can help regulate indoor temperatures. You can also incorporate dense materials into interior walls, especially those adjacent to living spaces.
Don't overlook the potential of water as a thermal mass. Install a water wall or use large water containers in areas that receive ample sunlight. Water has an excellent capacity to store and release heat gradually.
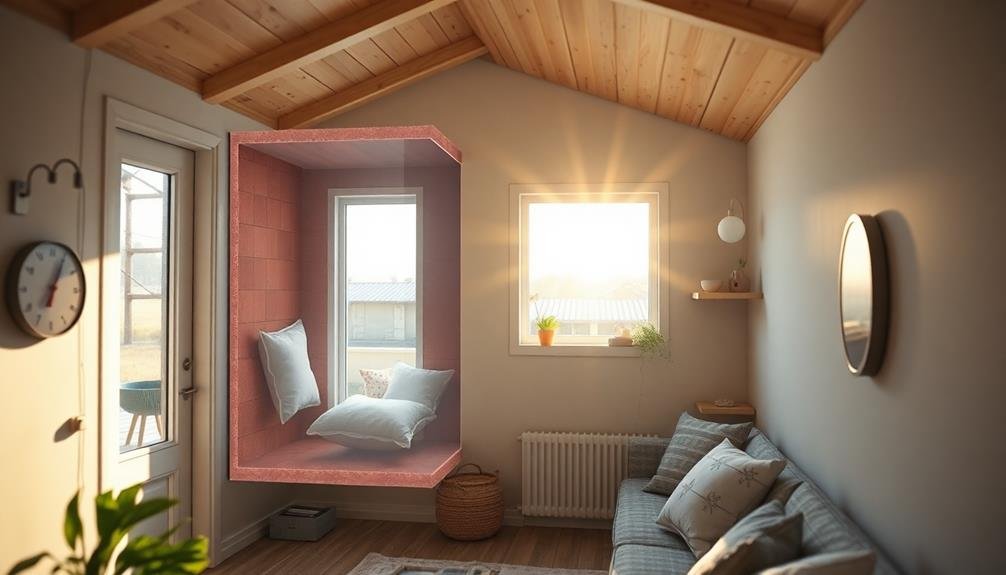
For vertical spaces, think about using thick, insulated curtains or movable panels made of dense materials. These can be adjusted to absorb heat during the day and provide insulation at night.
Remember to balance thermal mass with proper insulation. Too much thermal mass without adequate insulation can lead to heat loss in colder months. Aim for a combination that suits your climate and tiny house design.
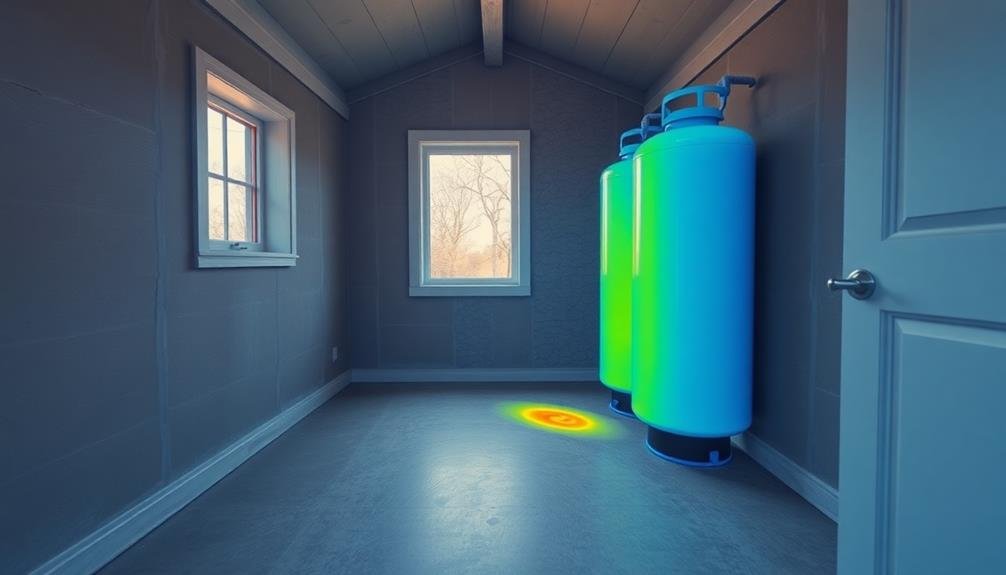
Water-Based Thermal Mass Solutions
Water, nature's heat sponge, offers unique thermal mass solutions for tiny houses. You can harness its impressive heat capacity to regulate your tiny home's temperature efficiently.
Consider incorporating water-based thermal mass systems like water walls, tanks, or containers strategically placed throughout your living space. These solutions absorb excess heat during the day and release it slowly at night, helping maintain a consistent indoor temperature.
To maximize the effectiveness of water-based thermal mass, position your water features where they'll receive direct sunlight or be in contact with warm air. You can also integrate them into your home's design as functional elements, such as room dividers or decorative features.
Don't forget to insulate your water containers to prevent heat loss and improve their thermal performance.
Here are some water-based thermal mass ideas to visualize:
- A translucent water wall acting as a room divider
- A sleek, vertical water tank doubling as a statement piece
- Under-floor water pipes for radiant heating
- A decorative indoor fountain with a large water reservoir
Phase Change Materials for Stability
Beyond water-based solutions, phase change materials (PCMs) offer another innovative approach to thermal mass in tiny houses. PCMs absorb and release heat as they change from solid to liquid and back, maintaining a consistent temperature. You'll find these materials integrated into walls, ceilings, or floors, providing effective temperature regulation without the weight of traditional thermal mass.
Common PCMs include paraffin wax, salt hydrates, and bio-based materials. They're often encapsulated in tiny pellets or integrated into building materials like drywall or insulation. When selecting PCMs, consider their melting point, which should align with your desired indoor temperature range.
PCMs excel in tiny houses due to their space efficiency. They can stabilize temperatures without bulky water tanks or thick concrete walls. You'll benefit from reduced energy costs as PCMs absorb excess heat during the day and release it at night, minimizing the need for heating and cooling systems.
To maximize PCM effectiveness, combine them with proper insulation and ventilation. You can also use them in conjunction with other thermal mass strategies for ideal temperature control in your tiny house.
Concrete Flooring and Countertops
Incorporating concrete elements into your tiny house design can greatly boost its thermal mass. Concrete flooring and countertops are excellent options for this purpose. They absorb heat during the day and release it slowly at night, helping to maintain a stable indoor temperature.
You'll find that concrete's high thermal mass properties make it an ideal material for passive solar design strategies in your tiny home.
When considering concrete flooring, opt for a thickness of at least 4 inches to maximize its thermal mass benefits. For countertops, aim for a minimum thickness of 1.5 inches.
You can enhance the aesthetic appeal of these concrete elements by:
- Adding colorful pigments to the mix
- Embedding decorative aggregates like glass or stone
- Polishing the surface to a high shine
- Stamping patterns or textures into the wet concrete
Remember that concrete can feel cold underfoot, so consider installing radiant floor heating for added comfort. This combination will provide excellent heat distribution throughout your tiny house.
Additionally, sealing your concrete surfaces will protect them from stains and make cleaning easier. By incorporating concrete flooring and countertops, you'll create a durable, low-maintenance interior that contributes greatly to your tiny home's thermal performance.
Earthen Plaster for Walls
You'll find earthen plaster to be an excellent choice for thermal mass in your tiny house walls.
It regulates indoor temperature by absorbing excess heat during the day and releasing it at night, creating a more comfortable living environment.
Applying earthen plaster is a DIY-friendly process, but you'll need to maintain it regularly by repairing cracks and reapplying a fresh layer every few years to guarantee its effectiveness.
Benefits of Thermal Regulation
With earthen plaster on your tiny house walls, you'll experience significant benefits in thermal regulation. This natural material acts as a thermal mass, absorbing heat during the day and releasing it at night, creating a more stable indoor temperature.
You'll find your tiny home stays cooler in summer and warmer in winter, reducing your reliance on artificial heating and cooling systems.
Earthen plaster's ability to regulate humidity also contributes to a more comfortable living environment. It absorbs excess moisture when the air is humid and releases it when the air is dry, helping to maintain ideal indoor humidity levels.
This natural process can help prevent issues like mold growth and wood warping.
The thermal regulation benefits of earthen plaster create a cozy atmosphere in your tiny house:
- Warm, sun-kissed walls radiating gentle heat on a chilly evening
- Cool, revitalizing surfaces offering relief on a hot summer day
- Consistent temperatures throughout your living space
- A naturally breathable environment that feels fresh and invigorating
Application and Maintenance
The trowel glides smoothly across the wall as you apply earthen plaster to your tiny house interior. This natural material not only adds thermal mass but also regulates humidity and creates a unique aesthetic.
Begin by preparing your walls, ensuring they're clean and free of debris. Mix your plaster using local clay, sand, and straw or other fiber for reinforcement.
Apply the base coat in thin layers, allowing each to dry before adding the next. You'll need multiple coats to achieve the desired thickness and thermal benefits.
Once you've reached your target depth, add a finish coat for a polished look. Experiment with natural pigments to customize the color.
Maintain your earthen plaster walls by regularly inspecting for cracks or damage. Small issues can be easily repaired with a fresh mix of plaster.
To clean, simply dust or use a slightly damp cloth. Avoid harsh chemicals or excessive moisture.
Masonry Heaters and Thermal Sinks
Inside tiny houses, masonry heaters and thermal sinks offer powerful solutions for efficient heating and temperature regulation. These systems absorb heat during warmer periods and slowly release it when temperatures drop, creating a stable indoor climate.
Masonry heaters, typically made of brick or stone, burn wood efficiently and store heat in their thermal mass. They're ideal for tiny homes in colder climates, providing long-lasting warmth with minimal fuel consumption.
Thermal sinks, on the other hand, can be incorporated into various elements of your tiny house design. You can use materials like concrete floors, stone countertops, or water-filled containers to absorb excess heat during the day and release it at night. This passive temperature control method reduces the need for energy-intensive heating and cooling systems.
To visualize these options, consider:
- A sleek, corner-mounted brick masonry heater with intricate flue patterns
- A polished concrete floor that gleams in the sunlight
- A thick, rustic stone countertop that anchors the kitchen space
- A decorative water wall that doubles as a thermal battery
Green Roofs as Insulation Layers
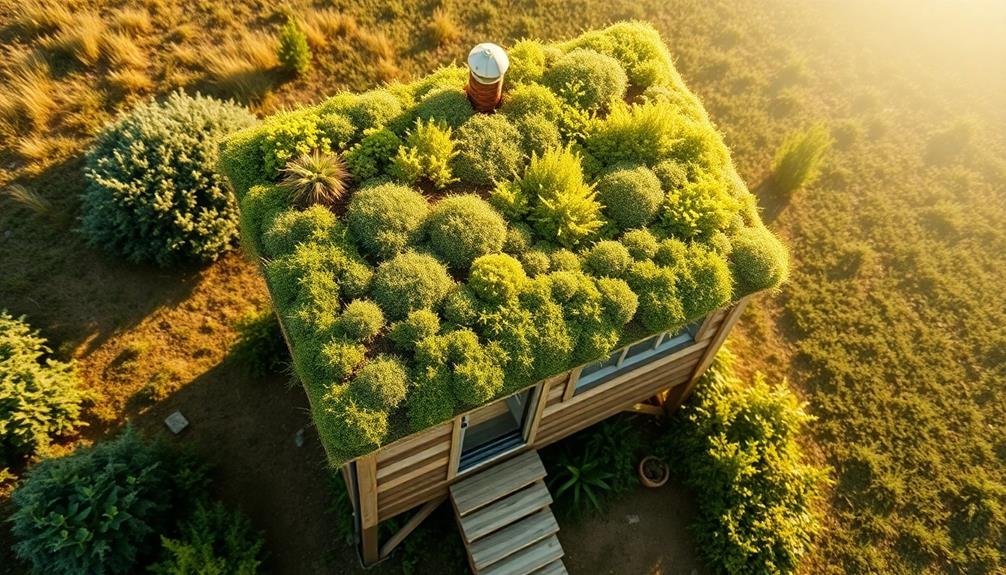
Green roofs can serve as an excellent insulation layer for your tiny house, offering benefits like temperature regulation and reduced energy costs.
You'll need to contemplate structural support, waterproofing, and plant selection when installing a green roof on your compact dwelling.
Regular maintenance, including watering and pruning, is essential to keep your living roof thriving and functioning as an effective insulator.
Benefits of Green Roofs
Four key benefits make green roofs an excellent insulation layer for tiny houses. They provide superior thermal insulation, reducing your heating and cooling costs throughout the year.
You'll notice a significant improvement in your tiny home's energy efficiency, as the green roof acts as a natural barrier against heat transfer. Additionally, green roofs absorb rainwater, reducing runoff and helping to manage stormwater more effectively.
Another advantage is the extended lifespan of your roof. The vegetation protects the underlying structure from UV radiation and temperature fluctuations, potentially doubling or even tripling its durability.
You'll also enjoy improved air quality around your tiny house, as the plants filter pollutants and produce oxygen.
To help you visualize the benefits of a green roof, imagine:
- A lush, vibrant carpet of sedum and wildflowers covering your tiny house
- Butterflies and bees hovering over your rooftop garden
- Raindrops being absorbed by the plants, creating a soothing natural sound
- The stark contrast between your cool, green oasis and neighboring traditional roofs on a hot summer day
Installation Considerations
When considering a green roof for your tiny house, proper installation is vital for its success as an insulation layer. First, verify your roof structure can support the added weight of soil, plants, and water. You'll need to reinforce the roof if necessary and install a waterproof membrane to prevent leaks.
Next, add a root barrier to protect your roof from plant growth. Install a drainage layer to manage excess water and prevent waterlogging. On top of this, place a filter fabric to keep soil in place while allowing water to pass through.
Choose appropriate soil and plants for your climate and roof conditions. Opt for drought-resistant, low-maintenance species that can thrive in shallow soil depths. Consider using pre-grown vegetation mats for quicker establishment.
Proper irrigation is vital, especially during the establishment phase. Install a drip irrigation system or verify regular manual watering.
Don't forget to include access points for maintenance and inspection.
Lastly, consult local building codes and regulations before installation. Some areas may have specific requirements for green roofs, and you'll want to verify compliance to avoid future issues.
Maintenance and Upkeep
Maintaining your green roof is vital for its long-term effectiveness as an insulation layer. Regular inspections and care will guarantee it continues to provide ideal thermal mass benefits for your tiny house.
You'll need to check for any damage to the waterproofing membrane, remove unwanted plants or weeds, and confirm proper drainage. It's also important to monitor the health of your chosen vegetation and replace any dead or dying plants promptly.
To keep your green roof in top condition, you should:
- Inspect the roof at least twice a year, ideally in spring and fall
- Trim vegetation to prevent overgrowth and maintain desired aesthetics
- Apply appropriate fertilizers and pest control measures as needed
- Clear debris from drainage channels to prevent water accumulation
Don't forget to check the structural integrity of your tiny house, as green roofs can be heavier than traditional roofing.
If you notice any sagging or stress on the roof support, consult a professional immediately. By staying proactive with maintenance, you'll maximize the insulation benefits of your green roof and extend its lifespan, making sure your tiny house remains energy-efficient and comfortable year-round.
Frequently Asked Questions
How Does Thermal Mass Affect Energy Bills in Tiny Houses?
You'll see lower energy bills with thermal mass in your tiny house. It absorbs heat during the day and releases it at night, reducing heating and cooling needs. This natural temperature regulation saves you money year-round.
Can Thermal Mass Be Effective in Humid Climates?
Yes, thermal mass can be effective in humid climates. You'll find it helps moderate temperature swings, but you should pair it with proper ventilation and dehumidification. It's most effective when you use it strategically to absorb excess heat.
What's the Ideal Ratio of Thermal Mass to Living Space?
You'll want to aim for a thermal mass to living space ratio of 6:1 to 10:1. This means for every square foot of floor space, you'd have 6-10 pounds of thermal mass. It's not one-size-fits-all, though.
Are There Any Drawbacks to Using Too Much Thermal Mass?
Too much thermal mass can make your space slow to heat or cool. You'll face higher initial costs and reduced flexibility in layout changes. It may also limit natural light and increase humidity if not properly ventilated.
How Can Thermal Mass Be Incorporated in Movable Tiny Houses?
You can incorporate thermal mass in movable tiny houses by using dense materials like concrete floors, stone countertops, or water tanks. Don't forget about phase change materials, which can be easily integrated into walls or furniture for temperature regulation.
In Summary
You've now got a toolbox of thermal mass techniques for your tiny house. By strategically incorporating dense materials, water solutions, phase change materials, concrete, earthen plaster, masonry heaters, and green roofs, you'll create a more stable indoor climate. Remember, it's all about balancing heat absorption and release. With these tips, you'll enjoy better temperature control, reduced energy costs, and a more comfortable living space in your compact home. Start implementing these ideas today!


Leave a Reply