
Retrofitting your home with thermal mass can greatly boost energy efficiency. You'll need to assess your home's potential, select appropriate materials like concrete or stone, and choose effective installation methods. Consider both interior options, such as masonry veneer or rammed earth walls, and exterior techniques like adding thick stucco or precast concrete panels. Proper placement and insulation are essential for maximizing performance. Don't forget to optimize your thermal mass system with strategies like night flushing and incorporating phase change materials. By understanding these principles and techniques, you'll be well-equipped to enhance your home's comfort and reduce energy costs.
Understanding Thermal Mass Principles
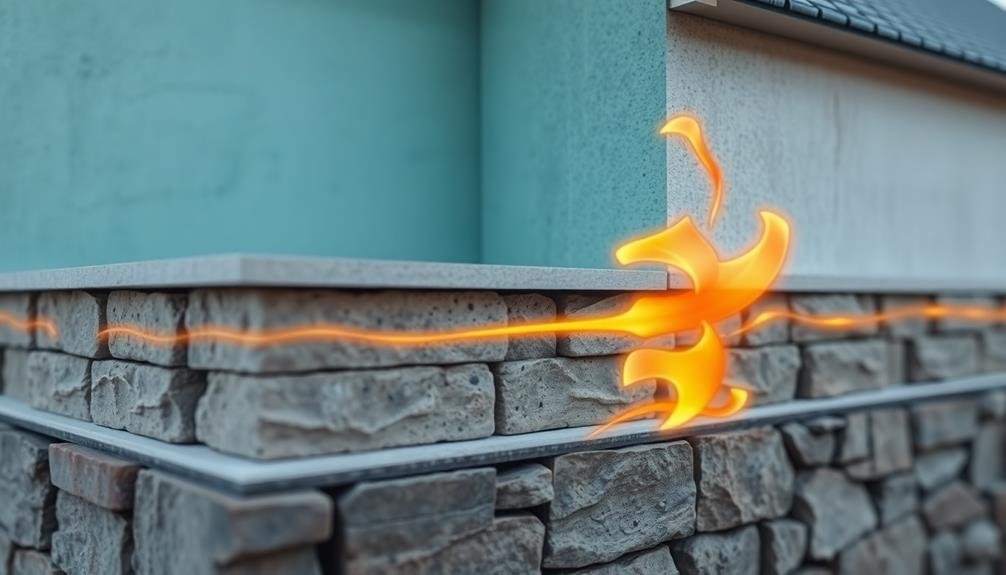
Thermal mass is a key concept in home energy efficiency that you can leverage to your advantage. It refers to a material's ability to absorb, store, and release heat. Materials with high thermal mass, like concrete, brick, and stone, can help regulate indoor temperatures by absorbing excess heat during the day and releasing it slowly at night.
To understand thermal mass principles, you'll need to grasp the concepts of heat transfer and thermal lag. Heat transfer occurs through conduction, convection, and radiation. Thermal mass materials excel at conduction, absorbing heat from their surroundings.
Thermal lag is the time delay between peak outdoor and indoor temperatures, which thermal mass can extend.
When applying thermal mass principles, consider your climate. In hot climates, thermal mass can help keep interiors cool by absorbing heat during the day. In cold climates, it can store heat from passive solar gain or heating systems.
The placement of thermal mass is essential; it should be exposed to sunlight or heat sources for maximum effectiveness. You'll also want to pair thermal mass with proper insulation to prevent unwanted heat loss or gain.
Assessing Your Home's Retrofit Potential
Evaluating your home's potential for energy-efficient retrofits is an essential step in improving its overall performance. To evaluate your home's retrofit potential, you'll need to take into account various factors, including its age, construction type, and current energy usage.
Start by conducting a thorough energy audit to identify areas where improvements can be made. This will help you prioritize retrofits that'll have the most significant impact on your home's energy efficiency.
When evaluating your home's retrofit potential, focus on:
- Insulation levels in walls, attics, and floors
- Air leakage and draft points
- Window and door efficiency
- HVAC system age and performance
Don't forget to examine your home's existing thermal mass elements, such as concrete floors or brick walls. These can be enhanced to improve your home's energy performance.
Think about adding additional thermal mass through materials like phase change materials or water walls. You'll also want to evaluate your home's orientation and sun exposure to determine if passive solar design principles can be incorporated into your retrofit plan.
Selecting Appropriate Thermal Mass Materials
When choosing thermal mass materials for your home, you'll need to contemplate their density and heat capacity.
Higher density materials like concrete and stone generally store more heat, while materials with greater heat capacity retain energy longer.
Compare the cost-effectiveness of different options, weighing their initial price against long-term energy savings and durability.
Material Density Considerations
Choosing the right thermal mass materials can greatly impact your home's energy efficiency. When evaluating material density, you'll want to focus on substances that can effectively absorb, store, and release heat. Generally, denser materials have a higher heat capacity, making them more effective for thermal mass applications.
Common high-density materials used for thermal mass include:
- Concrete
- Brick
- Stone
- Water
As you select materials, keep in mind that density isn't the only factor. You'll also need to take into account the specific heat capacity and thermal conductivity of each material. Concrete, for example, has a high density and good heat capacity, making it an excellent choice for thermal mass.
Water, while less dense, has an exceptionally high specific heat capacity, allowing it to store large amounts of thermal energy.
When retrofitting your home, you'll need to balance material density with practical considerations like cost, availability, and ease of installation.
Don't forget to account for the structural implications of adding dense materials to your home. Consult with a professional to verify your chosen materials are suitable for your specific situation and will effectively enhance your home's energy efficiency.
Heat Capacity Factors
Several key factors influence a material's heat capacity, making it vital for selecting appropriate thermal mass materials. The most significant factor is specific heat capacity, which measures how much energy a material can store per unit mass.
Materials with higher specific heat capacities, like water, can store more thermal energy than those with lower values, such as metals.
Thermal conductivity also plays an important role. It determines how quickly heat moves through a material. You'll want to balance this with the material's thickness to achieve ideal heat storage and release rates.
Additionally, consider the material's density, as denser materials generally have higher heat capacities per unit volume.
Color and surface finish affect a material's ability to absorb and emit radiation. Darker colors and rougher surfaces typically absorb more heat, while lighter colors and smoother surfaces reflect more.
Don't forget to account for the material's availability, cost, and ease of installation in your home.
Lastly, consider the material's compatibility with your existing home structure and climate. Some materials may work better in certain regions or building types than others.
Cost-Effectiveness Comparison
To effectively compare the cost-effectiveness of thermal mass materials, you'll need to contemplate both upfront expenses and long-term savings.
Consider the initial investment for each material, including purchase and installation costs. Factor in the material's lifespan, maintenance requirements, and potential energy savings over time.
When evaluating thermal mass options, assess their suitability for your specific climate and home design. Some materials may perform better in certain conditions, offering greater energy efficiency and cost savings in the long run.
Don't forget to account for any additional benefits, such as improved acoustics or fire resistance, which can add value to your investment.
To make an informed decision, compare different thermal mass materials based on:
- Initial cost per square foot
- Expected lifespan and durability
- Maintenance requirements and associated expenses
- Projected energy savings over time
Remember that while some materials may have a higher upfront cost, they could provide greater long-term savings.
Consult with energy efficiency experts or contractors to get accurate estimates for your specific situation.
Interior Thermal Mass Installation Methods
While incorporating thermal mass into your home's interior can greatly boost energy efficiency, it's essential to understand the various installation methods available. You'll find several options, each with its own benefits and considerations.
For walls, you can add thermal mass through masonry veneer, rammed earth, or phase change materials (PCMs). Floors offer opportunities with concrete slabs, tile, or stone. Don't forget about ceilings, where you can install PCM panels or exposed concrete.
When choosing a method, consider factors like cost, structural requirements, and aesthetic preferences. Here's a quick comparison of common interior thermal mass installation methods:
| Method | Installation Difficulty | Cost | Effectiveness |
|---|---|---|---|
| Masonry Veneer | Moderate | High | High |
| Rammed Earth | High | High | Very High |
| PCM Panels | Low | Med | Moderate |
| Concrete Slab | High | High | High |
| Tile Flooring | Low | Low | Moderate |
Exterior Thermal Mass Retrofitting Techniques
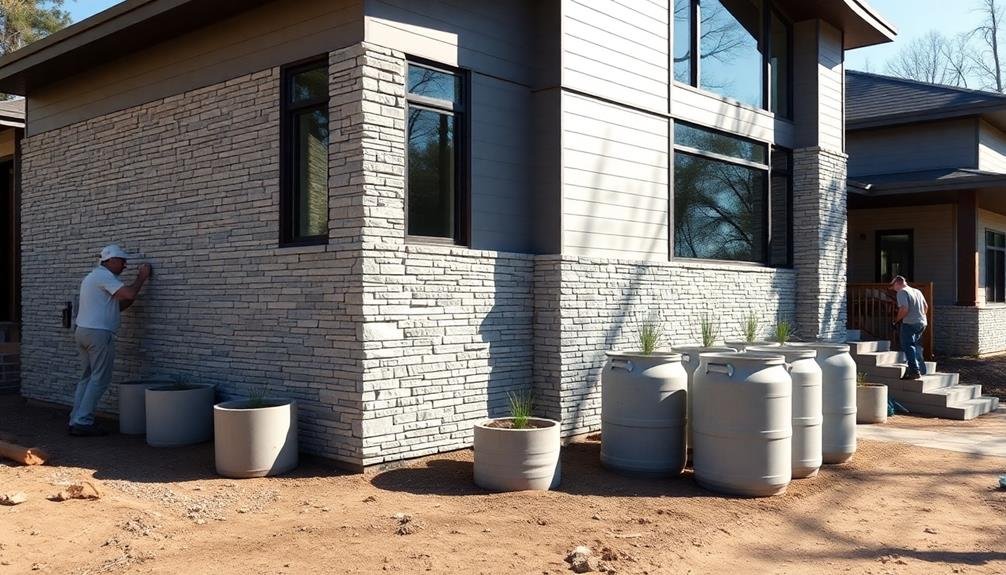
Expanding on our discussion of thermal mass, let's explore exterior retrofitting techniques. These methods can greatly enhance your home's energy efficiency by adding thermal mass to the outside of your existing structure.
You'll find that exterior retrofits often require less disruption to your daily life compared to interior renovations.
One popular technique is adding a layer of high-density materials to your home's exterior walls. This can include:
- Installing masonry veneers like brick or stone
- Applying thick stucco layers
- Adding precast concrete panels
- Incorporating phase-change materials into exterior cladding
When implementing these techniques, it's vital to take into account proper insulation and moisture barriers.
You'll want to make sure that your new thermal mass doesn't compromise your home's existing envelope.
For maximum effectiveness, focus on south-facing walls in colder climates and east or west-facing walls in warmer regions. This strategic placement allows the thermal mass to absorb and release heat at ideal times, reducing your heating and cooling needs.
Don't forget about your roof! Adding a green roof or installing concrete tiles can increase your home's overall thermal mass, further enhancing its energy performance.
Remember to consult with a professional to make sure your home's structure can support these additions.
Optimizing Thermal Mass Performance
Several key strategies can help you optimize the performance of your home's thermal mass.
First, guarantee proper insulation around thermal mass elements to prevent heat loss and maximize heat retention. Use high-quality insulation materials with a high R-value to create an effective thermal barrier.
Next, consider the placement of thermal mass in relation to sunlight exposure. Position thermal mass elements where they'll receive direct sunlight during winter months to absorb and store heat.
Use shading devices or deciduous trees to prevent overheating in summer.
Implement night flushing techniques by opening windows during cool evenings to release stored heat and cool the thermal mass for the next day. This strategy works particularly well in climates with significant day-night temperature variations.
Utilize phase change materials (PCMs) to enhance thermal mass performance. These materials can store and release large amounts of energy during phase changes, effectively increasing the thermal storage capacity of your home.
Frequently Asked Questions
How Long Does It Take to See Energy Savings After Retrofitting Thermal Mass?
You'll start seeing energy savings within a few months after retrofitting thermal mass. However, it can take up to a year to fully experience the benefits as your home adapts to the new thermal properties throughout all seasons.
Can Thermal Mass Retrofitting Be Combined With Other Energy-Efficient Home Improvements?
Yes, you can combine thermal mass retrofitting with other energy-efficient upgrades. It's an excellent way to maximize your home's performance. Consider pairing it with improved insulation, energy-efficient windows, or smart thermostats for even greater savings and comfort.
Are There Any Potential Negative Impacts of Adding Thermal Mass to a Home?
You might face some drawbacks when adding thermal mass to your home. It can increase construction costs, make rooms feel colder initially, and potentially cause moisture issues. You'll also need to take into account structural support for added weight.
How Does Thermal Mass Retrofitting Affect Indoor Air Quality and Humidity Levels?
You'll notice thermal mass can affect indoor air quality and humidity. It'll stabilize temperatures, potentially reducing condensation and mold growth. However, it may also trap moisture if not properly ventilated, so you'll need to guarantee good air circulation.
What Are the Maintenance Requirements for Thermal Mass Materials After Installation?
You'll find that thermal mass materials require minimal maintenance. Keep them clean and free from damage. You should regularly inspect for cracks or moisture issues. Occasionally, you may need to refinish surfaces or reapply sealants for ideal performance.
In Summary
You've now got the knowledge to boost your home's energy efficiency through thermal mass retrofitting. Don't hesitate to assess your home's potential and choose the right materials for your project. Whether you're adding interior mass or upgrading exterior elements, you'll reap the benefits of improved temperature regulation. Remember to optimize your thermal mass performance for maximum impact. With these strategies, you're well on your way to a more comfortable and energy-efficient living space.


Leave a Reply