Arduino projects offer a variety of ways to monitor your home's energy usage. You can create a smart power meter to track real-time electricity consumption, or build a whole-house energy monitor using current transformers. For specific devices, try an individual appliance tracker or a smart plug energy logger. Solar panel enthusiasts can monitor their system's output, while EV owners can track charging efficiency. You'll find options for real-time displays, multi-room comparators, and even energy usage pattern analyzers. These DIY projects not only help you understand your power consumption but also enable you to make informed decisions about energy conservation. Explore further to access the full potential of Arduino-based energy monitoring.
Arduino-Based Smart Power Meter
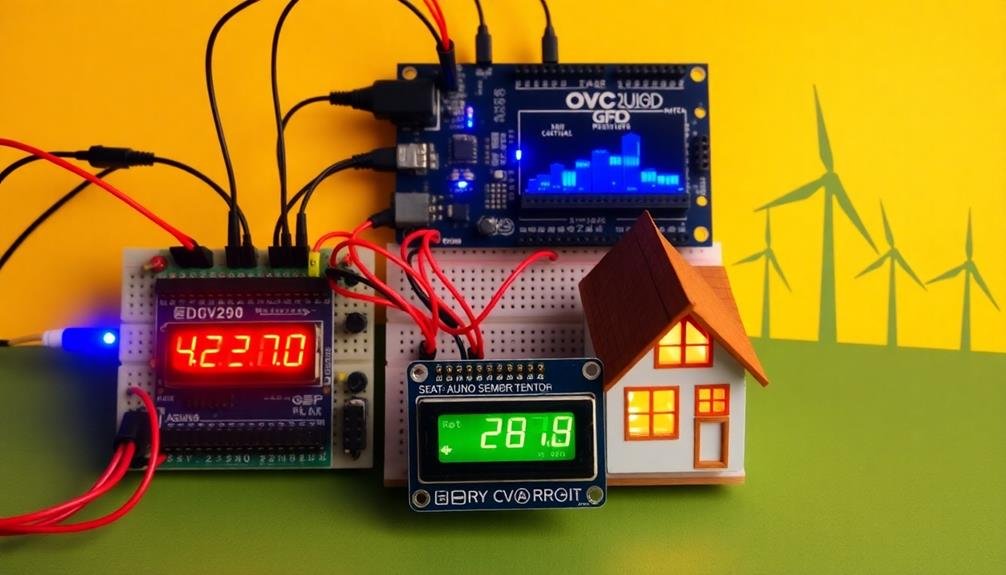
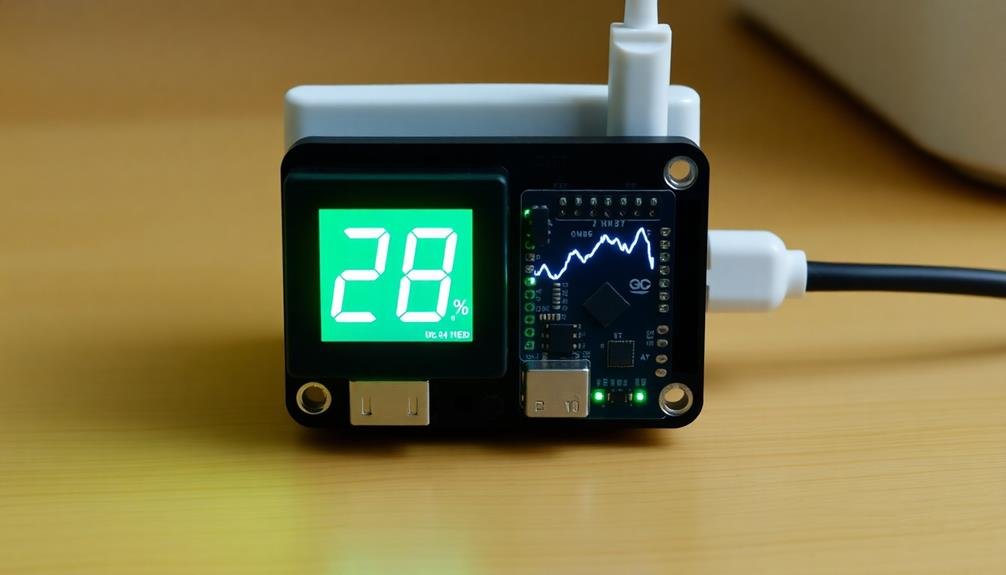
One of the most practical Arduino projects for monitoring home energy usage is a smart power meter. This device allows you to track your home's electricity consumption in real-time, helping you identify energy-hungry appliances and optimize your usage.
To build an Arduino-based smart power meter, you'll need an Arduino board, a current sensor (like the ACS712), and a voltage sensor. Connect these components to your home's main power line, ensuring proper safety measures are in place.
Program your Arduino to read the current and voltage values, then calculate power consumption using the formula P = V * I.
You can display the readings on an LCD screen or send the data to a computer or smartphone via Wi-Fi or Bluetooth. This enables you to monitor your energy usage remotely and create detailed consumption reports.
Consider adding features like power factor measurement or individual circuit monitoring for more thorough insights.
Whole-House Energy Monitor
You'll need specific components and a carefully designed circuit setup to create a whole-house energy monitor with Arduino.
Once you've assembled the hardware, you'll program the Arduino to collect and process the energy consumption data.
To make sense of the collected information, you can explore various data visualization options, allowing you to track and analyze your home's energy usage effectively.
Components and Circuit Setup
To build a whole-house energy monitor using Arduino, you'll need several key components and a well-planned circuit setup. Start with an Arduino board, preferably an Arduino Uno or Mega, as the main controller.
You'll also need a current transformer (CT) sensor to measure the electrical current flowing through your main power lines. Choose a CT sensor with a rating appropriate for your home's typical energy consumption.
For voltage measurement, you'll require a step-down transformer to reduce the mains voltage to a safe level for the Arduino. Add a voltage divider circuit to further reduce the voltage to the Arduino's input range. Include an analog-to-digital converter (ADC) chip if you need higher precision readings.
Set up your circuit by connecting the CT sensor to an analog input pin on the Arduino through a burden resistor. Connect the step-down transformer and voltage divider to another analog input.
Use a real-time clock module to timestamp your readings accurately. Add an SD card module or Ethernet shield for data logging and remote monitoring.
Verify all connections are secure and properly insulated to maintain safety when working with high-voltage systems.
Programming the Arduino
Programming the Arduino for a whole-house energy monitor involves several key steps to guarantee accurate data collection and processing. You'll need to write code that reads voltage and current values from the sensors, calculates power consumption, and sends the data to a display or storage device.
Start by including the necessary libraries for your sensors and display. Define variables for voltage, current, and power. In the setup() function, initialize serial communication and configure pin modes. The loop() function will contain the main monitoring logic.
Here's a breakdown of key programming elements:
| Function | Purpose | Example Code |
|---|---|---|
| readVoltage() | Reads voltage sensor | float v = analogRead(A0) * calibrationFactor; |
| readCurrent() | Reads current sensor | float i = emon.calcIrms(1480); |
| calculatePower() | Computes power | float p = v * i; |
| displayData() | Shows readings | lcd.print("Power: " + String(p) + " W"); |
| sendData() | Transmits to storage | Serial.println(p); |
Remember to calibrate your sensors for accuracy. Implement error handling and data filtering to eliminate noise. You can add features like energy cost calculation or power factor correction for more advanced monitoring. Test your code thoroughly before deploying the monitor in your home.
Data Visualization Options
Once you've programmed your Arduino to collect energy usage data, the next step is presenting this information in a meaningful way. For your whole-house energy monitor, you'll want to choose visualization methods that make the data easy to understand and act upon.
Consider using a small LCD screen directly connected to your Arduino to display real-time energy consumption. This provides instant feedback on your home's power usage.
For more detailed analysis, you can send the data to a computer or smartphone app. Create graphs showing energy usage over time, allowing you to identify patterns and peak consumption periods.
Pie charts can effectively illustrate the distribution of energy use among different appliances or rooms. Bar graphs are useful for comparing daily or monthly consumption. You might also implement a color-coded system, where green indicates low usage, yellow moderate, and red high consumption.
For a more interactive experience, consider creating a web interface that allows you to view your energy data from any device. This could include customizable dashboards, alerts for unusual spikes in usage, and even predictive analytics to forecast future consumption based on historical data.
Individual Appliance Usage Tracker
An Individual Appliance Usage Tracker is a valuable Arduino project that lets you monitor the energy consumption of specific devices in your home.
You'll need an Arduino board, current sensors, and a display unit to get started. Connect the sensors to the power cords of the appliances you want to track, ensuring they're properly calibrated for accurate readings.
Program your Arduino to measure the current flow and calculate power consumption. You can set it up to log data over time, giving you insights into usage patterns.
Consider adding features like real-time power monitoring, daily/weekly/monthly energy summaries, and cost calculations based on your electricity rates.
For ease of use, incorporate a user-friendly interface. This could be a small LCD screen attached to the Arduino or a wireless connection to your smartphone or computer.
You might even integrate it with your home automation system for more thorough energy management.
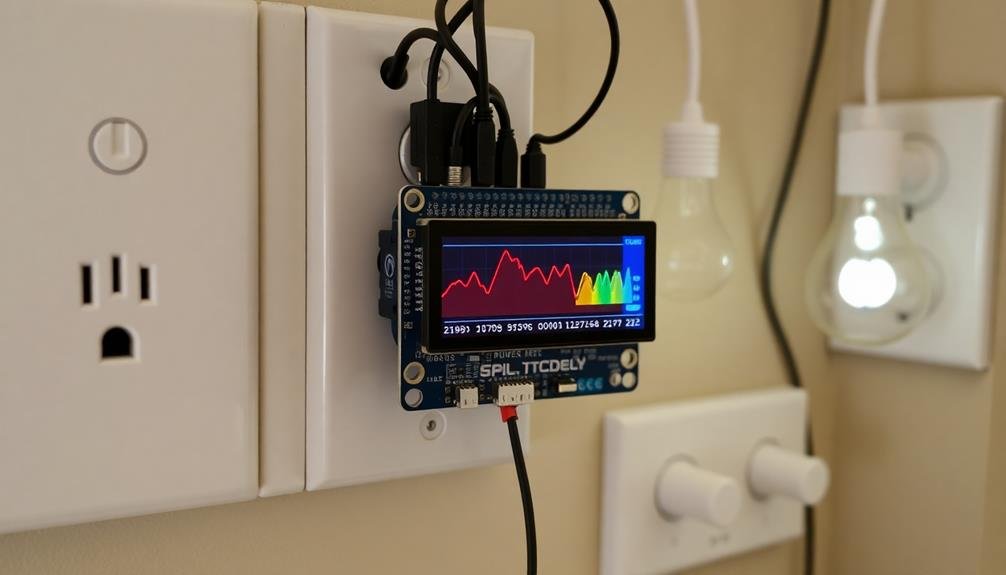
Real-Time Energy Consumption Display
Building on the concept of individual appliance tracking, a Real-Time Energy Consumption Display offers an extensive view of your home's overall energy usage.
This Arduino project utilizes a current sensor connected to your main electrical panel to measure the total power consumption of your household. You'll need an Arduino board, a current sensor, and a display unit to create this system.
The Real-Time Energy Consumption Display provides valuable insights into your energy usage patterns, helping you make informed decisions about power consumption.
It can show:
- Instantaneous power usage in watts or kilowatts
- Daily, weekly, or monthly energy consumption in kilowatt-hours
- Cost estimates based on your local electricity rates
Solar Panel Output Monitor
For homeowners with solar panels, monitoring their system's output is essential for optimizing energy production and consumption. You can create an Arduino-based solar panel output monitor to track your system's performance in real-time. This project allows you to measure voltage, current, and power output from your solar panels, giving you valuable insights into your renewable energy generation.
To build this monitor, you'll need an Arduino board, voltage and current sensors, and a display module. Connect the sensors to your solar panel system and the Arduino, then use the board to process the data. You can program the Arduino to calculate instantaneous power output and track daily energy production.
Display the information on an LCD screen or send it to your smartphone via a Wi-Fi module. You'll be able to see how much energy your panels are producing at any given moment and track trends over time. This data helps you identify potential issues, optimize panel placement, and make informed decisions about your energy usage.
You can even set up alerts for low production or system malfunctions, ensuring you're always aware of your solar panel's performance.
Battery Storage System Analyzer
Your Arduino-based Battery Storage System Analyzer can provide essential insights into your home's energy storage performance.
You'll be able to monitor your battery's real-time capacity, allowing you to track its current charge level and overall health.
Additionally, you can analyze charge and discharge rates, helping you optimize your energy usage and identify potential issues in your storage system.
Real-Time Capacity Monitoring
Real-time capacity monitoring of your battery storage system is essential for optimizing energy usage and ensuring system reliability.
With an Arduino-based project, you can create a sophisticated monitoring system that provides up-to-date information on your battery's state of charge, discharge rate, and overall health.
To build this project, you'll need an Arduino board, voltage sensors, current sensors, and a display module. The Arduino will collect data from the sensors and process it to calculate important metrics. You can then display this information on an LCD screen or send it to your smartphone via Bluetooth.
Here are three key features you can implement in your real-time capacity monitoring system:
- State of Charge (SoC) estimation: Calculate and display the remaining battery capacity as a percentage.
- Discharge rate tracking: Monitor how quickly your battery is losing charge and estimate remaining runtime.
- Temperature monitoring: Keep track of battery temperature to prevent overheating and extend battery life.
Charge/Discharge Rate Analysis
Building on the real-time capacity monitoring system, a charge/discharge rate analyzer provides deeper insights into your battery storage system's performance. This Arduino project helps you track how quickly your batteries charge and discharge, allowing you to optimize their usage and extend their lifespan.
You'll need an Arduino board, current sensors, voltage dividers, and a display module. The setup measures the current flowing in and out of your batteries, calculates the rate of charge or discharge, and displays this information in real-time.
Here's a breakdown of what you can monitor:
| Parameter | Description | Unit | Importance | Arduino Pin |
|---|---|---|---|---|
| Current | Flow of electricity | Amperes | High | Analog |
| Voltage | Electrical potential | Volts | High | Analog |
| Time | Duration of charge/discharge | Hours | Medium | Digital |
| Temperature | Battery temperature | Celsius | Medium | Analog |
| Cycles | Number of charge/discharge cycles | Count | Low | Digital |
HVAC Efficiency Measurement Device
An Arduino-based HVAC efficiency measurement device can be a game-changer for homeowners looking to optimize their energy usage. This project allows you to monitor your heating, ventilation, and air conditioning system's performance in real-time, helping you identify inefficiencies and potential energy savings.
To build this device, you'll need an Arduino board, temperature sensors, and a current sensor. Place temperature sensors at key points in your HVAC system, such as the air intake, output vents, and various rooms in your home. The current sensor will measure the power consumption of your HVAC unit.
Your Arduino will collect and process this data, providing valuable insights into your system's efficiency.
Here's what you can achieve with this project:
- Monitor temperature differentials across your home
- Track HVAC power consumption over time
- Calculate the system's coefficient of performance (COP)
Water Heater Energy Monitor
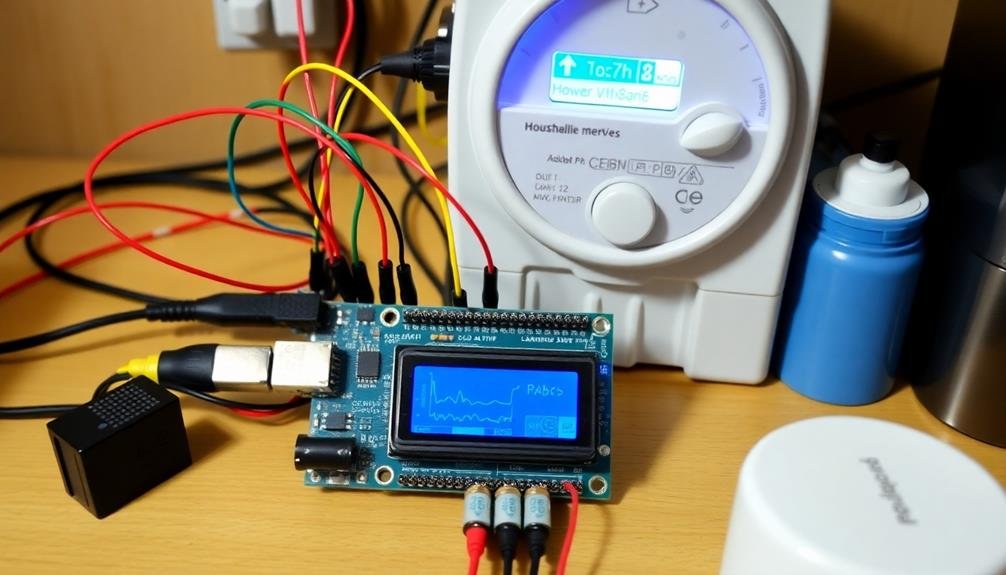
Moving from HVAC to another major energy consumer in your home, let's explore how to monitor your water heater's energy usage. With an Arduino-based water heater energy monitor, you can track power consumption and identify inefficiencies.
To build this project, you'll need an Arduino board, current sensors, temperature sensors, and a display module. Install the current sensors on the power lines feeding your water heater to measure electricity usage. Place temperature sensors on the inlet and outlet pipes to monitor water temperature changes.
Program your Arduino to calculate energy consumption based on current draw and temperature differentials. You can also add features like estimating standby heat loss and tracking usage patterns over time.
Display real-time data on an LCD screen or send it to a smartphone app for easy monitoring. This setup allows you to detect issues like excessive standby power drain or heating element problems.
You'll be able to optimize your water heater's settings, potentially reducing energy waste. By understanding your usage patterns, you can make informed decisions about when to replace your water heater or consider more efficient alternatives like tankless or heat pump models.
Lighting System Power Tracker
To build a lighting system power tracker, you'll need to design a circuit that can measure current and voltage from your home's lighting circuits.
You can use Arduino-compatible current sensors and voltage dividers, connecting them to your Arduino's analog inputs for data collection.
Once you've gathered the power consumption data, you'll want to log it to an SD card or transmit it wirelessly.
Then create graphs or charts to visualize your lighting energy usage over time.
Circuit Design and Components
The core of our lighting system power tracker consists of five essential components. You'll need an Arduino board (Uno or Nano), a current sensor (ACS712), a voltage sensor, a real-time clock module (DS3231), and an SD card module for data logging.
These components work together to measure, record, and analyze your lighting system's power consumption.
To set up your circuit:
- Connect the current sensor in series with your lighting system's power line.
- Attach the voltage sensor in parallel across the power supply.
- Wire the RTC and SD card modules to the Arduino using the SPI interface.
You'll also need to program your Arduino to read sensor data, timestamp it, and store it on the SD card. This setup allows you to track power usage over time and identify energy-hungry fixtures or inefficient lighting patterns.
For more advanced features, consider adding a Wi-Fi module to transmit data to a cloud service or a display screen to show real-time consumption.
With this system in place, you'll gain valuable insights into your home's lighting energy usage, enabling you to make informed decisions about energy conservation and cost reduction.
Data Logging and Visualization
Data is the lifeblood of your lighting system power tracker. To make sense of the information your Arduino collects, you'll need effective data logging and visualization techniques. Start by connecting an SD card module to your Arduino for local storage. This allows you to record power consumption data over extended periods without constant computer connectivity.
For real-time monitoring, consider adding an LCD screen to display current power usage and daily totals. You can also transmit data wirelessly using Wi-Fi or Bluetooth modules, enabling remote access and smartphone integration.
To visualize your data, you'll need to process it. Here's a simple breakdown of data handling steps:
| Step | Action | Tool |
|---|---|---|
| 1 | Collect | Arduino sensors |
| 2 | Store | SD card or cloud |
| 3 | Process | Excel or Python |
| 4 | Visualize | Grafana or Tableau |
Once processed, create graphs and charts to track trends in your lighting system's power consumption. This visual representation helps you identify energy-hungry fixtures and peak usage times. You can use free tools like Google Sheets for basic charting or more advanced platforms like Grafana for interactive dashboards. By analyzing this data, you'll gain insights into your home's energy usage patterns and make informed decisions to reduce consumption.
Electric Vehicle Charging Monitor
Electric vehicles are becoming increasingly popular, and monitoring their charging process is essential for efficient energy management.
With an Arduino-based EV charging monitor, you can track your vehicle's energy consumption and optimize charging schedules. This project allows you to collect real-time data on charging duration, power draw, and overall energy usage.
To create an EV charging monitor using Arduino, you'll need:
- An Arduino board (e.g., Arduino Uno or Nano)
- Current sensor (like ACS712)
- Voltage sensor or voltage divider circuit
Connect these components to your EV charging setup and program the Arduino to measure voltage and current.
You can then calculate power consumption and track energy usage over time. The data can be displayed on an LCD screen or sent to your smartphone via Bluetooth or Wi-Fi.
Smart Plug Energy Logger
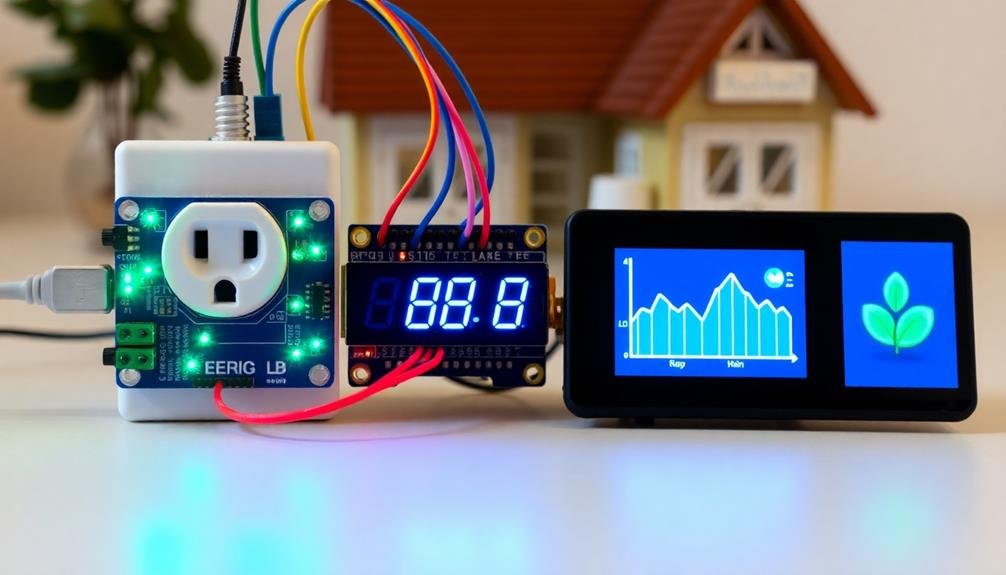
With the rise of smart home technology, creating a Smart Plug Energy Logger is an excellent Arduino project for monitoring your household appliances' power consumption. This device allows you to track energy usage in real-time, helping you identify power-hungry devices and optimize your energy consumption.
To build this project, you'll need an Arduino board, a current sensor, a voltage sensor, and a Wi-Fi module. Connect these components to create a smart plug that measures both current and voltage. You can then calculate power consumption and transmit the data wirelessly to your computer or smartphone.
Program your Arduino to sample voltage and current readings at regular intervals. Use these measurements to compute power and energy consumption over time. Implement a data logging feature to store this information for later analysis.
You can enhance your Smart Plug Energy Logger by adding a display to show real-time power usage or integrating it with your home automation system.
This project not only helps you save money on your electricity bills but also promotes energy conservation. By understanding your appliances' energy consumption patterns, you can make informed decisions about their usage and replacement.
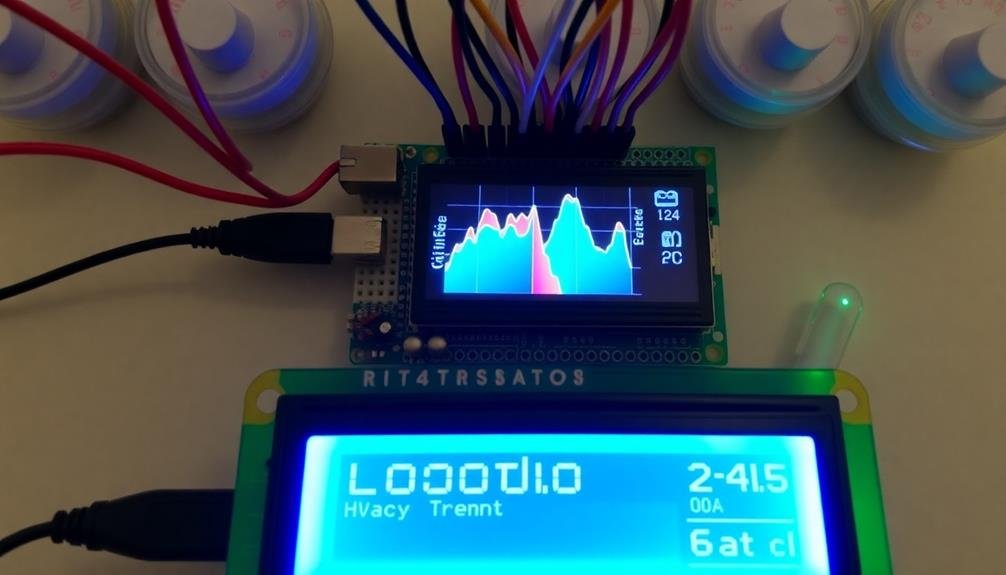
Multi-Room Power Consumption Comparator
Building on the Smart Plug Energy Logger, you can take your home energy monitoring to the next level with a Multi-Room Power Consumption Comparator. This Arduino project allows you to monitor and compare power usage across different rooms in your house simultaneously.
You'll need multiple Arduino boards, each equipped with current sensors and Wi-Fi modules, to collect data from various locations.
To set up your Multi-Room Power Consumption Comparator:
- Install Arduino boards with current sensors in each room you want to monitor.
- Program each Arduino to measure power consumption and transmit data wirelessly.
- Create a central hub using a Raspberry Pi or another Arduino to receive and process data from all rooms.
The central hub will aggregate the data and display real-time comparisons of power usage between rooms. This setup enables you to identify which areas of your home consume the most energy and make informed decisions about reducing consumption.
You can add features like automated alerts for unusual spikes in energy use or create a user-friendly dashboard to visualize your home's power consumption patterns over time.
With this system, you'll gain valuable insights into your energy usage habits and find opportunities for greater efficiency.
Energy Usage Pattern Analyzer
Taking your multi-room monitoring system a step further, you can create an Energy Usage Pattern Analyzer using Arduino. This project helps you identify trends and patterns in your home's energy consumption over time. You'll need to add data logging capabilities to your existing setup, either through an SD card module or by connecting your Arduino to a computer for continuous data collection.
The analyzer can process this data to reveal insights about your energy usage habits. It can detect peak usage times, identify energy-hungry appliances, and even predict future consumption based on historical patterns. You'll need to write algorithms to process the data and create meaningful visualizations.
Here's a simple breakdown of what your Energy Usage Pattern Analyzer can do:
| Feature | Description | Benefit |
|---|---|---|
| Time-based analysis | Identifies high and low usage periods | Helps schedule energy-intensive tasks |
| Appliance profiling | Detects unique power signatures | Pinpoints energy-hungry devices |
| Predictive modeling | Forecasts future energy usage | Aids in budget planning and conservation efforts |
Frequently Asked Questions
How Accurate Are Arduino-Based Energy Monitoring Projects Compared to Professional Solutions?
Arduino-based energy monitoring projects can be reasonably accurate, but they're usually less precise than professional solutions. You'll get decent estimates, but for exact measurements, you'd want to invest in higher-end equipment. They're great for learning and basic tracking.
Can Arduino Energy Monitors Handle High-Voltage Systems Safely?
You shouldn't use Arduino directly with high-voltage systems. It's unsafe and potentially dangerous. Instead, use appropriate isolation components and voltage transformers to step down the voltage before connecting to Arduino. Always prioritize safety when working with electricity.
What Additional Components Are Needed for Arduino Energy Monitoring Projects?
You'll need current sensors, voltage sensors, and an AC-to-DC power supply for Arduino energy monitoring. Don't forget a real-time clock module, SD card for data logging, and a display screen to view readings. WiFi modules enable remote monitoring.
How Can Arduino Energy Monitors Be Integrated With Smart Home Systems?
You can integrate Arduino energy monitors with smart home systems by using Wi-Fi or Zigbee modules to connect them to your network. They'll send data to your smart hub, allowing you to track and control energy usage through apps or voice assistants.
Are There Any Legal Considerations When Installing DIY Energy Monitoring Devices?
You'll need to contemplate safety regulations and local codes when installing DIY energy monitors. Check if you're allowed to modify your electrical system. It's wise to consult an electrician or your utility company for guidance on legal requirements.
In Summary
You've now got a range of Arduino projects to monitor your home's energy usage. From whole-house systems to individual appliance trackers, you're equipped to take control of your power consumption. Whether you're interested in real-time displays, solar panel monitoring, or analyzing usage patterns, there's a project for you. By implementing these DIY solutions, you'll gain valuable insights into your energy habits and can make informed decisions to reduce your bills and environmental impact.


Leave a Reply