You can easily recycle water at home with DIY greywater systems, reducing your water bills and helping the environment. Start with a simple laundry-to-garden setup by redirecting your washing machine's discharge hose to your garden. For more extensive recycling, consider a branched drain system that incorporates multiple water sources like sinks and showers. A drum system can collect and filter greywater from various sources before distributing it to your garden. Remember to check local regulations and obtain necessary permits before installation. With regular maintenance and proper plant selection, your greywater system can provide long-term benefits. Dive deeper to reveal the full potential of water recycling at home.
Understanding Greywater Basics
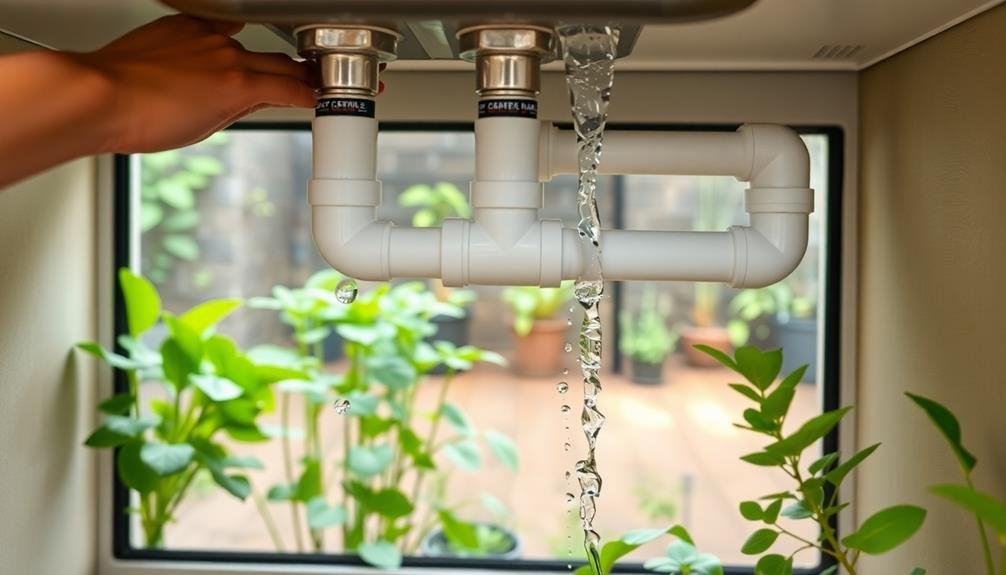
Sustainability starts at home, and understanding greywater basics is an essential step toward eco-friendly living. Greywater is the gently used water from your sinks, showers, and washing machines. It's distinct from blackwater, which comes from toilets and contains harmful pathogens. By recycling greywater, you can greatly reduce your household's water consumption and lessen the burden on municipal water systems.
You'll find that greywater contains traces of soap, food particles, and other organic matter. While it's not suitable for drinking, it's perfect for irrigation and other non-potable uses. Before implementing a greywater system, check your local regulations, as some areas have specific requirements or restrictions.
When designing your system, consider the volume of greywater you produce and how you'll use it. Simple systems can divert water directly to your garden, while more complex setups might include filtration and storage components.
Benefits of Greywater Recycling
Now that you understand the basics of greywater, let's explore why recycling it's so beneficial. By reusing water from sinks, showers, and washing machines, you're taking a significant step towards water conservation and environmental protection.
One of the primary advantages of greywater recycling is its ability to reduce your household's water consumption. You'll see a noticeable decrease in your water bills, as you're fundamentally using the same water twice. This practice also helps preserve local water sources, easing the strain on reservoirs and aquifers.
Greywater recycling contributes to a healthier garden and landscape. The nutrients found in greywater, such as nitrogen and phosphorus, act as natural fertilizers for your plants. This means you'll spend less on store-bought fertilizers and enjoy lush, thriving vegetation.
Consider these vivid benefits of greywater recycling:
- A greener lawn without increasing your water usage
- Flourishing vegetable gardens nourished by nutrient-rich water
- Reduced strain on your septic system or local sewage treatment plant
- A smaller carbon footprint and a sense of environmental stewardship
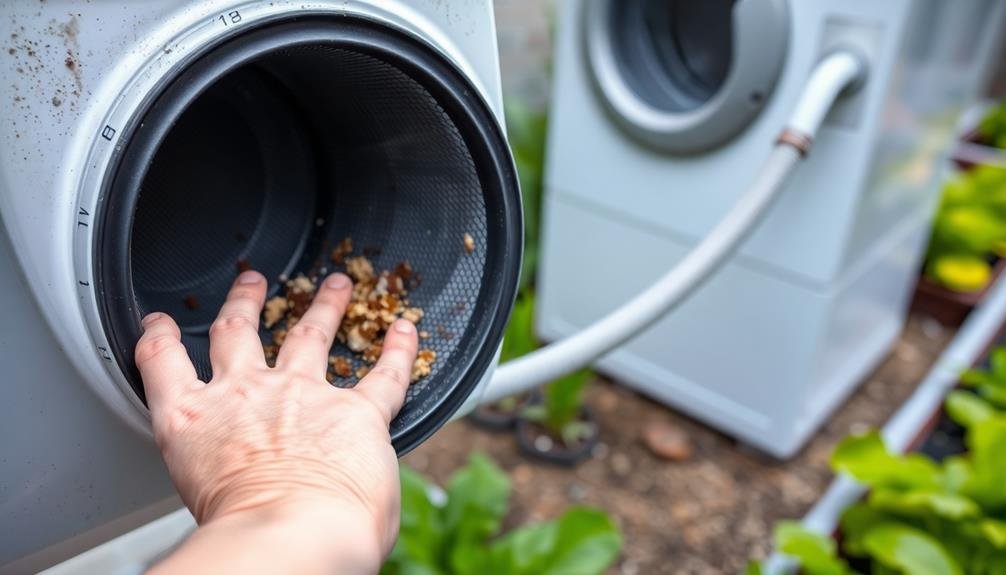
Simple Laundry-to-Garden System

A washing machine serves as the cornerstone of a simple laundry-to-garden greywater system. To set up this system, you'll need to redirect your washer's discharge hose to your garden instead of the sewer.
First, make sure you're using biodegradable, plant-friendly detergents. Then, disconnect the existing drain hose and attach a new, longer hose that can reach your garden.
Route the new hose outside through a small hole in the wall or under a door. In your garden, create a branching network of perforated pipes or drip irrigation lines to distribute the water evenly. Bury these pipes about 2 inches deep in mulch-filled trenches. This setup helps filter the water and prevents pooling.
Install a three-way valve near your washing machine to allow switching between the greywater system and the regular drain. This gives you control during heavy rains or when using harsh cleaning products. Remember to label the valve clearly.
Branched Drain Greywater System
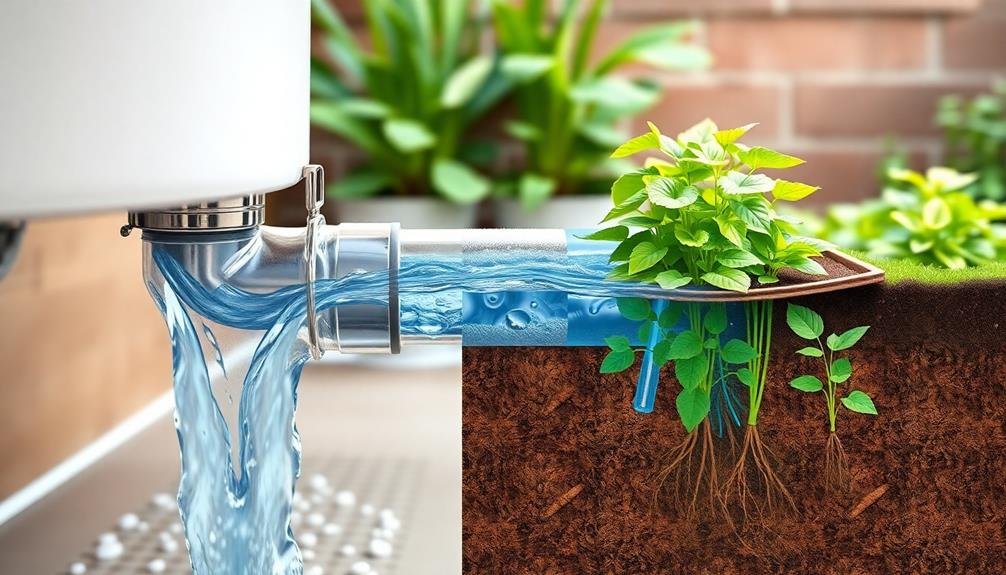
While the laundry-to-garden system focuses on a single source, a branched drain greywater system expands to include multiple greywater sources throughout your home. This more complex setup allows you to recycle water from your sinks, showers, and washing machine simultaneously.
You'll need to plan carefully, as the system relies on gravity to distribute water to various parts of your garden or landscape.
To create a branched drain system, you'll need to:
- Install a three-way valve at each greywater source
- Connect PVC pipes to form a network leading outdoors
- Add mulch basins around plants to filter and distribute water
- Incorporate air gaps to prevent backflow and contamination
The branched system offers greater flexibility in water distribution, allowing you to irrigate a larger area of your yard.
You can adjust the flow to different zones by using flow splitters or varying pipe diameters. Remember to use only biodegradable, plant-friendly soaps and detergents to protect your soil and plants.
With proper maintenance, a branched drain greywater system can greatly reduce your water consumption while keeping your garden lush and thriving.
Drum System for Multiple Sources
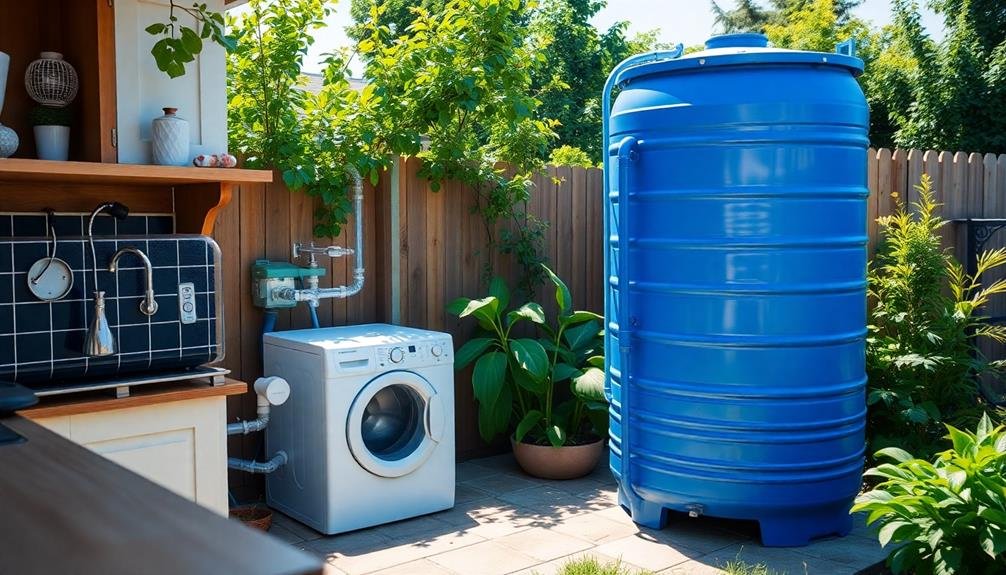
For homeowners looking to manage multiple greywater sources efficiently, a drum system offers a versatile solution. This setup uses a large drum or tank to collect greywater from various sources like your washing machine, shower, and bathroom sink.
You'll need to install a filter at the drum's inlet to remove debris and prevent clogging. Once the drum is full, you can use a pump to distribute the collected water to your garden or lawn.
You'll want to install a float switch in the drum to automatically activate the pump when it reaches a certain level. This guarantees that the system operates smoothly without your constant attention.
To set up a drum system, you'll need to redirect your greywater pipes to the drum's location. Make sure you place the drum in an accessible area for maintenance.
You can install multiple drums in series for increased storage capacity. Don't forget to include an overflow pipe that leads to your sewer system or septic tank for safety.
Regular maintenance is essential, so clean the filter and drum periodically to prevent odors and bacteria growth.
Constructed Wetland Greywater Treatment
When creating a constructed wetland for greywater treatment, you'll need to carefully plan the design and construction process.
You'll want to take into account plant selection, choosing species that thrive in wet conditions and effectively filter contaminants.
Regular maintenance and monitoring are essential to guarantee your wetland system continues to function properly and treat your greywater effectively.
Design and Construction Process
The construction of a wetland greywater treatment system requires careful planning and execution. Begin by selecting an appropriate location, considering factors like soil type, slope, and proximity to your home.
Next, excavate the area to create a shallow basin, guaranteeing proper depth and dimensions for your specific needs. Line the basin with a waterproof membrane to prevent water seepage and contamination of groundwater.
Then, add layers of gravel and sand to create a filtration system. Choose native aquatic plants that thrive in your climate and are known for their water-purifying abilities.
As you build your wetland, visualize the following elements:
- A meandering stream of water flowing through lush vegetation
- Colorful dragonflies darting between cattails and reeds
- Smooth river rocks peeking out from beneath the water's surface
- Delicate water lilies floating on the surface, their roots reaching deep into the gravel below
Install a distribution system to evenly disperse greywater throughout the wetland.
Plant Selection Considerations
Selecting appropriate plants for your constructed wetland greywater treatment system is crucial to its effectiveness and longevity. Choose plants that thrive in wet conditions and can tolerate fluctuating water levels. Native species are often the best choice, as they're adapted to your local climate and require less maintenance.
Consider plants with extensive root systems, such as cattails, rushes, and sedges. These help filter contaminants and provide a habitat for beneficial microorganisms. Include a mix of submerged, floating, and emergent plants to create a diverse ecosystem.
Submerged plants like hornwort and water milfoil oxygenate the water, while floating plants like duckweed and water hyacinth absorb excess nutrients.
Don't forget about aesthetic appeal. Include flowering plants like irises or water lilies to add visual interest. Avoid invasive species that can quickly overtake your system and cause imbalances. Research each plant's growth rate and mature size to ascertain they won't outgrow your wetland.
Lastly, consider your local climate and seasonal changes. Choose plants that can withstand temperature fluctuations and maintain their filtering capabilities year-round. This will guarantee your greywater system remains effective regardless of the season.
Maintenance and Monitoring Tips
Regularly maintaining and monitoring your constructed wetland greywater treatment system is essential for its long-term success. Keep an eye on water levels, guaranteeing they remain consistent and don't overflow or dry out. Check for any signs of clogging in the inlet and outlet pipes, and clear them as needed. Inspect the plants regularly, removing any dead or diseased vegetation to maintain a healthy ecosystem.
Perform these tasks on a monthly basis:
- Test the water quality, including pH levels and nutrient content
- Trim back overgrown plants to prevent system overload
- Remove any accumulated sediment from the bottom of the wetland
- Check for and repair any damage to the liner or containment structure
Be vigilant for unusual odors, which may indicate an imbalance in the system. If you notice foul smells, investigate the cause immediately and take corrective action.
Keep detailed records of your maintenance activities and water quality tests to track the system's performance over time. This data will help you identify trends and potential issues before they become serious problems.
Greywater-Safe Plants and Soaps
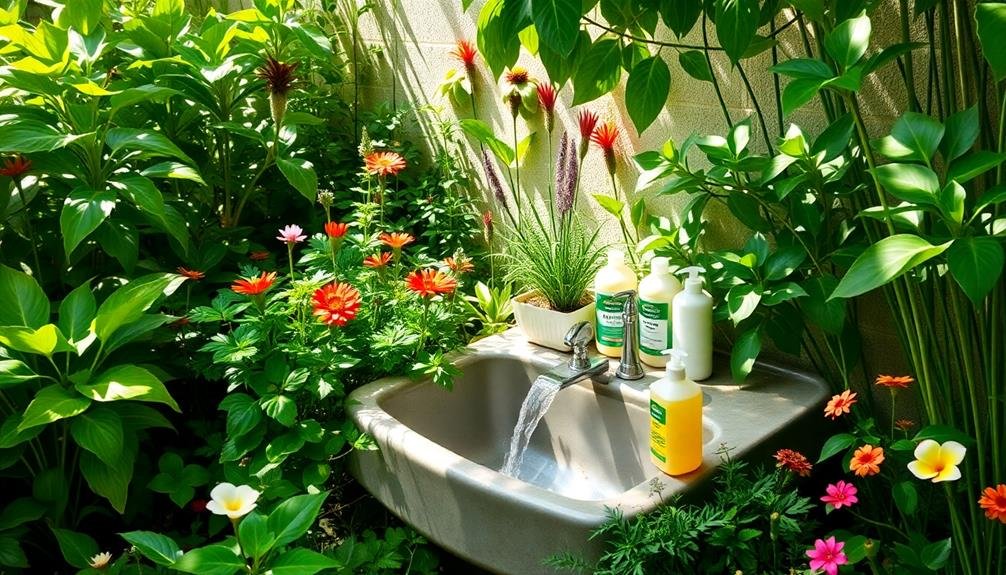
Choosing the right plants and soaps is essential for a successful greywater system. For plants, opt for those that thrive in slightly alkaline, nutrient-rich environments. Fruit trees, berry bushes, and ornamental shrubs like lavender and rosemary are excellent choices.
Avoid plants that prefer acidic soil, such as azaleas and rhododendrons, as greywater tends to be alkaline.
When it comes to soaps, select biodegradable, plant-based options low in sodium and free from harmful chemicals. Look for products labeled "greywater safe" or those containing natural ingredients like coconut oil, olive oil, and essential oils.
Avoid soaps with borax, boron, or bleach, as these can harm your plants and soil.
For laundry, use liquid detergents instead of powders, as they're less likely to clog your system. Choose phosphate-free, biodegradable detergents and skip fabric softeners altogether.
In the kitchen, opt for natural dish soaps without antibacterial agents or harsh chemicals.
Legal Considerations and Permits
Before installing your DIY greywater system, you'll need to check your local regulations to guarantee compliance.
Many areas require permits for greywater systems, so familiarize yourself with the application process.
You'll likely need to submit detailed plans and specifications for your system to obtain the necessary approvals.
Check Local Regulations
Every city and county has its own set of rules governing greywater systems. Before you start your DIY project, it's essential to check your local regulations.
Contact your city's building department or water authority to inquire about specific requirements for greywater systems in your area. You'll need to know if permits are necessary, what types of systems are allowed, and any restrictions on water usage or disposal.
Some common regulations you might encounter include:
- Maximum daily greywater output limits
- Setback distances from property lines and structures
- Soil absorption requirements
- Specific plumbing and filtration standards
Be prepared to provide detailed plans of your proposed system when applying for permits. Many localities require professional designs or inspections to guarantee compliance with health and safety standards.
Don't forget to check with your homeowners' association, if applicable, as they may have additional restrictions on greywater systems.
Permit Application Process
Once you've familiarized yourself with local regulations, it's time to navigate the permit application process.
Start by contacting your local building department or water authority to obtain the necessary application forms. You'll typically need to submit detailed plans of your proposed greywater system, including schematics, materials list, and installation methods.
Be prepared to provide information about your property, such as lot size, soil type, and proximity to water sources. You may also need to include a site plan showing the layout of your home, the location of the greywater system, and any nearby structures or property lines.
Some jurisdictions require a professional engineer's stamp on your plans, while others may accept DIY designs.
You'll likely need to pay an application fee and schedule inspections during and after installation. The review process can take several weeks to months, depending on your location and the complexity of your system.
Don't start construction until you've received approval. If your initial application is denied, work with the permitting office to address their concerns and resubmit.
Maintenance and Troubleshooting
Proper maintenance of your DIY greywater system is essential for its longevity and efficiency. Regularly inspect your system for leaks, clogs, or signs of wear. Clean filters and strainers monthly to prevent buildup and guarantee smooth water flow. Check soil moisture levels around your irrigation zones to avoid oversaturation.
If you encounter issues, troubleshoot systematically. Common problems include:
- Foul odors: Often caused by stagnant water or bacterial growth
- Slow drainage: Usually due to clogged pipes or filters
- Uneven water distribution: May indicate blockages or improper slope
- Plant stress: Could signal inadequate filtration or harmful chemicals in greywater
To address these issues, flush your system with clean water, replace worn components, and adjust flow rates as needed.
If you're using greywater for irrigation, rotate watering zones to prevent soil saturation and salt buildup. Consider adding a simple disinfection method, like UV treatment, if odors persist.
Keep a maintenance log to track system performance and identify recurring problems. Don't hesitate to consult a professional if you encounter complex issues or if your system requires significant repairs.
Regular care will guarantee your DIY greywater system continues to function effectively, saving water and money.
Greywater System Cost Analysis
When considering a DIY greywater system, you'll need to weigh the initial setup expenses against the long-term savings potential.
You can expect upfront costs for materials like pipes, filters, and storage tanks, but over time, you'll likely see a reduction in your water bills.
Don't forget to factor in ongoing maintenance and operation costs, which may include periodic filter replacements and system checks.
Initial Setup Expenses
The cost breakdown of a DIY greywater system can vary widely depending on your specific needs and setup.
However, you can expect to invest in several key components for your initial installation. These typically include piping, valves, filters, and a distribution system for your garden or landscaping.
For a basic laundry-to-landscape system, you might spend between $100 and $400 on materials. More complex systems that incorporate multiple water sources or require significant plumbing modifications can cost upwards of $1,000.
Keep in mind that these estimates don't include any necessary permits or professional consultations, which may add to your expenses.
When planning your budget, consider the following potential costs:
- PVC pipes and fittings: $50-$150
- Diverter valve: $20-$50
- Mulch basin materials: $50-$100
- Irrigation components: $50-$200
Long-Term Savings Potential
In spite of the initial setup costs, a DIY greywater system can offer significant long-term savings on your water bill and overall household expenses.
You'll see a noticeable reduction in your water consumption, as you're reusing water that would otherwise go down the drain. This can lead to substantial savings over time, especially in areas with high water rates or during drought conditions.
By redirecting greywater to your garden, you'll also save on irrigation costs. Your plants will thrive on this nutrient-rich water, potentially reducing the need for fertilizers and other gardening products.
Additionally, you may see a decrease in your energy bills, as less water will need to be heated for household use.
The system's low maintenance requirements mean you won't incur significant ongoing costs. With proper care, your DIY greywater system can last for years, continually providing savings.
Some estimates suggest that a typical household can save up to 40% on their water bills by implementing a greywater system.
Over time, these savings will outweigh the initial investment, making your DIY greywater system a financially sound choice for both your wallet and the environment.
Maintenance and Operation Costs
Once you've set up your DIY greywater system, you'll find that maintenance and operation costs are relatively low.
Regular upkeep primarily involves cleaning filters, checking pipes for clogs, and monitoring plant health. You'll need to replace filters every few months, which typically cost between $10 and $30 each, depending on the system's size and complexity.
Electricity costs for pumping water are minimal, often less than $1 per month for small-scale systems. If you've installed a more advanced system with UV sterilization or additional treatment steps, your energy costs may increase slightly.
To keep your greywater system running smoothly and minimize expenses, consider these maintenance tasks:
- Regularly inspect pipes and connections for leaks
- Clean filters and screens monthly to prevent buildup
- Monitor soil moisture levels to avoid overwatering
- Trim plants near the distribution area to prevent root intrusion
Integrating With Rainwater Harvesting
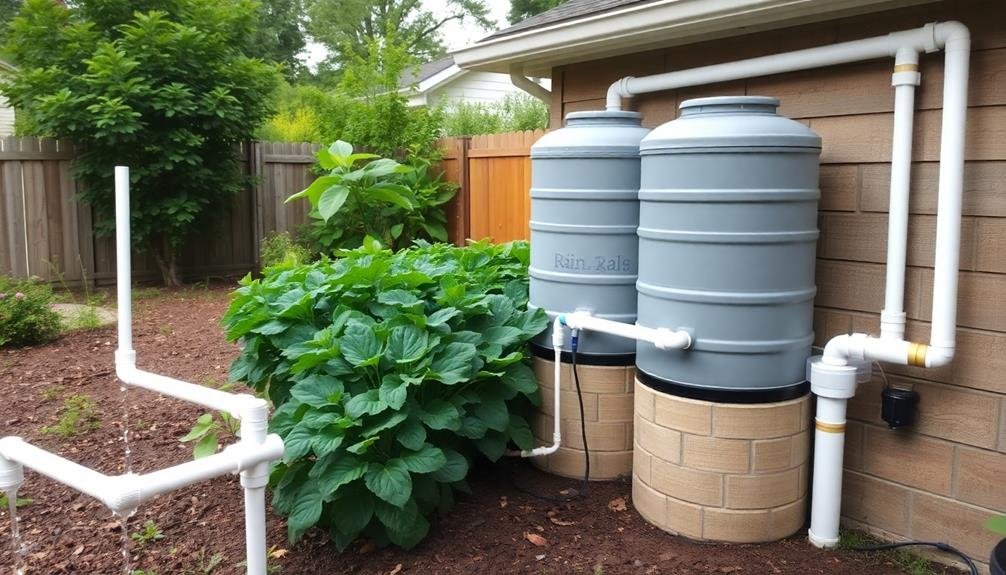
Combining greywater systems with rainwater harvesting can considerably boost your water conservation efforts.
These two systems complement each other well, as they provide different sources of water for various household uses. While greywater is ideal for irrigation, rainwater can be used for both indoor and outdoor purposes.
To integrate the two systems, you'll need to set up separate collection and storage units. Install rain gutters and downspouts to direct rainwater into a storage tank. You can then connect this tank to your existing greywater system using a pump and filtration unit. This allows you to switch between greywater and rainwater sources as needed.
When designing your integrated system, consider using a smart controller that can automatically switch between water sources based on availability and demand.
You'll also want to install proper filtration and treatment systems for the rainwater, especially if you plan to use it for indoor purposes.
Don't forget to label all pipes and outlets clearly to prevent cross-contamination.
Frequently Asked Questions
Can Greywater Be Used for Flushing Toilets?
Yes, you can use greywater for flushing toilets. It's an efficient way to conserve water in your home. You'll need to install a proper filtration system and guarantee it meets local regulations before implementing this eco-friendly solution.
How Long Can Greywater Be Stored Before Use?
You shouldn't store greywater for long. It's best to use it immediately or within 24 hours. After that, bacteria can multiply, causing odors and potential health risks. If you can't use it quickly, consider other disposal methods.
Are There Any Health Risks Associated With Using Greywater?
Yes, there are health risks with greywater use. You'll need to be cautious of harmful bacteria and pathogens. Don't store it for long, avoid direct contact, and don't use it on edible plants or for drinking water.
Can Greywater Systems Be Installed in Apartments or Condominiums?
You can install greywater systems in apartments or condos, but it's often challenging. You'll need permission from your landlord or HOA. Space constraints and plumbing access may limit your options. Portable or small-scale solutions are usually more feasible.
Does Using Greywater Affect the Lifespan of Plants and Soil?
You'll find that greywater can actually benefit your plants and soil. It's rich in nutrients and can improve soil structure. However, you should monitor salt buildup and use biodegradable products to avoid harmful effects over time.
In Summary
You've now got the tools to create your own DIY greywater system. By recycling water at home, you'll save money, conserve resources, and nurture your garden. Remember to check local regulations, choose a system that fits your needs, and maintain it properly. Whether you opt for a simple laundry-to-garden setup or a more complex drum system, you're taking a significant step towards sustainable living. Start small, learn as you go, and enjoy the benefits of your eco-friendly efforts.


Leave a Reply