To automate your solar panel system, start by evaluating your current setup and choosing compatible automation components. Set up a central hub to manage your system, then install smart inverters and integrate battery storage solutions. Optimize panel orientation with tracking systems and implement self-cleaning technology for maximum efficiency. Use energy monitoring devices to track real-time consumption and enable data-driven optimization. Implement automated load management to distribute energy effectively throughout your home. Finally, integrate your solar system with your smart home platform and create custom automation routines. By following these steps, you'll unleash the full potential of your solar investment.
Assessing Your Solar Panel System

Before diving into automation, you'll need to take a close look at your existing solar panel system. Start by reviewing your system's specifications, including panel wattage, inverter type, and overall capacity.
Check if your current setup has any built-in monitoring capabilities or smart features that you can leverage.
Next, evaluate your energy consumption patterns and production data. This information will help you identify areas where automation can improve efficiency.
Look for trends in your usage and production throughout the day and across seasons.
Inspect your system's physical components, ensuring everything is in good working order. Pay attention to wiring, connections, and mounting hardware.
If you notice any issues, address them before adding automation.
Consider your goals for automating the system. Are you aiming to maximize energy production, reduce grid reliance, or optimize battery storage?
Your objectives will guide the automation solutions you choose.
Choosing the Right Automation Components
With your solar panel system assessed, it's time to select the automation components that will enhance its performance.
Begin by choosing a smart inverter, which converts DC power from your panels to AC power for your home. Look for models with built-in monitoring capabilities and Wi-Fi connectivity for real-time data access.
Next, consider a solar charge controller to regulate the voltage and current from your panels to your batteries, preventing overcharging and extending battery life. Opt for a maximum power point tracking (MPPT) controller for peak efficiency.
Install smart meters to track your energy production and consumption. These devices provide detailed insights into your system's performance and help identify areas for improvement.
For thorough control, invest in a solar monitoring system. This software allows you to view your system's output, manage energy storage, and optimize power usage from a smartphone or computer.
Setting Up a Central Hub
The brain of your automated solar panel system is its central hub. This vital component acts as the command center, coordinating all the other devices and sensors in your setup. When choosing a central hub, opt for one that's compatible with your chosen automation components and offers robust connectivity options.
To set up your central hub effectively:
- Install it in a centralized location with a strong Wi-Fi signal
- Connect it to your home network using an Ethernet cable for reliability
- Verify it has a stable power source, preferably with battery backup
Once your hub is in place, you'll need to configure it according to the manufacturer's instructions. This typically involves downloading a mobile app, creating an account, and following the setup wizard.
As you add devices to your system, you'll pair them with the hub through this app. Your central hub will collect data from various sensors, process it, and execute commands based on your predetermined rules or schedules.
It'll also enable remote access to your solar panel system, allowing you to monitor and control it from anywhere. Regular software updates will keep your hub secure and add new features over time.
Installing Smart Inverters
Selecting the right smart inverter for your solar panel system is essential for peak performance and automation.
Once you've chosen your inverter, follow the manufacturer's guidelines for proper installation, ensuring all connections are secure and correctly wired.
After installation, configure your smart inverter's settings to align with your energy goals and integrate it with your central hub for seamless automation.
Smart Inverter Selection Process
Choosing the right smart inverter is a crucial step in automating your solar panel system. You'll need to evaluate several factors to guarantee you select an inverter that matches your specific needs and maximizes your system's efficiency.
Start by reviewing your solar panel array's size and output capacity, as this will determine the inverter's required power rating. Next, assess the inverter's compatibility with your existing setup and any future expansions you might plan.
When selecting a smart inverter, focus on these key aspects:
- Connectivity options: Confirm the inverter supports Wi-Fi, Ethernet, or cellular connections for seamless integration with your home automation system.
- Monitoring capabilities: Look for features like real-time performance tracking, energy production reports, and remote diagnostics to optimize your system's operation.
- Grid interaction: Choose an inverter that supports advanced grid functions, such as voltage regulation and reactive power control, to comply with utility requirements and maximize energy efficiency.
Reflect on the inverter's warranty, reliability, and manufacturer's reputation. Compare different brands and models, paying attention to efficiency ratings and additional features like built-in energy storage compatibility.
Don't forget to check for any local regulations or utility requirements that may influence your choice. By carefully selecting the right smart inverter, you'll set the foundation for a highly efficient and automated solar panel system.
Installation and Configuration Steps
Once you've selected the appropriate smart inverter for your solar panel system, it's time to move forward with the installation and configuration process.
Begin by carefully reviewing the manufacturer's instructions and safety guidelines. Verify you have all the necessary tools and equipment before starting.
Mount the inverter in a cool, dry location near your main electrical panel. Make sure it's easily accessible for maintenance and monitoring.
Connect the DC input cables from your solar panels to the inverter, following the correct polarity. Then, wire the AC output to your home's electrical system through a dedicated circuit breaker.
Next, set up the communication system. If your inverter uses Wi-Fi, connect it to your home network. For cellular or other connections, follow the specific setup instructions. Install any required monitoring software on your devices.
Configure the inverter settings according to your local utility requirements and system specifications. This may include grid voltage, frequency, and power factor settings.
Enable any advanced features like energy storage integration or load management.
Integrating Battery Storage Solutions

Battery storage solutions are the unsung heroes of solar panel automation. They allow you to store excess energy generated during sunny periods for use when the sun isn't shining. By integrating battery storage into your automated solar panel system, you'll maximize energy efficiency and reduce your reliance on the grid.
To integrate battery storage solutions effectively, you'll need to choose the right battery type and size for your needs. Lithium-ion batteries are popular due to their long lifespan and high efficiency. You'll also need to install a battery management system to monitor and control the charging and discharging processes.
Here's what an integrated battery storage solution can do for your automated solar panel system:
- Provide power during grid outages, guaranteeing uninterrupted electricity supply
- Enable load shifting, allowing you to use stored energy during peak pricing periods
- Increase your energy independence by reducing reliance on the grid
When setting up your battery storage system, verify it's compatible with your existing solar inverter and control systems. You may need to upgrade your inverter to a hybrid model that can manage both solar panels and batteries.
Implementing Energy Monitoring Devices
Energy monitoring devices are essential for maximizing your solar panel system's efficiency.
You'll gain real-time insights into your energy consumption patterns, allowing you to make informed decisions about usage and production.
These devices enable data-driven optimization of your system, helping you identify areas for improvement and guarantee peak performance.
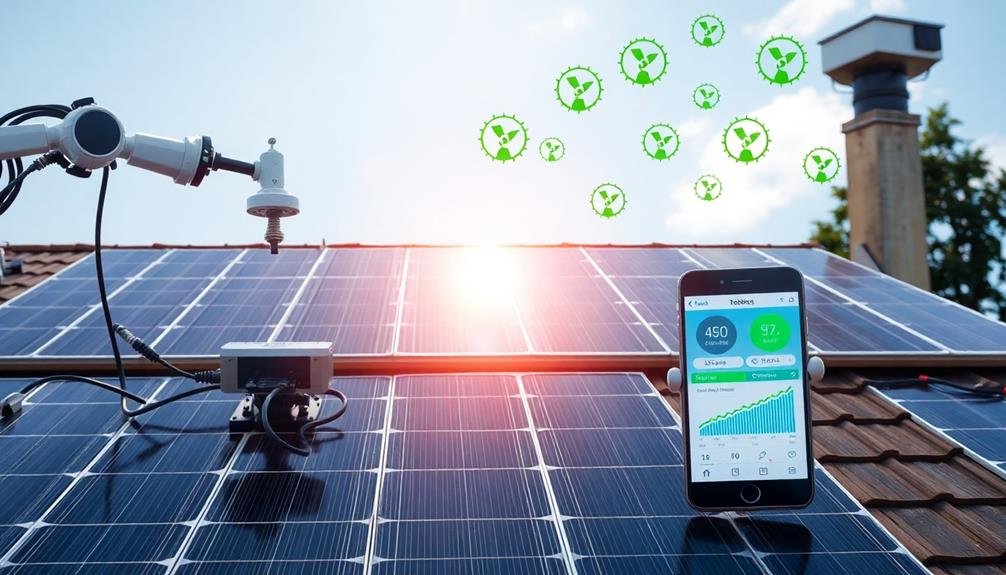
Real-Time Energy Consumption Tracking
Visibility is key when it comes to managing your solar panel system efficiently. Real-time energy consumption tracking allows you to monitor your system's performance and make informed decisions about your energy usage. By implementing this feature, you'll gain valuable insights into your household's energy patterns and the effectiveness of your solar panels.
To achieve real-time tracking, you'll need to integrate your energy monitoring devices with a user-friendly dashboard or mobile app. This interface will display essential data, including:
- Current power generation from your solar panels
- Real-time energy consumption of your household
- Net energy flow (whether you're drawing from or contributing to the grid)
With this information at your fingertips, you can quickly identify periods of high energy consumption and adjust your usage accordingly.
You'll also be able to detect any sudden drops in solar panel efficiency, prompting timely maintenance or repairs. Additionally, real-time tracking enables you to maximize your solar energy usage by scheduling energy-intensive tasks during peak production hours.
Data-Driven System Optimization
To truly harness the power of your solar panel system, you'll need to implement energy monitoring devices for data-driven optimization. These devices collect real-time data on your system's performance, allowing you to make informed decisions about energy usage and system improvements.
Start by installing smart meters and sensors throughout your solar setup. These devices will measure electricity production, consumption, and grid interaction. Connect them to a central monitoring platform that aggregates and analyzes the data. This platform will provide insights into your system's efficiency and highlight areas for improvement.
Use the collected data to optimize your energy consumption patterns. Adjust your usage habits to align with peak production hours and minimize reliance on grid power. You'll also be able to identify potential issues before they become major problems, ensuring your system operates at peak efficiency.
| Device | Function | Benefit |
|---|---|---|
| Smart Meter | Measures electricity flow | Tracks production and consumption |
| Weather Sensor | Monitors environmental conditions | Predicts solar output |
| Inverter Monitor | Analyzes inverter performance | Identifies efficiency issues |
Configuring Automated Load Management

In accordance with your solar system's capabilities, configuring automated load management guarantees ideal energy distribution throughout your home. This process involves setting up smart controls that prioritize essential appliances and optimize energy consumption based on your solar production and battery storage levels.
To configure automated load management effectively, you'll need to:
- Identify and categorize your household appliances based on their power consumption and importance.
- Install smart plugs or energy management devices on key appliances to monitor and control their usage.
- Set up rules and schedules in your home automation system to balance energy consumption with solar production.
Start by connecting your inverter and battery management system to your home's Wi-Fi network. This allows you to access real-time data on energy production and storage.
Next, program your system to automatically shift non-essential loads to times of peak solar production or when excess energy is available. For example, schedule your dishwasher or washing machine to run during midday when solar output is highest.
Finally, configure alerts to notify you of any significant changes in energy consumption or production, enabling you to make manual adjustments when necessary.
Optimizing Panel Orientation and Cleaning
You can considerably boost your solar panel system's efficiency with automatic tracking systems that adjust panel orientation throughout the day.
These systems guarantee your panels always face the ideal direction for maximum sunlight exposure.
Additionally, you'll want to take into account self-cleaning panel technology, which uses automated mechanisms to keep your panels free from dust and debris, maintaining their peak performance without manual intervention.
Automatic Tracking Systems
With the aim of maximizing your solar panel system's efficiency, automatic tracking systems offer a game-changing solution. These advanced mechanisms adjust your panels throughout the day to follow the sun's path, guaranteeing peak exposure and energy production.
By implementing an automatic tracking system, you'll greatly boost your solar array's output, potentially increasing energy generation by up to 45% compared to fixed systems.
Installing an automatic tracking system involves several key components:
- Actuators: These motorized devices move your panels based on the sun's position.
- Sensors: Light-sensitive instruments that detect the sun's location and intensity.
- Control unit: A microprocessor that coordinates the system's movements.
When choosing a tracking system, consider single-axis and dual-axis options. Single-axis trackers rotate panels on one plane, usually east to west, while dual-axis trackers adjust both horizontally and vertically for maximum sun exposure.
While dual-axis systems offer higher efficiency, they're also more complex and expensive. Evaluate your location, budget, and energy needs to determine the best fit for your solar setup.
Self-Cleaning Panel Technology
To keep your solar panels performing at their best, self-cleaning technology is revolutionizing maintenance routines. These innovative systems use a combination of water-repellent coatings and automated cleaning mechanisms to prevent dirt and debris from accumulating on your panels. By investing in self-cleaning technology, you'll reduce the need for manual cleaning and guarantee peak energy production.
One popular option is hydrophobic coatings, which create a smooth surface that water easily slides off, taking dust and grime with it. These coatings can be applied during panel installation or as an aftermarket upgrade.
Another solution is robotic cleaning systems that use brushes or water jets to remove stubborn dirt. These can be programmed to clean your panels at regular intervals or when sensors detect a drop in efficiency.
For areas with limited water resources, dry-cleaning robots are an excellent alternative. These use microfiber cloths or electrostatic charges to attract and remove dust particles without water.
When choosing a self-cleaning system, consider your local climate, panel layout, and budget. While the initial investment may seem high, the long-term benefits of increased efficiency and reduced maintenance costs make self-cleaning technology a smart choice for any solar panel system.
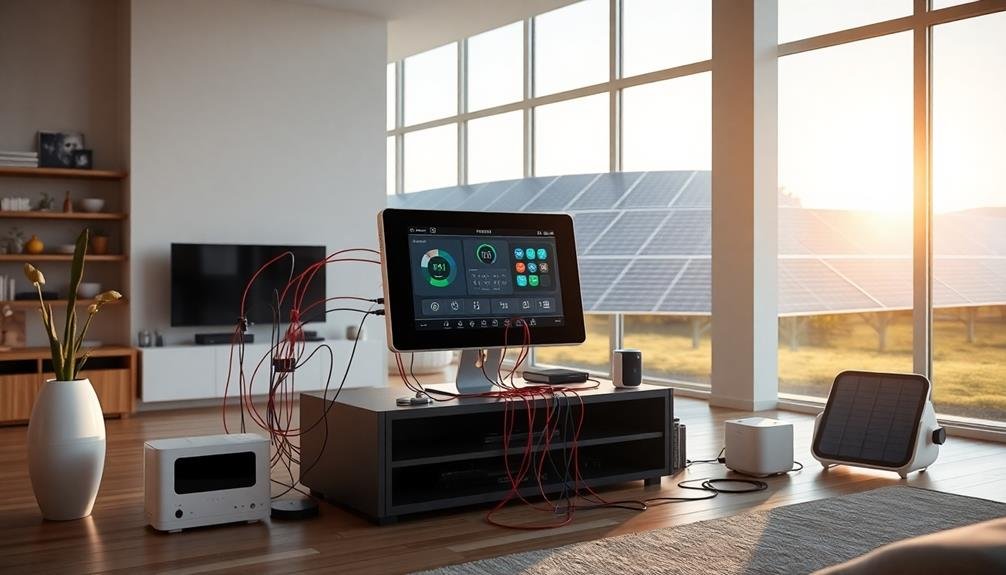
Programming Smart Home Integration

Integrating your solar panel system with smart home technology opens up a new level of energy management and efficiency. By programming your solar setup to work in tandem with your smart home devices, you'll optimize energy usage and maximize savings.
Start by choosing a compatible smart home platform that supports solar integration, such as Google Home or Amazon Alexa.
Next, install the necessary smart plugs and sensors throughout your home. These devices will communicate with your solar system, allowing for real-time adjustments based on energy production and consumption.
Program your smart home hub to prioritize solar power usage during peak production hours, automatically switching to grid power when necessary.
To fully leverage your smart solar setup:
- Create custom routines that adjust your home's energy consumption based on solar output
- Set up alerts for low battery levels or system malfunctions
- Use voice commands to check your solar production or adjust energy-intensive appliances
Creating Custom Automation Routines
Custom automation routines take your smart solar system to the next level. They allow you to create specific scenarios tailored to your lifestyle and energy needs. Start by identifying your goals, such as maximizing energy efficiency or reducing grid dependency. Then, use your smart home platform to set up triggers and actions.
Here's a table of common automation ideas to get you started:
| Trigger | Action |
|---|---|
| Sunrise | Turn off outdoor lights |
| High solar production | Run energy-intensive appliances |
| Low battery level | Reduce non-essential power usage |
| Weather forecast: sunny | Schedule EV charging for midday |
| Peak grid pricing hours | Switch to battery power |
To create these routines, access your smart home app's automation section. Choose a trigger event, then select the corresponding actions. You can combine multiple triggers and actions for more complex scenarios. For example, set up a routine that turns on your pool pump when solar production is high and the weather is warm.
Don't forget to test your automations thoroughly and adjust as needed. Monitor your energy usage and production patterns to fine-tune your routines over time. This ongoing optimization will help you maximize the benefits of your solar panel system and smart home integration.
Troubleshooting Common Automation Issues

Despite careful planning, automation issues can arise in your solar panel system. When troubleshooting, start by checking your network connectivity, as many automation problems stem from poor communication between devices. Confirm your solar inverter, smart meter, and control hub are all connected to the same network and have stable internet access.
Next, verify that your automation rules are correctly configured. Double-check the triggers, conditions, and actions in your routines. Sometimes, a simple typo or misplaced condition can cause unexpected behavior. If you're using a third-party automation platform, make sure it's compatible with your solar system's components and up to date.
Here are three common issues you might encounter:
- Delayed or inconsistent automation execution
- Incorrect energy consumption readings
- Failure to adjust power output based on weather conditions
If you're still experiencing problems, consult your system's logs for error messages or unexpected events. These logs can provide valuable insights into what's causing the issue.
Don't hesitate to reach out to your solar panel system's manufacturer or a certified technician if you can't resolve the problem on your own. They can offer specialized support and guidance to get your automation back on track.
Frequently Asked Questions
How Does Weather Affect Automated Solar Panel Systems?
Weather considerably impacts your automated solar panels. Cloudy days reduce energy production, while extreme temperatures can affect efficiency. Rain helps clean panels, but snow accumulation blocks sunlight. Wind can damage systems if not properly secured.
Can Automated Solar Systems Work During Power Outages?
Yes, automated solar systems can work during power outages. You'll need battery storage and a special inverter to keep your system running. It'll automatically disconnect from the grid and power your home using stored solar energy.
Are There Security Risks Associated With Automating Solar Panel Systems?
Yes, there are security risks when automating solar panel systems. You'll need to protect against cyber attacks, data breaches, and unauthorized access. Implement strong encryption, regular software updates, and secure network protocols to safeguard your system.
What's the Average Lifespan of Automation Components for Solar Systems?
You'll find that automation components for solar systems typically last 10-15 years. However, your inverters may need replacement sooner. Regular maintenance can extend their lifespan. Remember, individual components may vary in durability and quality.
Can Automated Solar Systems Be Integrated With Electric Vehicle Charging Stations?
Yes, you can integrate automated solar systems with EV charging stations. You'll optimize energy usage, reduce grid dependence, and potentially lower charging costs. It's an eco-friendly solution that maximizes your solar investment and supports sustainable transportation.
In Summary
You've now taken your solar panel system to the next level with automation. By following these steps, you've optimized energy production, improved efficiency, and gained greater control over your system. Remember, automation isn't just about convenience—it's about maximizing your investment and reducing your carbon footprint. Keep monitoring and tweaking your setup as needed. With your newly automated solar system, you're well on your way to a smarter, more sustainable future.


Leave a Reply