Building a DIY solar tracker system can boost your solar panel's energy production by 25-35%. You'll need a microcontroller, servo motors, light sensors, and a sturdy frame. Start by choosing an unobstructed location and designing a weather-resistant frame. Mount your solar panel securely, then wire the electrical components and program the microcontroller to adjust the panel's position based on light sensor data. Calibrate the system carefully, and test it thoroughly to guarantee smooth operation. Don't forget to optimize for energy production and implement safety features. With careful planning and execution, you'll be on your way to harnessing more solar power.
Understanding Solar Tracker Systems
In the domain of solar energy, solar tracker systems are innovative devices designed to maximize energy production. These systems work by actively adjusting the position of solar panels throughout the day to follow the sun's path across the sky. By constantly aligning the panels with the sun's rays, trackers can notably increase energy capture compared to fixed solar arrays.
You'll find two main types of solar trackers: single-axis and dual-axis. Single-axis trackers rotate on one axis, usually east to west, following the sun's daily motion. Dual-axis trackers adjust both horizontally and vertically, accounting for seasonal changes in the sun's position as well.
The benefits of solar trackers include increased energy production, typically 25-35% more than fixed systems. However, they're more complex and require additional maintenance. When evaluating a DIY solar tracker, you'll need to weigh these factors against your energy needs and budget.
Key components of a solar tracker system include motors, actuators, sensors, and a control system.
You'll also need to take into account the structural support and mounting hardware to guarantee your tracker can withstand wind loads and operate reliably over time.
Required Materials and Tools

A successful DIY solar tracker project begins with gathering the right materials and tools. You'll need a combination of electronic components, mechanical parts, and standard tools to build your system.
For the electronic components, verify you have a microcontroller (like Arduino), servo motors, light sensors, and wiring. Mechanical parts include the solar panel itself, a mounting frame, and bearings for smooth rotation.
Don't forget these essential tools:
- Soldering iron and solder
- Wire cutters and strippers
- Screwdrivers and wrenches
You'll also need a power supply for testing, a multimeter for troubleshooting, and a computer for programming the microcontroller.
For the frame construction, gather materials like aluminum or steel rods, nuts, bolts, and washers. If you're planning to 3D print any custom parts, you'll need access to a 3D printer and appropriate filament.
Before starting, double-check that you have all necessary materials and tools on hand. This will save you time and frustration during the building process.
If you're unsure about any components, consult online resources or local electronics stores for guidance on selecting the right parts for your specific solar tracker design.
Choosing the Right Location
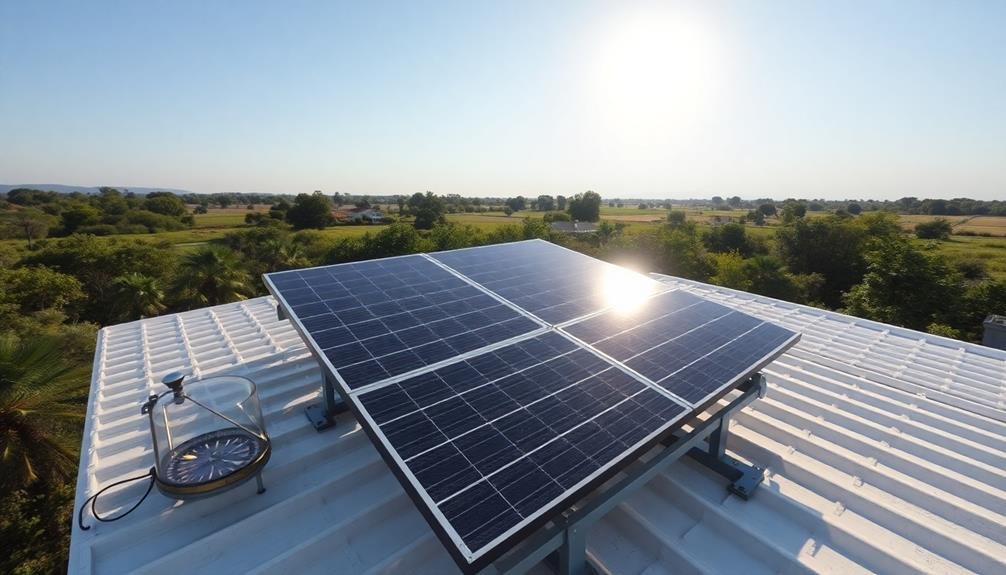
Selecting the ideal location for your DIY solar tracker is vital for maximizing its efficiency. You'll want to find a spot that receives unobstructed sunlight throughout the day. Avoid areas with tall buildings, trees, or other structures that might cast shadows on your tracker.
Consider the terrain and stability of the ground. You'll need a flat, level surface to guarantee your tracker operates smoothly. If you're installing it on a roof, make sure it can support the weight of the system.
Take into account local weather patterns and potential hazards. Wind exposure can affect your tracker's performance, so choose a location that offers some protection if possible. Also, ensure easy access for maintenance and repairs.
Here's a quick reference guide for choosing your tracker's location:
| Factor | Ideal Condition |
|---|---|
| Sunlight | Unobstructed |
| Terrain | Flat and stable |
| Wind exposure | Minimal |
| Accessibility | Easy |
| Legal restrictions | Compliant |
Don't forget to check local regulations and obtain necessary permits before installation. Some areas have restrictions on solar installations, so it's vital to do your research beforehand. By carefully selecting your tracker's location, you'll set the foundation for an efficient and effective DIY solar system.
Designing the Tracker Frame
When designing your solar tracker frame, you'll need to carefully consider material selection, frame stability, and mounting hardware options.
Choose durable, weather-resistant materials like galvanized steel or aluminum to guarantee your frame withstands environmental stresses.
Implement stability techniques such as cross-bracing and proper weight distribution to prevent wobbling and increase the tracker's overall performance.
Material Selection Considerations
The tracker frame's durability and performance hinge on careful material selection. You'll need to choose materials that can withstand outdoor conditions while supporting the weight of your solar panels. Consider using aluminum for its lightweight yet sturdy properties, or galvanized steel for added strength in larger systems. Stainless steel is another option, offering excellent corrosion resistance but at a higher cost.
When selecting materials, keep these factors in mind:
- Weather resistance: Your frame will be exposed to sun, rain, and possibly snow or salt air. Choose materials that won't rust or degrade quickly.
- Weight capacity: Verify your chosen material can support the combined weight of your solar panels, mounting hardware, and any additional components.
- Ease of fabrication: Select materials you can work with using the tools and skills you have available.
Don't forget to factor in the cost of materials and their availability in your area. While it might be tempting to cut corners, investing in quality materials will pay off in the long run with a more reliable and longer-lasting solar tracker system.
Remember to also consider the environmental impact of your material choices.
Frame Stability Techniques
Creating a stable frame for your DIY solar tracker is essential for its long-term performance and safety. Start by choosing a sturdy base material like galvanized steel or aluminum for corrosion resistance.
Use thick-walled tubing or angle iron to construct a triangular or pyramidal structure, which offers superior stability against wind loads. Anchor your frame securely to the ground using concrete footings or heavy-duty ground screws.
For added stability, install guy wires at strategic points, connecting the upper parts of the frame to ground anchors. Incorporate cross-bracing between frame members to reduce flexing and vibration.
Ensure all joints are welded or bolted securely, using lock washers or thread-locking compounds to prevent loosening over time. Add reinforcement plates at critical stress points, particularly where the tracking mechanism attaches to the frame.
Consider wind loads in your design by calculating the surface area of your solar panels and the expected wind speeds in your area. Use this information to determine the appropriate frame dimensions and material thickness.
Don't forget to include access points for maintenance and adjustments in your frame design.
Mounting Hardware Options
Choosing the right mounting hardware is essential for a successful DIY solar tracker system. You'll need to select components that can withstand outdoor elements and support the weight of your solar panels while allowing for smooth rotation.
Consider using corrosion-resistant materials like stainless steel or galvanized hardware to guarantee longevity.
For the main pivoting mechanism, you have several options:
- Ball bearings: These provide smooth rotation and can handle heavy loads, but they're more expensive and require proper sealing to prevent contamination.
- Bushings: Less expensive than bearings, bushings offer adequate performance for smaller systems and are easier to maintain.
- Slew drives: Ideal for larger systems, slew drives combine bearings and gearing in a single unit, providing both rotation and support.
When selecting bolts, nuts, and washers, opt for sizes that match your frame's specifications. Use lock washers or thread-locking compound to prevent loosening due to vibration.
For mounting the solar panels, choose specialized solar panel clamps or rails that are compatible with your panels' dimensions.
Don't forget to include grounding hardware to guarantee electrical safety.
Motor and Actuator Selection

When selecting motors and actuators for your DIY solar tracker, you'll need to take into account both linear and rotary options.
You must choose between stepper motors, servo motors, or DC motors, each with its own advantages for solar tracking applications.
It's essential to calculate the power and torque requirements based on your tracker's size and weight to guarantee smooth and accurate movement throughout the day.
Types of Suitable Motors
The heart of any DIY solar tracker system lies in its motor selection. You'll need to choose a motor that's powerful enough to move your solar panels smoothly and accurately, yet energy-efficient to maximize your system's overall output.
There are several types of motors suitable for solar trackers, each with its own advantages and limitations. Stepper motors are a popular choice for their precise control and ability to hold position without power. They're ideal for dual-axis trackers that require fine adjustments.
Servo motors offer high torque and quick response times, making them excellent for single-axis trackers or smaller systems. DC gear motors provide a good balance of power and efficiency, suitable for larger panels or arrays.
When selecting a motor, consider these key factors:
- Torque requirements: Calculate the force needed to move your panels
- Speed: Determine how quickly you need to adjust panel position
- Power consumption: guarantee the motor doesn't drain more energy than it helps generate
Linear vs. Rotary Actuators
Motor selection extends beyond just the type of motor to the actuator mechanism itself. When choosing between linear and rotary actuators for your DIY solar tracker, you'll need to evaluate the specific requirements of your system.
Linear actuators provide straight-line motion, ideal for single-axis trackers. They're excellent for pushing or pulling loads and can offer precise control over the panel's tilt angle. You'll find them easier to implement in smaller systems and they're generally more resistant to environmental factors.
Rotary actuators, on the other hand, are better suited for dual-axis trackers. They allow for both horizontal and vertical movement, enabling your panels to follow the sun's path more accurately throughout the day. While they can be more complex to set up, rotary actuators often provide smoother motion and can handle larger loads.
Examine factors like the size of your solar array, required precision, and environmental conditions when making your choice.
Linear actuators are typically more cost-effective and easier to maintain, while rotary actuators offer greater flexibility in movement. Your final decision should balance performance needs with your budget and technical capabilities.
Power and Torque Requirements
Determining the right power and torque requirements is essential for your DIY solar tracker's motor and actuator selection. You'll need to take into account the weight of your solar panels, the tracker's frame, and any additional components.
Factor in wind loads, as they can greatly impact the force your system must overcome.
To calculate the necessary power and torque:
- Measure the total weight of your solar array and mounting structure.
- Estimate the maximum wind speed in your area and calculate the resulting force on your panels.
- Determine the distance from the pivot point to the center of mass of your system.
Multiply the total force by the distance to get the required torque.
Add a safety factor of 1.5 to 2 times this value to guarantee your motor can handle unexpected loads.
For power requirements, think about how quickly you want your tracker to move. A slower movement requires less power but may compromise tracking efficiency.
When selecting motors or actuators, look for those with torque ratings exceeding your calculated needs.
Don't forget to account for the gear ratio if you're using a gearbox.
Opt for energy-efficient motors to minimize power consumption, as they'll be running frequently throughout the day.
Mounting Solar Panels

How do you guarantee your solar panels are positioned for ideal sunlight exposure? The key lies in proper mounting techniques.
Start by selecting a sturdy frame that can support the weight of your panels and withstand environmental factors. You'll need to choose between fixed or adjustable mounts, depending on your tracker design.
For a single-axis tracker, use a horizontal mounting rail that allows the panels to pivot east to west. Secure the panels to the rail using clamps or bolts, ensuring they're evenly spaced and balanced.
If you're building a dual-axis tracker, opt for a more complex mounting system that enables both horizontal and vertical movement.
Don't forget to take into account the tilt angle of your panels. In most cases, you'll want to set this to your latitude for best year-round performance. Use an inclinometer to achieve the correct angle when installing.
Ensure all connections are tight and weatherproof. Apply silicone sealant to protect against moisture intrusion.
Wiring the Electrical Components
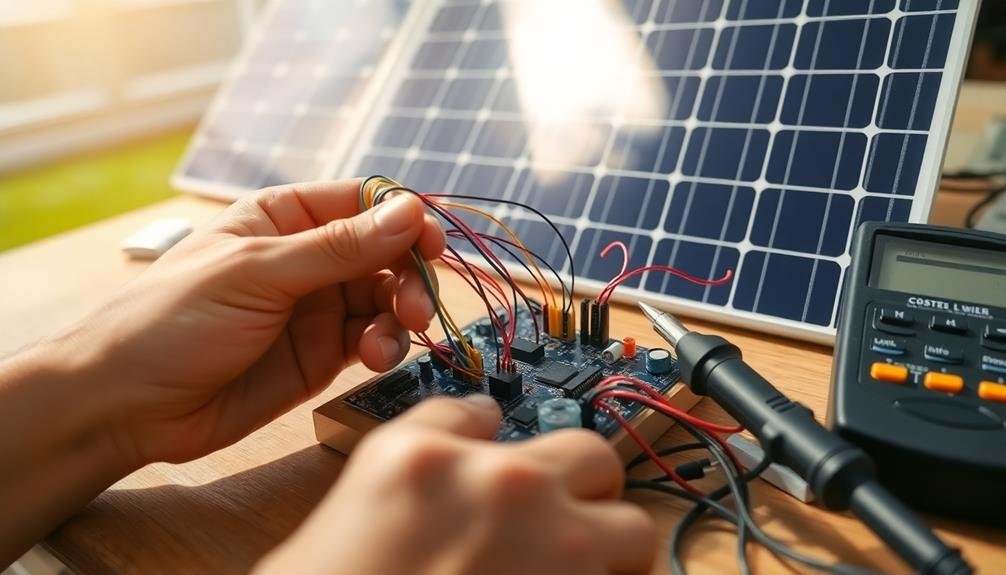
Now that you've mounted your solar panels, it's time to wire up the electrical components.
You'll need to connect the motor to the controller, which will enable precise movement of your panels.
Don't forget to install limit switches and wire the power supply to guarantee safe and efficient operation of your DIY solar tracker system.
Connect Motor to Controller
The motor's connection to the controller is an essential step in assembling your DIY solar tracker system. You'll need to guarantee proper wiring to achieve smooth and accurate solar panel movement. Start by identifying the motor's positive and negative terminals, typically marked with red and black wires respectively. Carefully connect these wires to the corresponding output terminals on your controller.
When connecting the motor to the controller, keep these key points in mind:
- Use appropriate gauge wire to handle the motor's current draw
- Secure all connections with heat shrink tubing or electrical tape
- Double-check polarity to prevent damage to your components
If your controller has multiple motor outputs, make sure you're using the correct one for your solar tracker. Some controllers may require additional configuration or programming to recognize the motor. Consult your controller's manual for specific instructions on motor setup and calibration.
Once you've made the connections, test the motor's response to controller commands before mounting it to your solar panel array. This will help you identify and resolve any issues early in the assembly process.
If everything's working correctly, you're ready to move on to the next step in building your DIY solar tracker system.
Install Limit Switches
With the motor connected to your controller, it's time to focus on installing limit switches for your DIY solar tracker system. Limit switches play an essential role in preventing your solar panel from over-rotating and potentially damaging the system.
Start by identifying the appropriate locations for your limit switches. You'll need two switches: one for the easternmost position and another for the westernmost position. Mount these switches securely on your tracker's frame, making sure they'll be triggered when the panel reaches its maximum rotation.
Wire the limit switches to your controller. Most controllers have dedicated inputs for limit switches. Connect the normally closed (NC) terminal of each switch to the corresponding input on your controller. This setup guarantees that when a switch is triggered, it breaks the circuit and stops the motor.
Test your limit switches by manually rotating the panel to each extreme position. Verify that the switches activate and the motor stops. Adjust the switch positions if necessary to fine-tune the stopping points.
Wire Power Supply
Connecting your power supply is an essential step in bringing your DIY solar tracker system to life. You'll need to verify that all components receive the correct voltage and current for peak performance.
Start by identifying the power requirements for each component, including the microcontroller, motors, and sensors. Choose a suitable power supply that can handle the total load of your system. A 12V DC power supply is often sufficient for most DIY solar trackers.
When wiring the power supply, follow these steps:
- Connect the positive (red) wire from the power supply to the positive terminal on your microcontroller or power distribution board.
- Attach the negative (black) wire to the corresponding negative terminal.
- Use appropriate gauge wires to connect the motors and sensors to the power distribution points, verifying proper polarity.
Remember to include fuses or circuit breakers to protect your components from power surges. Double-check all connections before powering on the system.
If you're using batteries for backup power, integrate them into the circuit with a charge controller to maintain proper voltage levels. Finally, secure all wires and connections to prevent loosening due to vibrations or movement of the solar tracker.
Programming the Microcontroller

Heart of your DIY solar tracker system, the microcontroller requires careful programming to function effectively.
You'll need to write code that enables the microcontroller to read input from the light sensors, process this data, and control the servo motors accordingly.
Start by setting up your development environment. Choose a programming language compatible with your microcontroller, such as Arduino IDE for Arduino boards or MicroPython for ESP32. Install the necessary libraries for interfacing with your sensors and servo motors.
Begin your code by initializing the pins for sensor inputs and motor outputs. Create functions to read sensor values and calculate the sun's position. Implement a control algorithm that determines how much to adjust the panel's position based on sensor readings.
Include a main loop that continuously reads sensors, processes data, and updates motor positions. Don't forget to add error handling and safety features. Implement limits on motor movement to prevent damage, and include a sleep mode for nighttime or cloudy conditions.
Test your code thoroughly, simulating various light conditions and panel positions. Optimize your code for efficiency, reducing power consumption and improving response time.
Installing Light Sensors

Once you've programmed the microcontroller, it's time to install the light sensors. These sensors are essential for detecting sunlight intensity and direction, allowing your solar tracker to adjust its position for maximum energy collection. Choose photoresistors or photodiodes for their sensitivity to light and affordability.
To install the light sensors effectively:
- Position four sensors in a square formation on your solar panel frame, with each sensor facing a different direction (north, south, east, and west).
- Connect each sensor to an analog input on your microcontroller using appropriate resistors to create voltage dividers.
- Calibrate the sensors by exposing them to various light conditions and adjusting their sensitivity in your code.
Ensure the sensors are well-protected from the elements by using weatherproof housings or enclosures. You can create simple covers using clear plastic or glass to shield the sensors while allowing light to pass through.
Double-check all wiring connections and secure them properly to prevent loosening due to movement or vibration. Test each sensor individually before proceeding to the next step, verifying that they're responding correctly to changes in light intensity.
With the light sensors installed and functioning, you're ready to move on to assembling the motor control system.
Calibrating the Tracking System
To guarantee peak performance of your DIY solar tracker, you'll need to focus on two key aspects: sensor alignment techniques and tracking algorithm adjustments.
Start by carefully positioning your light sensors to accurately detect the sun's position throughout the day.
You can then fine-tune your tracking algorithm, adjusting parameters such as sensitivity and movement speed to match your specific setup and local solar conditions.
Sensor Alignment Techniques
Precise alignment of your solar tracker's sensors is vital for ideal performance. To guarantee your system tracks the sun accurately throughout the day, you'll need to carefully position and calibrate your light sensors. Start by mounting your sensors on the solar panel frame, making sure they're securely attached and protected from the elements.
Next, follow these steps to align your sensors:
- Position the solar panel facing due south (in the Northern Hemisphere) or due north (in the Southern Hemisphere).
- Adjust the tilt angle of the panel to match your latitude for optimal year-round performance.
- Fine-tune the sensor placement by observing the system's tracking behavior over several days and making small adjustments as needed.
When aligning your sensors, it's imperative to maintain equal spacing between them and confirm they're parallel to each other. This symmetry helps the system accurately detect the sun's position and make precise adjustments.
Use a level to verify that the sensors are perfectly horizontal when the panel is in its neutral position. Remember, even small misalignments can greatly impact your tracker's efficiency, so take your time and be meticulous in your setup.
Tracking Algorithm Adjustments
After setting up your sensors, calibrating the tracking system's algorithm is essential for ideal performance.
Begin by adjusting the sensitivity threshold of your light sensors. This determines how much light difference triggers movement. Set it too low, and your system will constantly adjust; too high, and it won't react to subtle changes.
Next, fine-tune the motor control parameters. Adjust the step size for each movement to balance accuracy with energy efficiency. Smaller steps provide precise tracking but consume more power.
Modify the delay between movements to prevent unnecessary adjustments due to passing clouds or momentary shadows.
Implement a time-based correction factor to account for seasonal changes in the sun's path. This helps your tracker anticipate the sun's position and reduces wear on the motors.
You'll also need to set limits for the tracker's range of motion to prevent overextension.
Testing and Troubleshooting
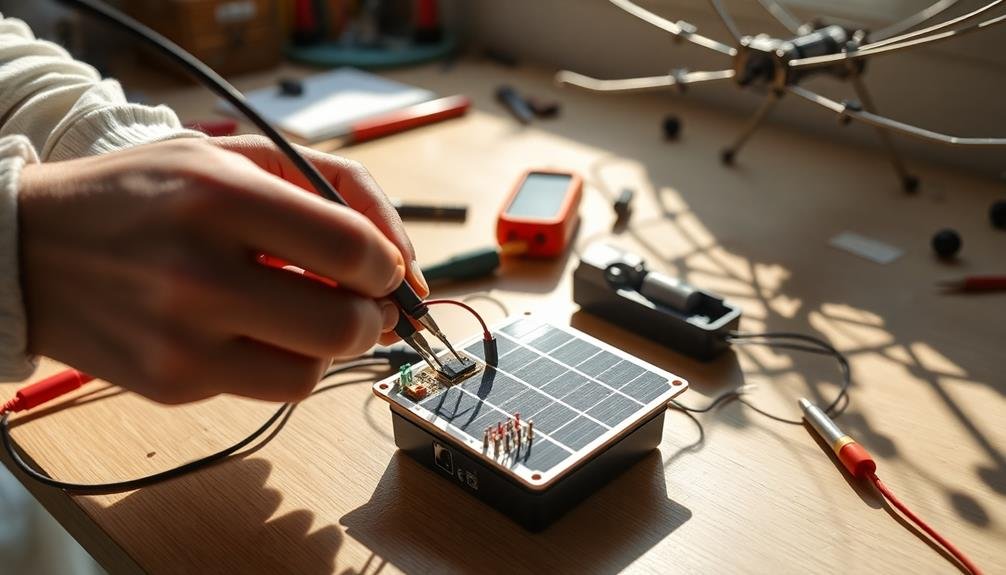
Inevitably, you'll need to test and troubleshoot your DIY solar tracker system to confirm it's functioning correctly.
Begin by running the system through a full day cycle, observing its movement and alignment with the sun. Check for any misalignments or jerky motions that could indicate mechanical issues or software glitches.
If you encounter problems, follow these troubleshooting steps:
- Verify all electrical connections are secure and correctly wired.
- Double-check your code for errors, particularly in the tracking algorithm.
- Ascertain your light sensors are clean and unobstructed.
Pay close attention to the system's behavior during different weather conditions and times of day.
If the tracker isn't responding accurately to changing light conditions, you may need to adjust the sensitivity of your light sensors or fine-tune your algorithm.
Don't forget to test your system's safety features, such as wind protection mechanisms.
Simulate high wind conditions to confirm the system moves to its safe position as intended.
Keep a log of any issues you encounter and the solutions you implement.
This record will be invaluable for future maintenance and upgrades to your solar tracker system.
Optimizing Energy Production

With your solar tracker up and running, it's time to focus on maximizing its potential. Start by analyzing your tracker's performance data. Compare its energy output to that of fixed solar panels to gauge efficiency gains. Adjust the tracking algorithm to enhance movement frequency and reduce motor wear.
Consider implementing these strategies to boost energy production:
| Strategy | Benefit |
|---|---|
| Clean panels regularly | Increases light absorption |
| Upgrade to higher efficiency cells | Improves overall output |
| Add reflectors | Concentrates more light on panels |
| Implement weather-based tracking | Adapts to changing conditions |
Fine-tune your system's sensitivity to light changes. This guarantees it responds quickly to passing clouds or sudden shifts in sunlight direction. Don't forget to monitor and maintain your batteries, inverter, and wiring connections.
Experiment with different panel configurations to find the best setup for your location. Consider factors like shading, wind exposure, and seasonal sun paths. Use online solar calculators to estimate potential improvements from various adjustments.
Lastly, stay informed about new solar technologies and tracking methods. Continuous learning and adaptation will help you squeeze every possible watt from your DIY solar tracker system.
Maintenance and Care

Regular upkeep is key to keeping your DIY solar tracker system running smoothly. You'll need to perform routine checks and maintenance to guarantee peak performance and longevity.
Start by inspecting the mechanical components, including the motors, gears, and mounting brackets, for signs of wear or damage. Clean the solar panels regularly to remove dust, debris, and bird droppings that can reduce efficiency.
Lubricate moving parts according to the manufacturer's recommendations to prevent friction and extend the system's lifespan. Check electrical connections for corrosion or looseness, and tighten or replace them as needed. Monitor the tracking accuracy periodically and recalibrate if necessary.
To streamline your maintenance routine, follow these steps:
- Create a maintenance schedule and stick to it
- Keep a log of all inspections and repairs
- Stock up on essential spare parts to minimize downtime
Don't forget to update your system's software and firmware when new versions become available. These updates often include bug fixes and performance improvements.
Enhancing System Efficiency

While proper maintenance keeps your solar tracker running smoothly, you can take additional steps to boost its overall efficiency.
Start by optimizing the panel angle for your specific latitude. You'll want to adjust this angle seasonally to maximize sunlight exposure throughout the year.
Consider adding reflectors around your panels to concentrate more sunlight onto the photovoltaic cells. This simple addition can increase energy output by up to 30%.
Implement a dual-axis tracking system if you haven't already, as it'll allow your panels to follow the sun's path more accurately than single-axis trackers.
Upgrade your solar panels to high-efficiency models if your budget allows. These panels convert more sunlight into electricity, making your entire system more productive.
Install a solar concentrator to focus sunlight onto a smaller area of high-efficiency cells, potentially doubling your energy output.
Don't forget about your inverter. A micro-inverter system can help reduce power losses from shading and increase overall system efficiency.
Frequently Asked Questions
How Much Additional Energy Can a Solar Tracker System Generate Compared to Fixed Panels?
You'll typically see a 25-40% increase in energy production with a solar tracker system. It maximizes sunlight exposure throughout the day, capturing more energy than fixed panels. Your actual gains depend on your location and climate.
Are Solar Trackers Suitable for Residential Rooftop Installations?
Solar trackers aren't typically suitable for residential rooftops. You'll find they're often too heavy, complex, and expensive for home use. They also require more maintenance and can be visually obtrusive. Fixed panels are usually better for homes.
What Is the Typical Lifespan of a DIY Solar Tracker System?
Your DIY solar tracker system's lifespan typically ranges from 10 to 15 years. You'll need to maintain it regularly and replace parts as they wear out. It's not as durable as professionally installed systems.
Can Solar Trackers Withstand Extreme Weather Conditions Like Hurricanes or Heavy Snowfall?
You'll find that well-built solar trackers can withstand harsh weather. They're designed to handle high winds and heavy snow loads. However, you should guarantee proper installation and maintenance to maximize their resilience in extreme conditions.
How Does the Cost of a DIY Solar Tracker Compare to Commercial Systems?
You'll typically save money with a DIY solar tracker compared to commercial systems. However, factor in your time, skill level, and potential maintenance costs. Commercial systems may offer better warranties and reliability despite higher upfront costs.
In Summary
You've now learned how to build your own DIY solar tracker system. By following these steps, you'll maximize your solar energy production and save on electricity costs. Remember to regularly maintain your system and continue optimizing its performance. With your new knowledge, you're well-equipped to harness the sun's power more efficiently. Don't hesitate to experiment and refine your design for even better results. Enjoy your sustainable, cost-effective energy solution!


Leave a Reply