To install window film yourself, follow these five easy steps: First, gather your tools, including the film, soapy water, squeegee, and utility knife. Next, thoroughly clean and prepare your windows, removing any dirt or residue. Then, measure and cut the film to size, adding a little extra for trimming. Apply the film to your wet window, starting from the top and working your way down. Finally, smooth out any bubbles and trim excess film for a neat finish. With these simple steps, you'll be able to transform your windows and enhance privacy in no time. Discover more details to perfect your DIY window film installation.
Gather Necessary Tools and Materials

Before diving into your DIY window film installation, you'll need to round up all the essential tools and materials. Start by obtaining the window film itself, making sure you've measured your windows accurately and purchased the correct size.
You'll also need a spray bottle filled with a soapy water solution, which helps with the application process. Gather a squeegee, preferably with a soft rubber edge, to smooth out bubbles and wrinkles. A sharp utility knife or razor blade is vital for trimming excess film.
Don't forget a lint-free cloth for cleaning the window surface and a microfiber towel for final touch-ups. You'll also need masking tape to secure the film during installation and a measuring tape for precise cutting.
A clean, flat surface to work on is important, so prepare a table or countertop nearby. Consider having a hairdryer on hand to help shrink the film if needed.
Lastly, make sure you have safety equipment like gloves to protect your hands during the cutting process. With these tools and materials ready, you're well-prepared to begin your window film installation project.
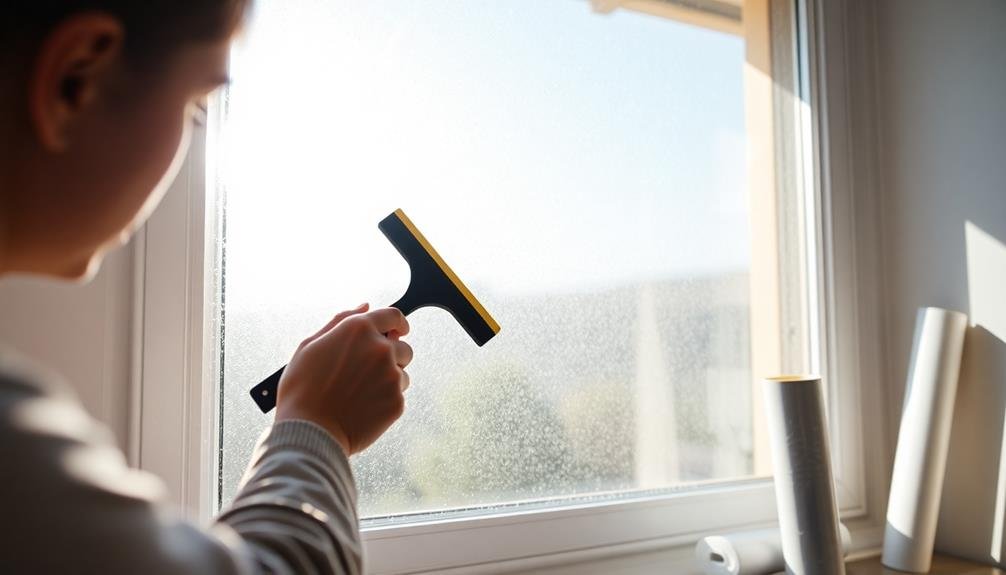
Clean and Prepare Windows
Prior to applying the window film, it's important to guarantee your windows are spotlessly clean. Start by removing any existing window treatments, such as curtains or blinds.
Then, thoroughly wash the windows using a mixture of warm water and mild dish soap. Scrub the glass surface with a lint-free cloth or sponge to remove all dirt, grime, and fingerprints.
After washing, use a squeegee to remove excess water and prevent streaking. Dry the windows completely with a microfiber cloth or paper towels. Pay special attention to the corners and edges, as these areas tend to collect dust and debris.
Next, use a razor blade to carefully scrape off any stubborn residue or paint splatters on the glass. Be gentle to avoid scratching the surface.
Once you've removed all visible dirt and residue, give the windows a final wipe-down with rubbing alcohol. This step will eliminate any remaining oils or soap residue that could interfere with the film's adhesion.
Lastly, confirm the window frame and surrounding area are clean and dry. You're now ready to begin the film application process.
Measure and Cut Film
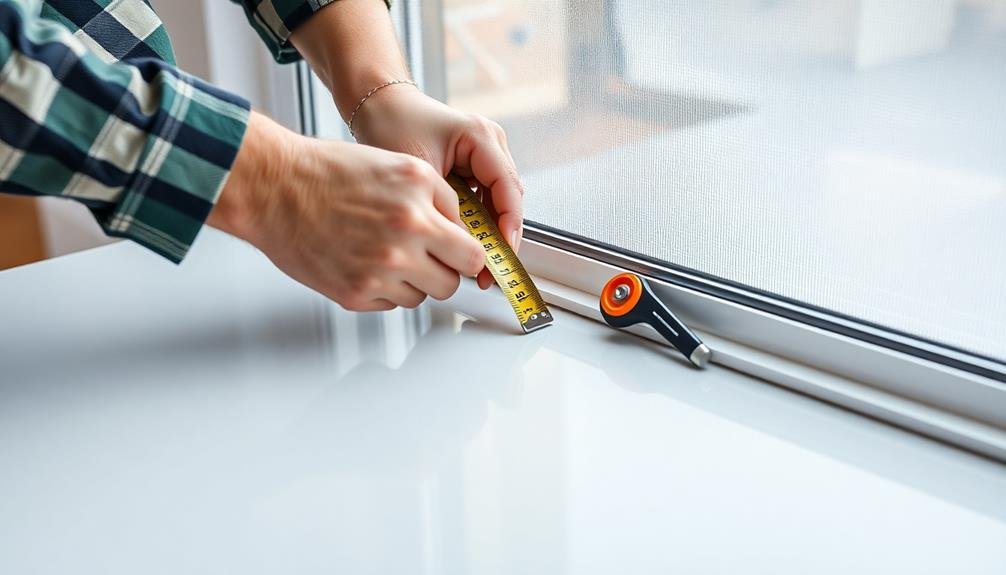
Measuring and cutting the window film accurately is vital for a successful installation. Begin by measuring the width and height of your window pane, adding an extra inch to each dimension for trimming later. Use these measurements to cut your film, guaranteeing you have a clean, straight edge.
Before cutting, lay the film on a clean, flat surface with the adhesive side facing up. Mark your measurements on the backing paper, not the film itself. Use a sharp utility knife or scissors to cut along your marked lines, keeping the blade perpendicular to the surface for a clean cut.
Here are some tips to guarantee precise measurements and cuts:
- Use a metal ruler or straight edge as a guide for cutting
- Double-check your measurements before making any cuts
- Cut in a single, smooth motion to avoid jagged edges
- Keep extra film on hand in case of mistakes
Remember to work in a dust-free environment to prevent debris from sticking to the adhesive.
If you're installing film on multiple windows, consider cutting all pieces at once to streamline the process. With accurate measurements and clean cuts, you'll be ready for the next step: applying the film to your windows.
Apply Film to Windows
With your film cut to size, you're ready to tackle the application process.
Start by thoroughly cleaning the window surface with a glass cleaner and lint-free cloth. Confirm the window is completely dry before proceeding.
Spray the window liberally with the application solution. Peel off the backing from the window film and lightly spray the adhesive side as well. This will allow you to reposition the film if needed.
Carefully place the film on the wet window, starting from the top. Use a squeegee to push out air bubbles and excess water, working from the center outwards. Be sure to overlap the edges slightly.
Trim any excess film using a sharp utility knife, leaving a small gap around the edges. Use a corner tool to press the film firmly into the window corners and along the edges.
Smooth Out Bubbles and Trim

After applying the film, you'll need to smooth out any remaining bubbles and trim the edges for a professional finish. Use a squeegee or a credit card wrapped in a soft cloth to push out air bubbles, working from the center towards the edges. For stubborn bubbles, prick them with a pin and smooth the area again.
Once you've eliminated bubbles, it's time to trim the excess film. Use a sharp utility knife and a straightedge to carefully cut along the window frame. Keep the blade at a 45-degree angle for a clean cut. Be cautious not to scratch the glass or damage the window frame.
For a polished look, pay attention to these details:
- Confirm corners are neatly trimmed without gaps
- Remove any remaining water or solution from the edges
- Double-check for small bubbles that may have been missed
- Wipe down the entire surface with a lint-free cloth
Allow the film to dry completely before touching or cleaning it. This process can take up to a week, depending on humidity levels.
Once dry, your newly installed window film will provide the desired benefits while looking professionally applied.
Frequently Asked Questions
How Long Does Window Film Typically Last Before Needing Replacement?
You can expect your window film to last 10-20 years with proper care. It's durability depends on factors like quality, installation, and exposure to sunlight. You'll know it's time to replace when you notice peeling or bubbling.
Can Window Film Be Removed Without Damaging the Glass?
Yes, you can typically remove window film without damaging the glass. You'll need to peel it off carefully, using heat from a hairdryer if necessary. Afterward, clean any residue with adhesive remover and glass cleaner.
Does Window Film Affect the Warranty on New Windows?
Window film can affect your warranty on new windows. You'll want to check your specific warranty terms, as some manufacturers void coverage if you apply film. It's best to consult the warranty or contact the manufacturer directly.
What Types of Window Film Are Best for Different Climates?
You'll want to choose your window film based on your climate. For hot areas, opt for reflective or ceramic films. In colder regions, low-e films are best. For moderate climates, consider dual-action films that work year-round.
Can Window Film Be Applied to Textured or Frosted Glass?
You can apply window film to textured or frosted glass, but it's trickier. It won't adhere as smoothly, and you'll likely see air bubbles. For best results, choose a film specifically designed for textured surfaces.
In Summary
You've now successfully installed your own window film! With these five simple steps, you've transformed your windows, enhancing privacy and reducing glare. Remember to be patient during the smoothing process, as it's vital for a flawless finish. Don't worry if you encounter small imperfections; they'll often disappear as the film settles. Enjoy your newly upgraded windows and the benefits they bring to your living space. You've done a great job!


Leave a Reply