DIY window insulation panels can greatly reduce your energy bills and improve home comfort. You'll need rigid foam insulation, a utility knife, tape measure, and weatherstripping. Start by accurately measuring your windows, then cut the insulation to size, adding a slight allowance for a snug fit. Assemble the panels by layering insulation materials and wrapping them in fabric. Install the panels using removable hooks or magnetic strips, ensuring a tight seal around the edges. Remember to clean and maintain your panels regularly for best performance. By following these steps, you'll be well on your way to a cozier, more energy-efficient home.
Understanding Window Heat Loss

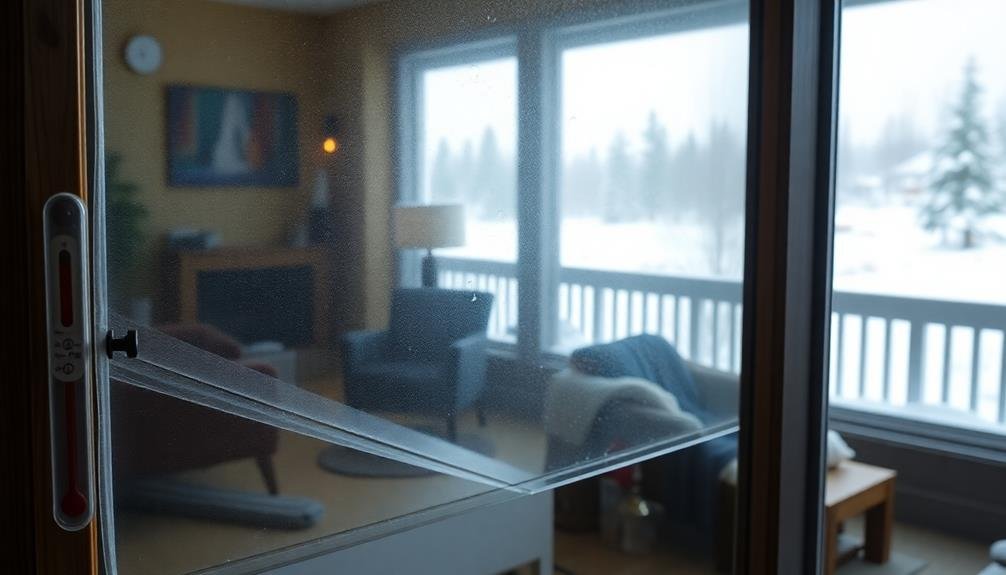
Windows are often the weak link in a home's thermal envelope. They can account for up to 30% of your home's heat loss in winter and heat gain in summer. Understanding how this heat transfer occurs is essential for implementing effective insulation solutions.
Heat loss through windows happens in three main ways: conduction, convection, and radiation. Conduction occurs when heat moves through the glass and frame materials. Single-pane windows are particularly susceptible to this type of heat transfer.
Convection happens when warm air inside your home comes into contact with the cold surface of the window, creating air currents that circulate heat away. Radiation is the direct transfer of heat through the glass, which you'll feel if you stand near a window on a cold day.
The efficiency of your windows is measured by their R-value, which indicates resistance to heat flow. Higher R-values mean better insulation. Most single-pane windows have an R-value of about 1, while double-pane windows range from 2 to 4.
Materials Needed for Insulation Panels
To create effective DIY window insulation panels, you'll need to gather essential tools and supplies, choose suitable insulation materials, and prepare for measuring and cutting.
Your toolkit should include items like a utility knife, straight edge, and adhesive, while insulation options range from foam board to reflective materials.
Before you begin, verify you have accurate window measurements and a clean, flat surface for cutting your materials to size.
Essential Tools and Supplies
Before diving into the project, you'll need to gather the essential tools and supplies for creating your DIY window insulation panels. Start with a tape measure to accurately size your windows and insulation materials. You'll also need a utility knife or box cutter for precise cutting of the foam board insulation. A straightedge or T-square will help guarantee clean, straight cuts.
For assembly, you'll want a sturdy work surface and a hot glue gun with extra glue sticks. Weatherstripping tape is vital for creating an airtight seal around the panels. Don't forget safety gear like work gloves and safety glasses to protect yourself while cutting and assembling.
Additional supplies include a pencil for marking measurements, scissors for trimming weatherstripping, and a clean cloth for wiping down surfaces. If you're planning to cover your panels with fabric, you'll need fabric scissors and spray adhesive.
For installation, gather removable adhesive strips or hooks, depending on your preferred mounting method.
Lastly, keep a vacuum cleaner handy to clean up any foam debris during the cutting process. With these tools and supplies ready, you'll be well-prepared to create effective, custom-fit window insulation panels.
Insulation Material Options
Now that you've gathered your tools and supplies, let's explore the insulation materials you'll need for your DIY window panels. The most common and effective options include:
- Rigid foam insulation: Available in various thicknesses, this lightweight material offers excellent insulation properties. Choose from polyisocyanurate, extruded polystyrene, or expanded polystyrene.
- Reflective insulation: This thin, foil-faced material reflects heat back into your room. It's ideal for tight spaces and can be combined with other insulation types.
- Fiberglass batts: These come in pre-cut panels and are easy to work with. Make sure you wear protective gear when handling fiberglass.
- Natural fiber insulation: Materials like sheep's wool or recycled denim provide eco-friendly alternatives with good insulating properties.
- Spray foam insulation: While typically used for larger projects, you can find small kits suitable for window panels.
When selecting your insulation, consider factors such as R-value (insulating effectiveness), thickness, cost, and ease of installation.
Don't forget to measure your windows accurately to determine how much material you'll need.
Measuring and Cutting Materials
Once you've chosen your insulation material, it's time to gather the additional materials needed for creating your window insulation panels.
You'll need a measuring tape, utility knife, straight edge or ruler, and a marker or pencil. These tools will help you accurately measure and cut your materials to fit your windows perfectly.
Start by measuring each window's width and height, adding an extra inch to each dimension for overlap. Write down these measurements for reference.
Next, you'll need to purchase or gather the following materials based on your window sizes:
- Rigid foam insulation boards or your chosen insulation material
- Reflective foil tape or weatherstripping tape
- Heavy-duty double-sided tape or hook-and-loop fasteners
- Optional decorative fabric or coverings
With your materials ready, lay out your insulation board on a flat surface. Using your measurements, mark the cutting lines with a straight edge and marker.
Carefully cut along these lines with a utility knife, applying steady pressure for clean edges. Remember to wear safety glasses and gloves while cutting.
If you're using multiple layers of insulation, repeat this process for each layer, ensuring they're cut to the same size for a snug fit in your window frame.
Measuring Your Windows

Precision is key when measuring your windows for insulation panels. You'll need to measure each window individually, as sizes can vary even within the same room.
Start by measuring the width of the window frame from the inside, taking measurements at the top, middle, and bottom. Use the smallest measurement to guarantee your panel will fit. Next, measure the height in the same way, checking the left, center, and right sides.
For maximum insulation, you'll want your panels to cover the entire window frame. Add an extra 1/4 inch to both the width and height measurements to create a snug fit. If you're planning to use weatherstripping, factor in an additional 1/8 inch on each side.
Don't forget to measure the depth of your window frame to determine the thickness of insulation material you can use.
Record all measurements carefully, noting which window each set corresponds to. Double-check your numbers to avoid costly mistakes.
If your windows have unusual shapes or features like rounded tops, create templates using cardboard or paper for more accurate cutting later on. With precise measurements in hand, you're ready to move on to selecting and cutting your materials.
Cutting Insulation to Size
After measuring your windows, you're ready to cut the insulation to size.
You'll need to transfer those measurements accurately to your insulation material, ensuring you've chosen the right cutting tools for the job.
Carefully mark your cutting lines and trim the insulation precisely, remembering that a snug fit is essential for effective window insulation.
Measure Window Dimensions Accurately
Taking accurate measurements of your windows is essential for creating effective insulation panels. You'll need to measure both the width and height of each window frame's interior.
Start by measuring the width at the top, middle, and bottom of the frame, then use the smallest measurement to guarantee a snug fit. For the height, measure from the sill to the top of the frame on the left, center, and right sides, again using the smallest measurement.
When measuring, use a metal tape measure for precision and write down your measurements immediately. It's a good idea to double-check your numbers to avoid costly mistakes. Remember to account for any obstructions like locks or handles that might interfere with your panels.
To help visualize the process, imagine:
- A shiny metal tape measure stretched across the window frame
- Your hand carefully noting measurements on a clipboard
- A level guaranteeing your measurements are straight and true
- Sunlight streaming through the window, highlighting dust particles
Choose Appropriate Cutting Tools
With your window measurements in hand, it's time to select the right tools for cutting your insulation panels to size. You'll need a sharp utility knife or box cutter for precise cuts. Make certain the blade is new or recently sharpened to guarantee clean edges. A straightedge or metal ruler is essential for guiding your cuts and maintaining straight lines.
If you're working with rigid foam insulation, consider using a fine-toothed handsaw or electric jigsaw for larger cuts. These tools will help you achieve smoother edges and reduce the risk of damaging the insulation. For thicker panels, a hot wire cutter can be an excellent option, as it melts through the foam cleanly without creating dust or debris.
Don't forget safety gear. Wear protective gloves to shield your hands from sharp edges and potential cuts. Safety glasses are vital to protect your eyes from flying particles. If you're using power tools or working with materials that produce dust, a dust mask is recommended.
Mark and Trim Carefully
The next vital step in creating your DIY window insulation panels is marking and cutting the insulation to size. You'll need to measure each window carefully, accounting for any irregularities or unique features. It's important to add a small allowance (about 1/4 inch) to guarantee a snug fit. Use a straight edge and marker to draw precise cutting lines on your insulation material.
When you're ready to cut, place the insulation on a clean, flat surface. Use your chosen cutting tool to follow the marked lines slowly and steadily. If you're using a utility knife, make multiple passes for a clean cut rather than trying to slice through in one go. For foam boards, a fine-toothed saw will give you the best results.
As you cut, keep these visual cues in mind:
- A perfectly squared corner where two cuts meet
- A smooth, straight edge with no jagged areas
- A clean surface free of debris or loose particles
- The insulation panel fitting snugly within the window frame
Double-check your measurements and cuts before moving on to the next panel. Precision at this stage will guarantee your insulation panels fit perfectly and perform effectively.
Assembling the Panels

Assembling your insulation panels involves three main steps.
First, lay out your rigid foam insulation on a flat surface and place the reflective foil insulation on top of it. Make certain the reflective side is facing outward. Using spray adhesive, bond these two layers together, applying even pressure to eliminate air bubbles.
Next, cut your fabric to size, allowing an extra inch on all sides for wrapping. Spray adhesive onto the non-reflective side of the panel and carefully lay the fabric over it. Smooth out any wrinkles and trim excess fabric if needed.
Finally, wrap the fabric around the edges of the panel, securing it with staples on the back side. Pay special attention to the corners, folding them neatly for a clean finish. If you're using a decorative trim, now's the time to attach it around the edges of the panel's front side.
For panels larger than 3 feet by 3 feet, consider reinforcing them with wooden battens on the back. This will prevent sagging and guarantee a snug fit against your window.
Once assembled, test-fit your panels in the window frames to verify a proper seal.
Installing DIY Insulation Panels
Once you've assembled your DIY insulation panels, proper installation is crucial for maximizing their effectiveness.
Start by thoroughly cleaning your window frame and sill to guarantee a tight seal. Measure the panels against your window to confirm they fit snugly without gaps. Apply weatherstripping or foam tape around the edges of the panel for an airtight fit.
When you're ready to install, position the panel against the window frame, pressing firmly to engage the weatherstripping. Secure the panel using removable hooks, magnetic strips, or Velcro fasteners, depending on your chosen method.
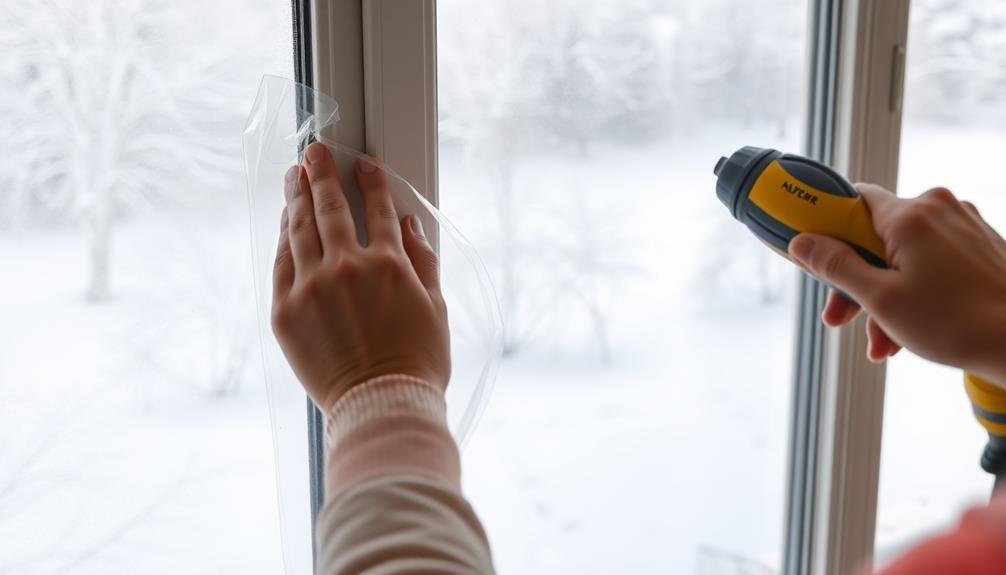
For added insulation, consider applying shrink film over the entire window before attaching the panel.
To create a polished look and prevent drafts:
- Use decorative trim to cover panel edges
- Install curtain rods above panels for layered insulation
- Add draft stoppers at the bottom of the window
- Paint panels to match your interior decor
Remember to periodically check the seal and tighten any loose fasteners.
In warmer months, you can easily remove and store the panels for future use.
Maximizing Energy Savings
How can you maximize the energy savings from your DIY window insulation panels? Start by ensuring a snug fit for each panel, eliminating any gaps that could allow air leakage. Use weatherstripping or foam tape around the edges to create a tight seal.
Install the panels on all windows, not just those in frequently used rooms, to prevent heat loss throughout your home.
Consider using your panels strategically. During winter, keep them in place day and night to retain heat. In summer, remove them during the day to let in natural light, but reinstall them at night to keep cool air inside.
Combine your insulation panels with other energy-saving measures like heavy curtains or cellular shades for maximum effect.
Regularly inspect and maintain your panels. Check for any damage or wear and replace materials as needed. Clean the panels periodically to maintain their effectiveness and appearance.
Don't forget to adjust your thermostat settings to complement your insulation efforts. By lowering your heating temperature in winter and raising your cooling temperature in summer, you'll amplify the energy savings from your DIY panels.
Maintenance and Seasonal Considerations
To keep your DIY window insulation panels performing at their finest, regular maintenance and seasonal adjustments are essential.
Inspect your panels every few months for signs of wear, damage, or mold growth. Clean them with a mild soap solution and soft cloth to remove dust and debris.
During warmer months, you may want to remove and store the panels to allow natural light and ventilation.
When winter approaches, reattach your insulation panels to maximize energy efficiency. Check the weatherstripping and seals around the edges to guarantee a tight fit. If you notice any gaps or air leaks, replace the weatherstripping or add additional insulation as needed.
Consider these seasonal adjustments for peak performance:
- Remove panels in spring to let in fresh air and natural light
- Store panels in a cool, dry place during summer to prevent warping
- Reattach panels in fall before the first frost
- Add an extra layer of insulation film in extreme winter conditions
Frequently Asked Questions
Can These Panels Be Used on Sliding Glass Doors?
Yes, you can use insulation panels on sliding glass doors. They'll help reduce heat loss and save energy. You'll need to adjust the size and mounting method to fit the door's dimensions and movement, but it's definitely doable.
How Do Insulation Panels Affect Natural Light Entering the Room?
You'll notice some reduction in natural light when using insulation panels. They typically block a portion of sunlight, making your room slightly dimmer. However, you can choose transparent or translucent materials to minimize this effect if desired.
Are There Any Fire Safety Concerns With DIY Window Insulation Panels?
You should be aware of potential fire hazards with DIY window insulation panels. Check materials for flammability ratings and avoid blocking escape routes. Guarantee proper installation and maintenance to minimize risks. Always prioritize safety over energy savings.
Can Insulation Panels Be Painted to Match Interior Decor?
Yes, you can paint insulation panels to match your interior decor. You'll want to use a paint that's compatible with the panel material. It's best to choose a breathable paint to avoid moisture issues. Don't forget proper preparation!
Do Window Insulation Panels Interfere With Opening and Closing Windows?
You'll find that most insulation panels don't interfere with window operation. They're typically designed to be removable or flexible. However, you should check the specific panel type and installation method to guarantee they won't hinder your windows' functionality.
In Summary
You've now got the tools to create your own DIY window insulation panels. By following these steps, you'll reduce heat loss and save on energy bills. Don't forget to maintain your panels and adjust them seasonally for peak performance. With a bit of effort, you've made your home more energy-efficient and comfortable. Keep exploring other ways to improve your home's insulation, and you'll continue to see benefits year-round.
Leave a Reply