When installing RV solar panels, focus on these three essential tips: First, choose the right panels for your needs, considering factors like efficiency, wattage, and durability. Second, guarantee proper mounting and placement by positioning panels for maximum sunlight exposure and using secure, weatherproof installation methods. Third, connect your panels correctly to your RV's electrical system, including a charge controller and appropriate wiring. Don't forget to select the right wire gauge and install a battery monitor for peak performance. By following these tips, you'll be well on your way to harnessing solar power for your RV adventures. There's even more to learn about maximizing your solar setup's potential.
Choose the Right Solar Panels

Selecting the right solar panels for your RV is essential for maximizing energy efficiency and ensuring a successful installation. Consider your power needs, available roof space, and budget when choosing panels.
Monocrystalline panels are more efficient and compact but pricier, while polycrystalline panels offer a budget-friendly option with slightly lower efficiency.
Determine the wattage you'll need by calculating your daily energy consumption. Factor in your appliances, lighting, and other electrical devices. Don't forget to account for cloudy days and seasonal variations.
Flexible panels are ideal for curved roofs and weigh less, but rigid panels are more durable and efficient.
Look for panels with high-quality materials and certifications like UL or TÜV. Check the warranty period, as reputable manufacturers often offer 20-25 year warranties.
Consider the panel's temperature coefficient, which indicates performance in hot conditions. Lower coefficients mean better heat tolerance.
Ensure the panels are compatible with your RV's existing electrical system and charge controller. If you plan to expand your system later, choose panels that allow for easy integration.
Proper Mounting and Placement

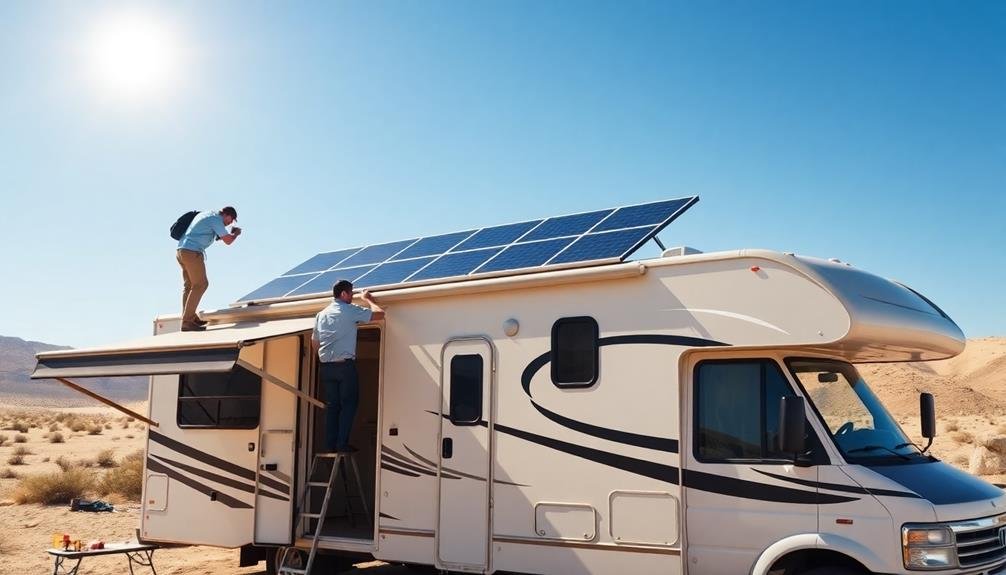
The success of your RV solar panel system hinges on proper mounting and placement. You'll want to position your panels where they'll receive maximum sunlight throughout the day. The roof is typically the best location, but verify it can support the additional weight. Avoid areas shaded by air conditioners, vents, or antennas.
When mounting, use stainless steel hardware and weatherproof sealants to prevent leaks and corrosion. Install the panels at a slight angle (about 5 degrees) to allow for water runoff and self-cleaning. If you're frequently traveling to different latitudes, consider adjustable mounts that let you optimize the angle based on your location.
Secure the panels tightly to prevent wind damage, but allow for some flexibility to accommodate your RV's movement. Use cable entry plates or ports to route wires into your RV, verifying a watertight seal. Keep wire runs as short as possible to minimize power loss.
If you're installing multiple panels, wire them in parallel to maintain voltage and increase amperage. Finally, verify easy access to your panels for future maintenance or adjustments.
Connect to Your RV's System

With your panels securely mounted, it's time to connect them to your RV's electrical system. Start by running the wires from your panels through a weatherproof entry point into your RV. You'll need to install a charge controller to regulate the power flow from the panels to your batteries. Choose a controller that matches your system's voltage and amperage.
Next, connect the charge controller to your RV's battery bank. Confirm you're using the correct gauge wire for the distance and amperage of your system. Install a battery monitor to keep track of your power usage and charging status.
Here's a quick reference guide for connecting your solar setup:
| Component | Connection From | Connection To |
|---|---|---|
| Solar Panels | Roof Mount | Charge Controller |
| Charge Controller | Solar Panels | Battery Bank |
| Battery Bank | Charge Controller | Inverter |
| Inverter | Battery Bank | RV Electrical System |
| Battery Monitor | Battery Bank | Display Panel |
Frequently Asked Questions
How Long Do RV Solar Panels Typically Last?
You can expect your RV solar panels to last 25-30 years with proper maintenance. They're durable and designed for long-term use. However, their efficiency may slightly decrease over time, but they'll still provide power for decades.
Can I Install RV Solar Panels Myself, or Should I Hire a Professional?
You can install RV solar panels yourself if you're handy and comfortable with electrical work. However, if you're unsure or want to guarantee peak performance, it's best to hire a professional for proper installation and safety.
What Maintenance Is Required for RV Solar Panels?
You'll need to clean your RV solar panels regularly to remove dirt and debris. Check connections and wiring for damage, and inspect the mounting hardware. You should also monitor your system's performance to guarantee it's functioning at its best.
Do RV Solar Panels Work in Cloudy or Rainy Weather?
Yes, your RV solar panels will still work in cloudy or rainy weather, but they'll generate less power. You'll get about 10-25% of their normal output on overcast days, so it's best to have backup power sources.
How Much Money Can I Save by Using Solar Power in My RV?
You can save hundreds or even thousands annually by using solar power in your RV. It'll reduce or eliminate your electric hookup fees and generator fuel costs. Your savings depend on your energy usage and travel habits.
In Summary
You've now got the essential tips for installing RV solar panels. Remember to choose panels that fit your energy needs and space constraints. Mount them securely and position for maximum sunlight exposure. Finally, connect everything properly to your RV's electrical system. With these steps, you'll be harnessing the sun's power for your adventures in no time. Enjoy the freedom and sustainability that solar energy brings to your RV lifestyle!


Leave a Reply