
To self-install solar roof tiles, start by evaluating your roof's suitability, considering factors like condition, pitch, and sun exposure. Next, gather all necessary tools and materials, including the tiles, mounting hardware, and safety equipment. Prepare your roof by cleaning it thoroughly and repairing any damage. Then, install the underlayment to create a waterproof barrier. Finally, secure and connect the solar tiles according to the manufacturer's instructions, starting from the roof's edge and working your way up. While these steps provide a basic overview, there's much more to learn about this transformative home improvement project.
Assess Your Roof's Suitability
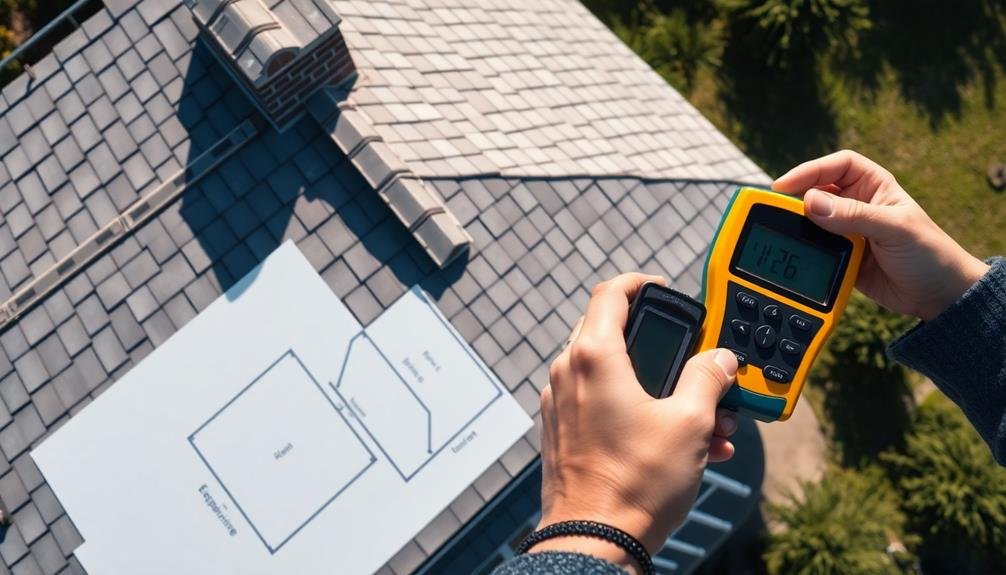
Before diving into solar roof tile installation, it's crucial to evaluate your roof's suitability. Start by inspecting your roof's condition, age, and structural integrity. If your roof needs repairs or replacement soon, address these issues before installing solar tiles.
Next, assess your roof's orientation and pitch. South-facing roofs with a 30 to 45-degree angle typically receive ideal sunlight exposure in the Northern Hemisphere.
Calculate your roof's available space for solar tiles, considering obstructions like chimneys, vents, and skylights. Measure the square footage and determine how many tiles you can fit.
Also, check for shading from nearby trees or buildings that could reduce solar efficiency. Consider your local climate and weather patterns, as areas with heavy snow or frequent storms may require additional reinforcement.
Review your local building codes and homeowners' association regulations to confirm solar tile installation is permitted. You'll need to obtain necessary permits before proceeding.
Gather Tools and Materials
Preparation is key when commencing a solar roof tile installation project. Before you begin, gather all the necessary tools and materials to guarantee a smooth installation process.
You'll need standard roofing tools like a ladder, safety harness, and roofing nails, as well as specialized equipment for solar installation. Start by acquiring the solar roof tiles themselves, along with any required mounting hardware and wiring components.
Make certain you have a power drill, saw, and measuring tape for precise cuts and placements. Don't forget safety gear, including gloves, goggles, and a hard hat.
For electrical work, you'll need wire strippers, crimping tools, and a multimeter. Obtain weatherproofing materials like sealant and flashing to protect against leaks.
Finally, have a detailed installation guide from the manufacturer on hand for reference throughout the process.
Here's a quick overview of essential items:
- Solar roof tiles, mounting brackets, and fasteners
- Electrical components: inverter, disconnect switch, and wiring
- Safety equipment: harness, gloves, goggles, and hard hat
Prepare Roof for Installation
Once you've gathered all necessary tools and materials, it's time to prepare your roof for the solar tile installation.
Start by thoroughly inspecting your roof for any damage or weak spots. Repair or replace any damaged shingles, and verify the roof structure is sound. Clean the entire roof surface, removing debris, moss, and any loose materials.
Next, measure and mark the areas where you'll install the solar tiles. Use chalk lines to create a grid pattern that aligns with your roof's layout. This will serve as a guide for precise tile placement.
Install flashing around roof penetrations like vents and chimneys to prevent water leaks.
Remove existing shingles in the areas where you'll place the solar tiles. Be careful not to damage the underlying roof deck.
Install an underlayment, such as a waterproof membrane, to provide an additional barrier against moisture. Secure it firmly to the roof deck using roofing nails.
Install Solar Tile Underlayment
With the roof prepped and the waterproof membrane in place, it's time to focus on the solar tile underlayment. This vital layer provides additional protection and creates a smooth surface for the solar tiles.
Begin by unrolling the underlayment material across the roof, starting at the bottom edge and working your way up. Overlap each row by at least 4 inches to guarantee proper coverage and water resistance.
Secure the underlayment using roofing nails or staples, following the manufacturer's guidelines for spacing and placement. Pay special attention to areas around vents, chimneys, and other roof penetrations, making sure to create a tight seal. Trim excess material at the edges and ridges for a clean finish.
For ideal performance, consider these key aspects:
- Use a high-quality, breathable underlayment designed for solar tile installations
- Apply the underlayment on a dry, calm day to prevent wind damage or moisture issues
- Check for any wrinkles or bubbles, smoothing them out as you go
Once the underlayment is installed, inspect the entire surface for any gaps, tears, or loose areas. Address any issues immediately to maintain a solid foundation for your solar tiles.
With the underlayment in place, you're now ready to move on to the next step in your solar roof tile installation process.
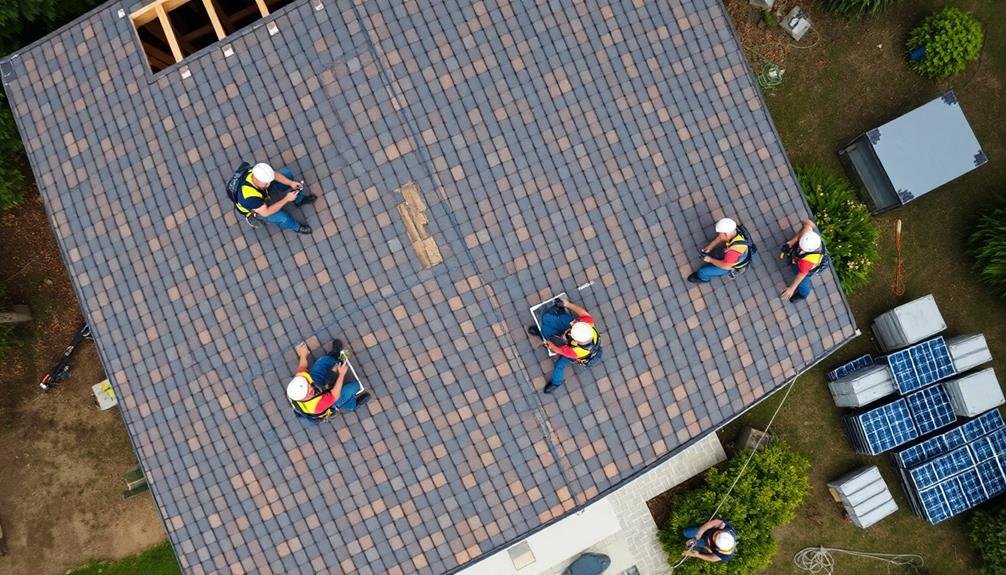
Secure and Connect Solar Tiles

Now that the underlayment is in place, it's time to secure and connect your solar tiles. Begin at the roof's edge, working your way up in rows. Carefully align each tile with the previous one, guaranteeing a snug fit. Use the manufacturer-provided fasteners to secure the tiles to the roof deck.
As you install the tiles, you'll need to connect them to form a functional solar array. Each tile has built-in connectors that snap together. Make sure these connections are secure to prevent power loss or safety hazards.
Here's a quick guide to common solar tile connections:
| Connection Type | Purpose | Typical Location |
|---|---|---|
| Power | Transfers electricity | Between tiles |
| Data | Monitors performance | Every few tiles |
| Grounding | Guarantees safety | Edge of array |
| Weather-sealing | Prevents leaks | All tile edges |
Once you've installed and connected a section of tiles, test the connections using a multimeter. This will help you identify any faulty connections early on. Remember to follow all safety protocols and consult the manufacturer's instructions throughout the installation process. If you're unsure about any step, it's best to consult a professional to guarantee your solar roof is installed correctly and safely.
Frequently Asked Questions
How Long Does the Average DIY Solar Roof Tile Installation Take?
You'll typically spend 2-5 days installing DIY solar roof tiles, depending on your roof size and complexity. Your experience level, weather conditions, and the number of helpers you have will also impact the installation timeline.
Can I Install Solar Tiles on a Flat Roof?
You can install solar tiles on a flat roof, but it's not ideal. You'll need to create a slight pitch for water drainage and guarantee proper mounting. It's more challenging than pitched roofs, so consider professional help.
What's the Minimum Roof Pitch Required for Solar Tile Installation?
You'll typically need a minimum roof pitch of 14 degrees (1:4 slope) for solar tile installation. However, some manufacturers offer solutions for lower pitches. It's best to consult with a professional to assess your specific roof's suitability.
Are There Specific Weather Conditions to Avoid During Installation?
You'll want to avoid installing solar tiles during rain, snow, or high winds. It's best to choose a dry, calm day with moderate temperatures. Don't install in extreme heat or cold for your safety and ideal adhesion.
How Much Money Can I Save by Self-Installing Solar Roof Tiles?
You can save considerably by self-installing solar roof tiles, potentially 10-30% of total costs. However, you'll need skills and time. Consider potential risks and warranty implications before deciding if it's worth the savings.
In Summary
You've now learned the key steps to self-install solar roof tiles. Remember, while it's possible to DIY, it's not a task to be taken lightly. If you're unsure about any aspect, don't hesitate to consult a professional. Safety should always be your top priority. With proper planning and careful execution, you'll soon be harnessing the sun's power from your own roof. Enjoy your new, sustainable energy source!


Leave a Reply