When renting a loose-fill insulation blower, follow these five key tips: First, choose the right size blower based on your project area and insulation type. Second, check rental durations and costs, including any additional fees. Third, thoroughly inspect the equipment for damage before renting. Fourth, familiarize yourself with the operating instructions, focusing on safety precautions and proper techniques. Finally, make sure you have all necessary safety gear, including a respirator, goggles, and coveralls. By following these tips, you'll save money on your insulation project and avoid potential headaches. Keep in mind that there's more to learn about maximizing your insulation blower rental experience.
Choose the Right Size Blower

Selecting the appropriate size blower is essential for your insulation project. The size you'll need depends on several factors, including the area you're insulating, the type of insulation material, and the desired R-value. Larger blowers can cover more area quickly but may be challenging to maneuver in tight spaces.
For small to medium-sized residential projects, a portable blower with a 4-5 horsepower engine is usually sufficient. These units can typically handle up to 1,000 square feet of attic space. If you're working on a larger home or commercial building, you'll want to take into account a more powerful machine with 8-18 horsepower.
Take into account the hose length as well. Longer hoses allow you to reach distant areas without moving the machine, but they can reduce blowing power. Most rental companies offer hoses in 50-foot increments, so calculate the distance from your blower's location to the farthest point you need to insulate.
Don't forget to factor in the type of insulation material you're using. Cellulose insulation requires less power than fiberglass, so you might be able to use a smaller blower if you're working with cellulose.
Check Rental Duration and Costs
How long will you need the insulation blower? Rental durations typically range from a few hours to several days. Assess your project size and skill level to estimate the time required. If you're insulating a small attic, a 4-hour rental might suffice. For larger projects or if you're less experienced, consider a full-day or weekend rental.
Compare costs between different rental periods. Some companies offer better rates for longer rentals, so it might be more cost-effective to rent for a full day even if you think you'll finish sooner. Ask about any time extensions or late return fees.
Don't forget to factor in additional costs. You'll likely need to pay a deposit, which is usually refundable if you return the equipment on time and in good condition. Inquire about delivery and pickup fees if you can't transport the blower yourself.
Some rentals include basic accessories, while others charge extra for hoses, nozzles, or protective gear. Always clarify what's included in the base rental price to avoid surprises.
Inspect Equipment Before Renting

Before signing any rental agreement, thoroughly inspect the insulation blower for signs of wear or damage. Check that all parts are present and functioning correctly. Pay special attention to the hose, motor, and hopper. Look for cracks, dents, or signs of excessive use that might affect the machine's performance.
Test the blower to confirm it operates smoothly and efficiently. Listen for any unusual noises or vibrations that could indicate mechanical issues. Verify that the controls are responsive and easy to use. Don't hesitate to ask the rental company for a demonstration if you're unsure about any aspect of the equipment's operation.
Be sure to document any existing damage or issues you notice. Take photos or videos as evidence to protect yourself from potential disputes upon returning the equipment.
Key areas to inspect include:
- Power cord and plug for fraying or damage
- Hopper for cracks or warping
- Hose for tears, kinks, or blockages
- Agitator for proper movement and condition
- Safety features such as emergency shut-off switches
If you spot any problems, request a different unit or consider renting from another company. Your safety and project success depend on having reliable, well-maintained equipment.
Understand Operating Instructions Thoroughly
Operating instructions for a loose-fill insulation blower are essential to understand thoroughly before starting your project. Take the time to read through the manual carefully, paying close attention to safety precautions and proper operation techniques.
You'll need to know how to adjust the air pressure, feed rate, and material flow to achieve ideal insulation distribution.
Learn how to load the hopper correctly, as overfilling can lead to clogs and uneven blowing. Familiarize yourself with the machine's controls, including the power switch, material feed, and air pressure regulators.
Understand how to properly attach the hose and nozzle, guaranteeing a secure fit to prevent material leakage.
Make sure you know how to troubleshoot common issues, such as blockages or uneven material flow. Learn the proper shutdown procedures to avoid damaging the equipment.
If you're unsure about any aspect of operation, don't hesitate to ask the rental company for a demonstration or additional guidance.
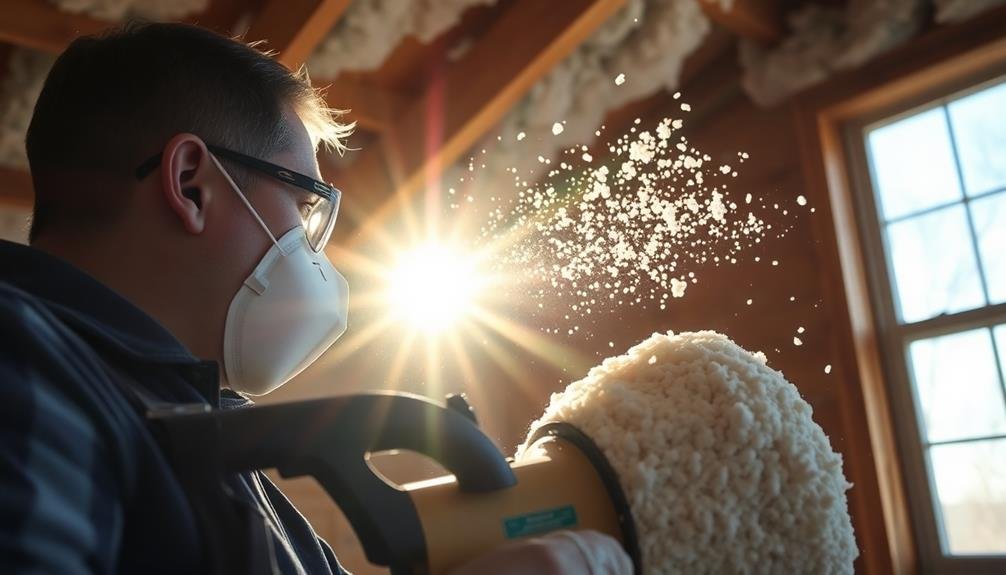
Ensure Proper Safety Gear
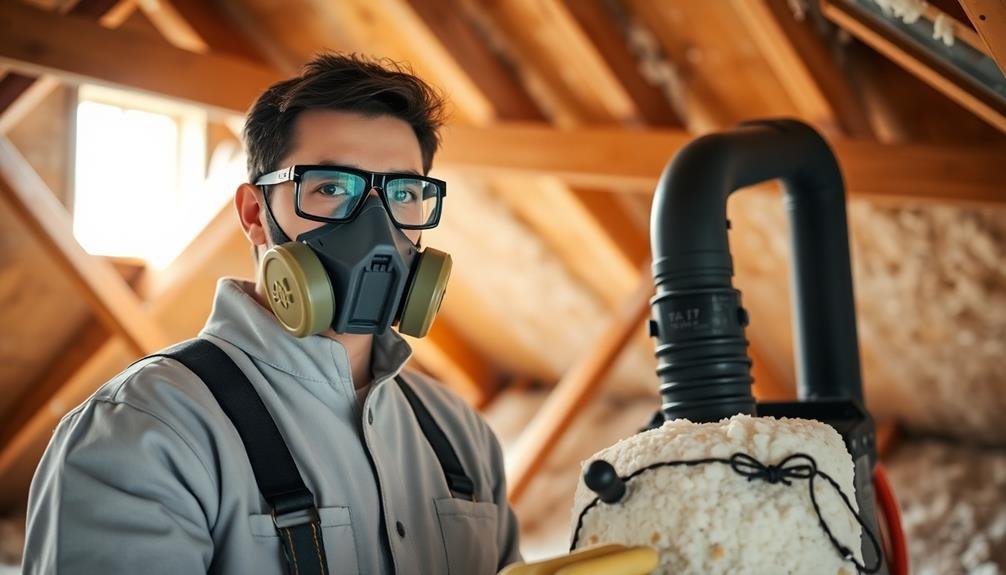
Proper safety gear is a must when operating a loose-fill insulation blower. When renting this equipment, you'll need to guarantee you have all the necessary protective items to keep yourself safe during the insulation process.
Don't overlook this vital step, as it can prevent potential health hazards and injuries.
Before you begin your insulation project, make sure you've got the following safety gear:
- Respirator or dust mask rated for insulation particles
- Safety goggles to protect your eyes
- Disposable coveralls to keep fibers off your skin and clothes
- Work gloves to shield your hands
- Hard hat to guard against falling debris
You'll want to wear long sleeves and pants underneath your coveralls for added protection.
Confirm your respirator fits properly and creates a tight seal around your face. If you're working in a confined space or attic, consider using a headlamp for better visibility.
Remember to keep your work area well-ventilated and take frequent breaks to avoid overheating.
Frequently Asked Questions
Can I Use the Blower for Materials Other Than Loose-Fill Insulation?
You shouldn't use the blower for materials other than loose-fill insulation. It's designed specifically for this purpose. Using it for other materials could damage the machine or create safety hazards. Stick to its intended use for best results.
Is a Special Vehicle Required to Transport the Rented Insulation Blower?
You don't need a special vehicle to transport a rented insulation blower. Most models can fit in a standard pickup truck or large SUV. Just guarantee you've got enough space and can secure it safely during transport.
How Much Insulation Material Can a Typical Blower Cover per Hour?
You'll typically cover 800-1,000 square feet per hour with a standard insulation blower. However, your coverage rate can vary based on factors like insulation type, desired depth, and your experience level operating the machine.
Are There Restrictions on Using Rented Blowers for Commercial Projects?
You'll often find restrictions on using rented blowers for commercial projects. Many rental companies limit their equipment to residential use only. It's best to check with the rental provider about their specific policies before making plans.
What's the Typical Cleaning Process After Using a Rented Insulation Blower?
After using a rented insulation blower, you'll need to thoroughly clean it. Empty the hopper, vacuum out any remaining insulation, wipe down surfaces, and check for clogs in hoses. Don't forget to clean the filters too.
In Summary
You've now got the key tips for renting a loose-fill insulation blower. Remember to choose the right size, check rental terms, inspect the equipment, and understand how to operate it safely. Don't forget your safety gear! With these pointers, you'll be well-prepared to tackle your insulation project efficiently and effectively. Always prioritize safety and follow the manufacturer's guidelines when using rented equipment. Happy insulating!


Leave a Reply