
For a garage solar installation, you'll need a variety of tools to guarantee safety and precision. Start with essential safety equipment like a sturdy ladder, fall protection harness, and non-slip boots. Measuring tools such as tape measures, chalk lines, and carpenter's squares are vital for accurate layout. You'll also require electrical tools like multimeters, wire strippers, and circuit breaker finders. Don't forget mounting hardware, brackets, and power tools like drills and saws for secure panel attachment. Finally, invest in solar panel cleaning supplies for maintenance. By gathering these tools, you'll be well-prepared for a successful installation process.
Essential Safety Equipment
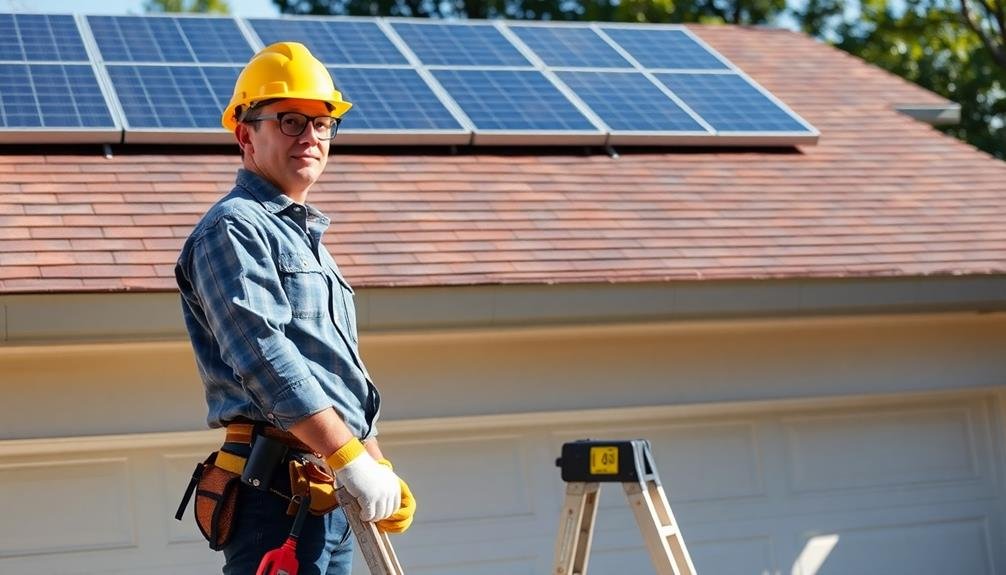
When it comes to installing solar panels in your garage, safety should be your top priority.
You'll need a sturdy ladder or scaffolding to reach the roof safely. Don't forget to wear a fall protection harness and secure it to a stable anchor point. Invest in non-slip work boots to maintain traction on various surfaces.
Protect your eyes with safety goggles that shield against debris and sunlight. A hard hat is essential to guard against falling objects or accidental bumps. Wear thick work gloves to prevent cuts and scrapes while handling panels and tools.
You'll also need appropriate clothing: long-sleeved shirts and pants made of durable material. For electrical work, use insulated tools and wear rubber-soled shoes. Keep a first aid kit nearby for minor injuries.
Don't overlook respiratory protection. When working with fiberglass insulation or drilling into materials, use a dust mask or respirator.
Measuring and Layout Tools
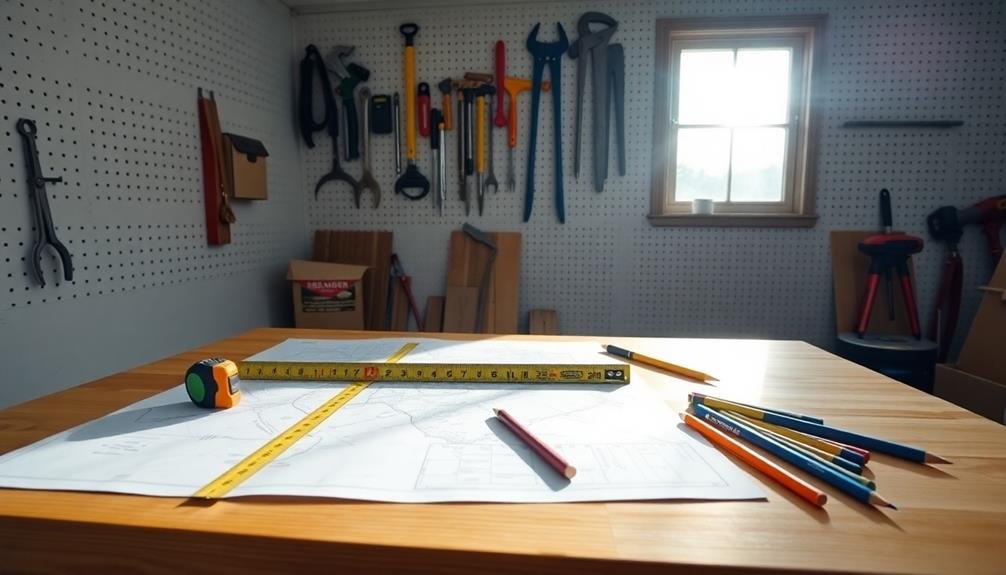
You'll need accurate measuring tools to guarantee proper placement of your solar panels.
Start with reliable tape measures and rulers for precise dimensions and distances.
Chalk lines and markers are essential for creating straight, visible guidelines on your garage roof, helping you align panels correctly.
Tape Measures and Rulers
For precise measurements and accurate layouts, tape measures and rulers are indispensable tools in garage solar installations. You'll need a reliable tape measure with at least 25 feet of length to cover the dimensions of most residential garages. Look for one with both imperial and metric measurements to accommodate different solar panel specifications.
A sturdy steel ruler is essential for smaller, more precise measurements. Choose one with clear markings and a non-slip grip for accuracy and ease of use. Don't forget to include a carpenter's square in your toolkit, as it'll help you guarantee right angles and proper alignment of solar panels.
| Tool Type | Length | Features |
|---|---|---|
| Tape Measure | 25+ feet | Imperial/Metric |
| Steel Ruler | 12-24 inches | Non-slip grip |
| Carpenter's Square | 16×24 inches | Right angle guide |
When using these tools, always double-check your measurements to avoid costly mistakes. Remember to account for any obstructions on your garage roof, such as vents or skylights, that may affect panel placement. By using tape measures and rulers effectively, you'll guarantee a precise layout for your solar installation, maximizing energy production and aesthetic appeal.
Chalk Lines and Markers
Chalk lines and markers are frequently essential for creating accurate layouts in garage solar installations. You'll use these tools to mark precise lines and reference points on your garage roof, ensuring proper alignment of solar panels and mounting hardware.
A chalk line, also known as a chalk box or snap line, consists of a retractable string coated in chalk powder. To use it, you'll secure one end of the string, stretch it across the surface, and snap it to create a straight line. This tool is invaluable for marking long, straight lines quickly and accurately.
For more detailed marking, you'll need construction markers or pencils. These come in various colors and are designed to write on different surfaces, including roofing materials. Opt for markers that are weather-resistant and highly visible.
You might also find a carpenter's pencil useful. Its flat shape prevents it from rolling off the roof, and its thick lead allows for bold, durable marks.
When working with dark surfaces, consider using a white chalk line or light-colored markers for better visibility.
Always clean off temporary marks after installation to maintain your roof's appearance.
Electrical Tools and Testers
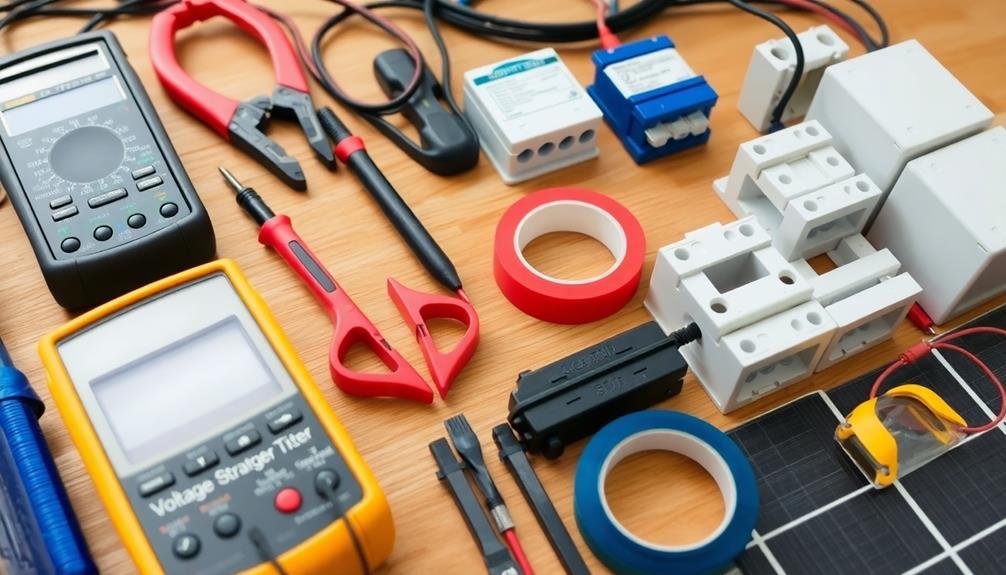
When installing solar panels in your garage, you'll need a set of reliable electrical tools and testers.
Start with a multimeter and voltage detector to guarantee safety and accurate measurements throughout the installation process.
Wire strippers, crimpers, and circuit breaker finders will also prove essential as you connect and troubleshoot your new solar system.
Multimeters and Voltage Detectors
In light of electrical safety and system performance, multimeters and voltage detectors are essential tools for any garage solar installation project.
You'll use a multimeter to measure voltage, current, and resistance in your solar system's circuits. It's vital for troubleshooting and verifying proper connections. Look for a digital multimeter with DC voltage measurement capabilities up to at least 1000V, as solar panels can produce high voltages.
Voltage detectors, also known as non-contact voltage testers, help you quickly identify live wires without direct contact. They're invaluable for safety checks before working on electrical components. Choose a detector that can sense both AC and DC voltages, as your solar system will involve both.
When using these tools, always follow proper safety procedures. Confirm your multimeter has the correct category rating for your application, typically CAT III or CAT IV for solar installations.
Keep your tools well-maintained and calibrated for accurate readings. Remember, while these devices are vital for DIY solar projects, they don't replace the expertise of a licensed electrician. If you're unsure about any electrical work, it's best to consult a professional to confirm your safety and the system's reliability.
Wire Strippers and Crimpers
Wire strippers and crimpers stand out as essential tools for your garage solar installation project. You'll need them to prepare and connect wires throughout the system. Wire strippers remove insulation from electrical wires, exposing the metal conductor for connections. Crimpers, on the other hand, secure connectors to wire ends, guaranteeing solid electrical contact.
When choosing wire strippers, consider the following:
| Type | Features | Best For |
|---|---|---|
| Manual | Simple, affordable | Occasional use |
| Automatic | Self-adjusting | Frequent stripping |
| Gauged | Precise holes | Specific wire sizes |
| Multi-tool | Versatile | Various tasks |
For crimpers, you'll want to select a tool that matches the connectors you're using. Look for models with ratcheting mechanisms to guarantee consistent crimps. You'll likely need different crimpers for various connector types, such as:
- Insulated terminals
- Non-insulated terminals
- MC4 solar connectors
- Battery terminals
Invest in quality tools to avoid connection failures. Remember, proper wire preparation and termination are vital for the safety and efficiency of your solar installation. Always follow manufacturer guidelines and local electrical codes when working with these tools.
Circuit Breaker Finders
Circuit breaker finders stand out among the essential electrical tools and testers you'll need for your garage solar installation.
These devices help you quickly identify which circuit breaker controls a specific outlet or electrical circuit, saving you time and frustration during the installation process.
To use a circuit breaker finder, you'll plug the transmitter unit into the outlet you're working on, then scan the electrical panel with the receiver.
When you've located the correct breaker, the receiver will emit a clear signal, usually through a beep or LED indicator.
Investing in a quality circuit breaker finder can greatly streamline your solar installation workflow.
Look for models with features like adjustable sensitivity, non-contact voltage detection, and GFCI outlet testing capabilities.
Some advanced finders even offer mapping functions to create a thorough diagram of your home's electrical system.
When selecting a circuit breaker finder, consider factors such as ease of use, accuracy, and durability.
Opt for a model with a clear display and intuitive controls to guarantee you can quickly interpret results.
Mounting Hardware and Brackets

Sturdy mounting hardware and brackets are essential components for a successful garage solar installation. You'll need a variety of mounting equipment to securely attach your solar panels to your garage roof. This includes rails, clamps, bolts, nuts, and washers specifically designed for solar panel installation.
For most garage roofs, you'll use a rail-based mounting system. You'll need to purchase rails that are compatible with your specific solar panels and roof type. L-feet or roof hooks are used to attach the rails to your roof, while mid-clamps and end-clamps secure the panels to the rails.
Don't forget to invest in high-quality stainless steel bolts, nuts, and washers to guarantee long-lasting connections. You'll also need lag bolts or screws to attach the L-feet or roof hooks to your garage's rafters.
If your garage has a flat roof, you may need a tilt-up mounting system with additional brackets to achieve the ideal angle for your panels.
For metal roofs, special clamps or brackets designed for standing seam or corrugated metal may be necessary.
Power Tools for Installation
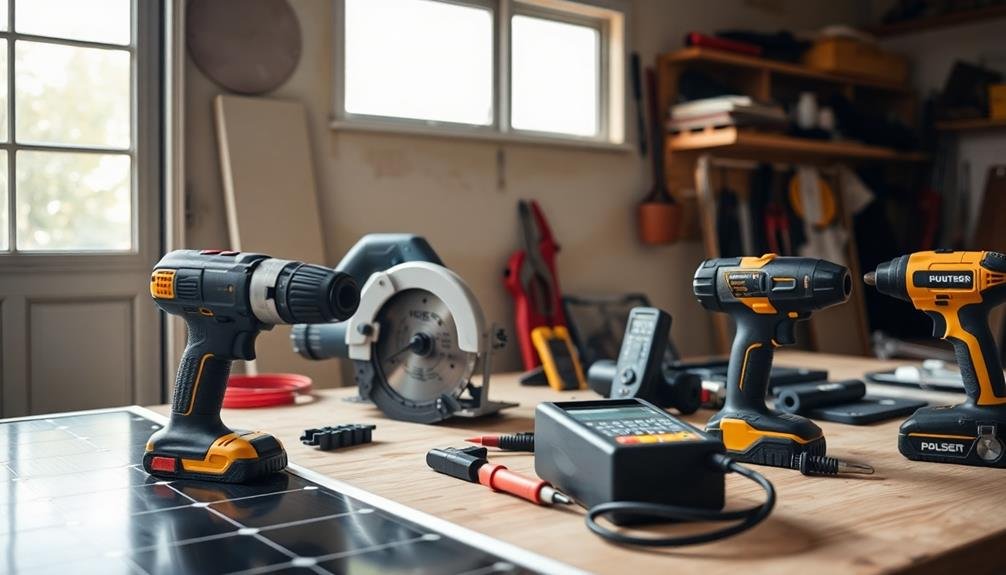
Equipped with the right power tools, you'll make your garage solar installation much smoother and more efficient. A cordless drill is essential for driving screws and creating pilot holes. Opt for an 18V or 20V model with multiple speed settings and a hammer drill function for versatility. You'll also need a variety of drill bits, including masonry bits for concrete or brick surfaces.
An impact driver complements your drill, providing extra torque for driving lag bolts and long screws. It's particularly useful when working with hardwoods or dense materials.
A reciprocating saw comes in handy for cutting metal conduit or trimming roof flashing. Make certain you have the appropriate blades for different materials.
For precise cuts on solar panel frames or mounting rails, use a circular saw with a fine-toothed blade. A multitool with oscillating attachments can help with intricate cutting and sanding tasks.
Don't forget a reliable stud finder to locate secure anchoring points in your garage's structure. Finally, an angle grinder with cutting and grinding discs is valuable for modifying metal components or removing excess material.
Keep your tools well-maintained and fully charged for uninterrupted work during the installation process.
Solar Panel Cleaning Supplies
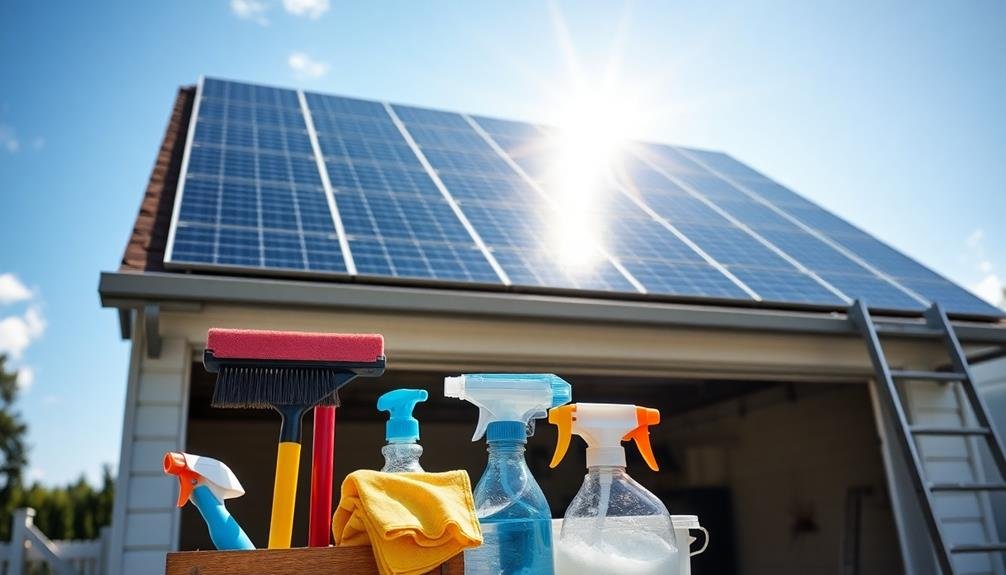
Keeping your solar panels clean is vital for maintaining ideal efficiency. You'll need specific tools to guarantee your panels remain free from dirt, dust, and debris.
Start with a soft-bristled brush designed for solar panels. It's gentle enough to avoid scratching the surface while effectively removing loose particles.
A squeegee with a long, extendable handle will help you reach panels on higher areas of your garage roof. Pair this with a microfiber cloth for streak-free drying.
You'll also want a bucket and some mild, biodegradable soap specifically formulated for solar panels.
For stubborn stains, keep a supply of isopropyl alcohol on hand. It's effective at breaking down tough grime without damaging the panels. A spray bottle filled with distilled water is useful for rinsing, as it won't leave mineral deposits on the panel surface.
Safety gear is essential, so don't forget non-slip shoes, work gloves, and safety glasses. If you're working on a sloped roof, invest in a safety harness and anchor points.
Frequently Asked Questions
How Long Does a Typical Garage Solar Installation Take?
You'll typically spend 1-3 days installing solar panels on your garage. The exact time depends on your garage's size, the system's complexity, and your experience level. Professional installers might complete it faster than DIY attempts.
What Permits Are Required for Installing Solar Panels on a Garage?
You'll typically need building and electrical permits for garage solar installation. Check with your local government for specific requirements. You may also need a utility interconnection agreement. Don't forget to obtain any necessary HOA approvals.
Can I Install Garage Solar Panels Myself Without Professional Help?
While it's possible to install garage solar panels yourself, it's not recommended. You'll need electrical expertise, safety knowledge, and proper tools. Incorrect installation can be dangerous and may void warranties. Consider hiring a professional for best results.
What's the Average Cost of a DIY Garage Solar Installation?
You'll typically spend $5,000 to $15,000 on a DIY garage solar installation. Your costs will vary based on system size, equipment quality, and local regulations. Don't forget to factor in permit fees and potential electrical upgrades.
How Much Energy Can a Garage Solar System Typically Generate?
You'll typically generate 1-4 kW from a garage solar system, depending on your roof size and sun exposure. That's enough to power most of your home's essential appliances or charge an electric vehicle daily.
In Summary
You've now got a thorough list of tools for your garage solar installation. From safety gear to specialized electrical equipment, you're well-prepared to tackle this project. Don't forget the importance of proper measuring and mounting tools to guarantee a secure setup. With these essentials at hand, you'll be ready to harness the sun's power and reduce your energy bills. Remember to prioritize safety and follow local regulations throughout the installation process.


Leave a Reply