
To install your pellet stove chimney, follow these three key steps: First, plan and prepare by checking local codes, measuring distances, and gathering necessary materials and tools. Next, install the chimney pipe by cutting a hole in the ceiling, installing a support box, and connecting pipe sections from the stove to the roof. Finally, perform safety checks by inspecting all connections, verifying proper pipe slope, and ensuring the installation of a chimney cap. Remember to schedule a professional inspection if required by local regulations. By following these steps carefully, you'll be on your way to a safe and efficient pellet stove setup.
Planning and Preparation
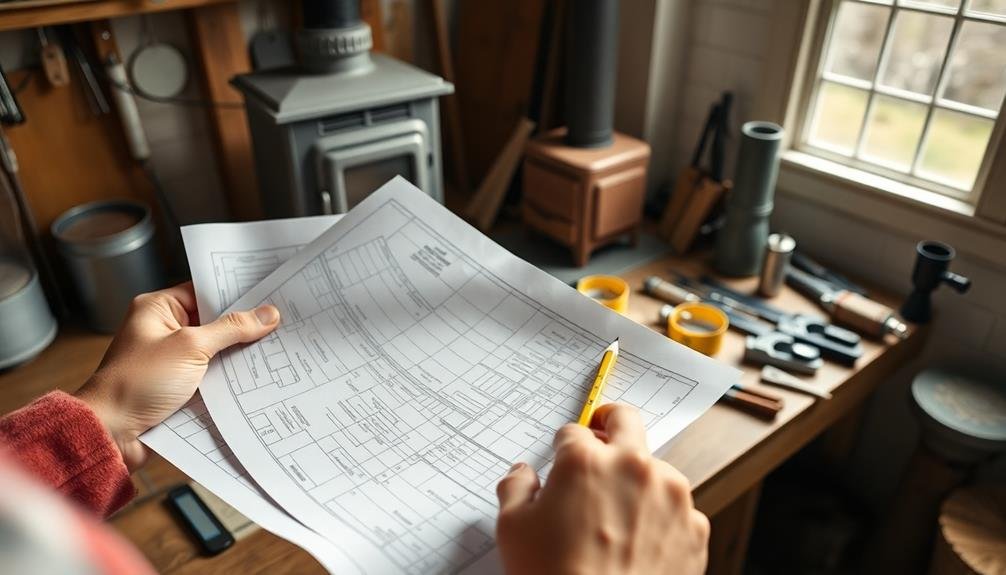
Before you begin installing a pellet stove chimney, it's crucial to plan and prepare thoroughly. Start by checking local building codes and obtaining necessary permits. Measure the distance from your pellet stove to the roof or exterior wall where the chimney will exit. This measurement will help determine the length of pipe you'll need.
Choose the appropriate chimney system for your pellet stove, ensuring it's compatible with your stove model and meets safety standards. Purchase all required components, including pipe sections, elbows, support brackets, and a chimney cap.
Don't forget to buy high-temperature silicone sealant and metal screws for secure connections.
Decide on the best route for your chimney, considering factors like roof pitch, obstacles, and aesthetics. Mark the locations where you'll need to cut holes in walls or ceilings.
Gather necessary tools, such as a reciprocating saw, drill, level, and tape measure. Set up a sturdy ladder or scaffolding for safe roof access.
Chimney Pipe Installation
With the planning and preparation complete, it's time to begin installing the chimney pipe.
Start by locating the ceiling joists and cutting a hole through the ceiling and roof, guaranteeing it's large enough for the pipe and any required insulation.
Install a support box in the ceiling, securing it firmly to the joists.
Next, assemble the chimney pipe sections according to the manufacturer's instructions.
Begin at the pellet stove's flue collar and work your way up, connecting each section tightly.
Use a level to guarantee the pipe remains plumb as you progress.
As you reach the ceiling, insert the pipe through the support box and continue upward.
When you reach the roof, install a flashing to create a watertight seal around the pipe.
Secure the flashing with roofing nails and seal it with roofing cement.
Final Safety Checks
Safety stands paramount when installing a pellet stove chimney. Before firing up your new stove, you'll need to perform some vital final safety checks. These steps guarantee your installation is secure and up to code, protecting you and your home from potential hazards.
Start by double-checking all connections and joints. Make sure they're tight and properly sealed. Next, inspect the entire length of the chimney pipe for any signs of damage or improper installation. Verify that all clearances to combustible materials are met according to manufacturer specifications and local building codes.
Here's a quick checklist to help you cover all bases:
- Confirm proper pipe slope (1/4 inch per foot)
- Check that all support brackets are securely fastened
- Verify the chimney cap is correctly installed
- Verify that all required warning labels are in place
- Test the stove's safety features, including the shut-off switch
Don't forget to schedule a professional inspection if required by your local regulations.
Once you've completed these final safety checks, you can confidently enjoy the warmth and efficiency of your newly installed pellet stove chimney.
Frequently Asked Questions
How Often Should I Clean My Pellet Stove Chimney?
You should clean your pellet stove chimney at least once a year, preferably before the heating season begins. If you use your stove frequently, you might need to clean it more often. Regular maintenance guarantees peak performance and safety.
Can I Use a Regular Wood Stove Chimney for My Pellet Stove?
You shouldn't use a regular wood stove chimney for your pellet stove. Pellet stoves require specific venting systems designed for their unique exhaust. It's essential to install a chimney that's compatible with your pellet stove for safety and efficiency.
What's the Average Lifespan of a Pellet Stove Chimney System?
Your pellet stove chimney system can last 15-20 years with proper maintenance. You'll need to clean it annually and inspect it regularly. However, factors like usage, climate, and installation quality can affect its lifespan. Don't neglect maintenance!
Are There Any Special Maintenance Requirements for Horizontal Pellet Stove Venting?
Yes, there are special maintenance requirements for horizontal pellet stove venting. You'll need to regularly clean the vent pipe, check for blockages, inspect seals, and guarantee proper clearances. Don't forget to clean the termination cap and check for corrosion.
Can Extreme Weather Conditions Affect My Pellet Stove's Chimney Performance?
Yes, extreme weather can impact your pellet stove's chimney performance. High winds may cause drafting issues, while heavy snow or ice can block vents. You'll need to regularly check and clear your chimney during severe weather conditions.
In Summary
You've now successfully installed your pellet stove chimney! Remember, proper installation is essential for your safety and the stove's efficiency. Don't forget to schedule regular cleanings and inspections to keep your system running smoothly. If you're ever unsure about any part of the process, it's always best to consult a professional. Enjoy the warmth and comfort of your new pellet stove, knowing you've taken the right steps to guarantee its safe operation.


Leave a Reply