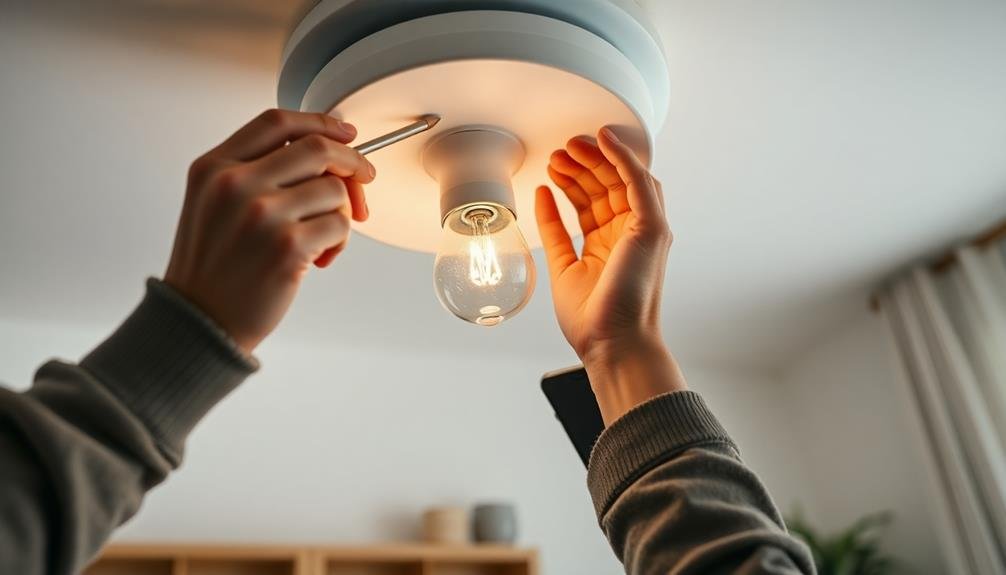
To install voice-activated LED bulbs, start by choosing compatible bulbs that work with your preferred smart home system. Next, set up a smart home hub if required, connecting it to your router. Install the bulbs in your fixtures, then use the companion app to connect them to your Wi-Fi network. Configure your voice assistant integration by enabling the appropriate skill and linking accounts. Finally, test and customize voice commands to control your new smart lighting setup. With these five steps, you'll be on your way to a more convenient and energy-efficient home. Discover how to fine-tune your system for peak performance and personalization.
Choose Compatible Voice-Activated LED Bulbs
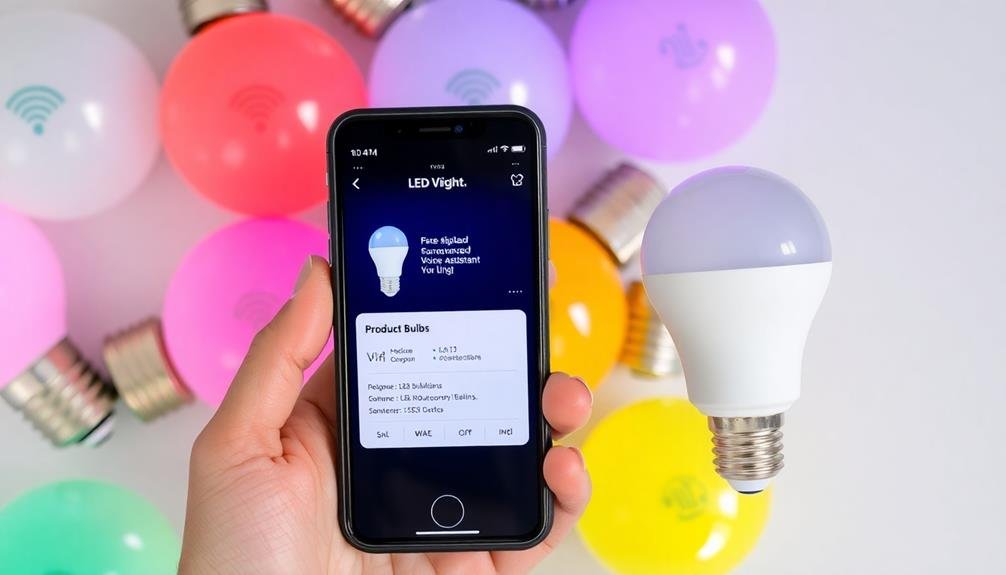
Three key factors to evaluate when choosing compatible voice-activated LED bulbs are connectivity, wattage, and base type.
For connectivity, verify the bulbs are compatible with your smart home system, such as Amazon Alexa, Google Home, or Apple HomeKit. Check if they require a separate hub or connect directly to your Wi-Fi network.
Consider the wattage and lumens to match your lighting needs. Voice-activated LEDs typically range from 5 to 15 watts, equivalent to 40-100 watt traditional bulbs. Higher wattage usually means brighter light, but also check the lumen output for a more accurate measure of brightness.
The base type must fit your existing fixtures. Common types include E26 (standard), E12 (candelabra), and GU10 (spotlight). Measure your current bulbs or check your fixture's specifications to verify compatibility.
Look for additional features like color temperature adjustability, which allows you to switch between warm and cool tones. Some bulbs offer millions of color options, enabling you to create custom scenes or moods.
Lastly, consider brand reputation and user reviews to verify reliability and ease of use. Popular brands often provide better support and more frequent software updates.
Set Up Smart Home Hub
Many voice-activated LED bulbs require a smart home hub to function properly. This central device connects your smart bulbs to your home network and allows you to control them with voice commands or smartphone apps.
To set up your smart home hub, start by choosing a compatible model that works with your selected LED bulbs and voice assistant.
Once you've got your hub, follow these steps:
- Plug the hub into a power source near your router
- Connect the hub to your router using an Ethernet cable
- Download the hub's companion app on your smartphone
- Follow the app's instructions to create an account and set up the hub
- Verify your hub's firmware is up to date
After setting up your hub, it's time to connect your LED bulbs. Turn on the bulbs and use the app to discover and add them to your network.
You may need to enter a code or press a button on the bulb to complete the pairing process. Once connected, you can group your bulbs, create schedules, and customize their settings through the app.
With your smart home hub configured, you're ready to start controlling your LED bulbs with voice commands.
Connect Bulbs to Wi-Fi Network
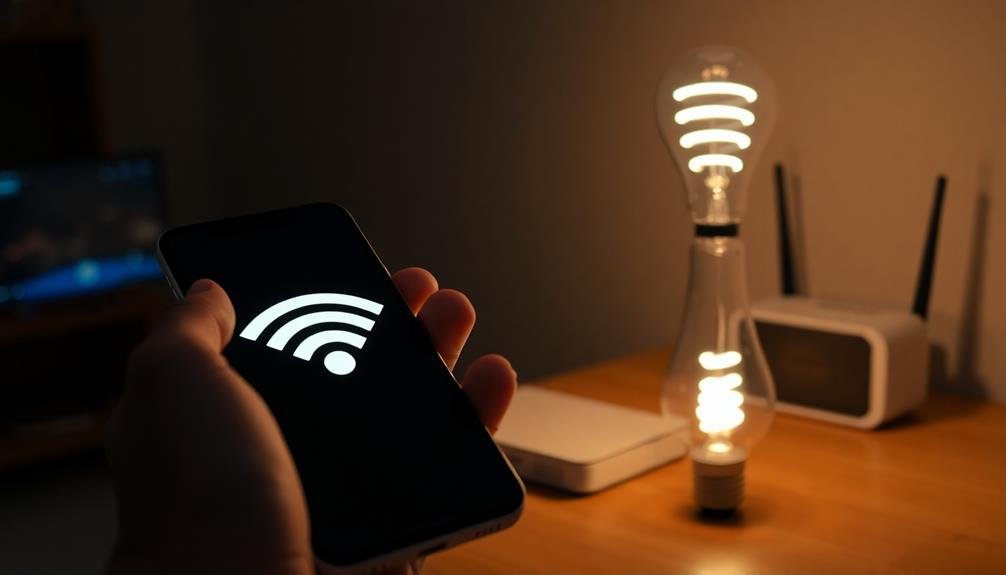
Now that your smart home hub is set up, it's time to connect your LED bulbs to your Wi-Fi network. Start by verifying your bulbs are screwed into their fixtures and powered on.
Open your smart home app and navigate to the "Add Device" section. Select "Light Bulb" or "LED Bulb" from the list of available device types.
Follow the app's instructions to put your bulbs into pairing mode. This usually involves turning the bulb on and off a specific number of times. Once in pairing mode, the bulb should blink rapidly, indicating it's ready to connect.
Your app will search for available devices. Select your bulb from the list and enter your Wi-Fi network credentials when prompted. The app will then attempt to connect the bulb to your network. This process may take a few minutes.
Once connected, you can name your bulb and assign it to a room in your smart home setup.
Repeat this process for each LED bulb you want to connect. After all bulbs are added, test each one by turning it on and off through the app to verify proper connectivity.
Configure Voice Assistant Integration
To take full advantage of your smart LED bulbs, you'll want to integrate them with a voice assistant like Amazon Alexa, Google Assistant, or Apple's Siri. This integration allows you to control your lights using voice commands, adding convenience and a futuristic touch to your home.
First, verify your voice assistant device is set up and connected to the same Wi-Fi network as your smart bulbs. Open the voice assistant app on your smartphone and navigate to the device or skill section. Search for your smart bulb brand and enable the corresponding skill or action.
Follow the prompts to link your smart bulb account with the voice assistant. Once linked, you can start using voice commands to control your lights. Here are some common voice commands you can try:
- "Turn on/off the living room lights"
- "Dim the bedroom lights to 50%"
- "Set the kitchen lights to blue"
- "Brighten the office lights"
- "Turn all lights off"
Experiment with different commands to discover the full range of voice control options for your smart LED bulbs.
You can also create custom routines or scenes to control multiple lights simultaneously with a single voice command.
Test and Customize Voice Commands

After setting up voice assistant integration, it's essential to test and customize your voice commands. Start by saying the default wake word followed by a basic command like "turn on the lights" or "dim the living room." If the bulbs respond correctly, you're on the right track. If not, double-check your settings and connections.
Next, experiment with more specific commands. Try adjusting brightness levels, changing colors, or activating preset scenes. Make note of which commands work well and which ones need refinement. You can then customize these commands in your voice assistant's app to better suit your preferences and daily routines.
Create shortcuts for complex actions, like "movie night," which could dim the lights and change their color. Test these custom commands thoroughly to guarantee they perform as expected. Don't forget to try variations of each command to improve reliability.
Remember to teach other household members the voice commands you've set up. Encourage them to use natural language and find what works best for everyone. Regularly update and refine your voice commands as you discover more efficient ways to control your LED bulbs.
Frequently Asked Questions
Can Voice-Activated LED Bulbs Work Without an Internet Connection?
Most voice-activated LED bulbs require an internet connection to function. However, you'll find some models that work offline using Bluetooth or local networks. These options are limited, so you're better off with internet-connected bulbs for full functionality.
How Many Voice-Activated LED Bulbs Can One Smart Home System Support?
You'll find that smart home systems can typically support dozens to hundreds of voice-activated LED bulbs. The exact number depends on your system's capacity and connectivity. Check your system's specifications to determine its maximum device limit.
Are Voice-Activated LED Bulbs Compatible With All Types of Light Fixtures?
You'll find that voice-activated LED bulbs aren't compatible with all fixtures. They typically work with standard sockets, but may not fit specialty fixtures. Check the bulb's specifications and your fixture type before purchasing to verify compatibility.
Do Voice-Activated LED Bulbs Consume More Energy Than Regular LED Bulbs?
You'll find that voice-activated LED bulbs typically don't consume more energy than regular LEDs. They're designed for efficiency, just like standard LEDs. The voice control feature adds minimal power usage, so you won't see a significant difference in energy consumption.
Can Multiple Users Control the Same Voice-Activated LED Bulbs?
Yes, you can typically set up multiple users to control voice-activated LED bulbs. You'll need to add each user to the smart home app or system. They'll then be able to use voice commands or the app to control the lights.
In Summary
You've now successfully set up your voice-activated LED bulbs! With these steps completed, you're ready to enjoy the convenience of controlling your lights with just your voice. Remember to experiment with different commands and explore the full range of features your smart bulbs offer. As you become more comfortable, you'll find new ways to customize your lighting experience. Embrace the future of home lighting and enjoy the ease of hands-free control!


Leave a Reply