When soundproofing your home studio, consider these top three materials: acoustic foam panels, mass loaded vinyl (MLV), and fiberglass insulation batts. Acoustic foam panels effectively control sound reflections and improve audio quality. MLV, a dense and flexible material, blocks sound transmission through walls, floors, and ceilings. Fiberglass insulation batts offer affordable and effective sound absorption while providing thermal insulation. Each material has unique properties and installation requirements, so you'll want to choose based on your specific needs and budget. Combining these materials can create a thorough soundproofing solution for your studio. Explore further to discover how to maximize their potential in your space.
Acoustic Foam Panels
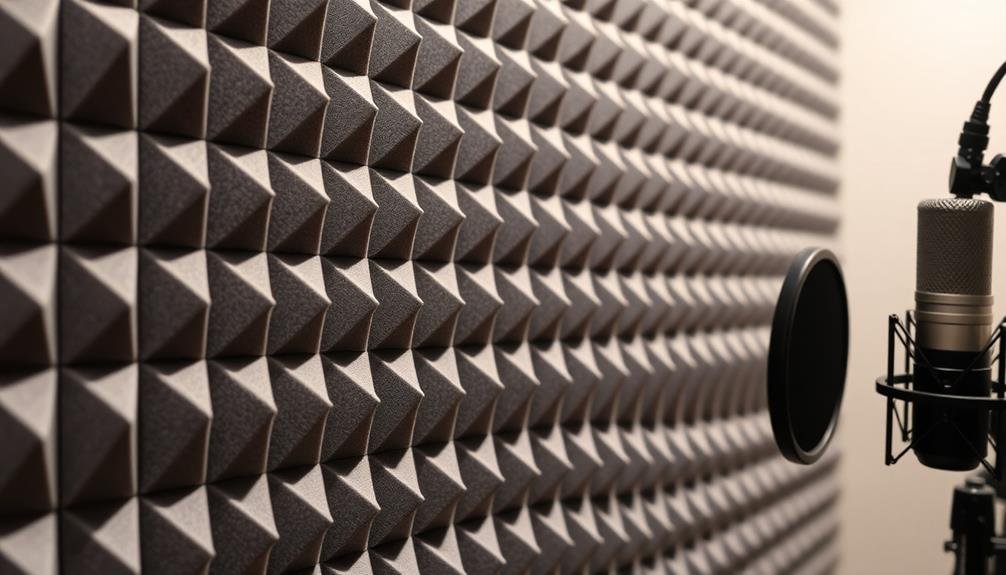
Workhorses of home studio soundproofing, acoustic foam panels are essential for controlling sound reflections and improving overall audio quality. These lightweight, porous materials absorb sound waves, reducing echo and reverberation in your recording space.
You'll find acoustic foam panels in various shapes, sizes, and thicknesses. Wedge-shaped panels are common, but pyramid and grid designs are also effective. Thicker panels (2-4 inches) generally perform better at absorbing lower frequencies, while thinner ones (1-2 inches) target mid to high frequencies.
When installing acoustic foam, focus on treating first reflection points—areas where sound waves directly bounce off walls to your listening position. Cover about 25-50% of your wall surface for ideal results. Don't forget to address corners, where bass frequencies tend to build up.
While acoustic foam excels at improving room acoustics, it's not a complete soundproofing solution. It won't markedly block external noise or prevent sound from escaping your studio. For thorough soundproofing, combine foam panels with other materials like mass-loaded vinyl or soundproof curtains.
Remember to choose fire-resistant foam panels for safety, and consider aesthetics when selecting colors to match your studio's decor.
Mass Loaded Vinyl
While acoustic foam tackles sound reflections, mass loaded vinyl (MLV) addresses a different aspect of soundproofing. This dense, flexible material blocks sound transmission between spaces. You'll find MLV particularly effective for walls, floors, and ceilings in your home studio.
MLV's high mass and limp nature make it excellent at absorbing sound energy. It's often used in combination with other materials for maximum effectiveness. You can install MLV directly on surfaces or sandwich it between layers of drywall for enhanced soundproofing.
Here's a quick comparison of MLV with other common soundproofing materials:
| Material | Density | Flexibility | Installation | Effectiveness | Cost |
|---|---|---|---|---|---|
| MLV | High | High | Moderate | High | Moderate |
| Acoustic Foam | Low | Low | Easy | Moderate | Low |
| Fiberglass | Low | Moderate | Moderate | Moderate | Low |
| Rockwool | Moderate | Low | Moderate | High | Moderate |
| Green Glue | Low | High | Easy | High | High |
When using MLV, you'll need to pay attention to seams and edges to prevent sound leaks. It's also important to take into account the added weight to your structure. While MLV isn't the cheapest option, its effectiveness makes it a worthwhile investment for serious home studio soundproofing.
Fiberglass Insulation Batts
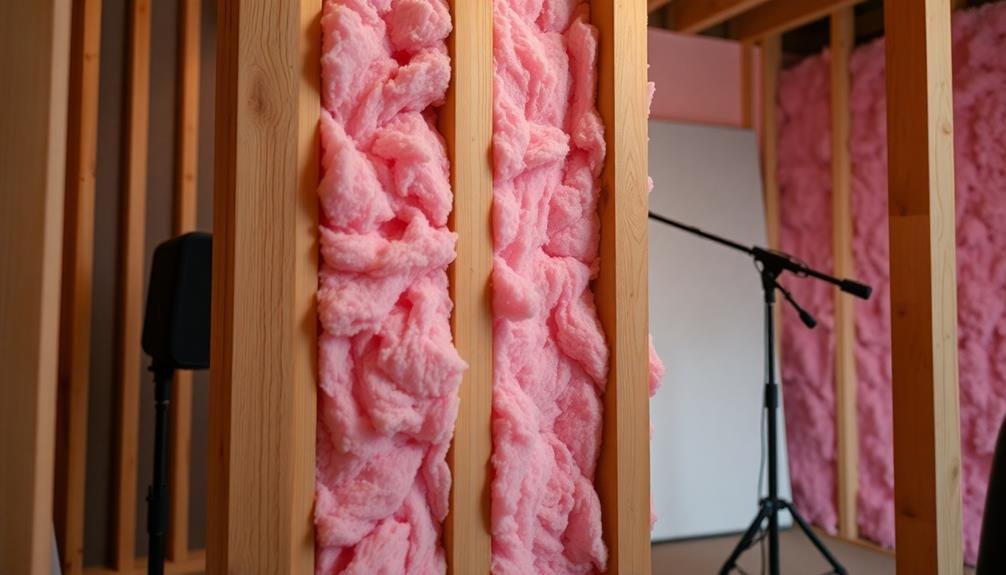
Fiberglass insulation batts pack a punch when it comes to soundproofing your home studio. These affordable and widely available materials are designed to absorb sound waves, reducing echo and reverberation within your space. You'll find them in various thicknesses, with denser options providing better sound absorption.
When installing fiberglass insulation batts, remember to wear protective gear, as the fibers can irritate your skin and respiratory system. Place the batts between wall studs, ceiling joists, or floor joists to create an effective sound barrier.
For best results, combine fiberglass insulation with other soundproofing materials like mass loaded vinyl or acoustic panels.
Fiberglass insulation batts offer several benefits for your home studio:
- Excellent sound absorption properties
- Thermal insulation, helping regulate room temperature
- Fire resistance, adding an extra layer of safety to your studio
While fiberglass insulation is highly effective, it's not a complete soundproofing solution on its own. Use it as part of a thorough approach to achieve the best results.
Remember to seal any gaps or cracks in your walls, floors, and ceilings to maximize the insulation's effectiveness and create a truly soundproof environment for your recordings.
Frequently Asked Questions
How Long Does It Typically Take to Soundproof a Room Completely?
You'll find that completely soundproofing a room can take anywhere from a few days to several weeks. It depends on the room's size, your chosen methods, and whether you're doing it yourself or hiring professionals.
Can Soundproofing Materials Affect Indoor Air Quality or Off-Gas Harmful Chemicals?
Yes, some soundproofing materials can affect indoor air quality. You'll want to choose low-VOC options and guarantee proper ventilation. It's best to research products carefully and opt for eco-friendly alternatives to minimize potential off-gassing of harmful chemicals.
What's the Average Cost per Square Foot for Professional Soundproofing Installation?
You'll find professional soundproofing installation costs vary widely, but you can expect to pay between $10 and $30 per square foot on average. Factors like room size, materials used, and complexity of the project affect the final price.
Are There Any Eco-Friendly or Sustainable Options for Soundproofing Materials?
You'll find several eco-friendly soundproofing options available. Consider using recycled denim insulation, cork panels, or wool products. These sustainable materials effectively absorb sound while minimizing environmental impact. You can also repurpose old fabrics or carpets for DIY soundproofing solutions.
How Do You Soundproof a Room Without Permanently Altering the Existing Structure?
You can soundproof a room without permanent changes by using removable solutions. Try hanging heavy curtains, placing soundproof panels on walls, using acoustic foam, adding rugs, and sealing gaps with weatherstripping. Don't forget to address windows and doors too.
In Summary
You've now explored three effective soundproofing materials for your home studio. Whether you opt for acoustic foam panels, mass loaded vinyl, or fiberglass insulation batts, you'll be well on your way to creating a more isolated recording space. Remember, each material has its strengths, so consider combining them for ideal results. Don't hesitate to experiment with placement and quantity to find the perfect balance for your unique studio setup. Your improved sound quality will be worth the effort!

Leave a Reply