Replacing window seals yourself is a simple three-step process. First, remove the old seals by cleaning the frame, inspecting the attachment method, and carefully prying them off. Next, measure the length of each side of the window frame, adding an extra inch for adjustments, and cut new seals to size. Finally, install the replacement seals by cleaning the channel, applying adhesive, and pressing the new seal into place. Be sure to check for proper alignment and allow the adhesive to dry completely. With these easy steps, you'll be on your way to improving your home's energy efficiency and comfort in no time.
Removing Old Window Seals

Before you can install new window seals, you'll need to remove the old ones. Start by thoroughly cleaning the window frame and sill to remove any dirt or debris.
Next, carefully inspect the existing seal to determine its type and how it's attached. Most window seals are either held in place with adhesive or fitted into a groove.
For adhesive-backed seals, use a putty knife or flathead screwdriver to gently pry up one end of the seal. Slowly work your way along the seal, lifting it away from the frame. If it's stubborn, apply heat with a hairdryer to soften the adhesive.
For seals fitted into grooves, use needle-nose pliers to grip the end of the seal and pull it out of the channel.
As you remove the old seal, check for any damage to the window frame or sill. Repair any cracks or rot before proceeding with the new installation.
Once the old seal is completely removed, use a scraper or sandpaper to smooth out any remaining adhesive residue. Finally, clean the area again to guarantee a proper surface for the new seal.
Measuring and Cutting New Seals
The next essential step in replacing your window seals is accurate measurement and cutting. You'll need to measure the length of each side of your window frame where the seal will be installed. Use a flexible tape measure to guarantee you get precise measurements, especially for curved or irregular shapes.
Once you've got your measurements, add an extra inch to each one to allow for any adjustments during installation.
When cutting the new seals, use sharp scissors or a utility knife for clean, straight cuts. Make sure you're working on a flat, stable surface to avoid any accidents. If you're dealing with rubber or silicone seals, you might find it easier to use a miter box for more accurate angled cuts.
Here are some key points to remember:
- Always measure twice before cutting
- Use the right tools for the material you're working with
- Cut at a 45-degree angle for corner joints
- Test-fit the cut pieces before final installation
- Keep extra material on hand for any mistakes or adjustments
Installing Replacement Window Seals

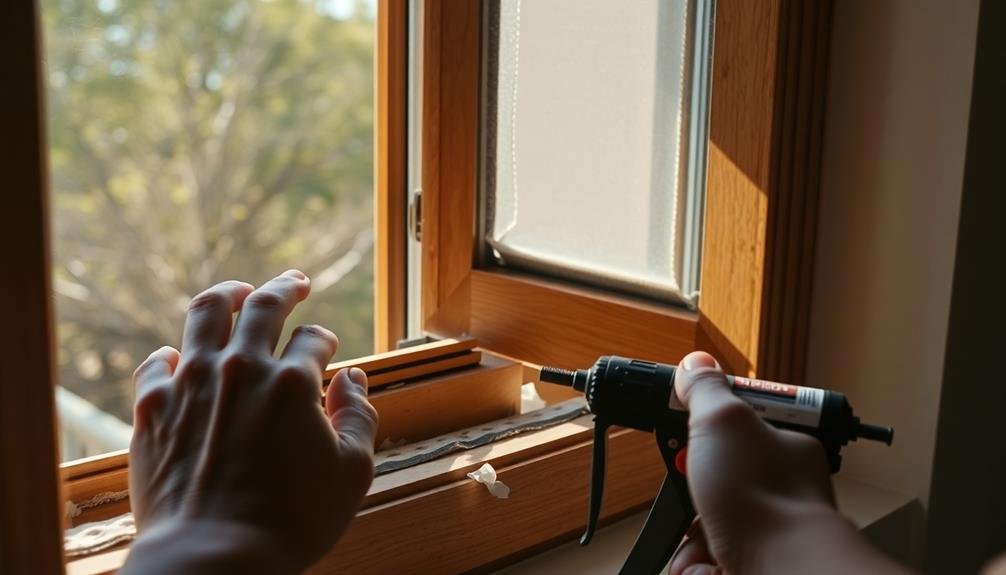
With your newly cut seals ready, it's time to install them in your window frames. Begin by thoroughly cleaning the channel where the old seal was removed. Use a degreaser or rubbing alcohol to guarantee the surface is free of dirt and residue. This step is essential for proper adhesion of the new seal.
Next, apply a thin bead of silicone caulk or weatherstrip adhesive along the channel. Don't use too much, as excess can interfere with the seal's effectiveness. Carefully press the new seal into place, starting at one corner and working your way around. Make sure it's seated firmly and evenly in the channel.
For compression seals, you may need to use a putty knife or seal installation tool to tuck the seal into the groove. Work slowly and methodically to avoid stretching or damaging the seal. At corners, make clean, 45-degree angle cuts for a tight fit.
Once installed, close the window to check for proper alignment and seal. If you notice any gaps or areas where the seal isn't making contact, adjust as needed. Allow the adhesive to dry completely before operating the window regularly.
Frequently Asked Questions
How Often Should Window Seals Be Replaced?
You should replace your window seals every 10-15 years, or sooner if you notice drafts, condensation, or visible damage. Don't wait too long, as worn seals can lead to energy loss and moisture issues in your home.
Can I Replace Window Seals in Cold Weather?
You can replace window seals in cold weather, but it's not ideal. The cold can make materials less flexible and adhesives less effective. If possible, wait for warmer temperatures or work on a mild day for better results.
What Tools Are Required for Replacing Window Seals?
You'll need a utility knife, putty knife, caulk gun, silicone caulk, and a cleaning solution. Don't forget safety gear like gloves and goggles. Measuring tape and a screwdriver might also come in handy for precise work.
Are There Different Types of Window Seals for Various Window Styles?
Yes, you'll find different seals for various window styles. There are weatherstrips for sliding windows, gaskets for casement windows, and foam tapes for double-hung windows. You'll need to choose the right type for your specific window style.
How Much Does Professional Window Seal Replacement Typically Cost?
You'll typically pay between $70 to $120 per window for professional seal replacement. Costs can vary based on window size, type, and location. Large or custom windows may cost more. Always get multiple quotes for the best price.
In Summary
You've now successfully replaced your window seals in just three easy steps. By removing the old seals, carefully measuring and cutting new ones, and installing them properly, you've improved your home's energy efficiency and comfort. Don't forget to test the windows to verify a proper seal. With this DIY approach, you've saved money and gained a useful home maintenance skill. Keep an eye on your seals and repeat the process when needed.


Leave a Reply