You can easily monitor your home's energy consumption with these five affordable circuits. An Arduino-based power meter offers customizable monitoring for specific appliances. The Raspberry Pi energy monitor provides advanced features and data analysis capabilities. For wireless tracking, consider the ESP8266-based system, which transmits data to your home network or cloud service. CT sensor circuits offer non-invasive current measurements, while shunt resistor systems provide low-cost, accurate readings. Each option has unique advantages, from ease of implementation to advanced data processing. By exploring these DIY solutions, you'll gain valuable insights into your power usage and potential savings.
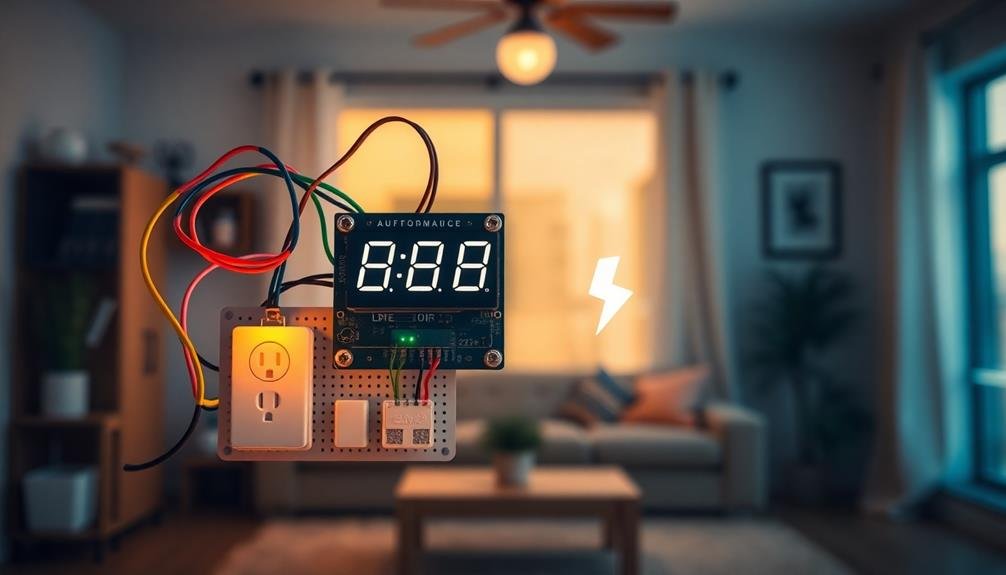
Arduino-Based Power Meter
Many DIY enthusiasts turn to Arduino-based power meters as an affordable and customizable solution for monitoring energy consumption. These devices allow you to measure voltage, current, and power usage in real-time, giving you valuable insights into your home's energy habits.
To build an Arduino-based power meter, you'll need an Arduino board, a current sensor, a voltage sensor, and a display. The current sensor, typically a Hall effect sensor or a current transformer, measures the flow of electricity through your circuit. The voltage sensor, often a simple voltage divider, monitors the voltage level. You'll connect these sensors to your Arduino's analog inputs.
Program your Arduino to read the sensor data and calculate power consumption using Ohm's law. You can display the results on an LCD screen or send them to a computer for logging and analysis. For more advanced setups, consider adding Wi-Fi capabilities to access your energy data remotely.
Arduino-based power meters offer flexibility regarding features and design. You can customize your meter to monitor specific appliances or your entire home's energy usage.
With this DIY approach, you'll gain a deeper understanding of your energy consumption patterns and identify areas for potential savings.
Raspberry Pi Energy Monitor
While Arduino offers a great entry point for DIY energy monitoring, the Raspberry Pi provides a more powerful platform for those seeking advanced features and data analysis capabilities.
With its built-in Wi-Fi and more robust processing power, you can create a sophisticated energy monitor that collects, analyzes, and displays data in real-time.
To set up your Raspberry Pi energy monitor, you'll need:
- A Raspberry Pi (3 or 4 recommended)
- Current transformer sensors
- An analog-to-digital converter (ADC)
- Power supply and SD card
Connect the sensors to your home's electrical panel and wire them to the ADC. The ADC then interfaces with the Raspberry Pi through its GPIO pins.
You'll need to install the necessary software and libraries to process the incoming data. With Python, you can create scripts to calculate power consumption, track usage patterns, and even predict future energy needs.
The Raspberry Pi's versatility allows you to add features like a web interface for remote monitoring, email alerts for unusual consumption patterns, or integration with smart home systems.
You can also use its HDMI output to display real-time energy usage on a dedicated screen in your home.
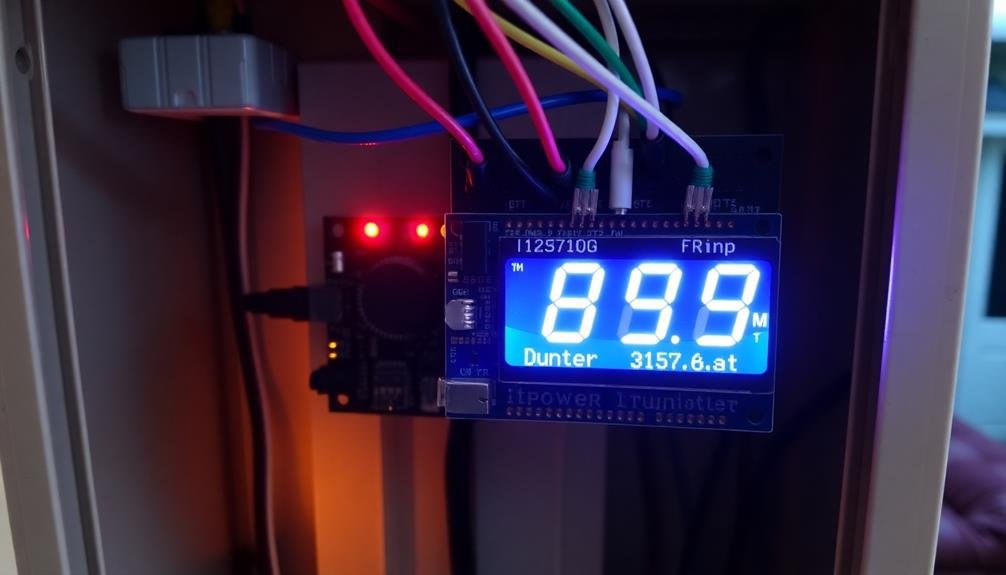
ESP8266 Wireless Energy Tracker

For those looking to create a compact and wireless energy monitoring solution, the ESP8266 microcontroller stands out as an excellent choice. This tiny, Wi-Fi-enabled chip allows you to build a wireless energy tracker that can monitor your home's power consumption in real-time.
To get started, you'll need an ESP8266 board, a current sensor, and a voltage sensor. Connect these components to create a basic circuit that measures both current and voltage. Then, use the ESP8266's built-in Wi-Fi capabilities to transmit the data to your home network or a cloud service.
Here's a comparison of popular ESP8266 boards for energy monitoring:
| Board | Price | Wi-Fi | ADC Pins | Size |
|---|---|---|---|---|
| NodeMCU | $5 | 2.4GHz | 1 | 49x26mm |
| Wemos D1 Mini | $4 | 2.4GHz | 1 | 34.2×25.6mm |
| ESP-01 | $2 | 2.4GHz | 0 | 14.3×24.8mm |
| ESP-12E | $3 | 2.4GHz | 1 | 16x24mm |
You can program the ESP8266 using Arduino IDE or MicroPython, making it accessible for both beginners and experienced makers. With its low cost and versatility, the ESP8266 enables you to create an affordable, customizable energy monitoring system for your home.
CT Sensor Circuit Design
The heart of any energy monitoring system lies in its ability to accurately measure current. For affordable home energy monitoring, CT (Current Transformer) sensors are an excellent choice. They're non-invasive, easy to install, and provide reliable measurements.
To design an effective CT sensor circuit, you'll need to take into account a few key components and principles.
Here's what you need to know about CT sensor circuit design:
- CT sensor selection: Choose a sensor with the appropriate current rating for your application. Most residential circuits can be monitored with 100A or 200A CT sensors.
- Burden resistor: Calculate and add a burden resistor to convert the CT's current output to a measurable voltage. This is essential for accurate readings.
- Signal conditioning: Implement a voltage divider and capacitor to center the AC signal and protect your microcontroller's ADC input.
- Calibration: Use software calibration to fine-tune your measurements, accounting for any hardware variations.
When designing your CT sensor circuit, remember to prioritize safety. Always use isolation techniques to separate high-voltage AC circuits from your low-voltage measurement electronics.
With careful design and proper implementation, you'll have a reliable and affordable energy monitoring system for your home.
Shunt Resistor Monitoring System

Another popular method for affordable energy monitoring is the shunt resistor system. This approach uses a low-resistance, high-precision resistor placed in series with the load to measure current flow. As electricity passes through the shunt, it creates a small voltage drop that's proportional to the current.
You'll need to connect a voltage measuring device across the shunt to capture this drop. An analog-to-digital converter (ADC) can then translate this voltage into a digital signal for processing. To calculate power consumption, you'll also need to measure the line voltage, which you can do with a voltage divider circuit.
The shunt resistor method offers several advantages. It's inexpensive, easy to implement, and provides accurate readings for both AC and DC circuits. However, you must choose the right shunt resistance value to balance sensitivity and power loss. Too high a resistance will waste energy, while too low a value may not provide enough resolution for accurate measurements.
When installing a shunt resistor system, verify proper insulation and consider using a heat sink for high-current applications.
With careful design, you can create a reliable, cost-effective energy monitoring solution for your home.
Frequently Asked Questions
How Do Energy Monitoring Circuits Impact My Electricity Bill?
Energy monitoring circuits don't directly impact your electricity bill. However, they help you track your energy usage, allowing you to identify high-consumption areas and adjust habits. This awareness can lead to reduced energy use and lower bills over time.
Are There Any Safety Concerns When Installing DIY Energy Monitoring Systems?
When installing DIY energy monitoring systems, you'll need to prioritize safety. Be cautious of electrical shock risks, guarantee proper insulation, and avoid overloading circuits. If you're not confident in your skills, it's best to consult a professional electrician.
What's the Typical Payback Period for Investing in Home Energy Monitoring?
You'll typically see a payback period of 1-3 years for home energy monitoring investments. It depends on your energy usage, system cost, and how effectively you use the data to reduce consumption and optimize habits.
Can Energy Monitoring Circuits Detect Specific Appliances Using Excessive Power?
Yes, you can detect specific power-hungry appliances with advanced energy monitoring circuits. They'll analyze your home's power consumption patterns, identifying usage spikes and unique electrical signatures. You'll pinpoint which devices are draining the most energy, helping you make informed decisions.
Are There Any Legal Considerations When Installing Energy Monitoring Devices?
You should check local regulations before installing energy monitoring devices. While generally legal, you'll want to guarantee you're not violating privacy laws or rental agreements. If you're a tenant, get your landlord's permission first.
In Summary
You've now got five budget-friendly options to monitor your home's energy use. Whether you're tech-savvy or just starting out, there's a solution that'll fit your needs. From Arduino to Raspberry Pi, these DIY circuits will help you track and optimize your power consumption. Don't forget to choose the option that best suits your skill level and goals. With these tools, you'll be on your way to a more energy-efficient home in no time.


Leave a Reply