To optimize your Trombe wall, start by understanding its basic principles and choosing a south-facing location with unobstructed sunlight. Select high thermal mass materials like concrete or brick, and aim for a wall thickness between 10-16 inches. Install proper glazing, such as low-iron glass, and add thermal mass elements like water walls for enhanced heat storage. Implement shading techniques to prevent overheating in summer, and guarantee thorough insulation to minimize heat loss. Don't forget to maintain your wall regularly, cleaning glazing and checking for cracks or gaps. These tips will set you on the path to passive solar success, but there's even more to discover about maximizing your Trombe wall's efficiency.
Understand Trombe Wall Basics

A Trombe wall is a passive solar design element that harnesses the sun's energy to heat your home. It consists of a thick, dark-colored wall facing south, with a layer of glass or plastic glazing installed a few inches in front of it. This creates an air space between the wall and the glazing.
The wall absorbs solar radiation during the day, storing heat in its thermal mass. As the wall warms up, it radiates heat into the interior space. The glazing traps heat, creating a greenhouse effect that further increases the wall's efficiency. Vents at the top and bottom of the wall allow for air circulation, helping distribute warmth throughout your home.
You'll find Trombe walls most effective in climates with cold winters and abundant sunshine. They work best when paired with proper insulation and other passive solar strategies.
To maximize their performance, consider using materials with high thermal mass, like concrete, brick, or adobe. You can also incorporate movable insulation or shading devices to prevent overheating in summer.
Choose the Right Location
When choosing a location for your Trombe wall, southern exposure is essential for maximizing solar gain.
You'll want to carefully consider the sun's path throughout the year, as seasonal sun angles will affect the wall's performance.
Southern Exposure Essential
Selecting the perfect location for your Trombe wall is essential to its effectiveness. When it comes to passive solar design, southern exposure is paramount. You'll want to position your Trombe wall on the south-facing side of your building to maximize its solar gain potential. This orientation allows the wall to capture the most sunlight throughout the day, especially during winter months when the sun's path is lower in the sky.
Ensure that the wall has an unobstructed view of the sun from about 9 am to 3 pm during the winter solstice. Avoid placing it in areas shaded by trees, neighboring buildings, or other structures that could block sunlight. If you're working with an existing building, you might need to take into account removing obstacles or trimming vegetation to improve solar access.
Remember that the effectiveness of your Trombe wall depends on its ability to absorb and store heat. A southern exposure provides the most consistent sunlight, allowing the wall to perform at its best. If a true southern orientation isn't possible, a slight deviation towards the southeast or southwest can still be effective, though not ideal.
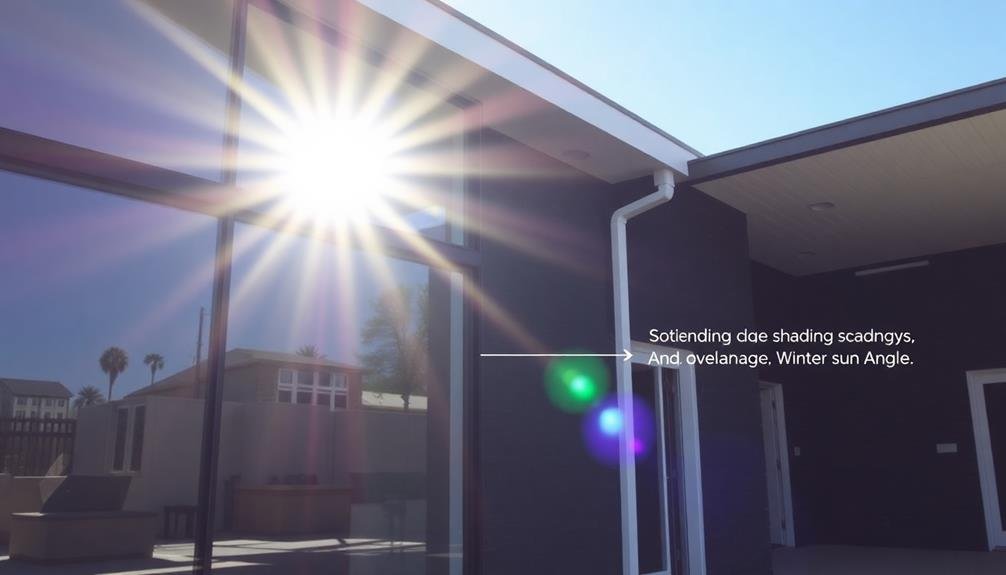
Consider Seasonal Sun Angles
To effectively design your Trombe wall, you'll need to account for the sun's changing position throughout the year. The sun's angle varies greatly between summer and winter, affecting how much solar radiation reaches your wall.
In the Northern Hemisphere, the sun sits lower in the sky during winter months, allowing for maximum heat absorption when it's needed most.
Consider using overhangs or external shading devices to prevent overheating in summer when the sun is higher. These can block direct sunlight during hotter months while still allowing winter sun to reach the wall. You'll want to calculate the ideal overhang depth based on your specific latitude and climate.
Use sun path diagrams or software tools to analyze how sunlight will interact with your Trombe wall throughout the year. This will help you determine the perfect wall height and placement of windows or vents.
Remember that nearby buildings, trees, or other obstacles can cast shadows and impact your wall's performance. By carefully considering seasonal sun angles, you'll maximize your Trombe wall's efficiency and guarantee it provides passive heating when you need it most.
Select Appropriate Materials
When selecting materials for your Trombe wall, you'll need to evaluate both thermal mass and glazing options.
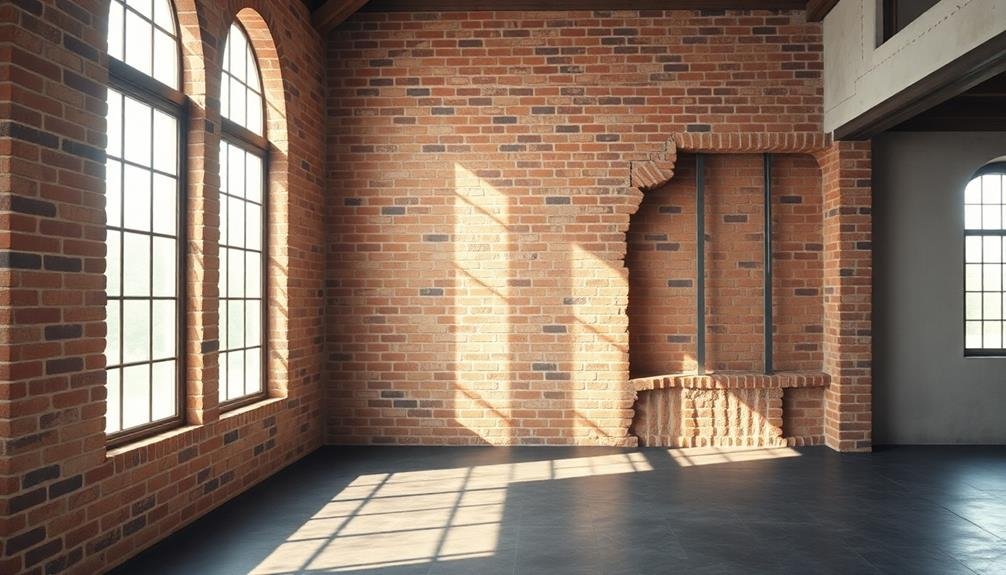
For ideal thermal mass, focus on dense materials like concrete, brick, or stone that can effectively absorb and store heat.
Your glazing choice is equally important; contemplate double-paned glass or polycarbonate sheets to maximize solar gain while minimizing heat loss.
Optimal Thermal Mass Options
Materials make or break a Trombe wall's effectiveness. When selecting thermal mass options, you'll want to focus on materials with high heat capacity and thermal conductivity. Concrete is a popular choice due to its affordability and excellent thermal properties. A 4-6 inch thick concrete wall can efficiently absorb and store heat throughout the day.
If you're looking for alternatives, think about using brick or stone. These materials offer similar thermal performance to concrete but can provide a more aesthetically pleasing appearance.
Water walls are another option, offering superior heat storage capacity compared to solid materials. However, they require careful design to prevent leaks and maintain structural integrity.
For enhanced performance, you can incorporate phase change materials (PCMs) into your Trombe wall. PCMs absorb and release heat at specific temperatures, allowing for more consistent temperature regulation. While more expensive, they can greatly improve the wall's efficiency.
Remember to think about the color of your thermal mass. Darker colors absorb more solar radiation, making them more effective for heat gain.
However, lighter colors may be preferred for aesthetic reasons or in warmer climates where overheating is a concern.
Glazing Material Considerations
Selecting the right glazing material is essential for maximizing your Trombe wall's efficiency. You'll want to evaluate factors like solar transmittance, insulation value, and durability when choosing your glazing. Glass is the most common option, but plastic alternatives can offer unique benefits.
For peak performance, opt for low-iron glass, which has higher solar transmittance than standard glass. Double-glazing provides better insulation but reduces solar gain, so weigh your climate's needs carefully. If you're in a harsh environment, think about tempered or laminated glass for added strength.
Here's a comparison of common glazing materials:
| Material | Solar Transmittance | Insulation Value | Durability |
|---|---|---|---|
| Low-iron glass | High | Moderate | Good |
| Double-pane glass | Moderate | High | Good |
| Polycarbonate | High | Low | Excellent |
Don't forget to factor in your budget and local building codes when making your decision. If you're unsure, consult a passive solar expert to help you choose the best glazing for your specific Trombe wall design and climate conditions. Remember, the right glazing can greatly impact your wall's overall performance and longevity.
Optimize Wall Thickness
Determining the ideal thickness for your Trombe wall is essential for maximizing its efficiency. The best thickness typically ranges from 10 to 16 inches, depending on your climate and desired heat storage capacity. Thicker walls store more heat but take longer to warm up and release energy, while thinner walls respond more quickly but don't retain heat as long.
Consider your local climate when deciding on wall thickness. In regions with short, intense sunny periods, a thinner wall may be more effective. For areas with longer, milder sun exposure, a thicker wall can provide more consistent heat distribution throughout the day and night.
To determine the best thickness for your Trombe wall, factor in:
- Your latitude and average daily sunlight hours
- The wall's thermal mass material (e.g., concrete, brick, or adobe)
- Your heating needs and desired temperature fluctuations
Remember that thicker walls generally perform better in colder climates, while thinner walls may suffice in milder regions.
You'll also need to balance thermal performance with structural considerations and cost. Consult with a passive solar design expert to fine-tune your Trombe wall's thickness for the best performance in your specific location.
Install Proper Glazing
When it comes to your Trombe wall, proper glazing is vital for maximum performance. You'll want to use high-quality, double-paned glass to minimize heat loss while maximizing solar gain. Look for low-emissivity (low-E) coatings on the exterior side of the inner pane to reflect heat back into the living space during colder months.
The air gap between the glazing and the thermal mass wall is important. Aim for a space of 1 to 6 inches, with 4 inches being ideal for most applications. This gap allows for proper air circulation and heat transfer. Make sure the glazing is sealed tightly to prevent air leaks and moisture infiltration.
Consider using tempered or laminated safety glass, especially if the Trombe wall is in a high-traffic area. This will reduce the risk of injury if the glass breaks.
Don't forget to factor in thermal expansion when installing the glazing. Use flexible sealants and allow for slight movement to prevent cracking or separation over time.
Regularly clean and inspect your glazing to maintain its efficiency and longevity.
Incorporate Vents for Airflow
Proper airflow is key to maximizing your Trombe wall's efficiency. To achieve this, you'll need to incorporate strategically placed vents. These vents allow warm air to circulate throughout your living space, enhancing the wall's heating capabilities.
Install upper and lower vents in your Trombe wall. The lower vents draw cool air from the room into the air gap between the wall and glazing. As this air heats up, it rises and exits through the upper vents, creating a natural convection current. This process effectively distributes warmth throughout your home.
Consider adding operable vents that you can adjust seasonally:
- Open both upper and lower vents in winter for maximum heat distribution
- Close lower vents in summer to prevent unwanted heat gain
- Open upper vents in summer to release hot air, creating a cooling effect
Remember to size your vents appropriately. They should be large enough to facilitate adequate airflow but not so large that they compromise the wall's thermal mass.
A general guideline is to make the total vent area about 1-2% of the Trombe wall's surface area. By incorporating well-designed vents, you'll greatly improve your Trombe wall's performance and your home's overall comfort.
Add Thermal Mass Elements
You'll want to incorporate thermal mass elements to enhance your Trombe wall's effectiveness.
Consider installing water walls, which can store a significant amount of heat due to water's high heat capacity.
Additionally, concrete floors can absorb and slowly release heat throughout the day, further stabilizing your indoor temperature.
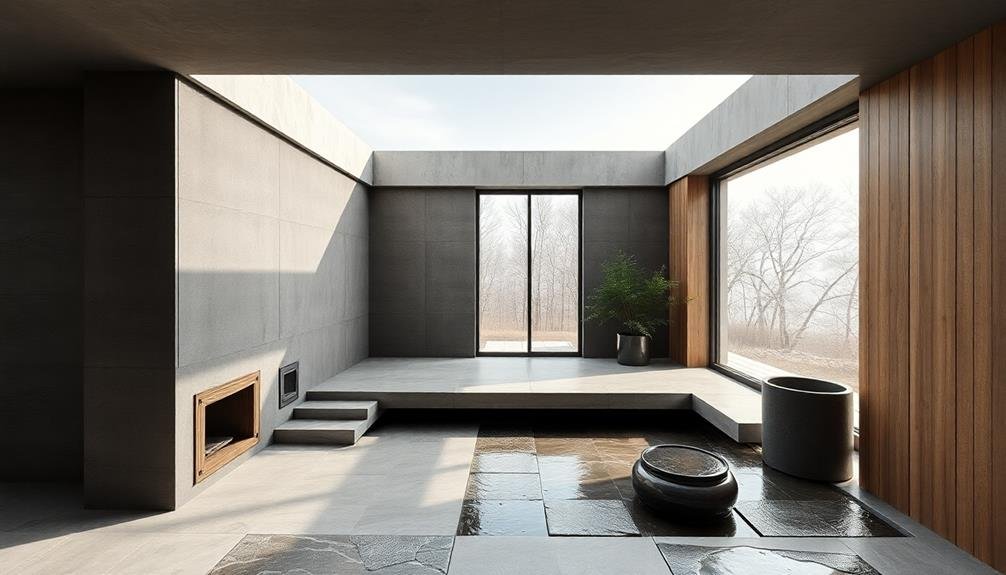
Water Walls for Storage
To further enhance your Trombe wall's thermal storage capacity, consider incorporating water walls into the design. Water has a higher specific heat capacity than most building materials, making it an excellent thermal mass for storing and releasing heat. You can create water walls by using large containers filled with water and positioned behind the glazing of your Trombe wall system.
When implementing water walls, keep these key points in mind:
- Use dark-colored containers to maximize heat absorption.
- Confirm containers are sealed to prevent evaporation and leaks.
- Consider adding algaecides to the water to prevent growth and maintain clarity.
Water walls offer several advantages over traditional masonry Trombe walls. They heat up and cool down more quickly, providing better temperature control.
They're also lighter, making them suitable for retrofitting existing structures. You can even use decorative fish tanks or water features to serve this purpose, adding visual appeal to your passive solar design.
Remember to properly insulate the glazing and edges of your water wall to minimize heat loss during colder periods.
With careful planning and implementation, water walls can greatly boost your Trombe wall's efficiency and effectiveness in maintaining comfortable indoor temperatures year-round.
Concrete Floors Absorb Heat
While Trombe walls and water walls are excellent thermal mass options, don't overlook the potential of concrete floors to absorb and store heat. Concrete's high thermal mass makes it an ideal material for passive solar design.
You'll want to place your concrete floors in areas that receive direct sunlight during winter months. To maximize heat absorption, consider staining or coloring your concrete floors a dark shade. Darker colors absorb more solar energy than lighter ones.
You can also increase thermal mass by making your concrete floors thicker – aim for at least 4 inches. Don't forget to insulate beneath and around the edges of your concrete slab to prevent heat loss to the ground. This will help retain the absorbed heat and release it slowly into your living space during cooler hours.
For added efficiency, you can incorporate radiant floor heating systems into your concrete floors. This allows you to supplement passive solar heating on particularly cold days or in areas with limited sun exposure.
Remember to balance thermal mass with proper ventilation and shading to prevent overheating in summer months. Well-designed concrete floors can considerably contribute to your passive solar heating strategy, reducing your reliance on active heating systems.
Implement Shading Techniques
Although Trombe walls excel at capturing solar heat, implementing effective shading techniques is essential to prevent overheating during warmer months. You'll need to strike a balance between maximizing winter heat gain and minimizing summer heat absorption.
Exterior shading devices, such as overhangs or awnings, can be particularly effective. These should be designed to block high-angle summer sun while allowing low-angle winter sun to reach the Trombe wall.
You can also consider using deciduous trees or vines near your Trombe wall. They'll provide shade in summer when leaves are present but allow sunlight through in winter when branches are bare.
For more precise control, install operable shading systems like exterior blinds or shutters.
To enhance your shading strategy:
- Analyze your local climate and sun path
- Calculate ideal overhang lengths for your latitude
- Use shading simulation software to fine-tune your design
Don't forget about interior shading options, too. Heavy curtains or insulated shades can help control heat gain and loss throughout the year.
Ensure Proper Insulation

Proper insulation goes hand in hand with effective shading for maximizing your Trombe wall's performance. To guarantee ideal insulation, start by sealing any gaps or cracks in the wall's structure.
Use high-quality insulation materials with a high R-value, such as foam board or spray foam, to prevent heat loss during colder months.
Don't forget to insulate the edges of your Trombe wall where it meets the surrounding walls, floor, and ceiling. This prevents thermal bridging, which can greatly reduce the wall's efficiency.
Consider installing a layer of rigid insulation between the masonry wall and the glazing to minimize heat loss through the glass.
For the glazing itself, opt for double or triple-pane windows with low-emissivity coatings to further enhance insulation.
You'll also want to insulate any vents or dampers in the wall to prevent heat escape when they're closed.
Maintain Your Trombe Wall
Regular maintenance is the key to keeping your Trombe wall operating at peak efficiency. Inspect your wall annually for cracks, gaps, or deterioration in the glazing or masonry. Seal any gaps promptly to prevent heat loss and moisture infiltration.
Clean the glazing surface regularly to guarantee maximum solar absorption. Use a soft cloth and mild detergent to avoid scratching the glass or plastic.
Check the vents and dampers in your Trombe wall system to guarantee they're functioning correctly. Lubricate moving parts as needed and clear any debris that might obstruct airflow.
If your wall includes a fan for air circulation, clean the blades and verify its operation.
Monitor your wall's performance throughout the year. Keep an eye out for these signs of potential issues:
- Uneven heat distribution in adjacent rooms
- Condensation forming on the interior glazing surface
- Unusual odors or mold growth near the wall
If you notice any of these problems, consult a professional to diagnose and address the issue.
Frequently Asked Questions
How Long Does It Take for a Trombe Wall to Start Working Effectively?
You'll start seeing effects from your Trombe wall almost immediately, but it'll take about 4-6 weeks for it to reach peak performance. During this time, the wall's thermal mass gradually charges, optimizing its heat storage and distribution capabilities.
Can Trombe Walls Be Retrofitted to Existing Buildings?
Yes, you can retrofit Trombe walls to existing buildings. You'll need to add a glass wall in front of a south-facing exterior wall, creating an air space between them. It's more challenging but possible with proper planning.
What's the Average Cost of Installing a Trombe Wall?
You'll find that Trombe wall costs vary widely. They typically range from $50 to $150 per square foot. For an average-sized wall, you're looking at $5,000 to $15,000. Remember, factors like materials and location affect pricing.
Are There Any Building Codes or Regulations Specific to Trombe Walls?
You'll find that building codes for Trombe walls vary by location. Check with your local planning department for specific regulations. They'll often consider energy efficiency, structural integrity, and fire safety. Don't forget to obtain necessary permits before installation.
How Do Trombe Walls Perform in Different Climate Zones?
You'll find Trombe walls perform best in sunny, cold climates. They're effective in temperate regions too. In hot, humid areas, they're less useful. Consider your local climate carefully before investing in this passive solar feature.
In Summary
You've now got the essentials for creating an effective trombe wall. Remember, it's all about balancing sunlight capture, heat storage, and distribution. Don't be afraid to experiment and adjust as you go. With these tips, you're well on your way to harnessing passive solar energy. Keep learning, stay patient, and enjoy the process of optimizing your home's energy efficiency. Your trombe wall will soon be working its magic, keeping you comfortable year-round.


Leave a Reply